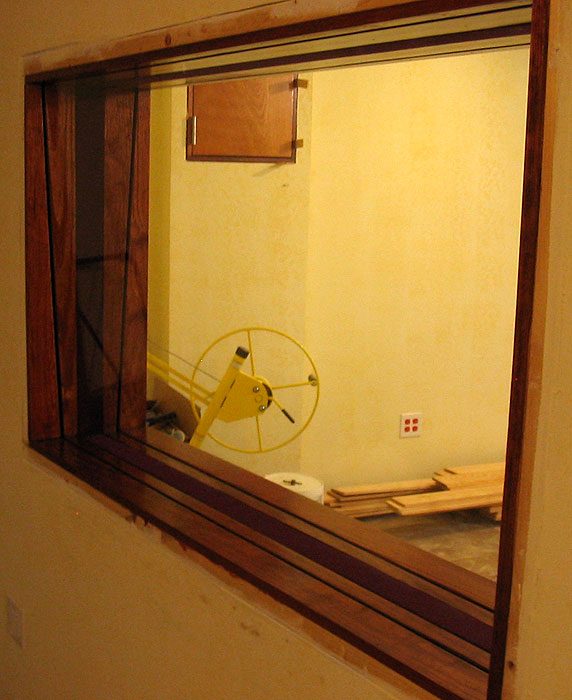
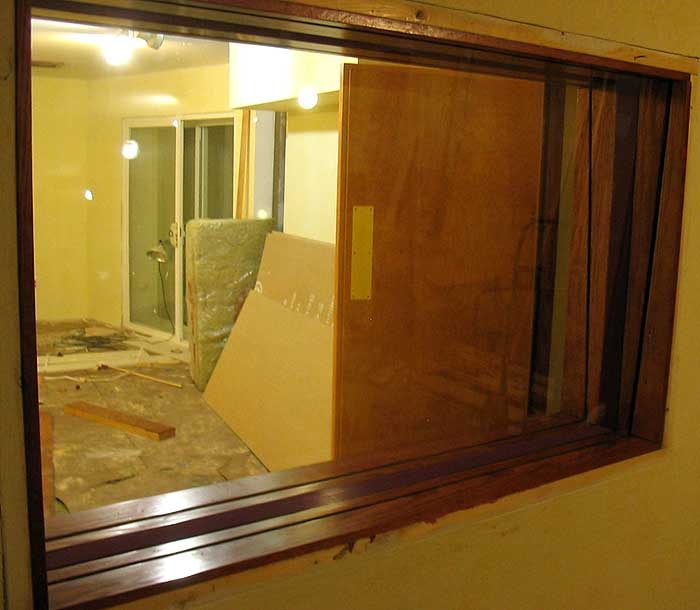
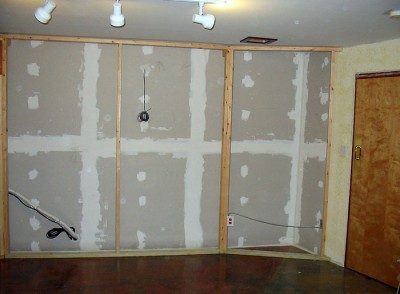
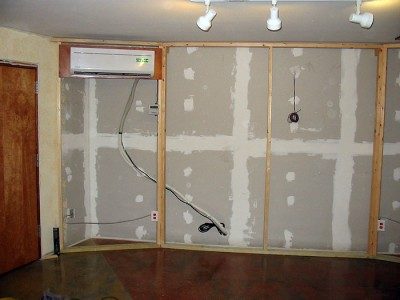
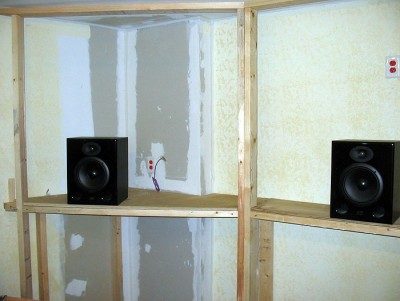
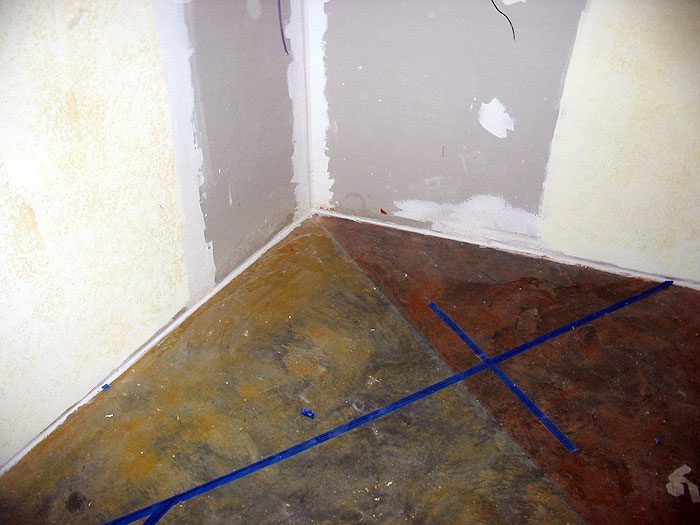
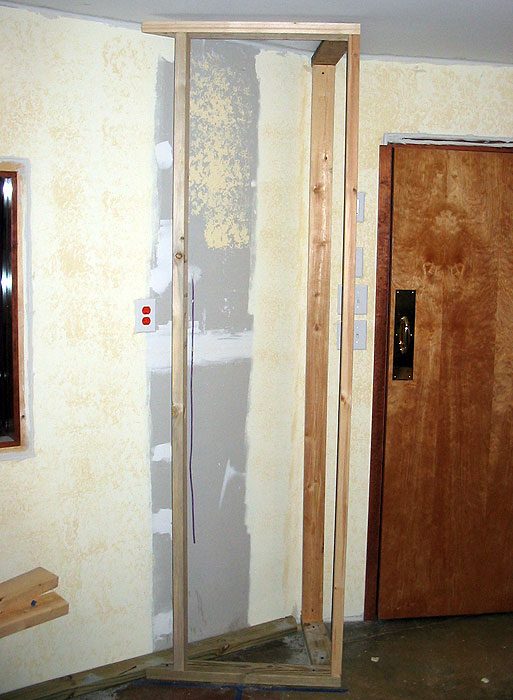
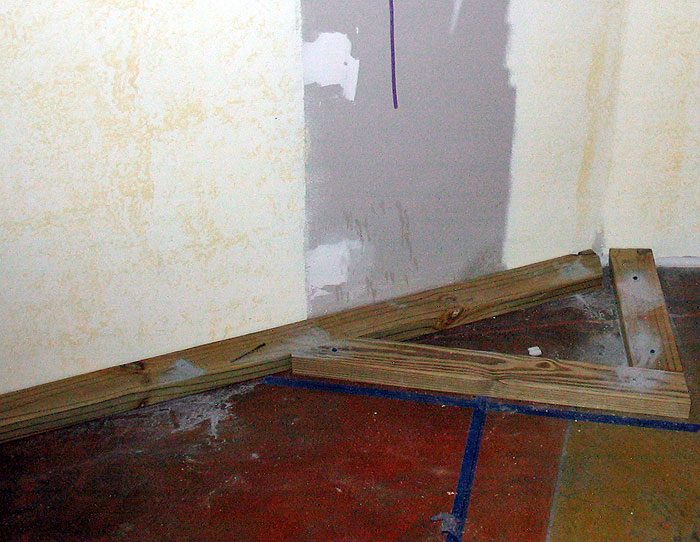
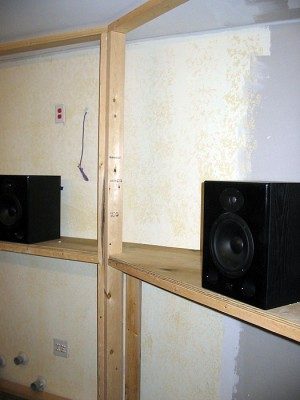
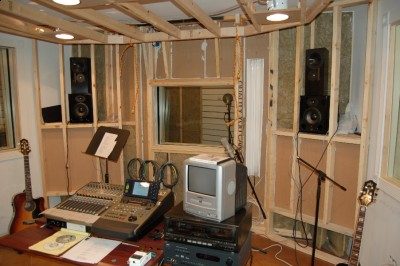
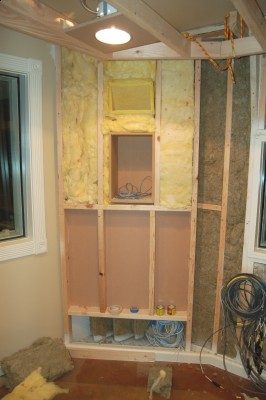
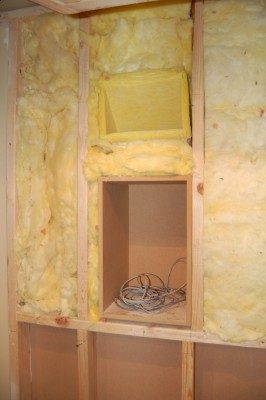
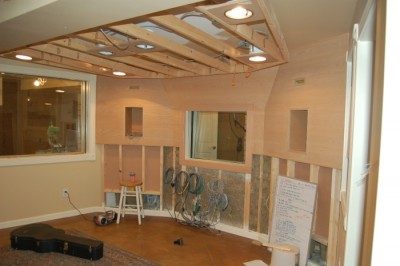
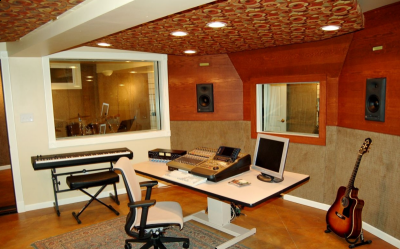
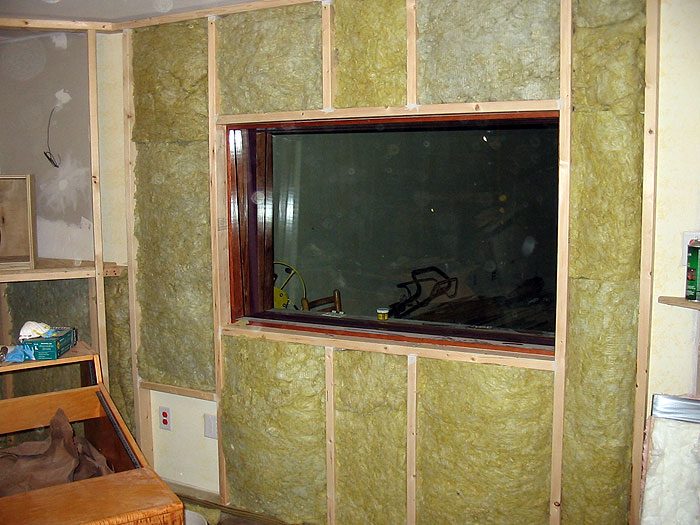
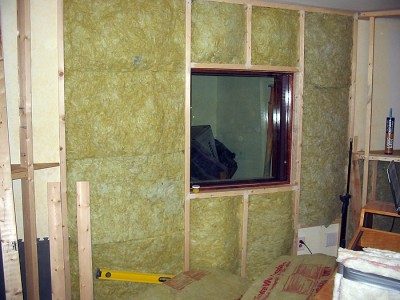
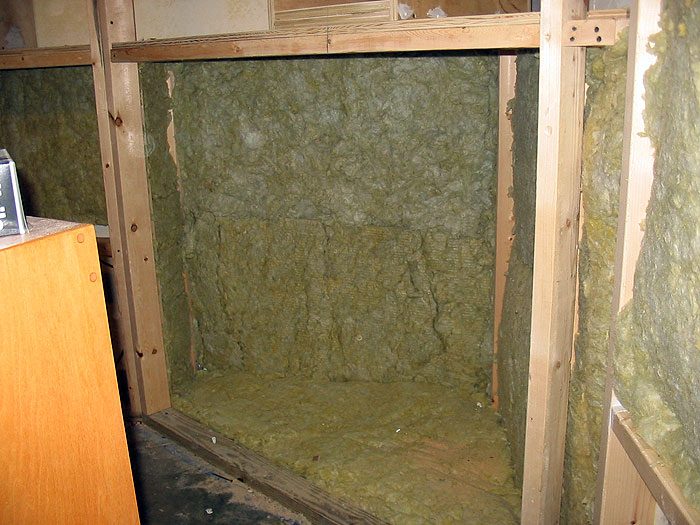
I finished building my rear wall framing. I think I’m going to go with superchunk for the whole rear wall.
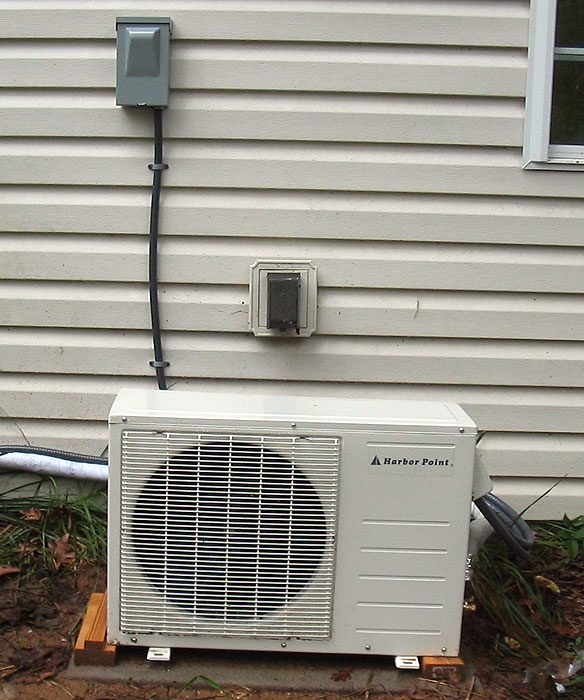
I final got my mini splits hooked up and they are working well. I did all of the insulation myself and just hired someone to vacuum pump the line sets.
In case people don’t know right now is a great time to be buying mini splits in the US as some of them qualify for the 30 % tax credit. Plus a lot of local power companies are offering a rebate. Unfortunately there are only a handful of systems over 9k BTUs that qualify. I was planning on getting a Sanyo unit but none of their units over 9k qualify. You can find a list of qualifying systems here. http://www.ahridirectory.org/ceedirecto ... -HPCEE.pdf Amcor, Chigo, Maytag, and Harbor Point all offer three units and as far as I can tell they are all the same units rebranded. I ordered a 9k unit from Harbor Point (they sell a lot on ebay) last year which doesn’t qualify for the tax credit but I did get a great deal on it. A month ago I got the 12k unit from Amcor. I put the 9k unit in studio A and the 12k unit in the control room. I was worried about the sound levels on these units as they aren’t as quiet as the Sanyo and Mitsubishi units. The Harbor Point has a low setting of 28 dB and is very quiet in fact I think I could track with it going. The Amcor has a low setting of 35 dB and is definitely a bit louder that I would like. It just got cold here so I’m glad to have these going. I’m planning on adding a 3rd unit to the drum room at some point.
Rear-Wall-and-Mini-Splits-008.jpg
Image not preserved: Rear-Wall-and-Mini-Splits-007.jpg
Image not preserved: Rear-Wall-and-Mini-Splits-005.jpg
Image not preserved: Rear-Wall-and-Mini-Splits-003.jpg
Most mini splits only do cooling and heating. There are some ducted mini splits that provide fresh air but they are really expensive. I have a ERV proving fresh air to all of my rooms (see page 5).
Hey Jester,
Great thread! You've got good great graphic design skills too, which makes for really helpful diagrams.
Just wondering from back on page 7, what did you decide on for your door thresholds? Surface mount, semi-mortised, fully mortised?
Also are you putting grill covers on your ducting silencer box inlets, or leaving them 'open'?
:)
Thanks Rhino! Wish I was good at sketch up but so far that programs is a bit beyond me.
I am going with surface mounted for my automatic door bottoms but I still haven't installed them or my thresholds yet. I still would really like to avoid having thresholds so I'm going to install a couple of the door bottoms and see if that blocks enough sound. I'll try to get to that next week.
I'm covering my inlets but I had a little bit of trouble finding 8x8" register and return grilles. I actuality got them in the mail today and have put up half of them. I take some pictures tomorrow.
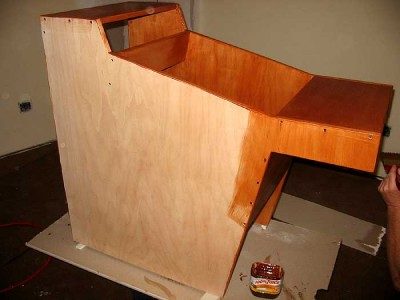
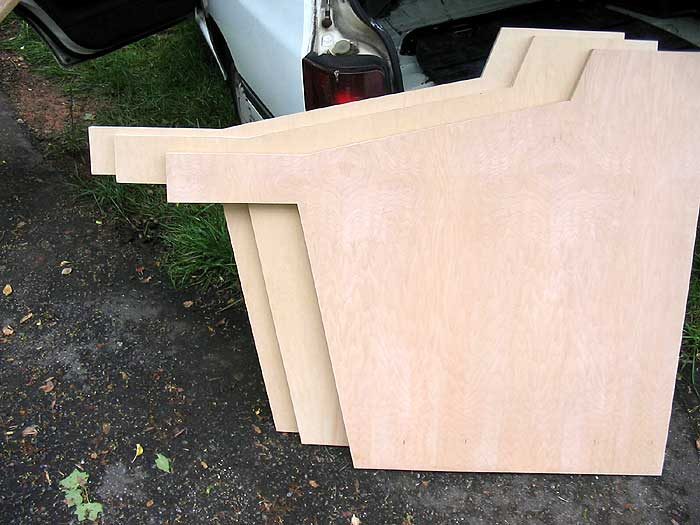
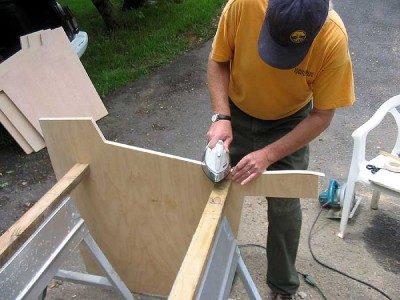
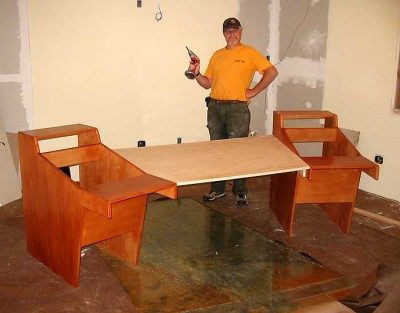
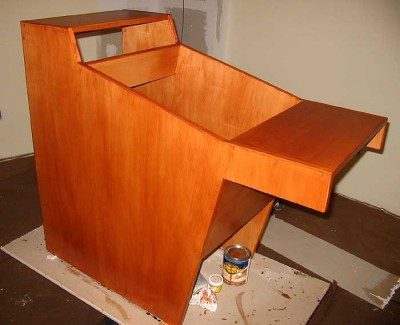
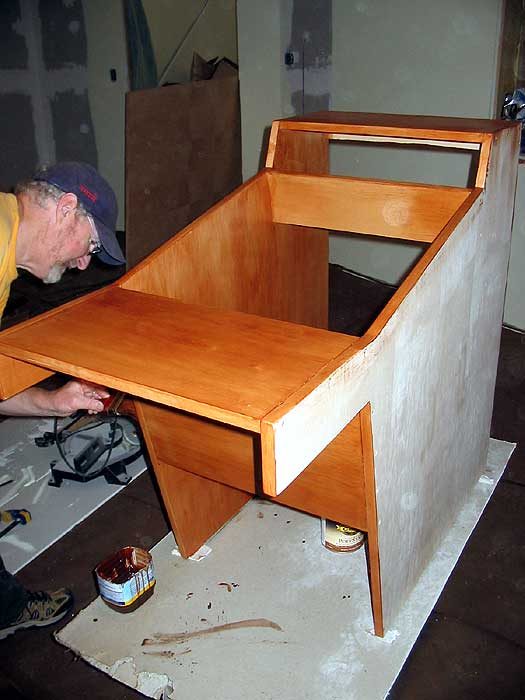
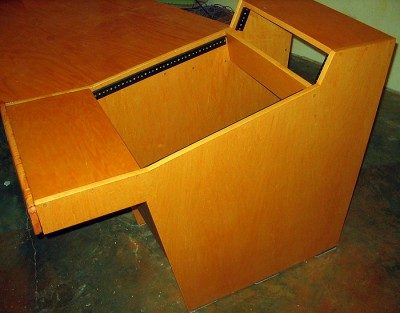
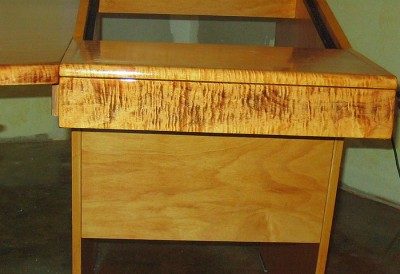
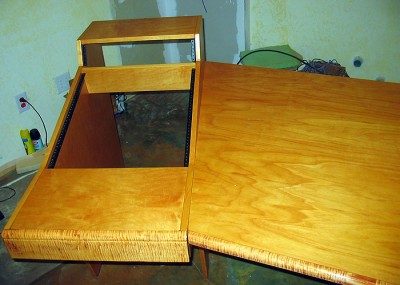
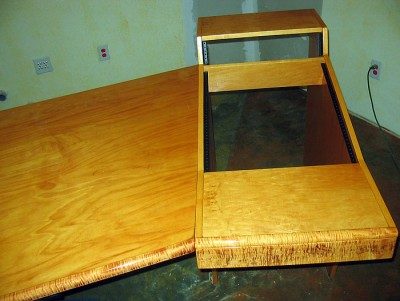
Back in June my father came a visited me for a week. I took advantage of his visit to start building a desk for the studio as he is an extremely good carpenter. He has been building and installing high end kitchen cabinets for most of my life and has been a carpenter for longer than I have been alive. Sadly I don’t get to see him often as he lives in Peru. If I had built the desk on my own it would have taken weeks but with his help it came together in a couple days.
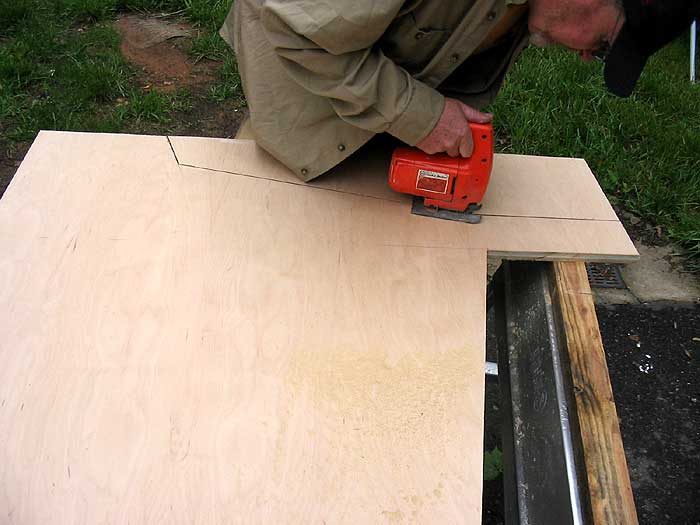
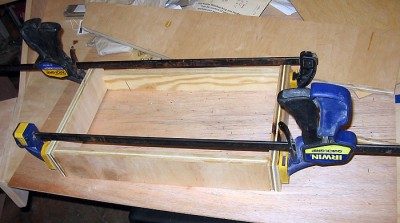
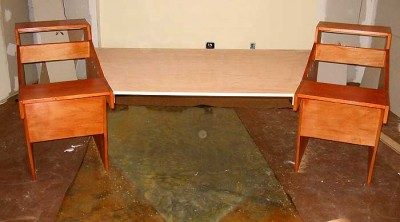
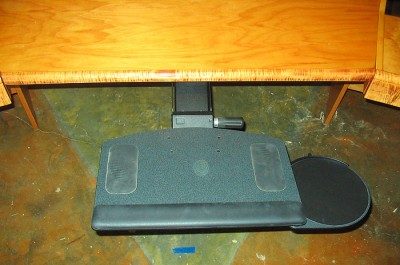
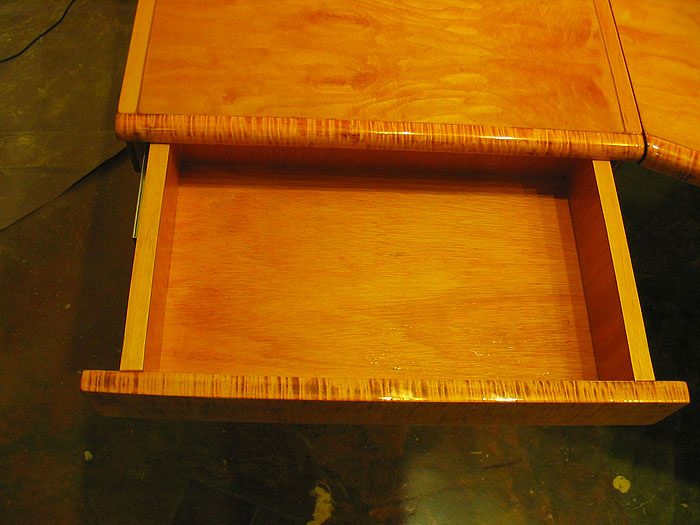
I came up with a basic drawing of the desk in Sketch Up (still struggling with that program) roughly based on the Argosy desks. We used ¾ cabinet grade maple that I got a great deal on at a surplus store. We used iron on veneer on the edges. Unfortunately we used an all in one poly/stain (never again!) and it ended up having a lot of streaks and really hid the wood. This was a shame because the wood had a lot of really nice grain. After my father had left I picked a oil based stain for my doors and they came out great. So being the perfectionist I am I decided to strip the desk and refinish it. It took me over two weeks to strip it and refinish it. (ack!) I stained it and then finished it by spaying 3 coats of polyurethane. I bought some flame maple and used a router with a round-over bit to make an edge for the desk. I also made 2 draws with flame maple fronts. I finished the desk off by adding rack rails and a Humanscale 4G articulating keyboard arm (very cool). I’m really happy with how it turned out and can’t wait to load it full of gear.
My opinion, you can purchase any circular saw you want, but you will just not get anything more durable and accurate then the Makita.
Props to your Dad...and to you for being his Son ;)
Good job indeed.
The Makita was on loan from a friend who dumped all his tools at my house because he didn't have any where to store them. I hadn't heard from him in years but recently he called and wanted all his tools back (bummer). This included the circular, table, miter saws I had been using and lots of little hand tools. Despite being low on funds I went ahead and bought a Bosch 4100 table saw and a Ridgid miter saw because they have some nice safety features. Saws scare me because as a professional bass player I really need all my fingers. I still need to buy a new circular saw.
That desk is beautiful! I don't suppose you have some plans or schematics for it that you'd like to share, do you? ;) Also, how did you finish it, and how many layers of varnish/poly did you put on it? It looks glossy!
Edit - Nevermind, I see you answered the question about finishing it just a few posts above, I don't know how I missed it. Thanks for sharing!
I’m going to start building my speaker soffits soon and I’m planning on using Johns design. Despite reading a huge amount about soffits and 5.1 systems I am still unclear about a few things. I’m planning on using 3 Event ASP8’s for my front speakers and ASP6’s for the rear speakers. I also want to mount a 46” LCD TV on my middle soffit above the speaker.
My basic plan:
My control room is 21’1” long with 7’11” ceilings
My listening position is 9’8” from the front wall (46%) 8’4” from soffit wall (42%)
The speakers are 8’4” away from listing position.
The left and right speakers are at angled at 30 degrees (60 total) from a spot 16” behind the listing position.
My rear speakers are angled at 113 degrees and are aimed at the listening position.
My speakers are 48” from the floor to the base of the speaker. This puts the acoustic center around 58” (38% from ceiling)
The rear wall will be a bass trap, most of the walls will be slat resonators, and the ceiling will have lot of clouds.
Questions:
Is the listening position to close to the center of the room?
Should my speakers be angled down?
Should the soffit framing be isolated from the control room?
Should the speaker be isolated from the framing?
Should I attach the framing to the walls and floor?
Any comments or advice would be greatly appreciated. I’m working on a Sketchup drawing but I suck at using that program so it’s taking a little while.
Happy Thanksgiving everyone!
I have started on my speaker soffits and they are coming along nicely. The framing is 2x4s with ¾” plywood for the platform. The soffit baffle will be a layer of ¾” plywood and a layer of ½” birds eye maple veneered plywood. Around the speaker I will have a removable bezel so I can remove the speakers if I ever need to.
I have spent a lot of time researching soffits but I am still confused about a few things. If any of you who have successfully built soffits could give me a hand I would deeply appreciate it.
There seems to be some conflicting info on soffit design. A lot of people insist that it is very important that the speakers are decoupled from the soffit. In Johns design the speaker is connected directly to the soffit. Would it be worth me putting rubber under my speaker? (I understand it would need to be compressed).
Should I build a speaker box? Assuming I do need one so should it be connected to the front soffit baffle? I have seen designs that have an open back and designs that have a closed back but slots at the top and bottom of the rear of the box for ventilation. Is one design preferable or does it matter?
I have read that it is important that the speaker be firmly secured (strapped down). In Johns design the speaker just sits in the soffit box. Is this important?
Should the right, center, and left soffits have separators between them or can the upper area of the soffit just be one large cavity?
Does the upper area of the soffit need to be sealed? Should I use acoustical caulk around the edges for the soffit baffle and the speaker platform?
My rear soffits stick out it to the room and I am wondering about the back of the soffits(side that faces the rear wall). Do I need to use a hard baffle or can I use slats or a cloth front?
Should the speaker front be flush with the soffit baffle? I only ask because I have seen a lot of pictures of John’s studios where it looks like the speaker stick out a little bit.
They look good. My knowledge on soffits aint great but,
As long as the seals between the speaker and the beazel (front birds eye bit) is tight.
you shouldn't need a box. The infinate baffle is created by the front surface not the box.
Because you've gone with the self design....speakers are connected to the studio walls via the shelf, then you will not need to worry about the soffit face being detached from the shelf/speaker.
Make sure you strap down the speaker with ratchet straps or similar and maybe try some foam, rubber or acoustic decoupler under the speaker?
I'm sure you get some other options but that is mine :wink:
they'll sound great as long as everything is solid.
Good luck
Great questions jester. I asked a similar question in my thread but didn't get a response, hopefully someone will be able to step in here with some clarification. :)
I passed all of my inspections last week. Not that big of an achievement but it feels like I have passed another milestone.
I picked up 15 sheets of 3/4 plywood today for the soffits and all of the slat resonators I will be building.
I'm still not sure about the speakers boxes. All of the studios John has designed use them but I'm not exactly sure what the function of the box is.
Thank you John for posting the pictures they are definitely helpful. Using duct board for the vents is a great idea.
I decided to go ahead and build speaker boxes. They turned out great with a 1/16” or less around the speaker. I put backs on the boxes and cut slots on the top and bottom of the back of the box. I debated on putting something under the speaker for isolation but ended up not using anything. I added an extra layer of plywood at the bottom of the box which I can remove and add an isolation pad later if I need one.
My understanding is that this soffit design should be made as ridged as possible. I have been gluing and screwing everything and it feels very solid. I hope this soffit build turns out great because it would be a nightmare to take this thing apart.
My side walls will have slats and I’m going to have hangers under the soffits.
I have a few questions floating around in my head on what would be the best way to attach both the top and bottom soffit baffles. For the first layer it would probably be best to screw and glue it but what If I ever need remove them. For the finish layer would it be alright to just attach it using finish brads or do I need to glue it? I am thinking of have a separate bezel around the speaker that will be removable.