I haven't had a chance to do any mixing or run any testing software yet. When I get back I'll put up some spot treatments and make a bunch of clouds. I'm also going to make some kind of curtains to go over the windows when I'm mixing.
Excellent looking control room.
Thanks for posting such detailed pics and for providing such great inspiration for my future build!
All the best finishing up your studio upon your safe return.
cuzinit
Hi Jester, I have been following your built, great looking studio, congratulation. I can't wait to get there myself. This is such an adventure. This is no standard house construction for sure...
But it is worth it 200%, you can be proud.
Marc
Hi Jester,
Great build, very impressive! I was wondering how you have tightend the baffles for the back speakers in order to have the removable easily? I am in a situation where I want the possibility to remove the baffles for my front speakers and still have an airtight construction.
Thanks for the kind words. I have a few jobs coming up so I have been getting the control room ready for mixing next week. I build a new i7 quad computer and have been moving gear in. Very fun and geeky.
Lowlife - I used some long finishing screws with real small heads to attach the baffles. Once I get everything setup and calibrated I'm going to put some acoustic caulk on the back of the baffles, screw it, and cover the screw holes with putty. It will be a little bit of a pain to take back off if I ever need to but it will be doable.
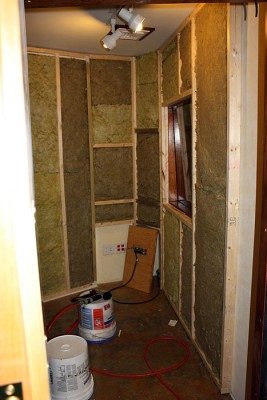
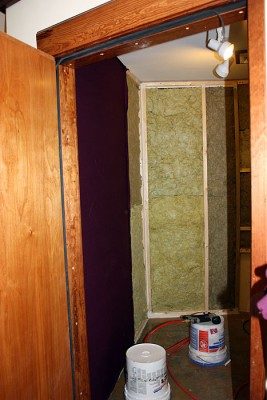
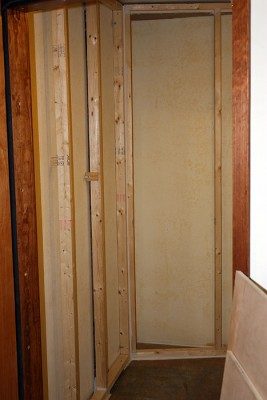
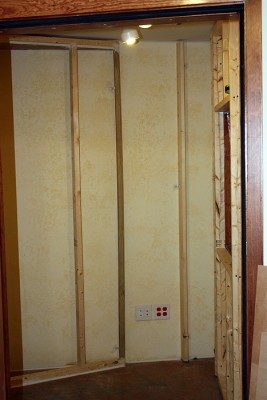
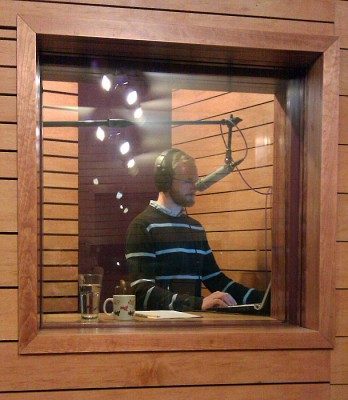
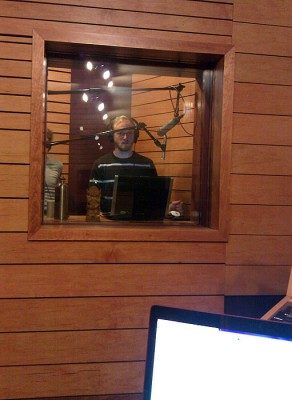
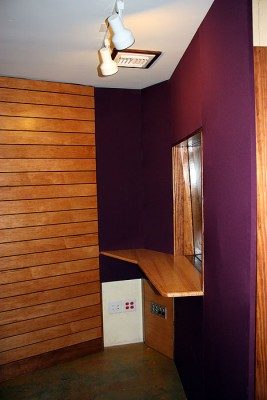
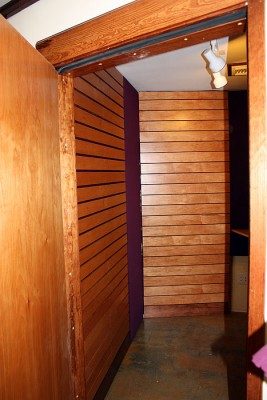
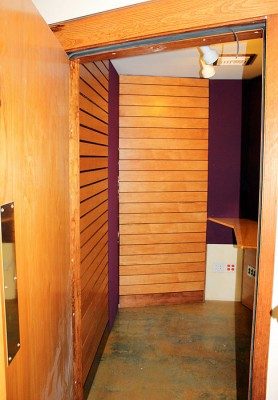
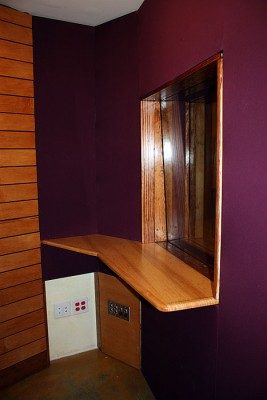
I had a client call that wanted to fly into town to record the voice over for a training video. So I had a strong motivator to finish my vocal booth. I worked around the clock for a week and managed to get it finished (or at least close enough to record).
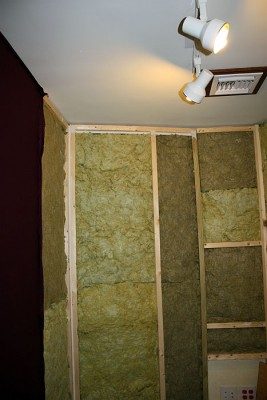
I put in 2 angled slat resonators and most of the rest of the walls are 3" rock wool covered with cloth panels. I also put in a nice little desk.
It's really great to be recording after all of the work I have put in. The booth sounds good although I still need to put in a cloud. The ventilation seems to be working well with 2 people in the booth for long periods of time.
Hey Lief,
Amazing and inspiring work.
I have one question about your soffit design.
It looks like there is not any decoupling between the studio walls, the shelf, the speaker box (inside or outside) and the baffle.
Is that correct or did I miss it?
Thanks,
Seamus
The soffits are not decoupled. I went back and forth about decoupling but in the end I went with John's design (or at least my understanding of it) His design calls for the soffits being built very solidly with lots of mass. I did experiment with isolating the speakers with various isolation materials and I left room in case I want to isolate the speaker boxes later. So far I really like how they sound but it's too early to tell if the translate well. I'll report back after I have finished a few jobs.
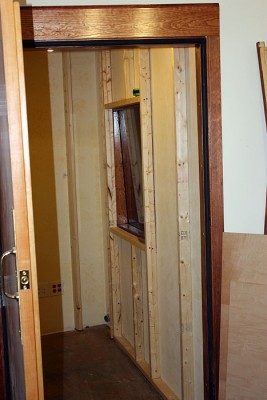
I am getting started on the windows. So far I have the stops ready for one window. I'm going to get the glass at the end of the week. I ended up using 4/4 pine stock for the stops. For my larger window I angeled both sides 3 degrees which put the pane about 6" apart at the bottom. Not sure how I'm going to do the other window yet.
OK, you say you set the window at a 3 degree angle. How exactly do you get the top and bottom stop bevels at the same 3 degrees as the side stop rips? Do you just set the table saw for a 3 degree bevel or something?
OK, you say you set the window at a 3 degree angle. How exactly do you get the top and bottom stop bevels at the same 3 degrees as the side stop rips? Do you just set the table saw for a 3 degree bevel or something?
The top and bottom stop are the only ones that require a bevel of whatever the degree might be.
The sides are flat 90 degree pieces, the place that these side stops need modifications on are the ends that meet the head and foot stop, and this will require a "bevel" of the chosen degree at the top and bottom of the side stops.
If I had more time and less beer I'd draw ya a picture, I think based on the work I have seen that you are doing, you will understand the process...just get the "plane" flat and you can cant the degree of the whole stop asembly as much as required or needed.
OK, you say you set the window at a 3 degree angle. How exactly do you get the top and bottom stop bevels at the same 3 degrees as the side stop rips? Do you just set the table saw for a 3 degree bevel or something?
The top and bottom stop are the only ones that require a bevel of whatever the degree might be.
The sides are flat 90 degree pieces, the place that these side stops need modifications on are the ends that meet the head and foot stop, and this will require a "bevel" of the chosen degree at the top and bottom of the side stops.
If I had more time and less beer I'd draw ya a picture, I think based on the work I have seen that you are doing, you will understand the process...just get the "plane" flat and you can cant the degree of the whole stop asembly as much as required or needed.
Awe man! Sorry bro! I did my windows a month ago. Lol. Figured it out. Thanks anyway! If you check my build thread you'll see the jig I built.
Hi Jester!
I gotta say that is one beautiful looking studio! I can't wait to see more pictures.
Also I am anxiously awaiting your report on how the monitor setup sounds! I have two Event ASP8's that I am planning to use in a stereo soffit configuration for my upcoming studio build. My only problem with the monitors up to this point has been the lack of an "honest" bass response. It's not that the bass isn't there, I've just never been able to set them up in a way that it translates well. I'm hoping the soffit design will tighten up the low end on these bad boys because I personally like every other aspect about their sound!
And NOT to derail your amazing thread but I have one other question... were you ever able to find documentation regarding the dispersion angles and acoustical axis of the Events? I have been calling and emailing them for weeks but have had ZERO luck reaching anyone from the company! :x I can't seem to find the data ANYWHERE in the manuals...feeling a bit left out in the dust. :(
Anyways, congrats on the studio! It looks incredible.
Trevor