Ro - That has to be the most bizarre post I've ever seen in my life!!! :shock::shock::shock::shock::shock::shock::shock::shock:
That guy is a really close friend of mine, he was here last week, he was also caught on the front cover of TIME magazine leaving Los Angeles Airport for the NAAM convention last year behind Brad Pitt and Angelina Blah Blah. He is a major player in the U.K. gear/distribution market, and, he, his lovely wife, and two gorgeous young sons are guests at our wedding!!!!!!!!!!!!!!!!!!!!!!
Can't wait to show him. :wink:
Man this is so weeeeeeeeeeeeiiiiiirrrrrrrrrdddddd!
Regards,
Lou. 8)
P.S. That shot was taken in Tokyo in 2002, and, he's wearing a Takamine shirt, the same as the three I have in my wardrobe! :wink::wink:SMALL WORLD!
Regards,
Lou. 8)
you know this fella? (jon was it?)
DAMN, that's indeed bizar, haha.
I just randomly picked (no phun) this image from the web... go figure.
hilarious pic and post. gheh.
Yup! I've known him for over 25 years! I called him in his office barely an hour ago, and he showed his colleageues the link! :lol::lol:
What a laugh and a hell of a coincidence. Incidentally, he was at one time a terrific trumpet player, is still a really tastefull keyboard player, and a damm fine drummer by anyone's standard! He is also my local city's 'first son' as in, he was the first child born after my hometown became a city. Actually rather a talented bugger to ne honest! :roll:
But most important - he's a really nice guy, has been a great friend to me over the years, and enjoys a good 'clown around' like the rest of us! :wink:
Let me jnow if you need his mobile, home address etc!!!!!!!!! :wink::wink:
Only joking Jon!
Regards,
Lou. 8)
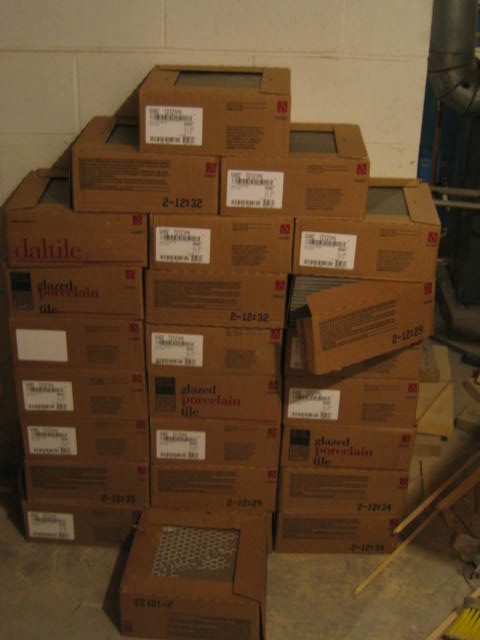
Trim work in progress and tile received.
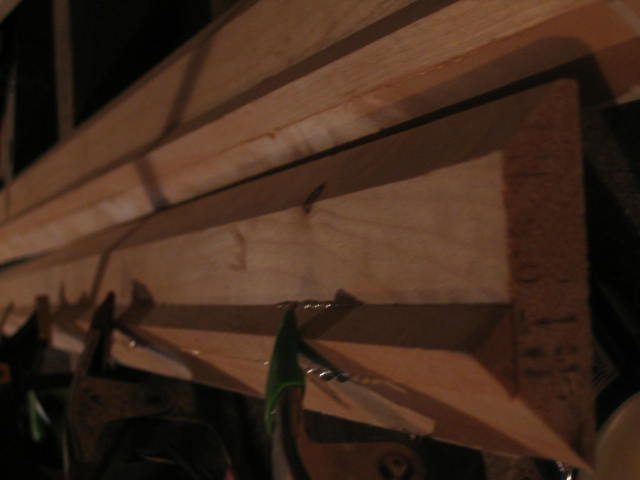
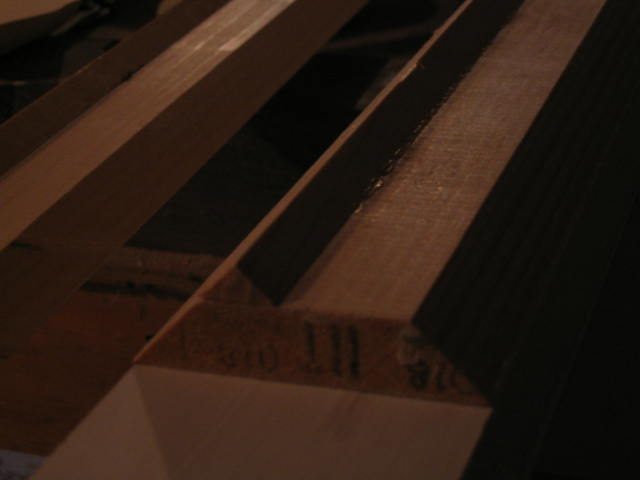
Trim work is merely a 1x4 pine cut to be 45 in the top corner all the way around. I've used the cut off peices on the back to have more surface area against the wall. None of the trim peices will touch the ceiling and I am going to put caulk bead in to close that gap.
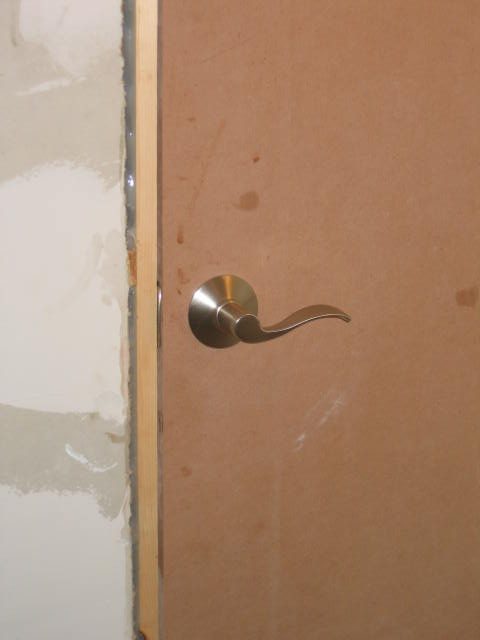
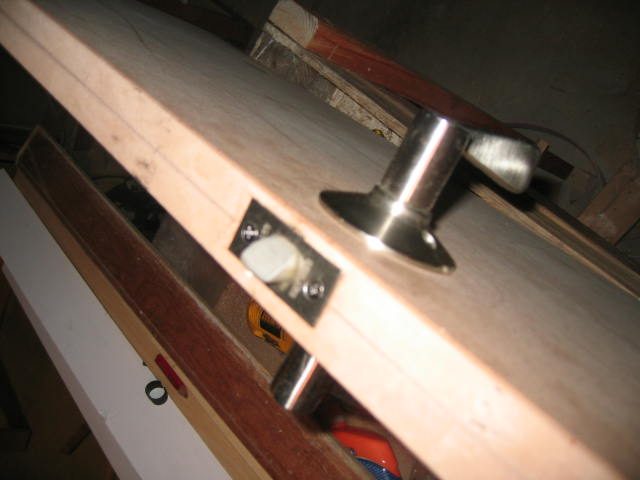
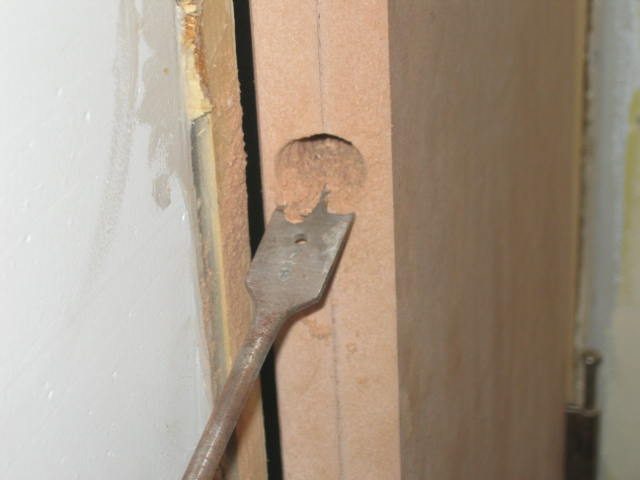
I also drilled for the door handle in the closet door. It's a spare one we pulled out of the cellar door because we didn't want the little nose picker openning the door and tumbling down a flight...
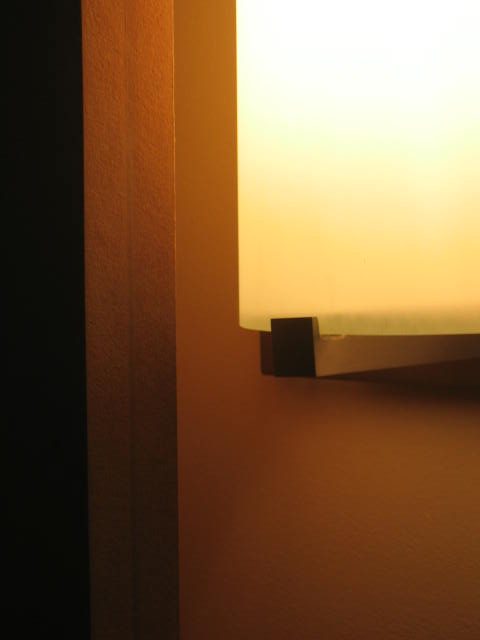
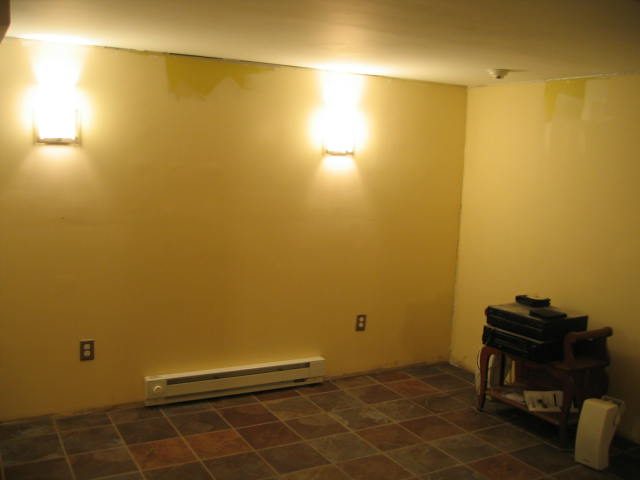
I put up the lights in the room and had one of those moments some of us have had in recognizing a design fault.. My light is in the swing path of the closet door.
I'll try to do something close to the hinge that will stop this from breaking the glass of the light fixture.
A fairly blurred picture of the drywall anchor screws I used in the trim. Each peice has a few of them to hold it up there and I counter sunk the hole for the screw head to be hidden. I'll fill that with wood filler because it's a 45 angle hole and a wood plug wold be tricky to do...
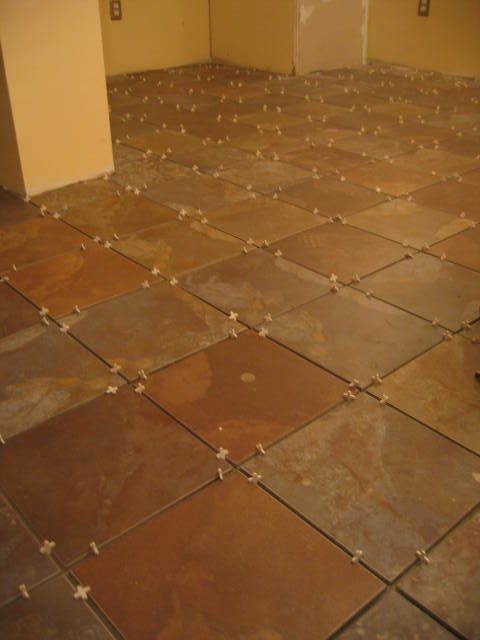
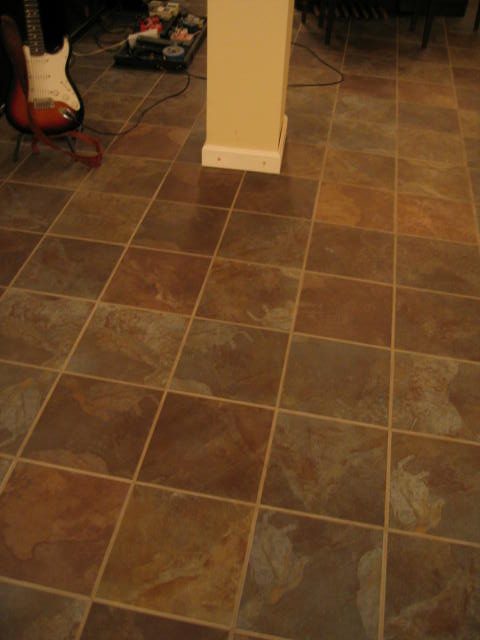
... and the tile. There's way more than what is needed for the room because we got a great deal on it through directbuy.com. the rest of the basement area will feature a bar opposite our wood stove and will have this tile on the floor.
oh, take better pictures next time or I'll come round 'n punch ye lights out. hear me! :wink:
Folks, I'm hoping to channel any faint energy and talent I posess in photography to satisfy Sir Ro in order to avoid having my bell rung.
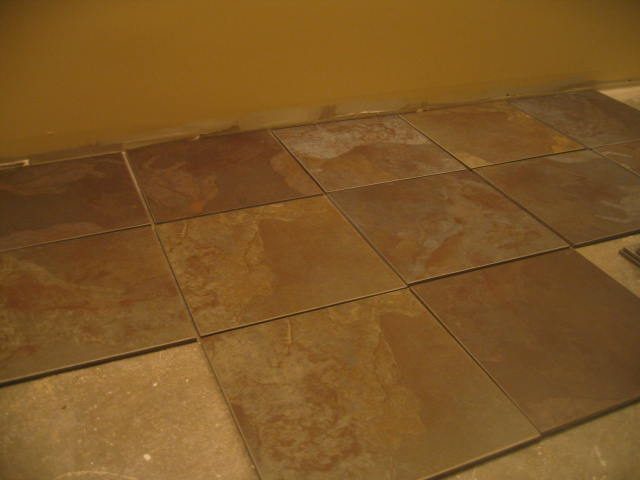
My brother worked all day to lay the tile out and managed to get all 240 sq feet down and lined up with the walls. All that is left now is the grout and seal for the floor and I can get back to the trim.
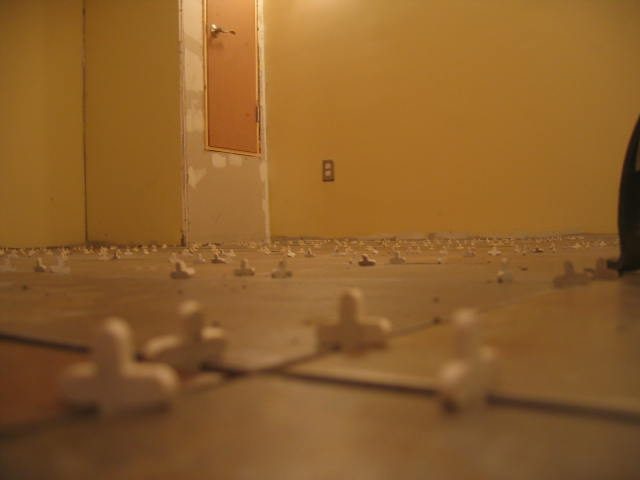
He kept putting the spacers in flat, but I told him to put them on end because I wanted a dramatic shot of the floor as if it were a graveyard memorializing the proud soldiers who have done the good work of creating the wonderous spaces for the purposes of recording music...
Actually, that's how he sets them up. I am so happy to have this done so quickly. If it were me doing the work, the scraps bucket would be fuller and I'd still be snapping chaulk lines...
That shot it brill, looks like a cemetery. gheh.
Thanx for making me laugh Cram, and keep up the "i'm gonna build me the best soundproof hole ever invented"-spirit!
Things that have happenned since my last post -
Completed by my brother -
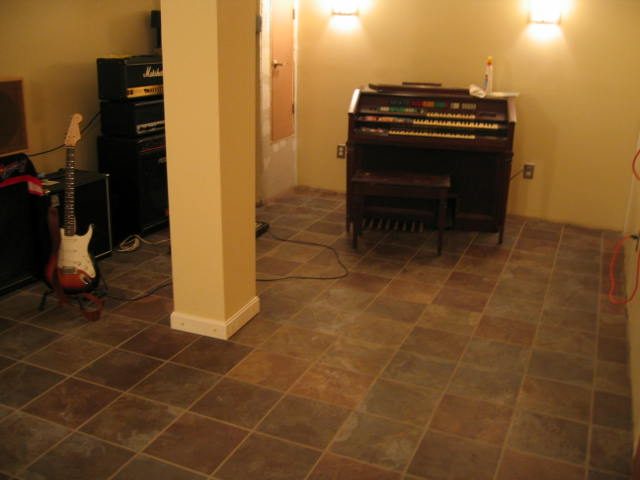
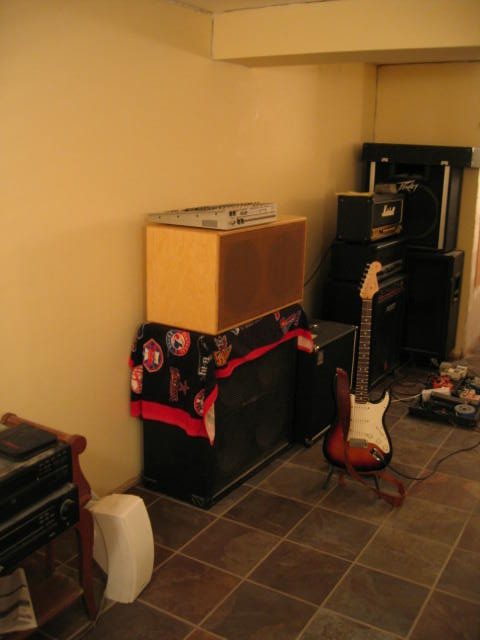
Tile work Complete - By this, I mean it's been finished with grout. The tile is a porcelan marble pattern with a gray/brown color. My brother installed it and did a fabulous job.
Completed By my Other brother -
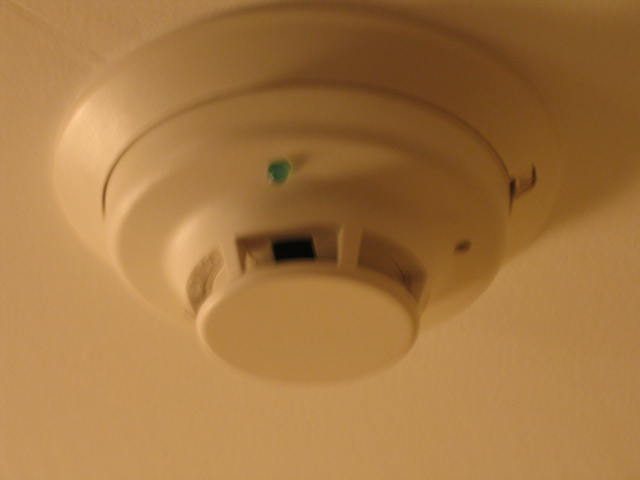
Fire/Smoke Detectors - These are located in opposite corners of the room. They will be wired into the house system.
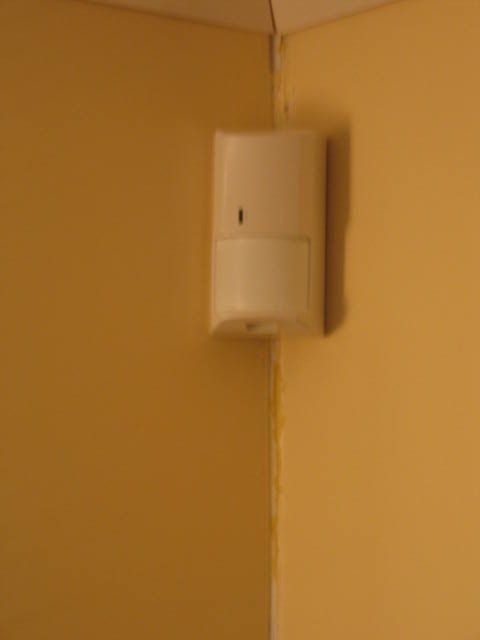
Motion Detector - Located in the right, front corner of the room (from entering of the door).
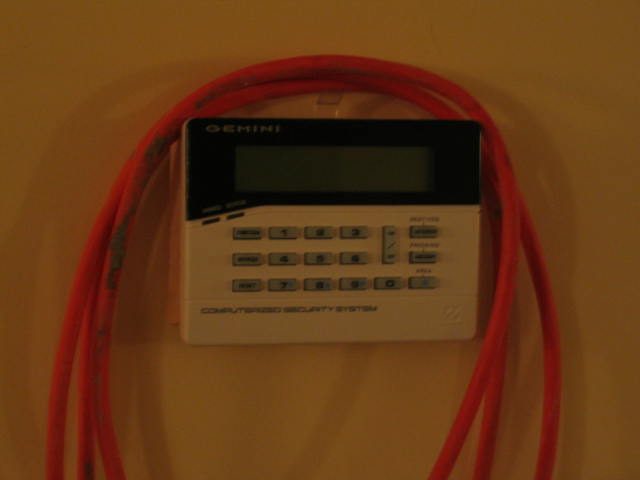
Security Panel - This panel will eventually control the zone for the entire basement.
Baseboard Electric Heat - connected to the third electric line running into this room. This will operate on a 220v line so we had to run a deducated line. This is simply installed with a panel containing a single dial control attached to the heating unit.
Completed by me -
Base Trim - I started with the center column support. What's telling is that I messed up with framing this square to the room and the lines of the tile spell this out. MY BAD!
Exterior Door Installed - This one leveled and framed rather nicely. I kept the second layer of drywall until afer this step. I was able to level and hang the door to fit perfectly and come in after this step to make the drywall fit as closely to the millwork or door jam as I could. This also included the trunk rubber, stapled into place once I marked out the right depth for the catch of the door.
Continuing Trim Work - I've been measuring out my lengths, cutting them and priming these peices before putting them up.
Attaching Trimwork
Since I'm dealing with affixing the trim to 1 1/4'' worth of drywall, I've been using light duty drywall screws. They come with a plastic peice that expands not unlike a lag bolt would in concrete. I've been covering up these counter sunk holes with wood filler and sanding. It comes out fairly clean looking.
This is all in order to keep the trim attached to one leaf or more specifically - 4 leafs as the cornerrs have contact points.
another photo that surpased the max photo count for the previous post. Just a shot of the other end with the baseboard heat installed.
he installed this with it hanging 1/4'' above the tile - we had to drill extra holes to support it correctly . There are a total of 5 achors to support this.
The un painted or different colored spots toward the top of the ceiling are the windows that I have to get to soon!
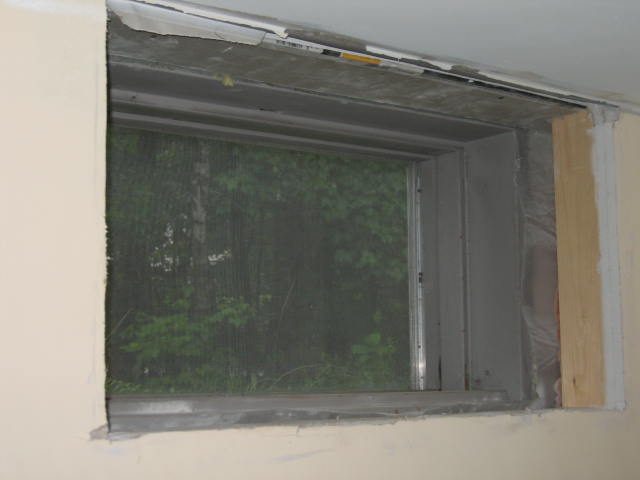
I've been a bit busy lately, but I have taken time each day to tick away at tasks and put in *some* work on this room. I've got tons of trim painted and ready to go. I openned one of the window opennings - cutting through the two layers of drywall I just ran over the openning with during the construction of the walls...
So now I am on to frame/trim work for the window. From the face of the drywall for the interior wall to the edge of the steel frame for the basement window, there are about 7.75''
Design Mistake
(Are they really mistakes anyway?? )
These basement windows are the type that clip into the steel frame of the foundation wall. If you were removing the window - it's a little aluminum clip at the top that you pull down on and the window would then "vent" open by leaning inward at the top. To remove, just push from the leaning position and lift out of the bottom where the window was resting in the frame.
THe problem? - I didn't frame in enough clearance for a proper job of trim work. I am now reduced to the options of using .25'' material to frame in the openning.
I've chosen a 1/4'' ply louon material. I cut it to be 1/4'' from the metal frame so I can use caulking to seal it around and against the frame. I've not paid much attention to shimming the trimwork in here - The frame is quite dead on square actually and hopefully the others have been done the same way.
3/8'' glass to replace exterior 1/4'' I absolutely love that my brother and drummer works for one of the major glass installation companies in the area! For $90 he's got 6 peices (3 windows, double pane) of 16 x 14'' peices. This will be the exterior facing window for the neighborhood ( ;) )
Inside The Room
I am constructing double layered 5/8'' mdf doors/plugs for the window opennings. I Will have the trunk rubber seal the openning against these peices. They will be kept in place by 4 compression latches like a suit case or anvil case...
Replacement Windows
At the same time, I'll be making window frames from 5/4 pieces to hold 3/8'' laminate glass. Apparently he [bro] knows they have some laying around the shop that was left over from a job a few years ago, so perhaps this could be a convienient purchase to help me with a window and to help his company clear some space in the shop!
Nod for Rod! (by way of Edouard Benedictus...)
I love having his book around because when I started thinking about how to do these windows it was a quick read through the window section of the book to read some good info and help me have an informed conversation with my brother.
So - Thanks goes to Rod for clarifying why laminate glass helps to isolate near the critical frequency and thanks to Edouard Benedictus for inventing Laminate glass. I'm going to assume Edouard was not a vein man or else I'd be explaining how I was installing Benedictus Glass®!!
Photos -
2008_06_09 017.jpg - the rough openning of the window.
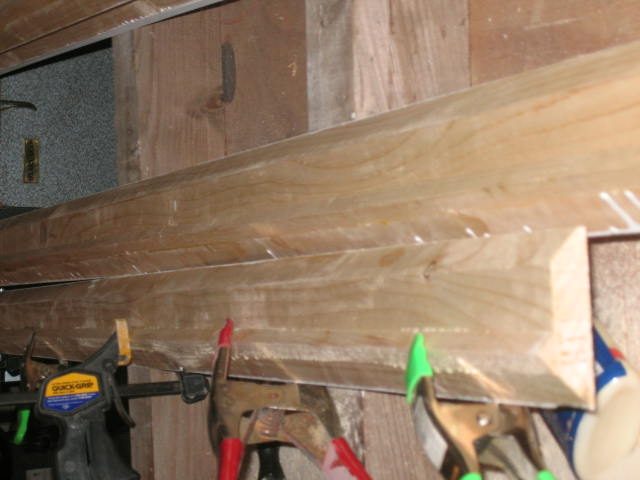
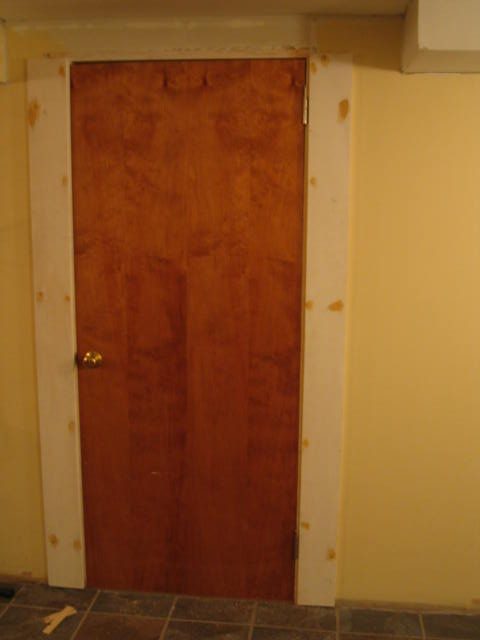
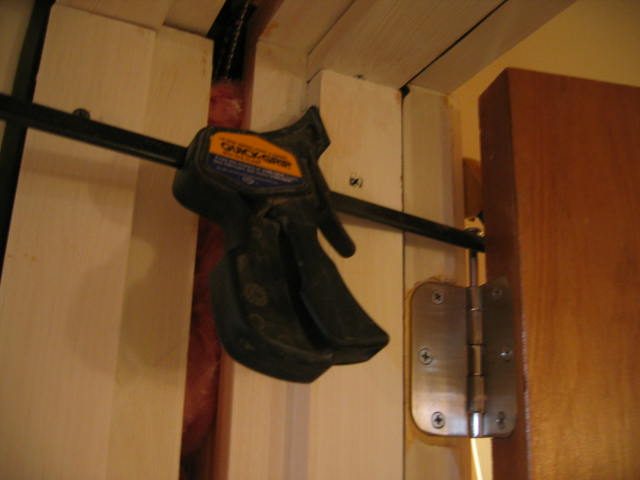
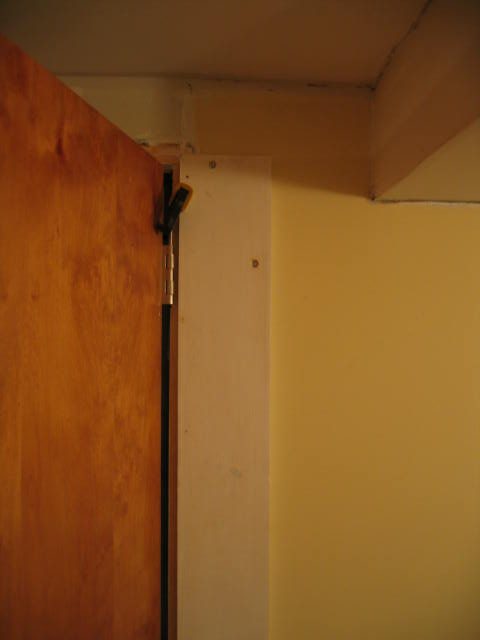
Door trim inside the room. What you see here is the trim being held via a clamp to connect it firmly with the adjoining peice of frame. I had to use this wide peice of trim because I had planned on making a wider door and the drywall work had already been done. But I got the door on a song and had to plug a hole...
Door trim has - Screws into the drywall and finish nails into the frame. The wood filler (brown) you see are the counter sunk screw holes.
Looking great man! Keep it coming!
I love how mistakes get covered in our builds! It is like that old saying "Necessity is the mother of invention", as soon as I discover one of my MANY mistakes, it think on it, and eventually come up with a plan to overcome it!
Best of luck dude, you are making some great progress.
Hey Cram,
Great thread!
You got some serious skill there and i'm really happy for you on your sonic emancipation.
:D
Gotta ask you:
What caulk were you using? Cost?
Hope that's cool.
Thanks!
thanks for the interest in the build and the question!
I will admit that I could have saved more in this area, but in the beginning I was doing much of the work piecemeal or bit by bit... With beefing up the deck's layer work there was a lot of product used here.
I'm sure there are others that, bought in bulk could be had for less, but I was using GE Silicon II:
It's at all the home center stores and worked fine. I did find a store which would package them in 2's as a reduced rate though. Somewhere around $4 per tube I believe. I think the package of 2 put it just under that.
Be Aware though: if you're planning on painting over Silicone Caulk, you'll need to get the mixture with an additive to allow for paint to adhere to it. I'm not sure if this knocks down the flex and seal capabilities, but it allows you to paint on it.
Update - I've received the insulation panels that will become my diffusor panels. I hope to start construction soon on that, but I also have many other things pending that may be better attended to. I have high hopes for the look of the closet face.. I'll also do the soffet in this fashion on the other side of the room.
A place I chose not to purchase on line with.
Acoustimac
I'll spare people the details but this basic point is a fact - their cart pages are not secure. My wife called up and they even returned my call trying to assure me that it was secure. This is total crap. They have a non secure page requesting my shipping and payment info. It's being sent in plain text over the wire. THIS IS VERY BAD.
If you'd like to test it out, simply add items to your cart, enter in bogus address info (to test this), arrive at the page where your credit card info form exists and notice that the page is served up with HTTP rather than [b]HTTPS[\b]. There is no frame or subform that posts in a secure environment for this page.
What's worse - they expose my userID, which if I wanted to I could force their page to show other user's shipping information.
Normally I wouldn't post anything on this, but the guy was seriously ignorant of this fact and wouldn't listen to my wife or I who have been programming this very type of software for the last decade...
People can glaze over this factor and unknowingly open themselves up to fraud.
Thanks Cram!
I found some info on it and you went the real expensive rout, some places sell the 28 oz. tubes of acoustic caulk for that price. The paint issue is real important, i just painted my new family room and there's some silicon around an A/C unit. Not fun...
Hey xSpace,
That link doesn't go to the same site.
Later
Exactly...to point a client to a secure server for your domain would require the https connection.
Not http(hypertext transfer protocol) httpS (all that and secure)