Did you try it using an https connection?
I did... :)https://www.acoustimac.com/
Try it ... if your thirsty!
meh... I responded in detail, but I'm going to kill the info because they just seem way off the mark as an online merchant. And it's not worth piling on.
Plus, I just got what xSpace meant by thirsty myself...
Little by little I chip away... Seems to go on for ever at this point.
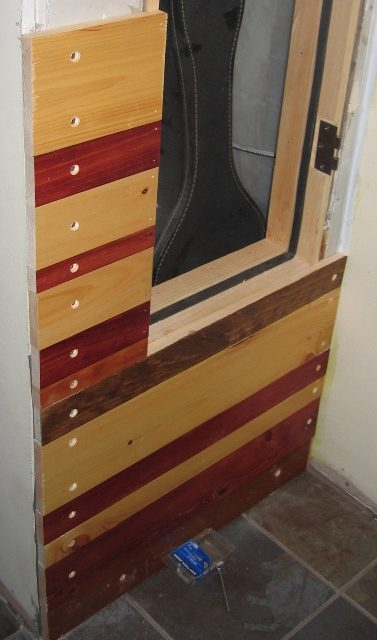
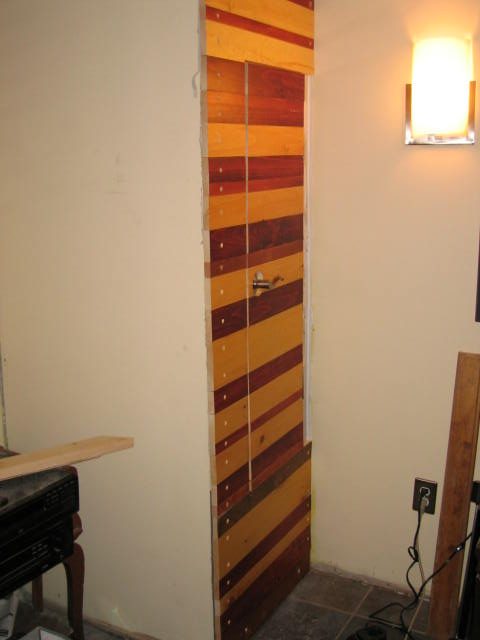
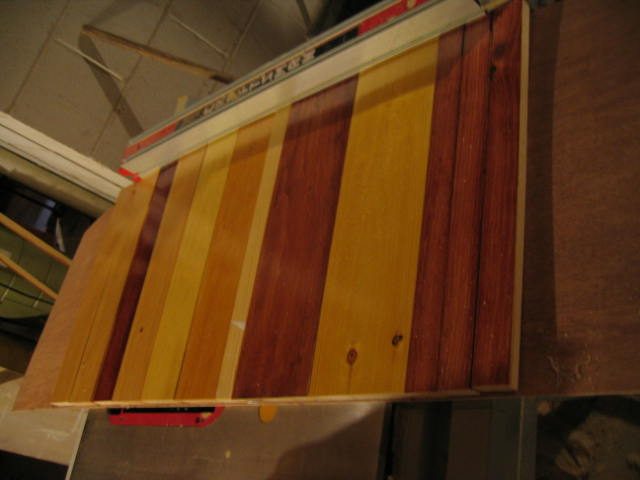
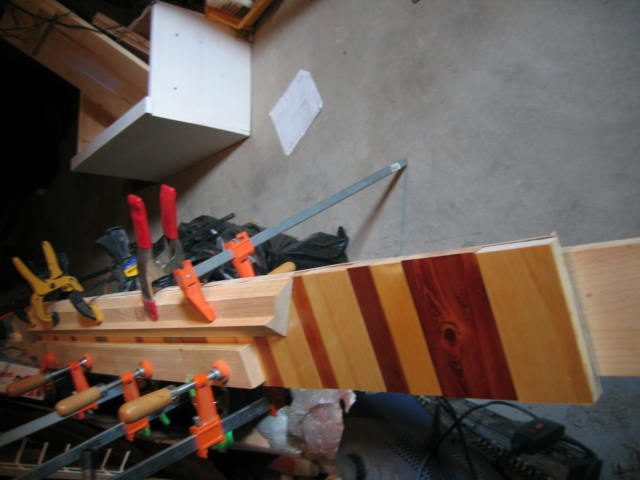
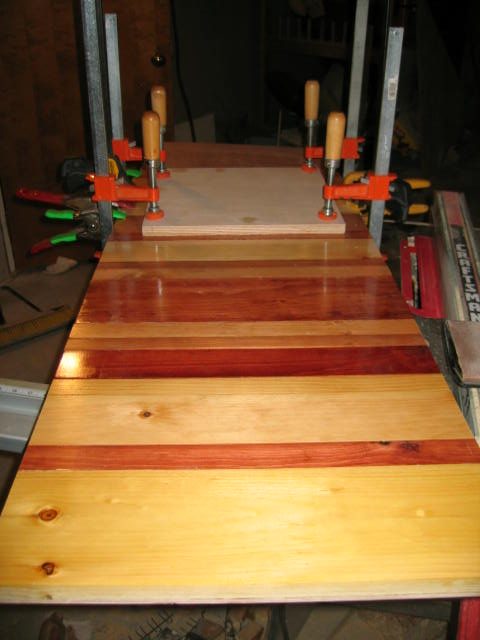
I'm doing more trim work as I go along. What is under the clamp along with the next sequence of peices to be put down is the closet door. These 1xn pieces are going horizontally across the entire wall where this door is. I have cut them to fit around the door or rather, they appear to run straight through the door.
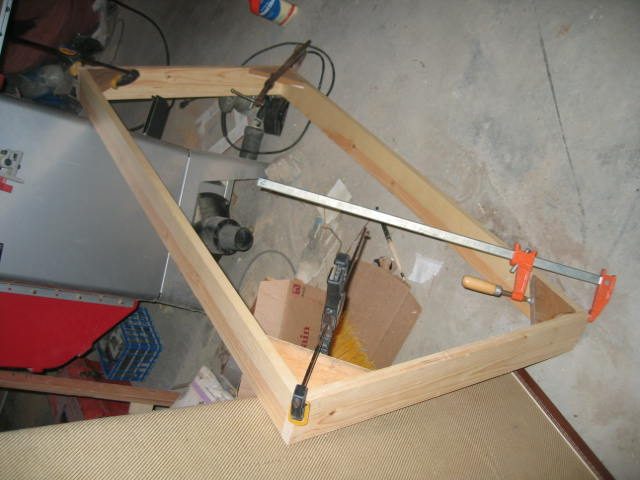
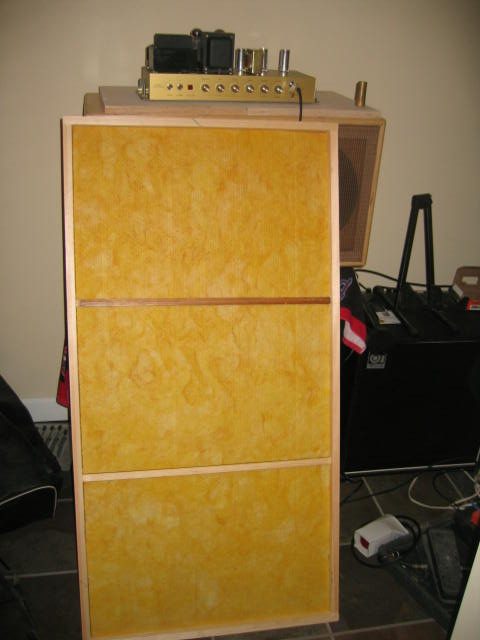
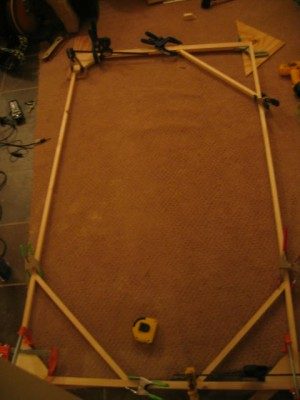
There's also a photo of my first DIY panel. Just a simple frame. Perhaps I will change these as I go along, but this is my first attempt.
I just cut 2 4' 1x4 pine pieces along with two 25 1/4 '' pieces to make the interior a 2x4' frame.
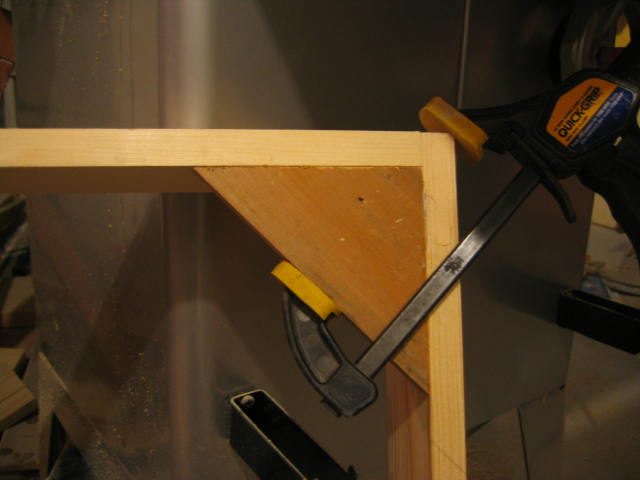
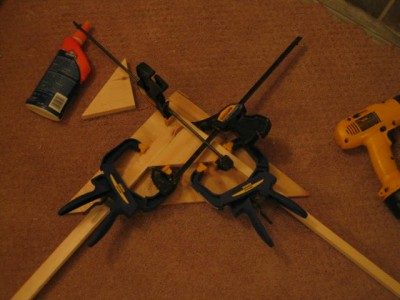
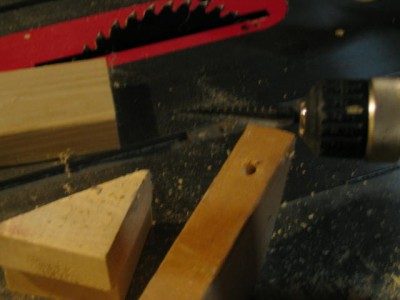
I have a few 90degree clamps to house box construction so I put the frame together, predrilled some nail holes and drove long finish nails into the butt joints to keep things together for the next step.
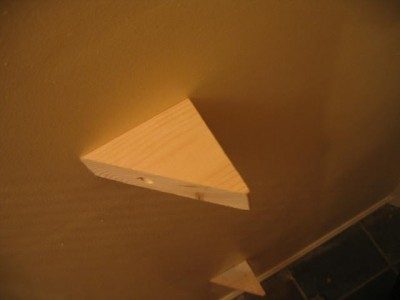
Then I used triangles glued to the inside.
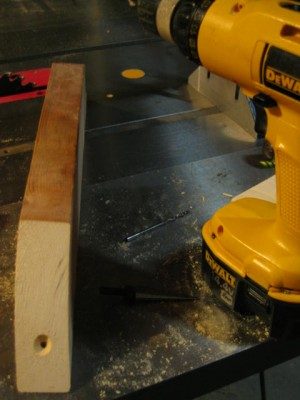
After those set for a while (to almost full cure) I used my biscut joiner to cut slits or small holes 3/4'' in on the front side at 15 and 32'' points.
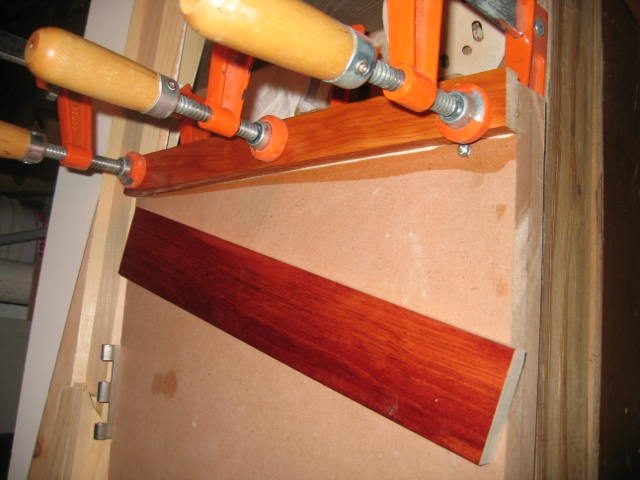
I then cut scrap wood I keep for strapping which are just peices I've ripped down from other work I've done around the house.
I pulled out a panel and it fit right in.
Tomorrow I should have time to wrap it with fabric.
I'll need to make 2 or three more of these I guess.
I absolutely love all the scrap wood I have been able to use in this project. I have had a huge collection of "stuff" for the longest time and I've been able to fit quite a bit of it in my trim work.
More widdling away -
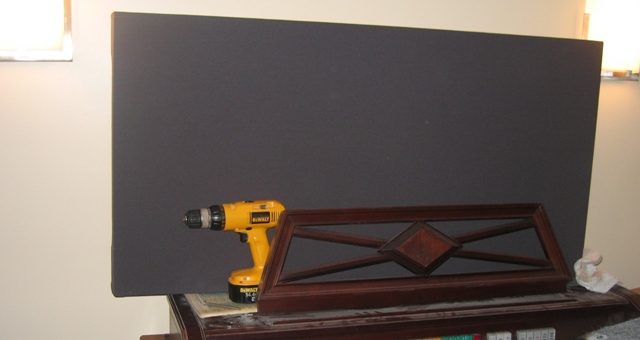
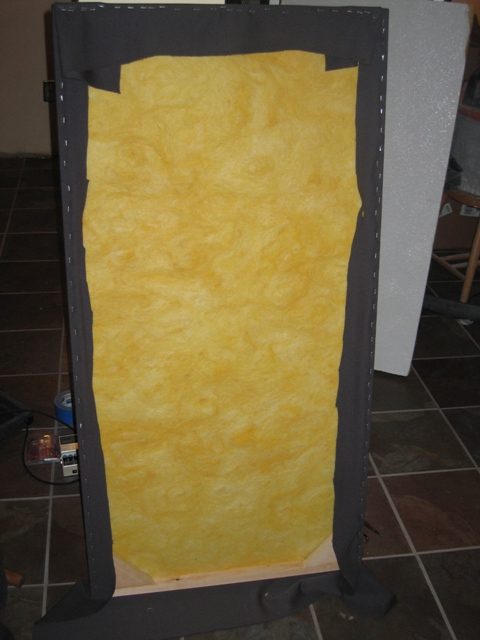
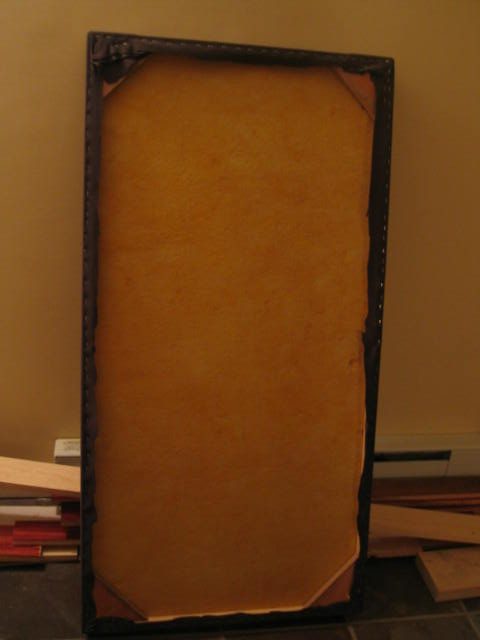
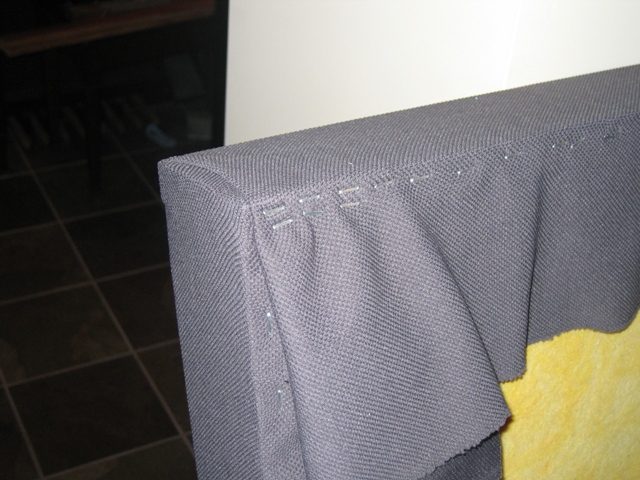
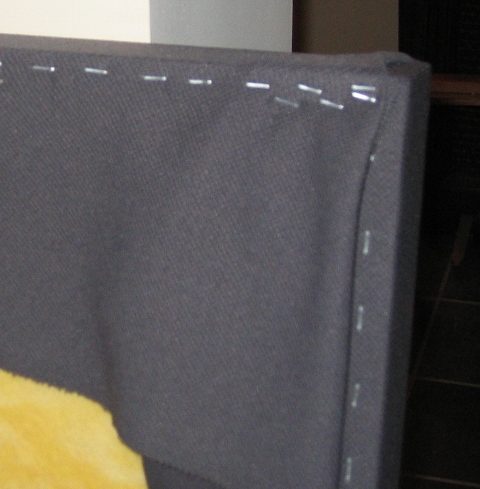
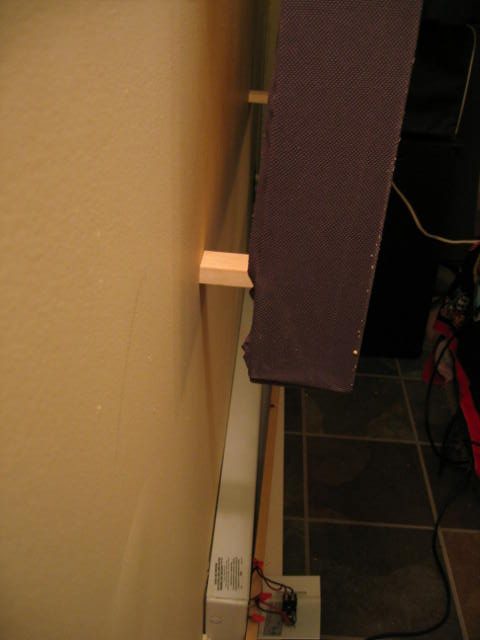
I have constructed two absorbsion panels. They are made from 1x4'' pine and are 2x4' in dimension. I liked the method I used with the first panel so I continued on. I just frame the pieces together as butt joints and use triangle inserts glued in the corner. On the front side, I use a biscut joint tool (will just dig out a small 1' slot on the side of wood) to make holes for strapping to be inserted that will prevent the fiberboard from leaning forward into the fabric.
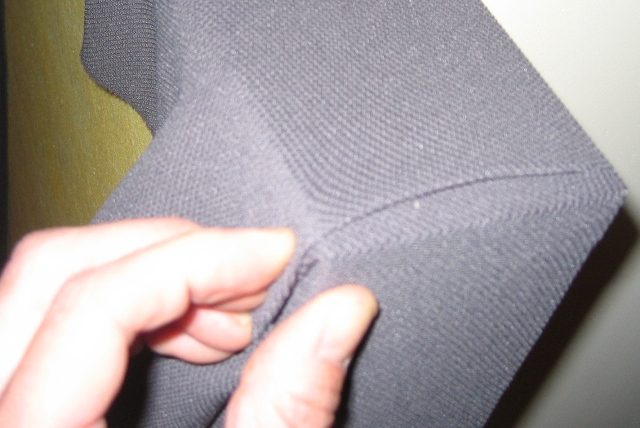
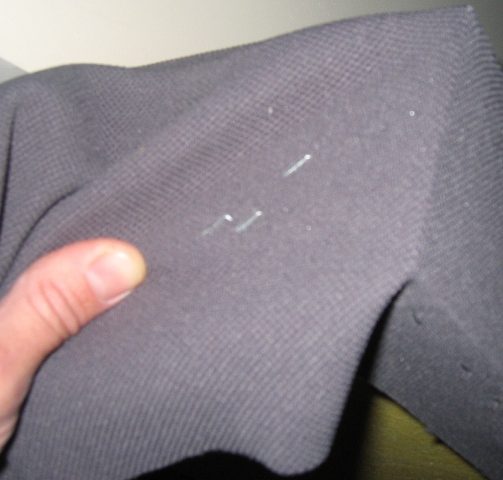
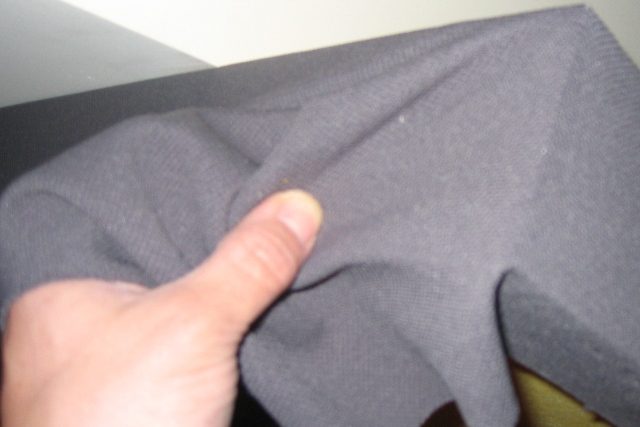
The fabric is a dark gray color.
The trim work on the closet continues to putt along. The drill is to measure and cut the pieces from the pre-stained and varnished 1x_ wood I have and screw into the wall, while setting the peices which are the face of the door via carpenter's glue.
Pictures below..
continuing with photos...
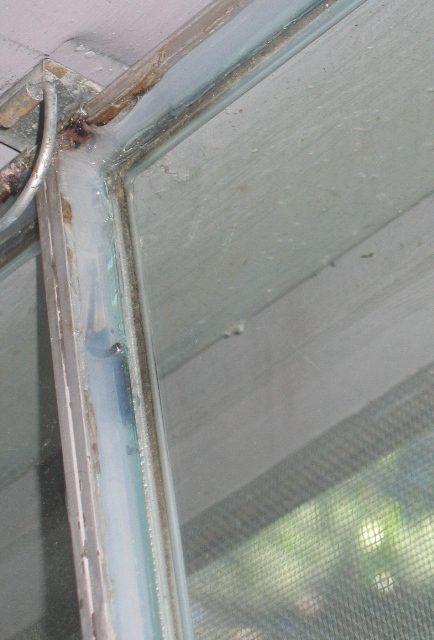
The photo of the glass pane is the 3/8'' glass I had installed in the basement exterior windows. It shows the clip which is used to open it or lean it inward to vent. You can also see how we have a screen assembly to keep out critters as well. This heavier glass has to be reinforced with small metal clips toward the top of the pane so when it's leaning inward to vent the window - the glass isn't pushing on the caulk bead.
Is it obvious how much I enjoy the summer months???
After a several month hiatus from doing any constructive work on the room, I've mainly focussed on getting the band ready for gigs and using the room as incomplete as it may be...
Things done since spring time -
1 ) Wiring outside the room to attach the lines.
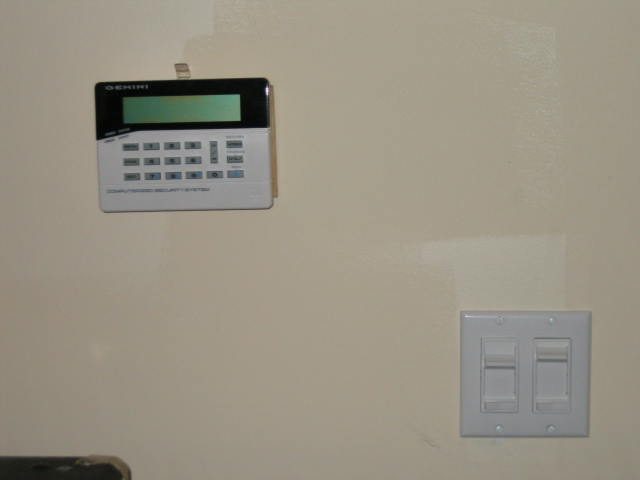
- We have the switch plate in for both sets of lights. It's an on/off dimmer setup. My single coil guitar doesn't like being next to it, but I like to be able to dim the lights. So I'm happy with it.
- This includes the baseboard heater line as well.
- A total of three lines are running into this room.
- - Lights.
- - Wall outlets (8)
- - Heater.
2 ) I've hung a couple treatments.
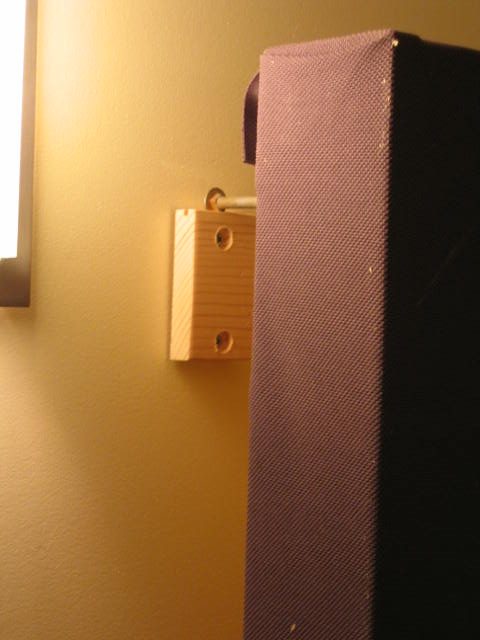
- These are 703 fiberglass with a frame around it and fabric covering it. My earlier post shows this.
- I used carriage bolts to hook into hangers I build from 1x? pine. They have drywall anchors stuck through them to attach to the wall.
3 ) Window construction -
- I've framed in some trim work from 5/4 pine. I had to do this on the outside of the window because i made the openning for the windows too small. 5/4 because I'm going to have 3/4 window plugs put in and I'm also getting 3/8 thick glass for windows to put in and out of these holes.
4 ) Some maintenance with the door.
- The 1x12 peice of oak I put in the threashold has kicked up from the floor a bit so the doors were catching it. I believe I will eventually swap this out for a metal threashold, but I've fixed this by trimming up the doors. Honestly, the were a little tight in there to begin with and they still catch the door seal, so all is well here.
5 ) More trim work.
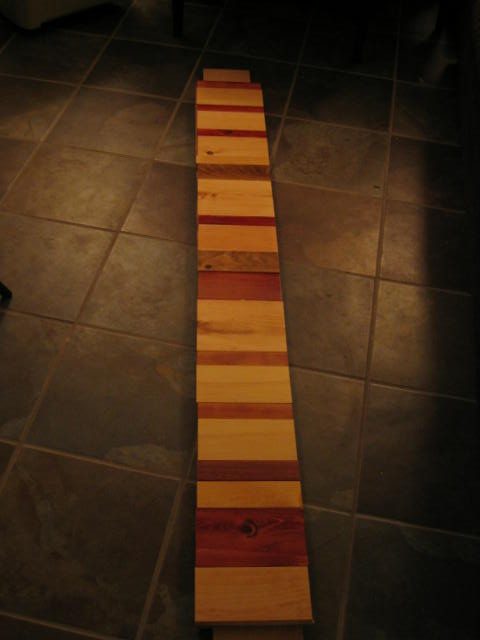
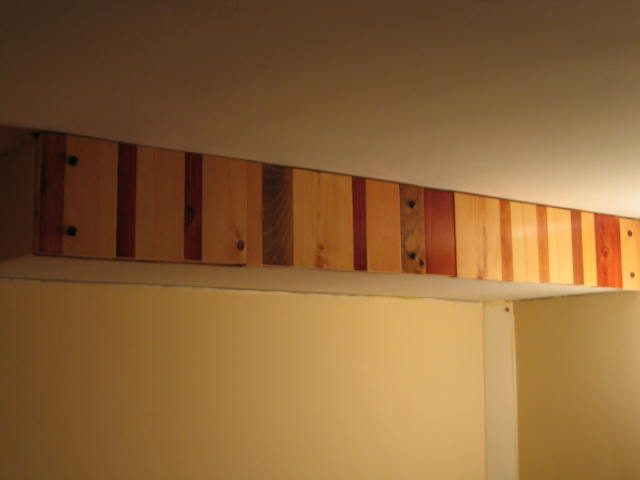
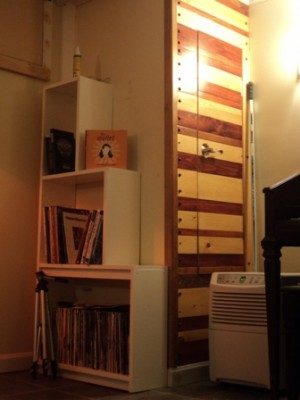
- There's a picture in there with the closet facing. I've just used all my cutoff 1xn pine to cover it. I sanded, stained and finished the peices with varying shades. I'm happy with it. I just have to work in the trim for the top of the wall.
Questions I am Mulling Over
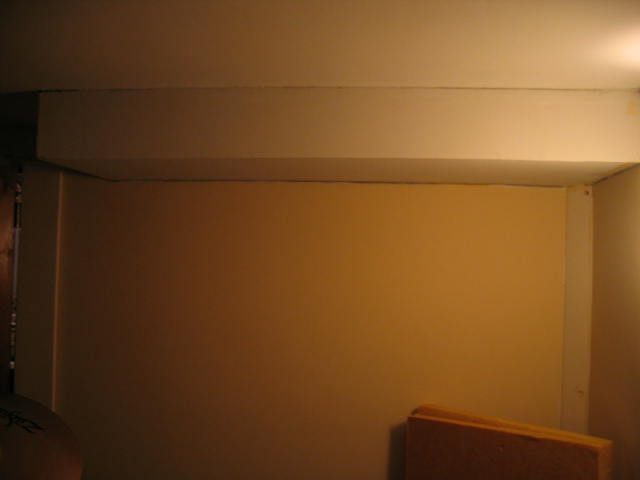
I am not entirely happy with the wall ceiling trim I'm using. I thought a 45degree flat trim would work, but I am thinking that I may prefer a detatched trim board either hanging from the ceiling parimeter away from the wall or the wall having the trim hooked into it with it not touching the ceiling.
This way I could put low level lighting up inside this which would illuminate the wall or ceiling for a subtle fill effect.
Sort of like this :
I've seen people use incadescent rope lighting for this.
-- Anyone have any suggestions or experience here? More specifically, I'm not even sure what type of trim I'duse for this and how to hang it.
I hope all is well out there!
marc
"More specifically, I'm not even sure what type of trim I'duse for this and how to hang it. "
It looks like 3-1/4" colonial crown, could be bigger, but looks like 3 inch.
We finished a job a few days ago where we had to install 5-1/2" oak crown in a similiar situation. similar only because it was attached to the wall but could not be attached to the ceiling because it is a drop in grid ceiling.
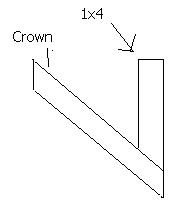
What I wound up doing was cutting the side edge of 1X4 to match the pitch on the backside of the installed crown. You'll have to tinker with a piece of plywood, a square and a trim sample to mock up the pitch you will need.
The flat side (the 3-1/2" side) placed directly on the wall with the long point facing down towards the floor and the short point side (3/4" out from the wall) create the required pitch to keep the trim pitched out like it should be.
Using a laser level we established the trim line around the room. Then I had the guys glue and screw the 1X backing to the wall, at the line.
This allowed the large trim to be installed in a uniform and straight manner. When finished this install leaves a cavity behind the trim that you could place rope lighting or maybe some under cabinet type lights to give the effect you are trying to achieve.
Good luck with it.
"Me make'm stick drawing..."
Do you mean like this setup -
I think you were saying that the 1x4 would be cut with a chamfered or bevelled edge for a backing that the trim could touch. Is that correct?
Yes, you have it perfectly. If the backer is securely attached to the wall, it should work for this purpose.
Good thing you didn't lose your stick drawing abilities ;)
xSpace - Thanks for the clarification. I priced out crown moulding today and I'll get it when I have a spot of time and space in the messy basement, which I have been dilligently working toward.
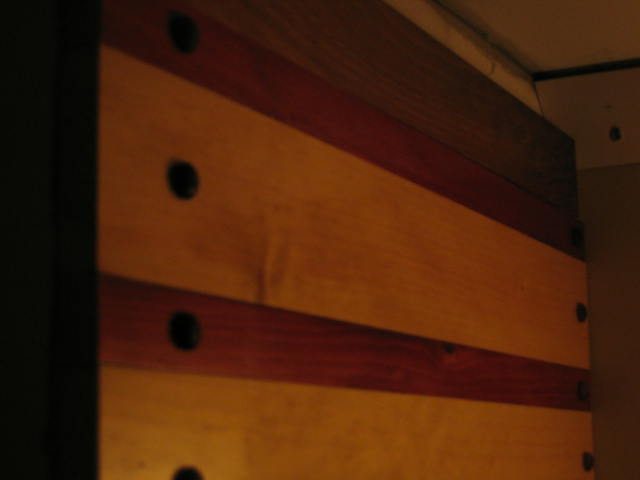
I've been doing more of the trim work I did on the door of the closet. I'm covering the soffet which houses the drain pipe for the toilet upstairs. To do this I am using Louon (1/4'' thick ply or panel board) instead of screwing each 1'' peice of pine to the drywall, like in the case of the closet face. (The soffet is pictured in 2008_10_19 048.jpg). You can also notice the prep work for two of the peices that will face this section in other photos.
I like doing this odd type of decor for two reasons -
1) it gets rid of the piles and piles of scrap pine I have laying around.
2) I think it looks cool. Plus, during friday's jam session with friends. My brother's girl came down and said it looked nice and it was the first thing she noticed in the room.
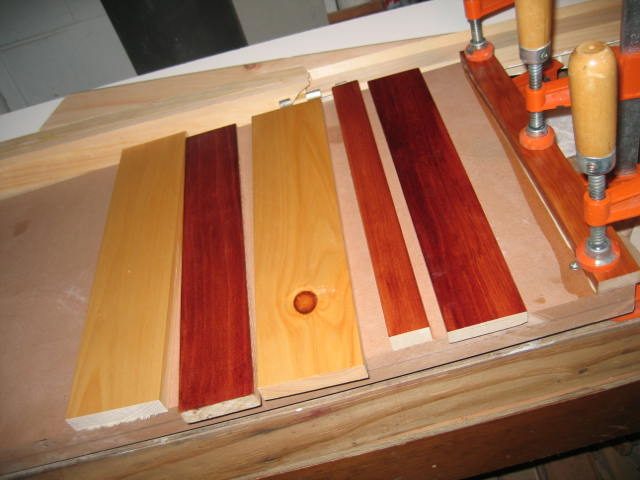
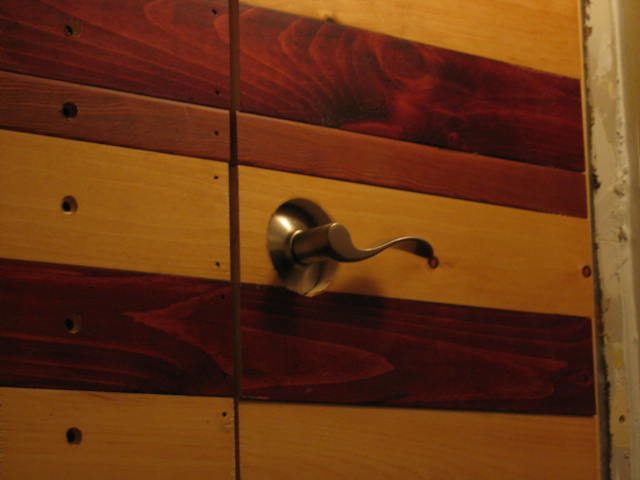
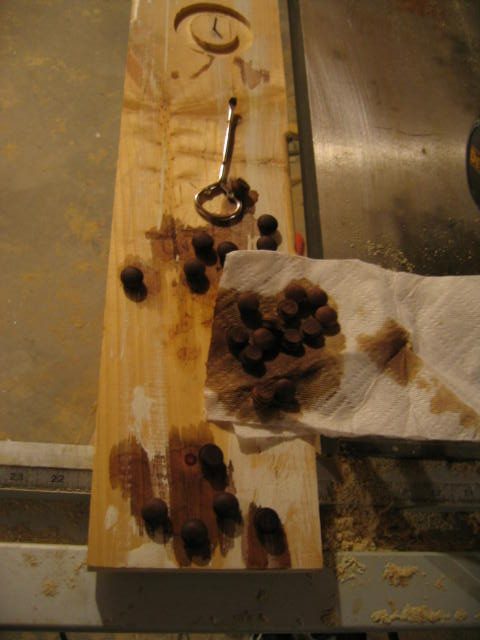
All the counter sunk screw holes on the face of the closet will be filled with rounded dowels. (pictured, just after being dipped in mahogany stain below)
Actually, that picture also shows my test cut for the door knob with my router. You'll note a finish nail and a perfect circle around it.. That was my test cut.
Work today when I could manage it -
1 - a portion of the soffet trim work is up.
2 - most of the underside for the soffet trim is glued and set.
3 - I put the plugs in most all of the screw holes after dipping them in stain.
I priced out crown moulding today and I'll get it when I have a spot of time and space in the messy basement, which I have been dilligently working toward.
As an option for more room inside the cavity behind the crown, you could attach the 1X material directly to the wall. No edge beveling. It would push the crown into the room the thickness of the 1X but the end result is more usable area behind the trim.
So I'm lazy ;)
Next week I have taken the week off from work to get past a few things I have going on around the house including this studio room so I'm hopeful to finish up the main portions of what is left.
Compression Latch Needed
This is for the 3 windows in the room.
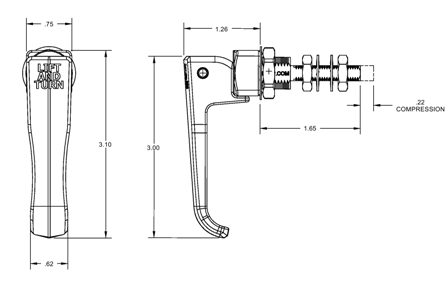
This is the best example I could find for what I am looking for, but it's fairly shallow in the shaft. I need to have this reach through two layers of 3/4'' mdf.
A photo to be particular is attached below
I imagine having two of these for each window.
question - Is any one familiar with latches or locking mechanisms like this to offer any advice? I just need to compress the rubber seal against the window frame and that was my best stab at the problem.
Well,.. I am still alive out here. We've been playing a lot of music in this room, but construction or anyother work has been put on hold for the last year I guess due to an addition on the house. I've picked away at certain things here and there, but have mostly wanted to concentrate on my music when I'm in this room. This is a good thing. Today I was home and found myself twiddling my thumbs for a second or two and slapped this peice together.
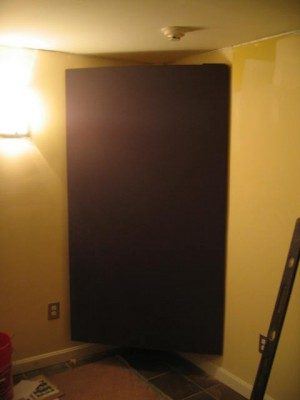
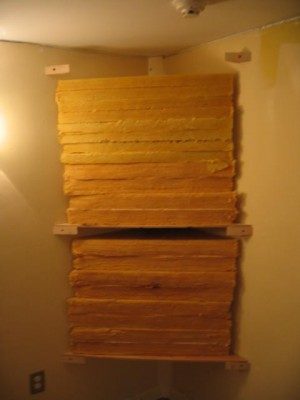
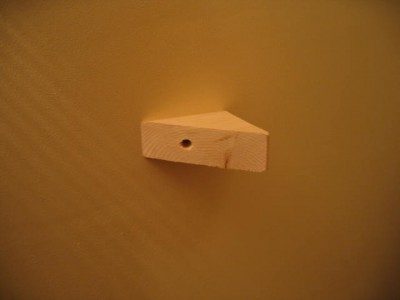
The back corner is where our drummer sits and I've had triangle peices of rigid board up to absorb the bass. It's worked ok, but he's pushed right up in the corner and at times noted an itchy sensation on his elbows as he was brushing up against the stack of exposed boards...
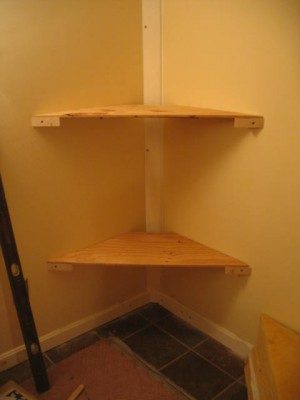
So. I built a frame out of spare pine strips I had laying around.
A funny observation - I'm usually quite thorough in regard to time when letting carpenter's glue bond to a peice. Most times waiting a day or atleast over night in other work I do. This was a simple and quite frankly a hasty project and I used a peice of the wrong length on one of the peices. I tried to pull the join apart and... it had nearly cured. I had to use the other peice so I set it up on the tablesaw to rip down what had bonded to the peice. It couldn't have been more than an hour under the clamp. Perhaps the wood was dry... I dunno.
Well, "hello there"...
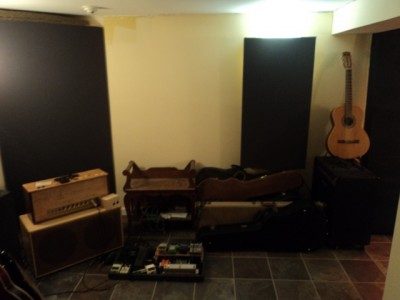
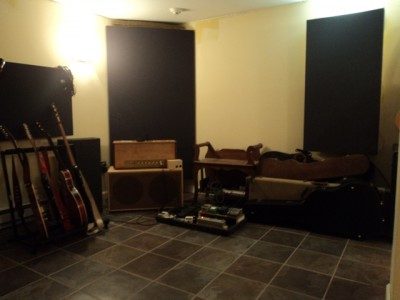
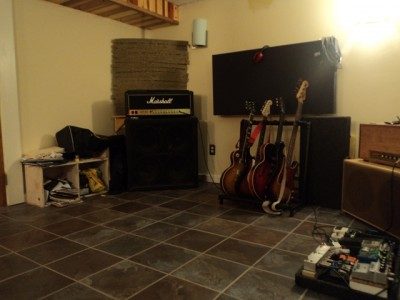
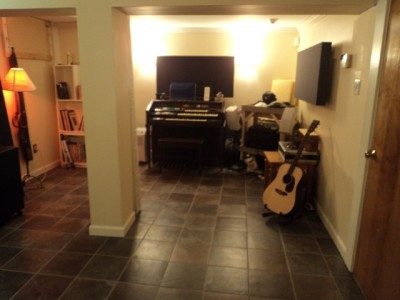
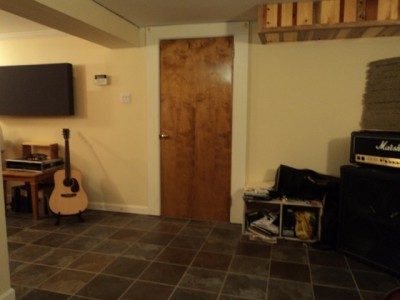
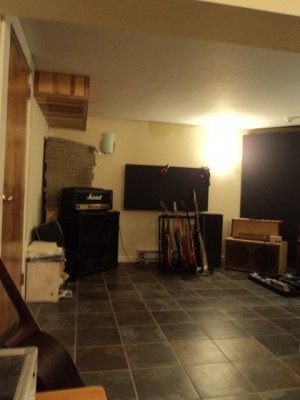
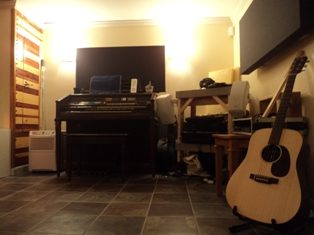
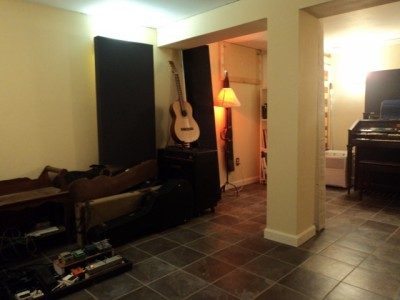
An email from a friend asking about this thread and my room in general has prompted me to do a proper parameter photo of the room. As I review this thread, I have a lot of detail in some of the pieces, but not in the wide shot of the room.
The photos are of a nearly empty room. We had a gig a few weeks ago and haven't moved the drums, pa or bass equipment back into the room, which has been nice for me to stretch out and have more of a comfortable room.
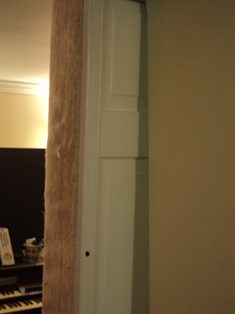
As for work done since my last post - I've tinkered around with a better window plug that's made of 2, 3/4' MDF and the trunk rubber as a seal. With the seal work on the parameter of the window plug, I had some uneven spots, so I supplemented with a softer sort of gasket to fill the air gaps on the inside of the window opening. I have yet to do proper finish work for this plug nor started work on the other two holes/windows.
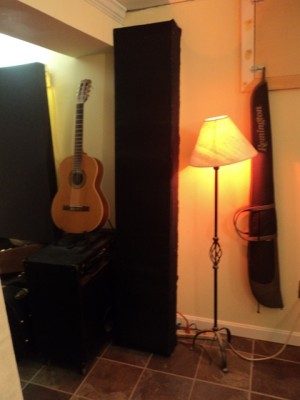
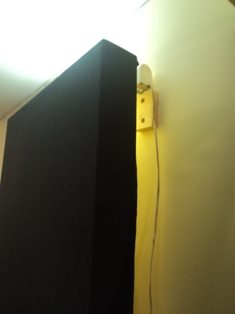
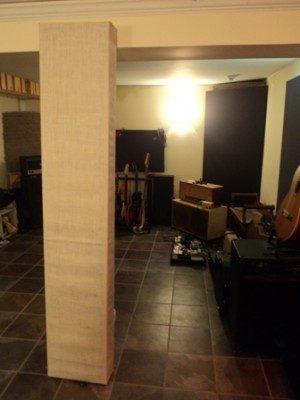
I've created a few more absorbers. You'll notice these really tall and thin (width, not thickness) absorbers that are wrapped with burlap (black on one and white on the other). This was a product of me sitting around stewing and putting my spare equipment and parts to work for me. I used a folding door assembly that I had gone through painting before realizing they were too small for the opening I intended them for... (/facepalm)
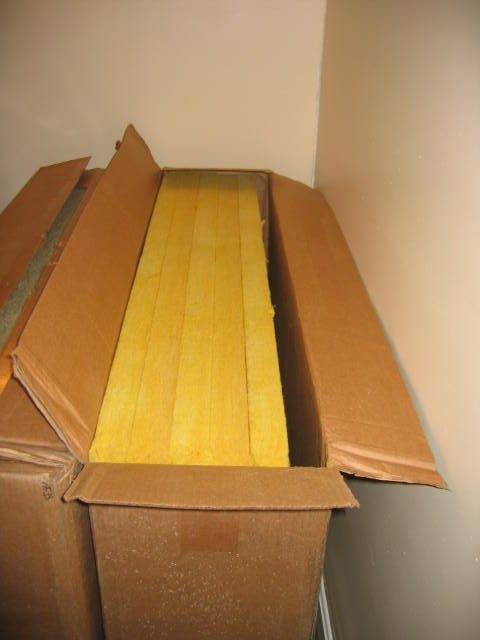
I basically took scrap wood that was strapping essentially, and used sections of OC, R19 insulation (pink stuff) I had laying around. I used a lot of really thin bars across the face of it, I used a router to make the edges of it rounded over so the burlap wouldn't tear. I can move them around to my liking and I want to connect them together to fold and stand together.
More photos...
I just noticed that I named the files "diffuser" rather than Absorber which is what they actually are... sorry.
Future EffortsWindows - I need to get through the work of opening up the other two windows. I used the first one to "get it right" and I made a few mistakes along the way to learn from. I didn't want to have an opening that compromised the room/system as a whole. Now that I'm pretty familiar and certain with what I want to do, I should be able to do it. I have all the supplies... Motivation.
Door Closers - My brother set me up with two strong pistons for handling the heavy solid wood doors I have to enter the room. I'd love to have them automatically close - they even have a hitch to stay open if you're doing moving work, in and out.
Output for Dehumidifier - I need to drill a hole in the floor boards to feed into the parameter drainage system. Right now, I have the room set at 50% and I have to dump the bucket when it fills. I don't like this because if I'm half a day without noticing this has occurred, the humidity will increase... Guitars get funky when this happens. It's only happened once as I'm all about keeping on top of it.
and a butt load of finish work.
But, hey: I've got a damn fine room to blast away for rehearsal time. I love it.
Next week I have taken the week off from work to get past a few things I have going on around the house including this studio room so I'm hopeful to finish up the main portions of what is left.
Compression Latch Needed
This is for the 3 windows in the room.
This is the best example I could find for what I am looking for, but it's fairly shallow in the shaft. I need to have this reach through two layers of 3/4'' mdf.
A photo to be particular is attached below
I imagine having two of these for each window.
question - Is any one familiar with latches or locking mechanisms like this to offer any advice? I just need to compress the rubber seal against the window frame and that was my best stab at the problem.
Result -
I opted to use a different style of latch for the window plug. I now just use these slide latches on the outside of the window. It fits nicely. I really don't need a compression latch like I imagined.
Thanks Ro!
More pretty pictures... I stopped off at a local store and there was some led rope lighting for me to snatch up!
I used the clips that came with the strips to affix to the back of all my absorber panels that are raised off the wall to back light them.
Image not preserved: SmallKBCornerDSC00534.JPG
Image not preserved: SmallGuitarCornerDSC00532.JPG
This is a minor detail, but a detail found within an important component for the system of my room. I am going to install handles on the window plugs. This is an old thread so I'll review the detail here for the best explaination.
The window plugs are 2 layers of 3/4'' MDF glued together.
Similar to this (this is actually my closet door) -
I rounded with an 1/8'' roundover bit and this meets with the frame which has two layers of seal on the contact point to reduce air/sound travel.
I've got handles for cabinetry similar to this:
http://www.amazon.com/Brushed-Nickel-Kitchen-Cabinet-Hardware/dp/B0038NBQTU/ref=sr_1_1?s=hi&ie=UTF8&qid=1305817939&sr=1-1
I'm going to put two on each window cover. If anyone has a suggestion for a better way than my plan, fire away.
Drill through the door/window matching the bit radius/diameter to the size of the screw.
Counter sink the hole from the back side to have the screw head fit nicely and reach the threads of the handle.
Fill the hole with caulking.
- - This should be 2 fold: Reduce vibrations from travelling through the plug and transmitting waves from the screw head. Prevent the screw head from coming un done (not really, but somewhat. Access to remove or adjust the screw would just involve pealing all the caulk away while getting at the hole.