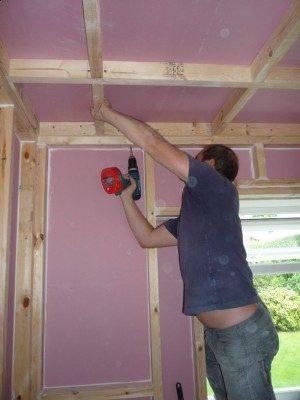
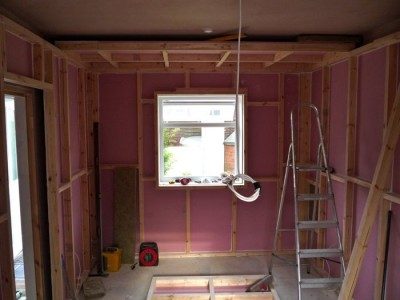
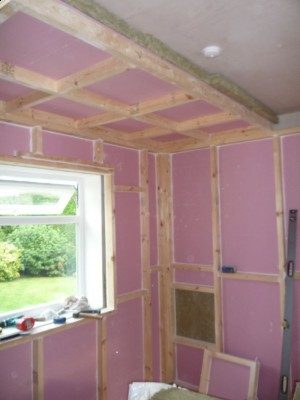
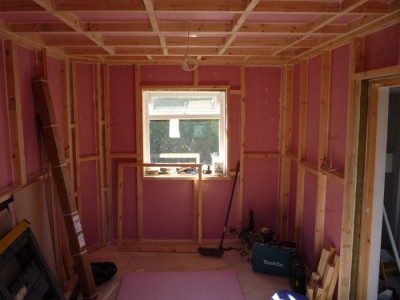
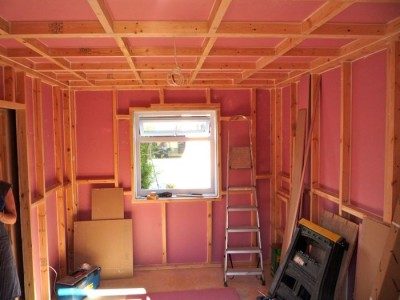
Today was day 1 of converting the groundfloor of my house extension to a single room, inside-out studio and we're having afew doubts about correct practice.
My design thread is here: viewtopic.php?f=1&t=13853
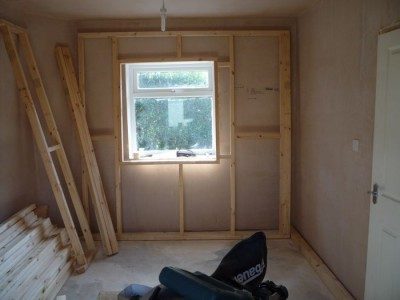
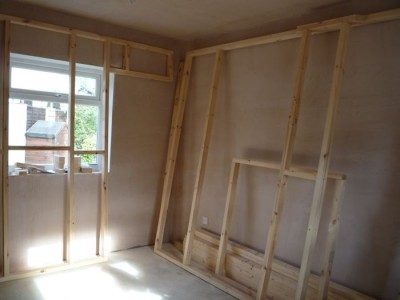
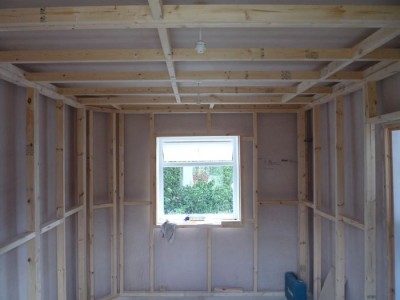
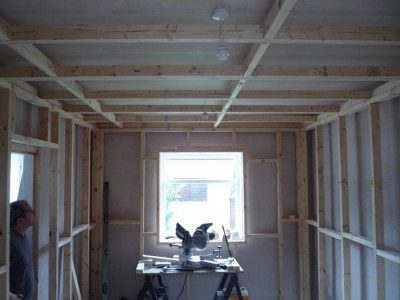
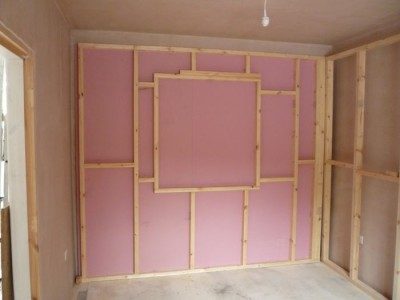
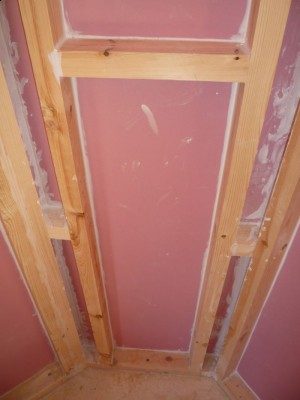
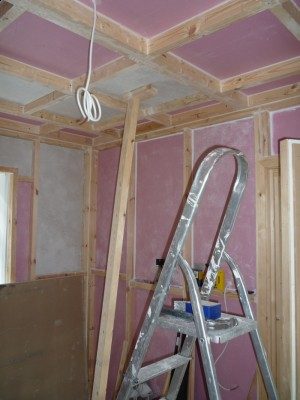
Here's the first frame built, as you can see it's a tiny room 4.9 x 3 x 2.5
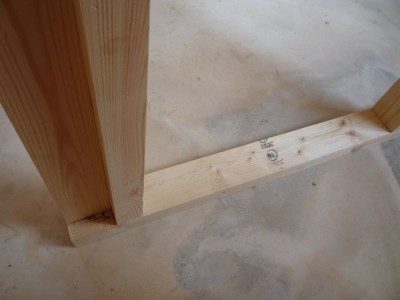
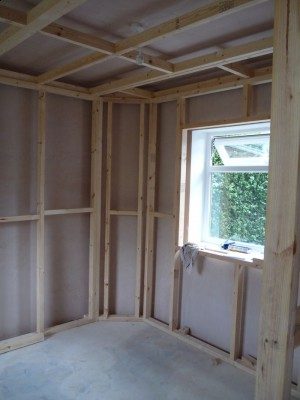
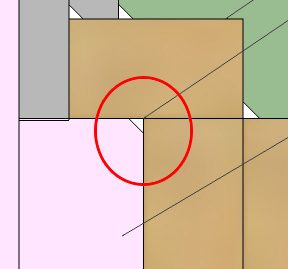
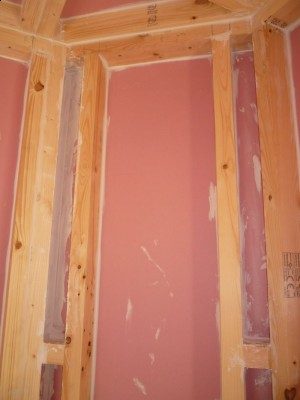
firstframe.jpgGiven that these are inside out walls, should I be doing more than just caulking the joint of these 2 verticals? Am I losing any isolation by not having the plasterboard joining together in the corner and sealed?
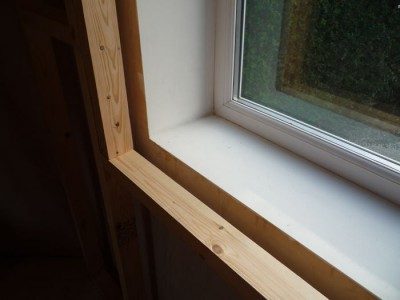
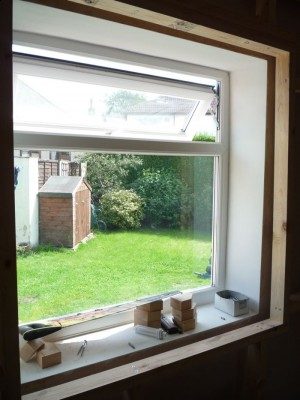
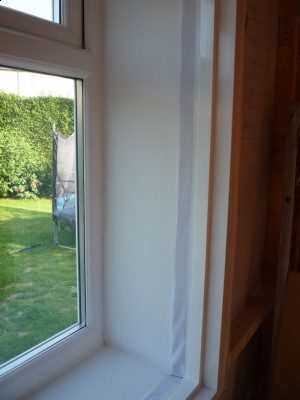
buttjoint.jpgThe north window will have a removable plug and the south will be a control room style inner window. Can anyone explain, or point to an example, how to bridge the gap between the frame and window sill?
window_north.jpgI seem to remember something about a floating window casing resting on an intumescent strip or weather stripping.
Can anyone explain, or point to an example, how to bridge the gap between the frame and window sill?
Wrap a strip of 703 with cloth (perhaps black) and fit it into the gap. But take a look at page 88 in Rod's book to see how to do the entire window system correctly.
- Stuart -
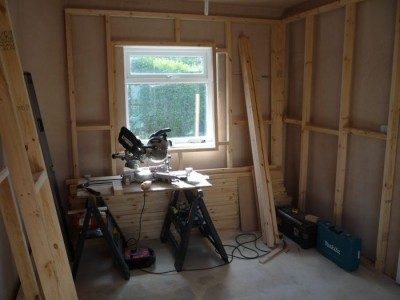
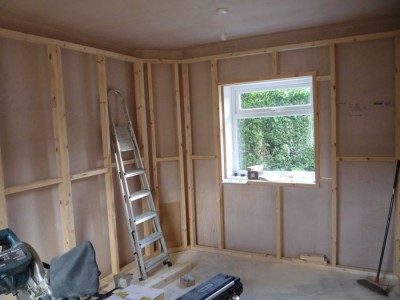
Day 2 of framing and it's going to get pretty tight for workspace from now on.northframe.jpgsouthframe.jpg@ Stuart, thanks I'll take another look at the book.
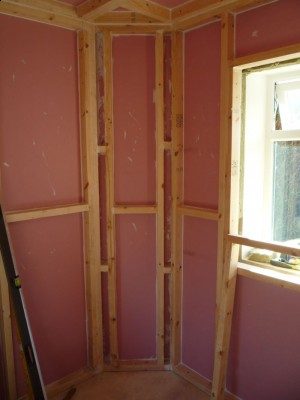
Day 4 - temp fixed the wall frames after some alterations due to one of the skimmed walls being almost 30mm out of line at ceiling level. Another lesson learned - check measurements at floor and ceiling level, even on new build. Feeling pretty relieved I decided to involve my joiner mate Carlo on the project, cause I now know the job was beyond my basic diy skills and I can expect a much better finish.
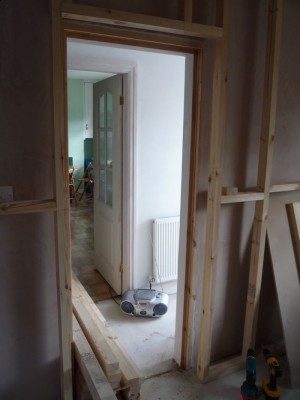
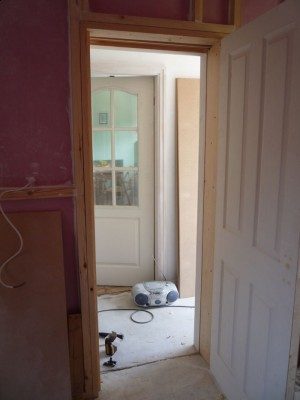
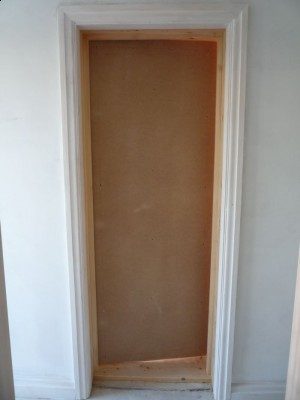
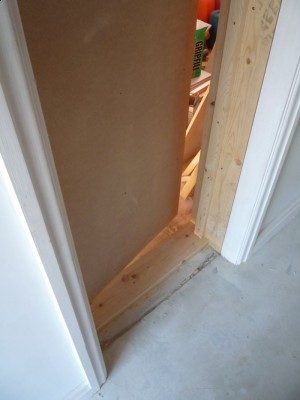
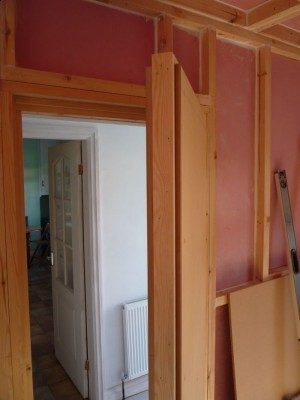
northcorner.jpgdoorway_kitchen.jpgsouthwindow.jpgCurrent issues are: rigidity - Carlo the joiner has concerns about how rigid the structure will be once complete, as he's so used to fixing to solid walls.
Also the electrics - my sparky is planning to install a mini consumer unit in the studio for gear, running from the main (house) consumer unit, but using it's own earth at source. If anyone thinks this is a no-no for a project studio I'd appreciate some input?
Also Hvac - I have a muso mate who's looking at one of these http://www.orionairsales.co.uk/portable ... y-89-p.asp and I've been on the verge of buying, but the subject scares the crap out of me so I keep putting it off. I'm thinking even this small unit might be overkill for my needs. :?
Also the electrics - my sparky is planning to install a mini consumer unit in the studio for gear, running from the main (house) consumer unit, but using it's own earth at source. If anyone thinks this is a no-no for a project studio I'd appreciate some input?
Yes, a separate gorund is a no no. A sub panel (using north american terminology) is fine.
You may find it of value to have your sparky read through Power and Grounding for Audio and Audio/Video Systems.
Well grounded,
Andre
Andre, could you briefly explain why this is a bad idea?
Grounding, as in the connection to the earth, is for lightning safety reasons. Having multiple grounds creates potentially multiple levels. Also these multiple levels are sources of hum from ground-loops. It is a common misconception from the confusion of bonding and grounding that problems start.. As a case of the lack of need for grounding and clean sound, how much hum do you get in your car's sound system, and how large is the car's ground rod, and the extension cord going to the ground rod?
It is covered in detail in the document I linked already...
Andre
Brien, it will be inside-out. We just did a temp fix of the frame to give us more workspace and have a dry-run, we'll be laying down each wall and ceiling panel in turn for boarding out and insulation. :D
Brien, it will be inside-out. We just did a temp fix of the frame to give us more workspace and have a dry-run, we'll be laying down each wall and ceiling panel in turn for boarding out and insulation. :D
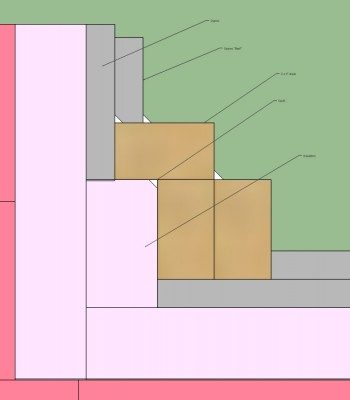
Munchkin, this is the best idea we came up with. If there's an alternative I'd be interested to see it.patsudio_corners1.jpgExcuse the tiny text.
Patrick
I could just about read the font ;)
How will you caulk this part, since it's at the back of the wall, thus unreachable?
patsudio_corners1.jpgSorry to hijack your thread, but my searches on how to construct and caulk corners for my own build ( viewtopic.php?f=1&t=14490&start=15 ) have brought up nothing except more people asking the same questiion. Must be somebody here who knows how to do it?
The two studs you circled are part of the same wall so that joint can be caulked at the same time as the gyproc is attached, while it's laid down in my case. We thought about beefing up the gap in the corner after it's caulked but it seemed abit like overkill.
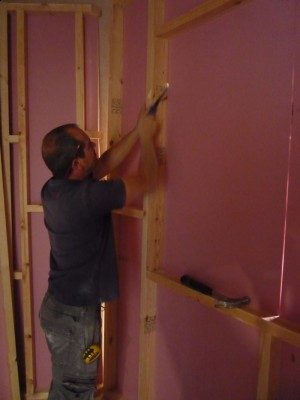
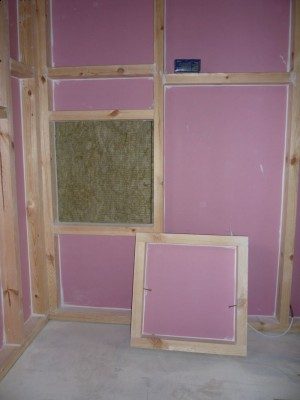
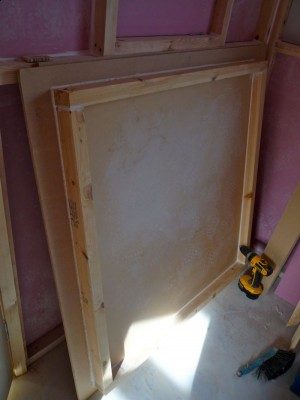
Day 7 - boarding out and caulking. We're using knauf fireshield 15mm wallboards for the first layer which has made for some pretty heavy lifting once screwed to the stud frame, even in this relatively small room. Dave the electrician came over to show off his huge drill bit and run the cabling for the consumer board. Carlo's joinery skills paid dividends in dealing with the angled corner, and building a resealable panel for the forthcoming air con. So, we're almost ready to insulate the outer layer and fix the whole frame together. :Dfirstboard.jpgdrills.jpgcutout.jpgWe're still discussing the possibility of the walls swinging once we build and attach the superdoor, wonder if anyone else has faced the rigidity problem?
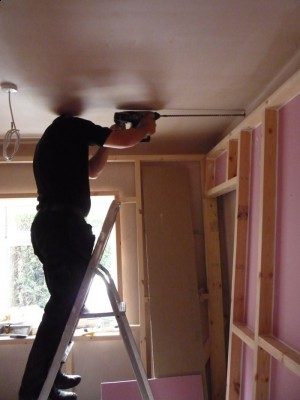
Day 8 - Doubts about rigidity disappeared today once we started screwing the walls together. We're using RWA45 insulation in the airgap and were surprised at how easy is to work with, apart from the itching and crappy dust. The ceiling panels are weighty and a little awkward to position before lifting, but manageable with two blokes and a T prop.
ceiling1.jpgwallfix1.jpgceiling2.jpgbreakout.jpg
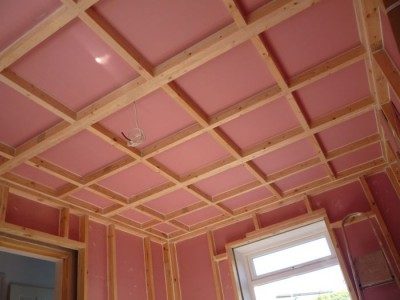
Day 9 - ceiling and walls secured in place :D
The last 2 ceiling panels were a tight squeeze and we ended up temporarily removing a section of wall to get the necessary angle to schwing up the final panel. Thankfully thats the last of the heavy lifting, time for a bank holiday caulk-fest!
I came across this website while searching for stretch fabric hanging ideas http://www.clipso.com/en/installation-process.html
Day 10 - first round of caulking complete. Now to measure, cut out and glue all the beef-up wallboards. I've included pics of how Carlo dealt with the tricky inside-out angled wall by leaving just enough space between the frames to get in a caulk gun, or your fingers.
northview.jpgsouthview.jpgangledwall1.jpgangledwall2.jpgangledwall3.jpgceilingpanels.jpg
Day 15 - Beefed up door in place and ready for seals and hardware.
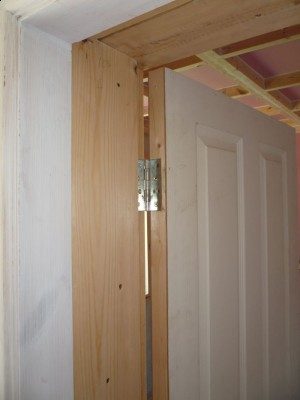
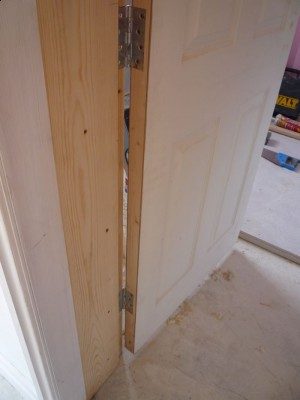
I may have slipped up on the 3 leaf rule here, I'm using a firedoor with 18mm and 12.5mm mdf board either side plus green glue. We've included a timber lining deep enough to cover the gap between the outer and inner walls but stopped short by 2mm to allow a caulk seal. We're also trying to allow for expansion/contraction of the timber as it settles, so it may need adjusting later. All credit to joiner Carlo's accuracy given how far out the brick walls and concrete floor were!
I'm still experimenting with finishing the gap around the south window, I've tried the insulation wrapped with a black weed suppressant membrane, and also white sheeting over insulation with a layer of mdf for rigidity - but I'm not happy with either results.
door1.jpgdoor2.jpgdoor3.jpgdoor4.jpgdoor5.jpgdoor6.jpgsouthwindowgap.jpg
Day 16 - south window fitted and more caulking. According to the "window = 1/3 mass of walls" guideline, we should be using a 10mm pane of laminate. The closest I could get was 10.8mm and it was ridiculously expensive, so we went with 8.8mm which was much cheaper and still fairly close to the ideal. We decided to sit the window on a length of neoprene strip with a layer of glazing tape either side which felt like a tight fit. Tip: clean BOTH sides of the glass thoroughly before fitting cause that speck of dirt you thought was on the accessible side will turn out to be on the inaccessible side and you'll be doomed to stare at it for eternity...as I am. Also discovering that the beef-up layer of gyproc eats up much more caulk than the first layer, so it's important to cut them as tight a fit as possible between the joists.
Question: I need to build some kind of gobo to reduce the possible first reflections from the south window which will be behind my monitoring position. Am I right in thinking this absorber wouldn't need a rigid panel in order to work?
Day 20 - beef-up wallboard layers completed. The walls were pretty straight forward, but the ceiling panels were a pain in the neck :D . I managed to do this working solo using a T-prop (of sorts), Gripfill adhesive, and panel pins. It's a relief to get all that gyproc dust out of the way. Now for the last run of caulking, before insulation...and more dust.
beefup.jpgwindowplug.jpg