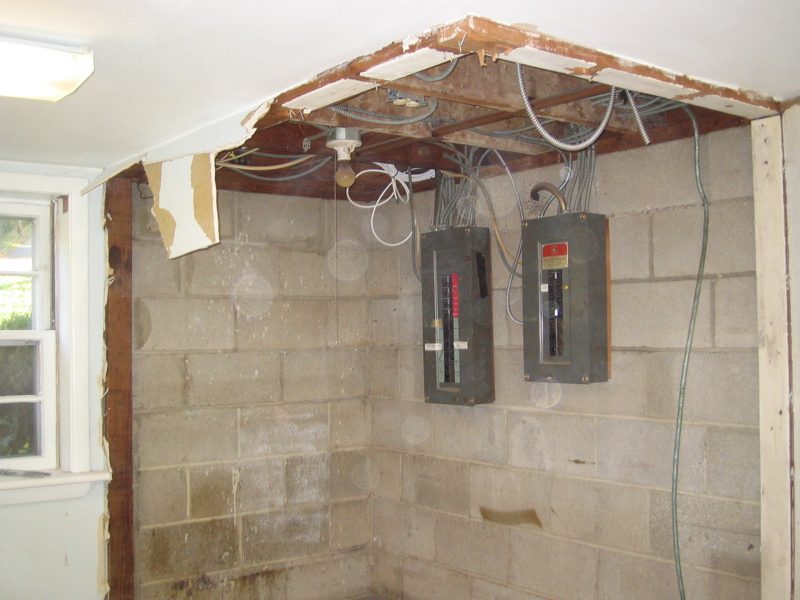
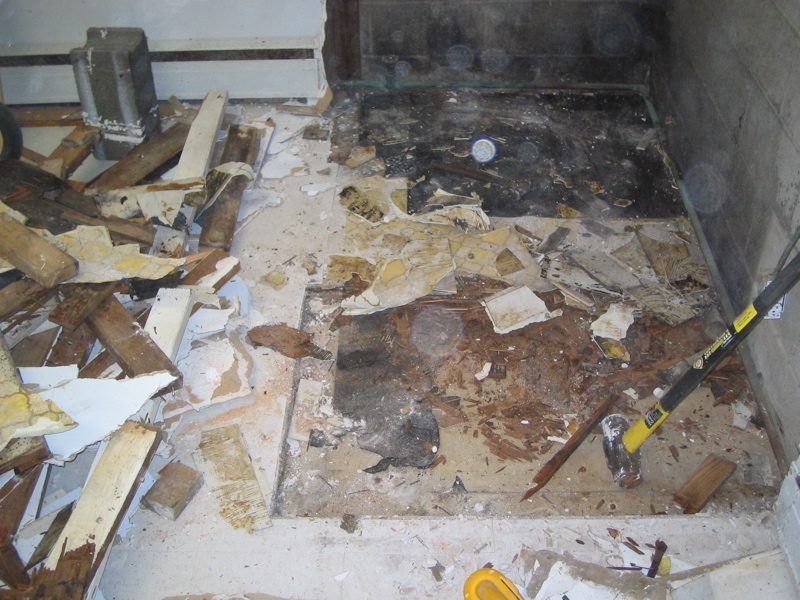
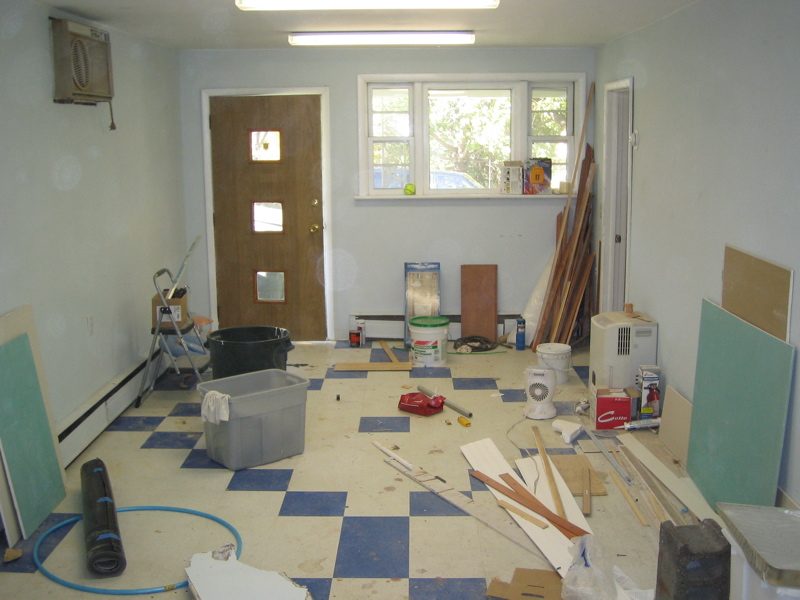
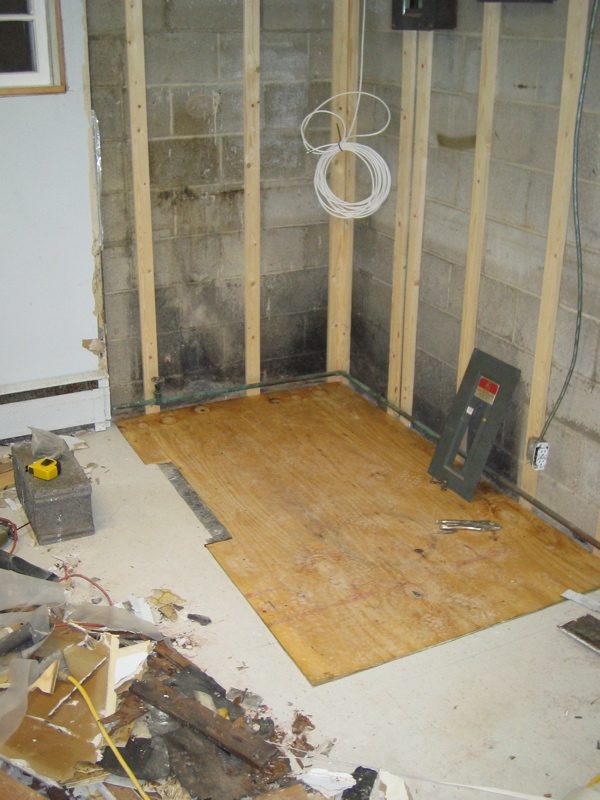
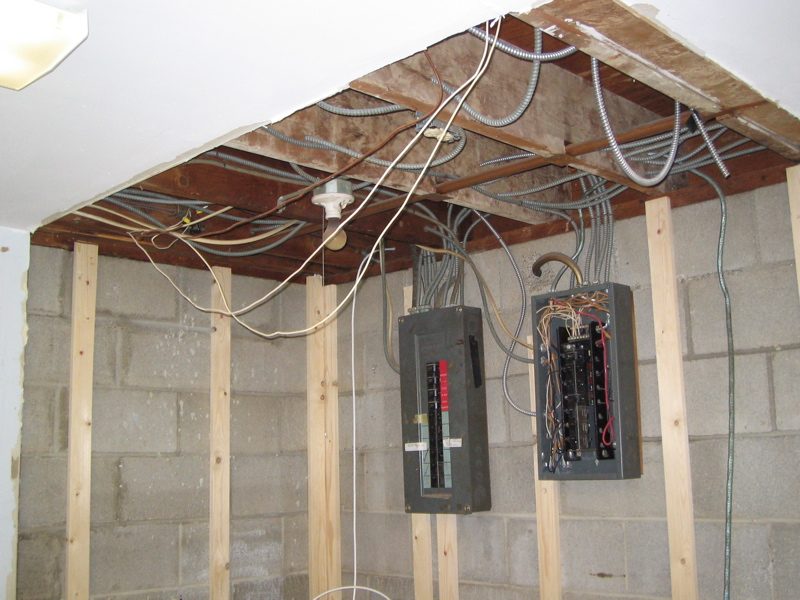
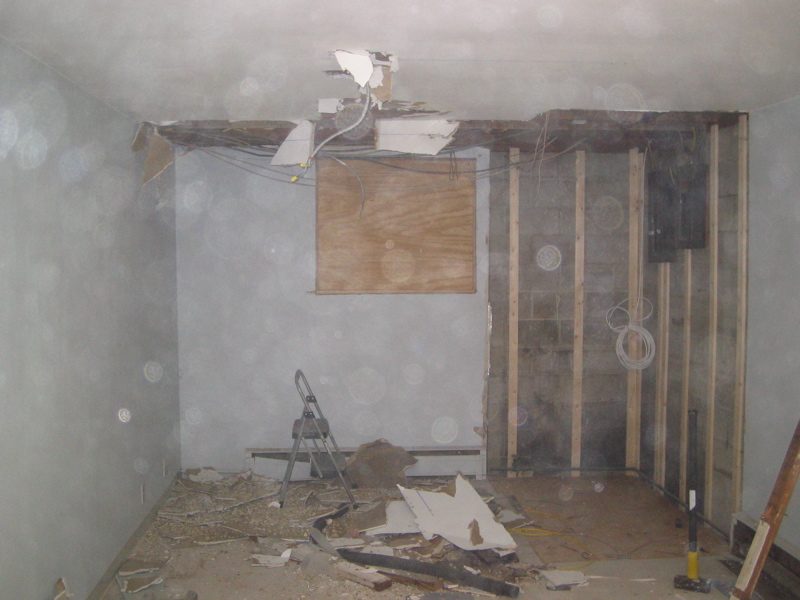
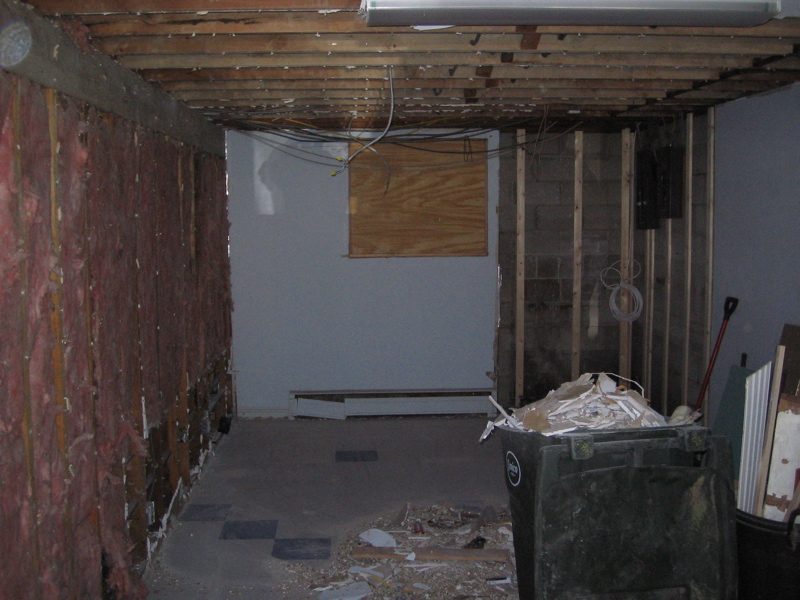
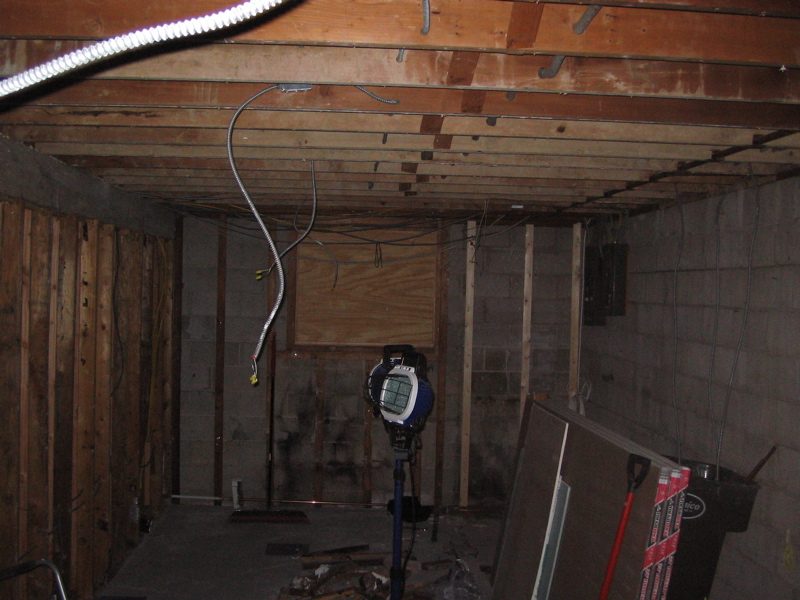
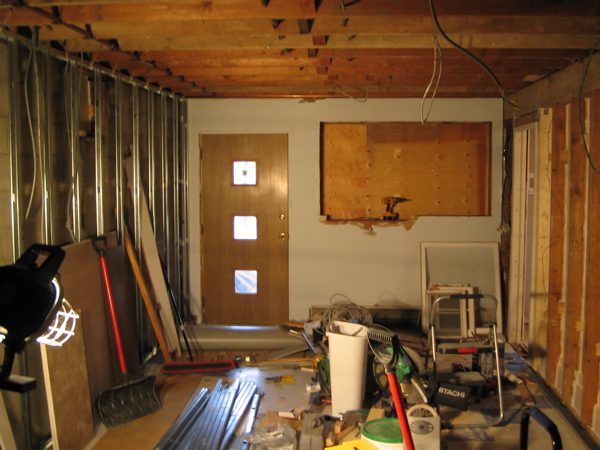
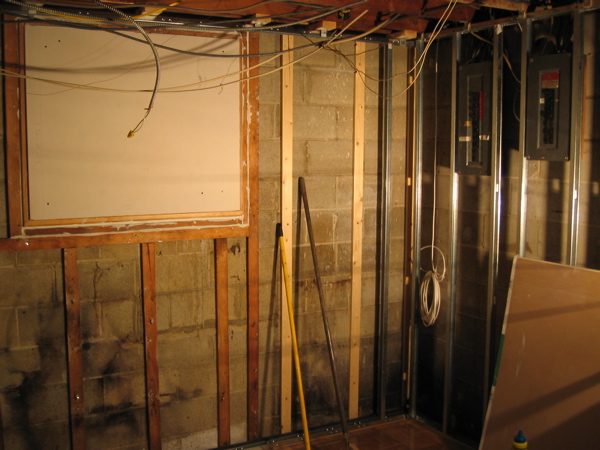
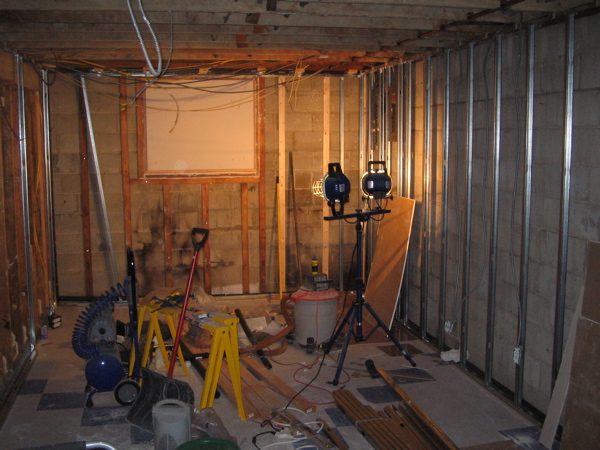
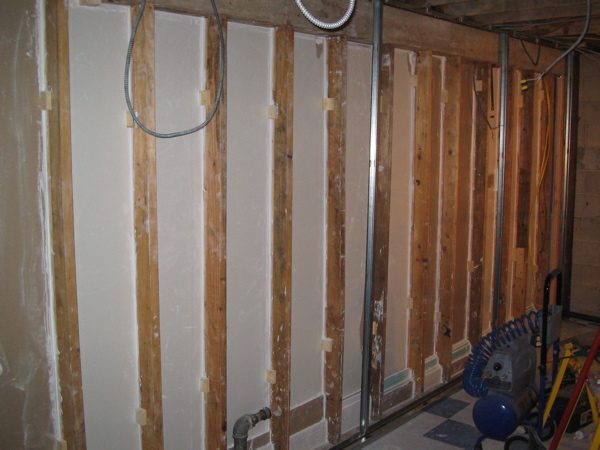
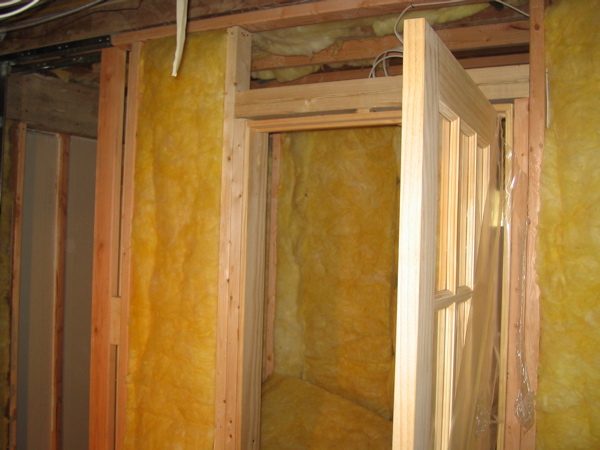
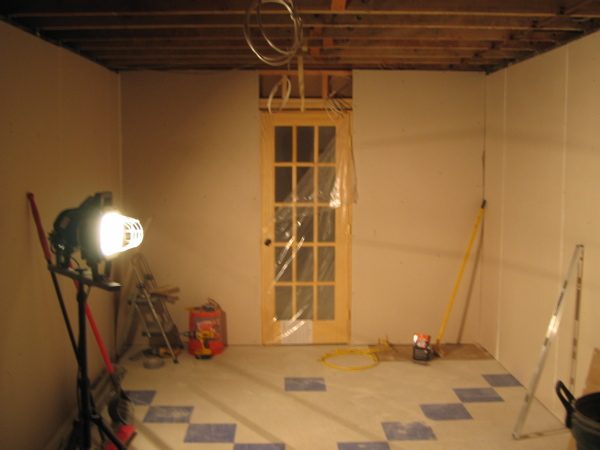
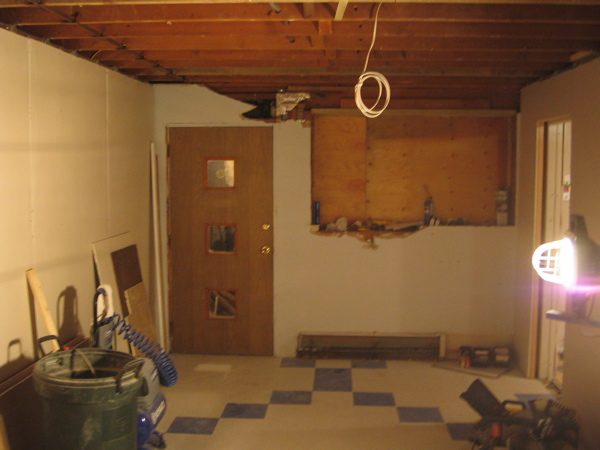
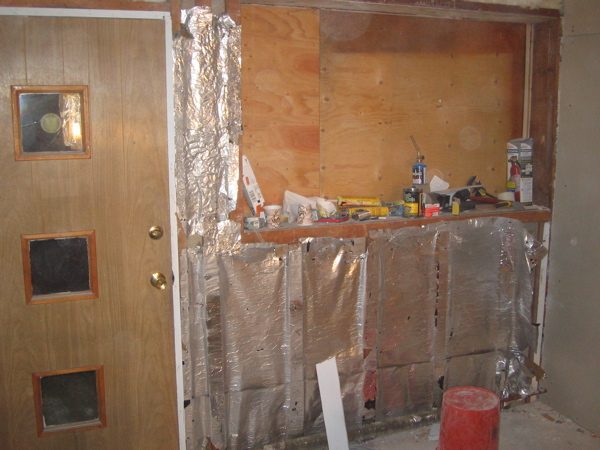
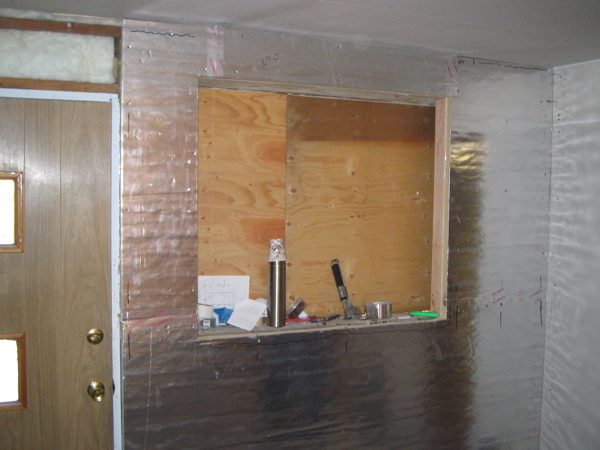
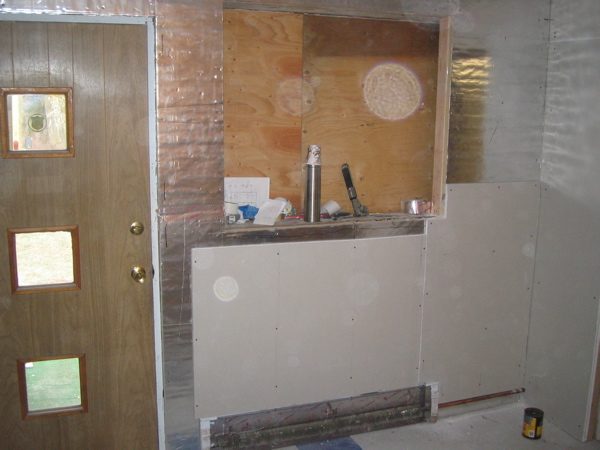
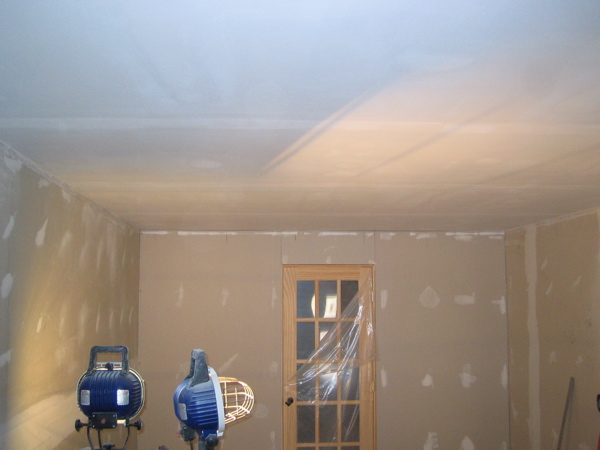
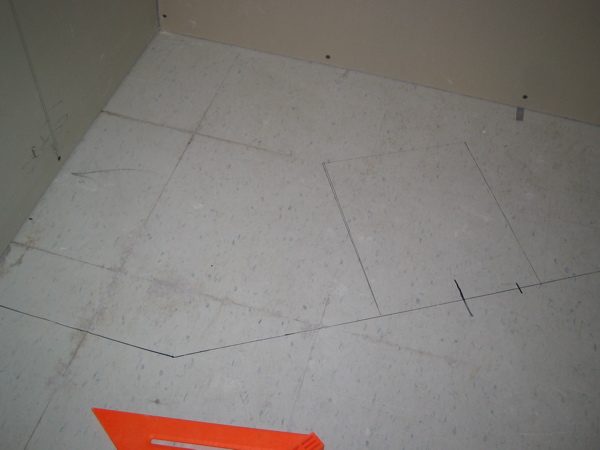
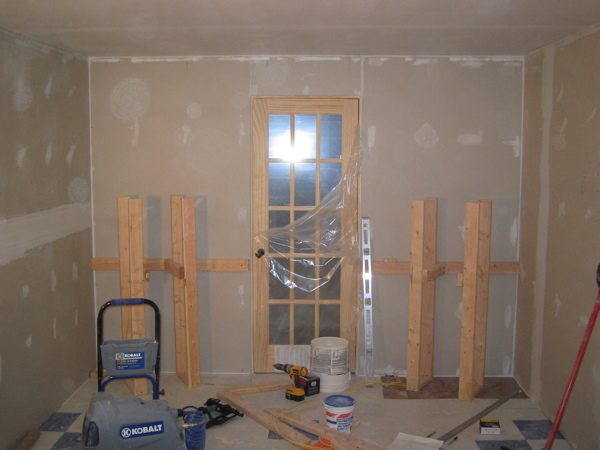
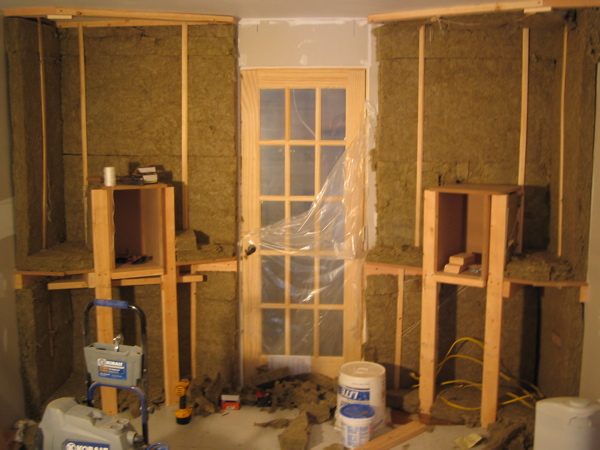
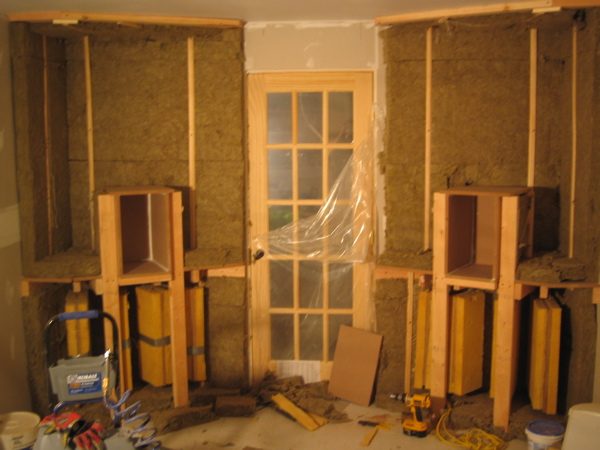
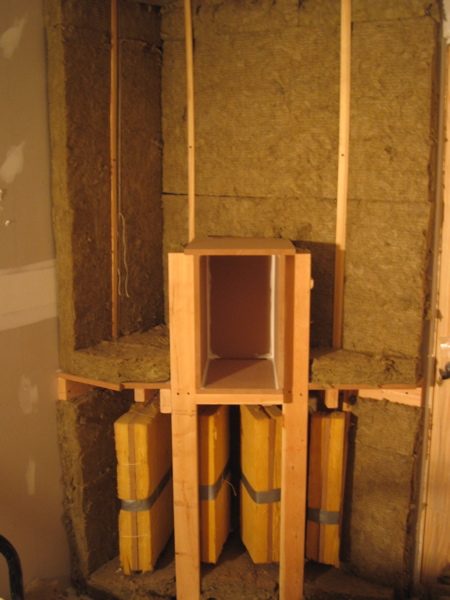
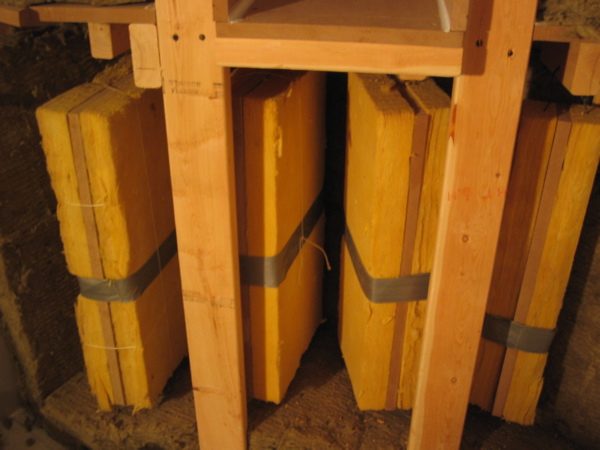
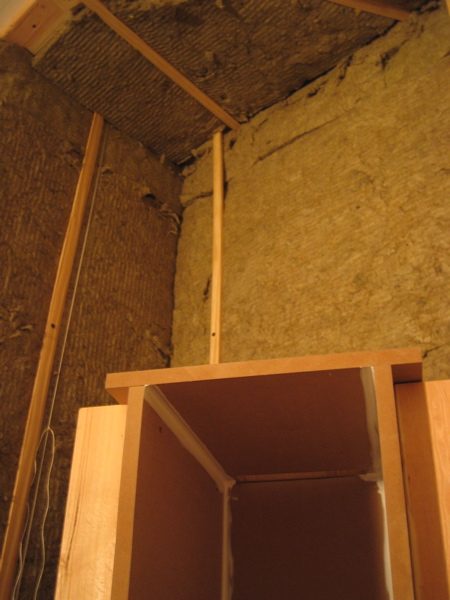
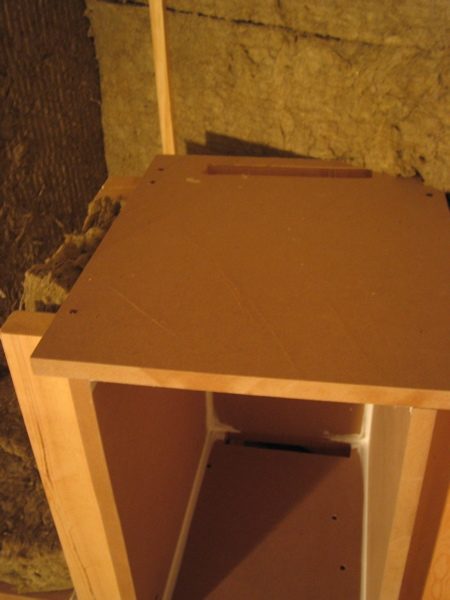
Wow, what a lovely mess, Dynamike! 8) Congratulations on breaking ground on your project.
It's hard to provide criticism -- er, uh, advice ;-) -- without knowing your goals.
Tell us more about your project.
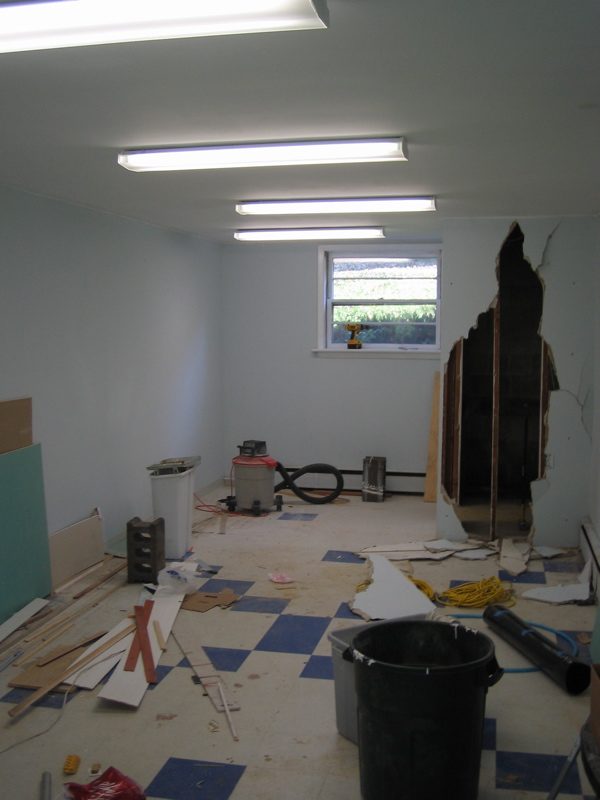
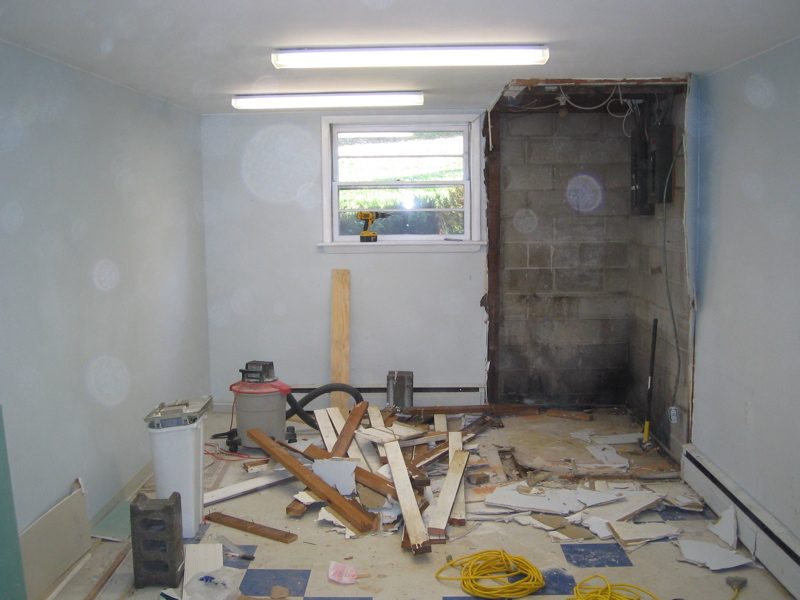
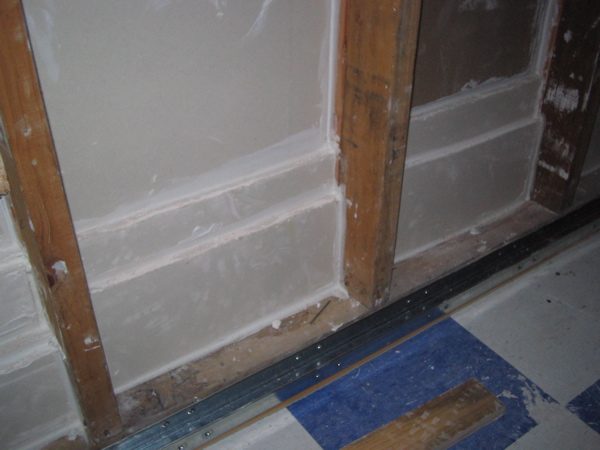
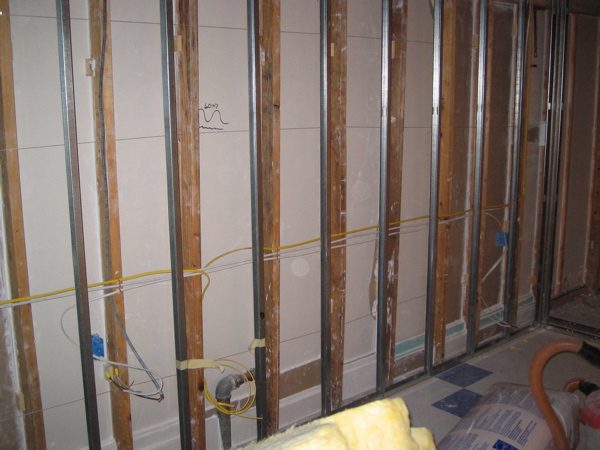
Also, do those tiles contain asbestos? :shock: Unless you are absolutely sure they do not, stop immediately! See the "Safety During Demolition, Construction" thread! :!: Also, read about Andy Eade's encounter with asbestos-laden tiles!
--Keith :mrgreen:
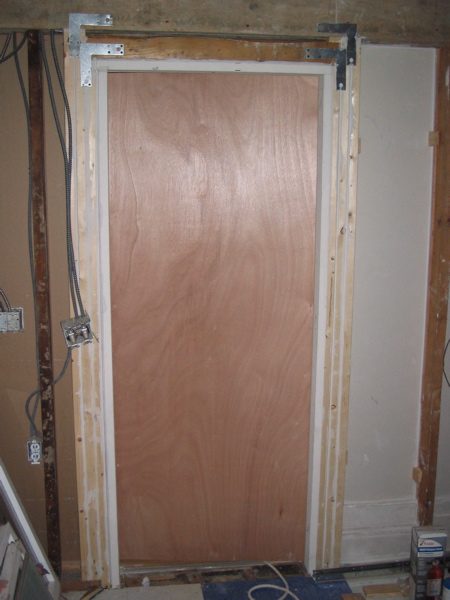
Hey I noticed all you doors have door handle holes in them - did they come like that?
If you don't need to lock them seal em up and use an external handle /pusher plate.
What are your goals BTW?
wow, i'm on a roll posting pics, i didn't even realize i had replies already.
these pics go back a few weeks, i figured i'd start unloading them.
my responses:
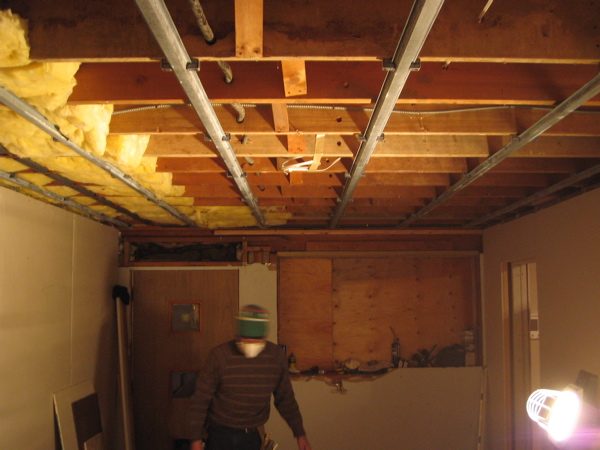
tiles DON'T have asbestos- it was layed only 4 or 5 years ago by the hair dresser that previously had a business here.
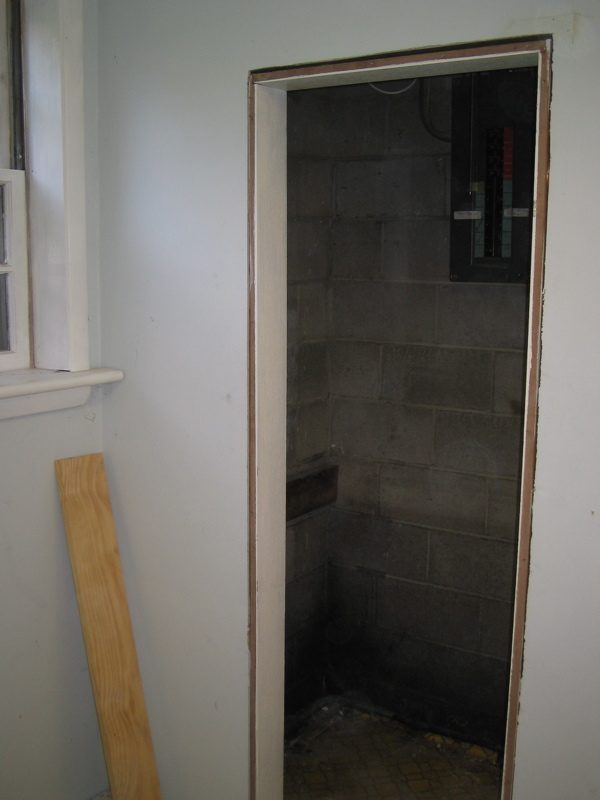
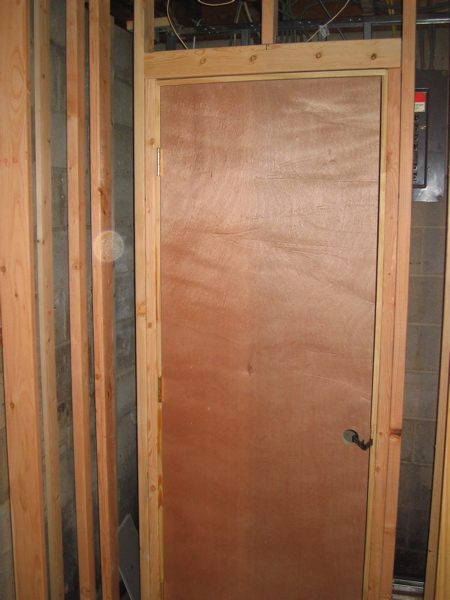
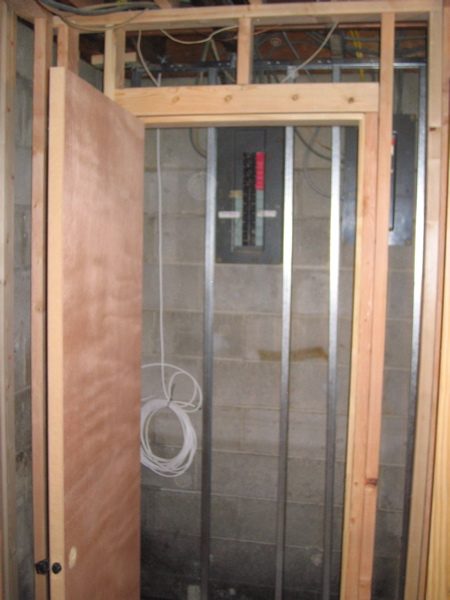
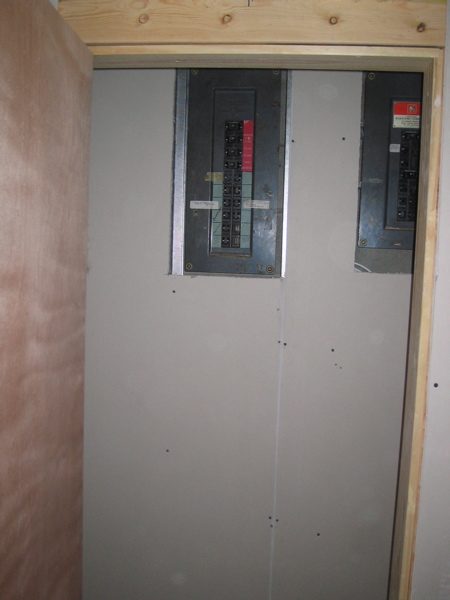
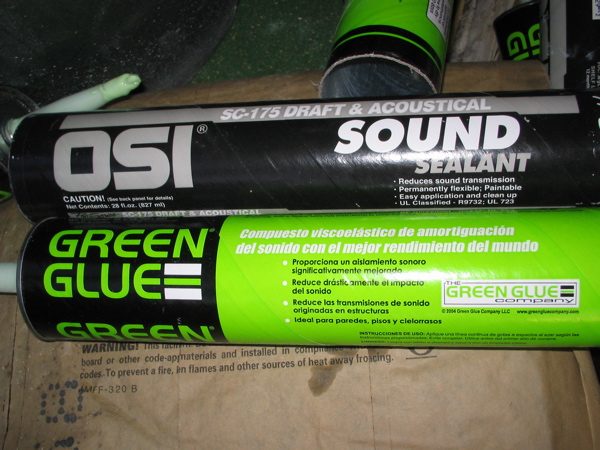
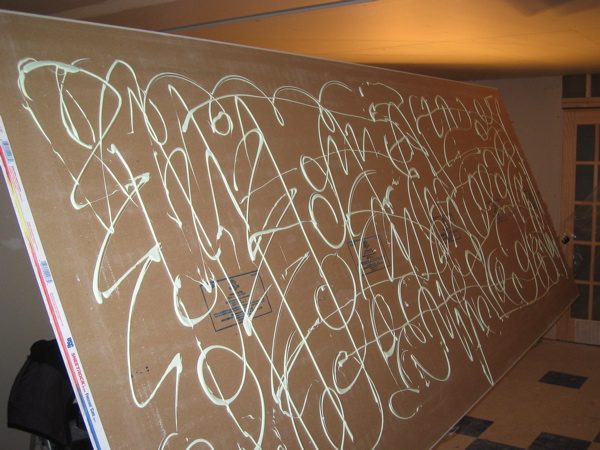
door holes- i'm going to leave them, i'm not totally concern with isolation from vocal booth to CR, i just want each to sound good. the other door into the storage room will get filled and beefed with MDF/Green Glue
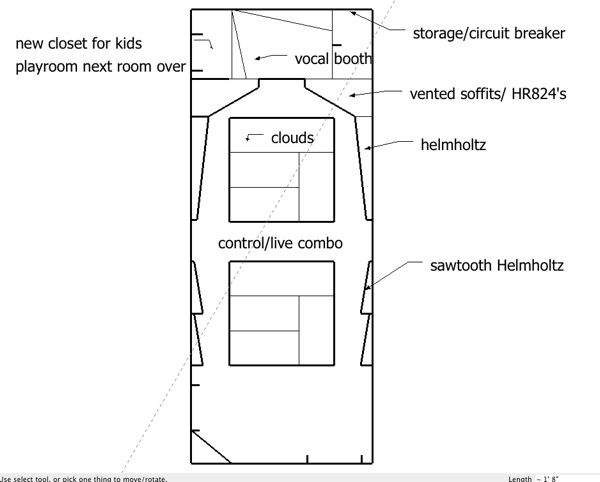
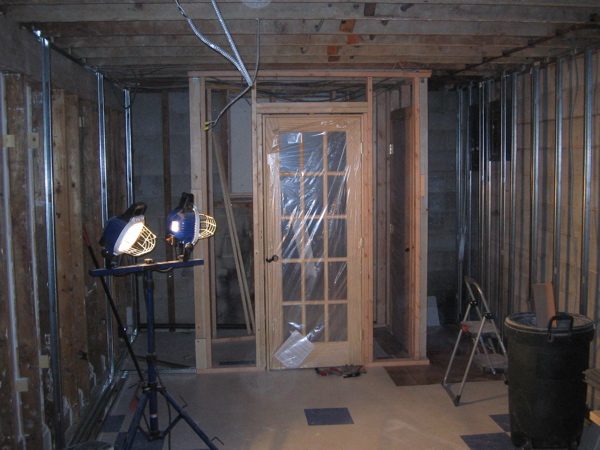
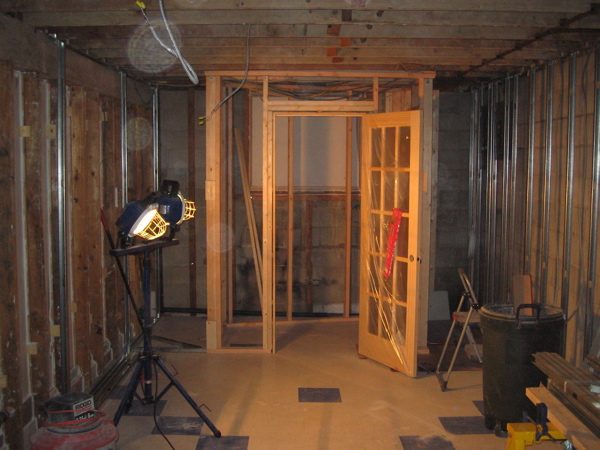
MY GOALS: control room/ live room big enough to get a decent drum sound. remember i said "decent". i know its small.
this is mostly for my own music, though i've been recording bands/ emcees(rappers) locally for 5 or 6 years in my old location (basement).
my engineering skills are UP now, so its time for my room to step up with me.
okay, back to more pics, i have a bunch more ready to go!!!!!!
Man-oh-man... That's the trouble with these "here's a whole lot of pictures of what I have already done" situations... There's no looking back... :roll:
Sideshow, just noticed your post.
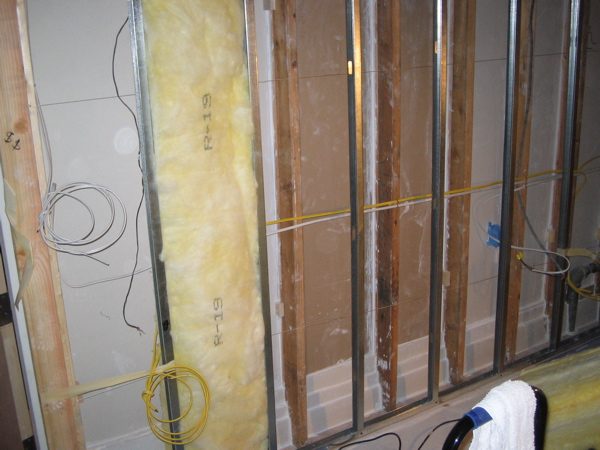
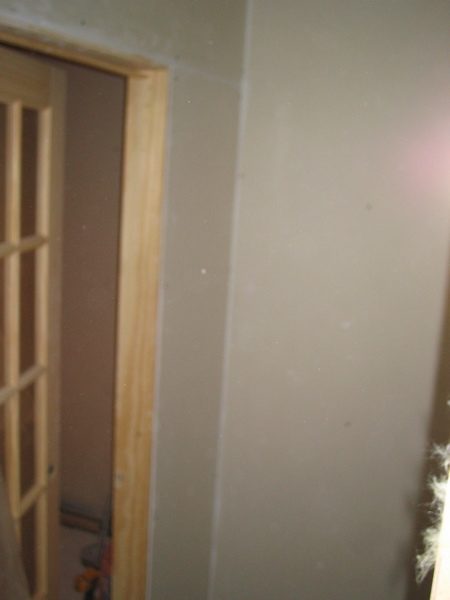
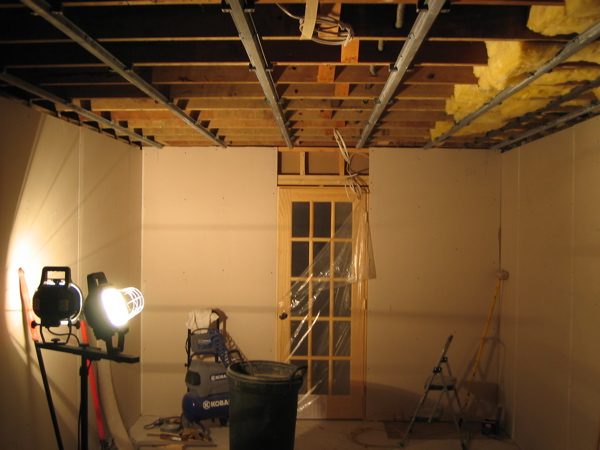
yeah, inner walls on 3 of 4 walls.
i'm planning a corner trap on one back corner, there is a door in another, so i'll probably just put 703 on the door and the adjacent wall.
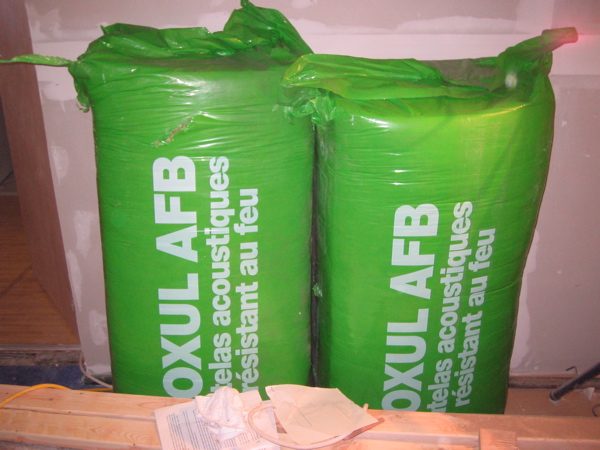
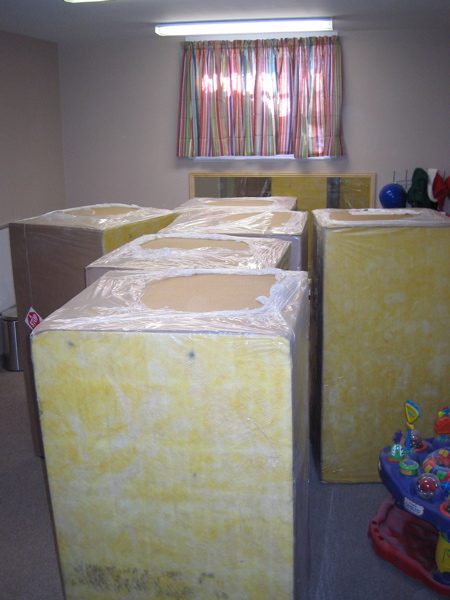
if i have enough 703 or AFB i'll cover the whole back wall (besides the window naturally). . . we'll see.
yeah, i've been researching and reading about all this for the last 2 years. i'm pretty confident in my design and construction. Rod's book and this forum are great.
the last pics are currently up to date. i built the bass hangers and lined the soffits today.
next step is finish the bezel with MDF, then move on to the slot resonators connected to the soffits.
finished bezel on soffits, finished framing/703 of slot resonators.
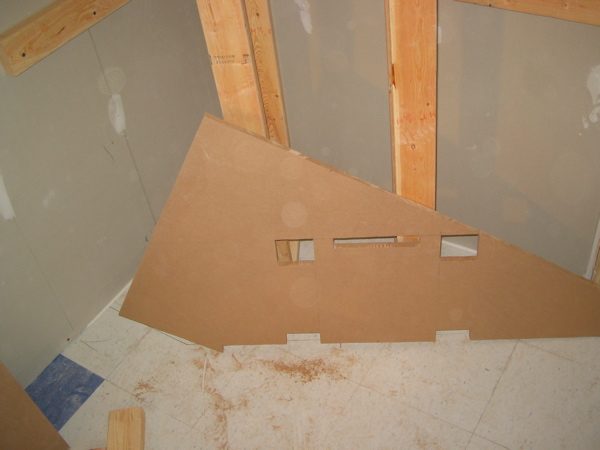
i made some wrong measurements on the bottom half, which is why i had to rig the MDF around the 2X4's. it was supposed to be a full piece in front of the 2X4's, but i forgot to incorporate the 3/4" for the MDF. woops. shouldn't affect how it works, just added another hour or two.
framed/703'd the 'sawtooth' slot resonators.
also picked out my stain.
Minwax Ipswich Pine. . .it looks great on my test piece.
I heard that painting the slats is bad, but what are the thoughts
on Polyurethane????
i'm planning on using it, just for wood protection. not a glossy one either, but a clear satin finish.
1. Will polyurethane be OKAY to put over the stain on the slats for a Helmholtz resonator?
fire-proofed my "speaker cloth".
got it at a local fabric store for about $6 a yard.
it's hard to see, but it looks great.
again. . .my vocal booth is really small and awkward to have a camera in, so the pics aren't very easy to follow.
the Flamex was very easy to use, and dried way faster than i expected. i came back to it like 30min. later and it was ready to hang.
Those speaker sofits look like they are pointed in too much. Maybe it is the picture.
At what angle ar they?
Also, what about below the speaker sofits. I thought cloth was suppose to go there. Why do you have MDF?
These pics really help me alot. Thank you for posting them.
Apparently there is more than one way to construct the corner assembly where the sofits are. Your pics really show how you did it.
the soffits are at 30 degrees. actually maybe 31 or a little off of 30. i did a ray tracing and found the exact degree that would be best for me.
they probably look more than this because my room is so narrow. it started out at 10' 5", but because of the slot resonators it's as narrow as 8' 5" at some points.
you are correct about the bottom half of the soffits being absorbent. i still need to run the mic cables into the vocal booth, so i haven't attached the 703 yet. if you look closely on my pic, you can see that the bottom half is recessed 2". this is so after the 703 is installed, it will be flush with the rest of the soffit.
just so you understand the concept, the bottom half is absorbent to 'catch' the reflections off of the back of your desk.
there is definitely a few ways to build the soffits. mine is definitely NOT the best. i have 2 layers of 5/8" gypsum on skinny, thin METAL framing. therefore, i couldn't have very much support at all from the wall. a few things (i didn't show in the pics) i had to change in the middle of the soffit build because of poor planning. so far, they have been the hardest thing for me. if you are going to attempt, read EVERY soffit/flush mount thread you can, and make sure you plan your design EXACTLY how it needs to be built. i half-designed as i built. it cost me an extra day of work. my final outcome of the soffits is great, it was just not the best way to get there.
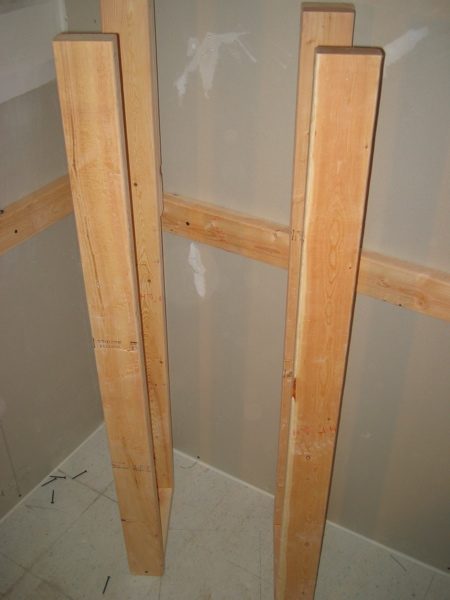
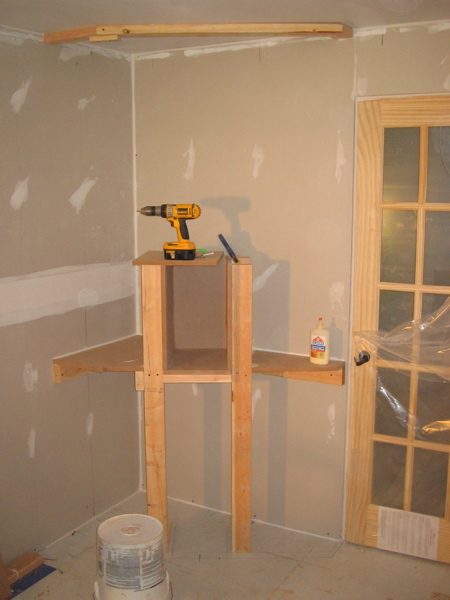
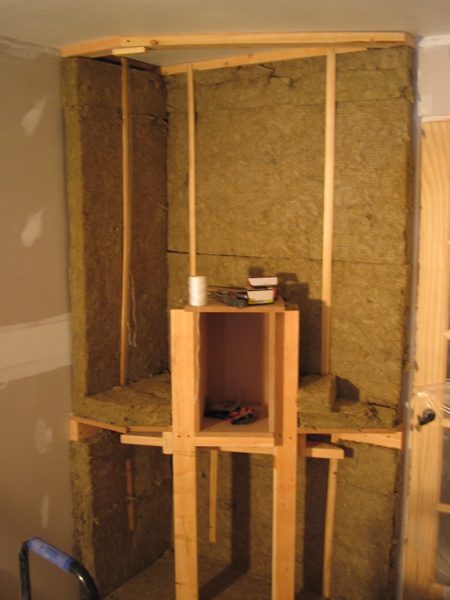
one thing i did change along the way (so i dont throw you off in your build) is the support 'legs' for the speaker. in the beginning pics it shows 4 legs per speaker. after i did this, and built the shelf for speaker to sit on, i realized the back 2 legs were right in the way of the bass hangers. i then put 2- 2x4's to support the box and attached them to the back wall. then i sawsall'd the back 2 legs off. very annoying, should've thought ahead more.
just so you understand the concept, the bottom half is absorbent to 'catch' the reflections off of the back of your desk.
I was actually thinking of building my desk extended from the back wall. I wonder if that is a good idea in terms of reflections.
in the beginning pics it shows 4 legs per speaker. after i did this, and built the shelf for speaker to sit on, i realized the back 2 legs were right in the way of the bass hangers.
I was wondering abou that.
I hope to finish my outer room today or tomorrow. Then I can begin the inner walls.
Your pics got me all excited!!
Thanks![/quote]