Hello fellow builders :D
I joined in this forum at december 2008 and used almost all my spare time to read this awesome resource. First of all very big thanks to mr. Sayers, Stuart, xSpace, and all who had helped me one way or another. I had my first post on desing forum about a year ago and you can find it here: viewtopic.php?f=1&t=13163
It's finally time to start the construction :D
My original plan was only to build live room in my attached garage, where I could record drums, guitars and vocals but after long conversations with my wife I did manage to talk her over and I can use also one extra room as a control room :yahoo: That room, also as my liveroom is very small but it’s not that bad at acoustics even without treatments.
I’m gonna build my studio at two phase sessions. First live room and then control room. I’ve started the construction last summer but I was so busy whole summer so I didn’t manage to build much.
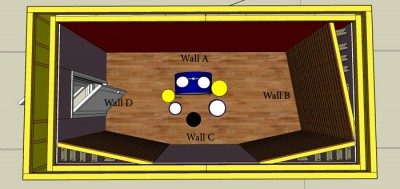
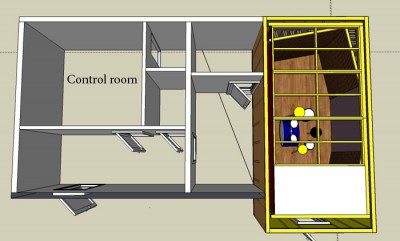
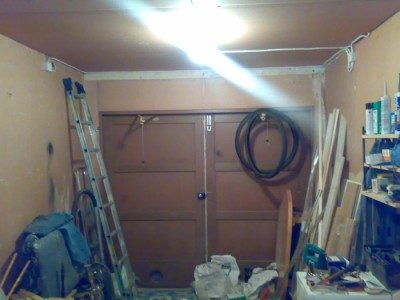
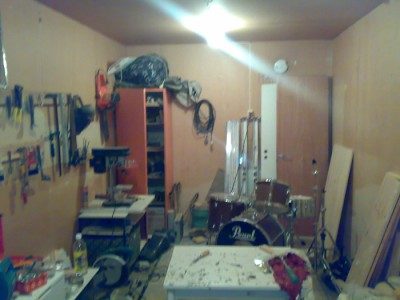
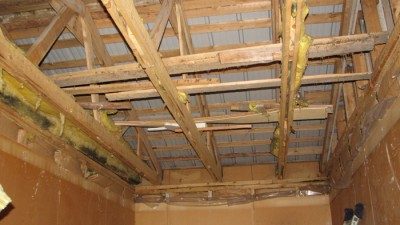
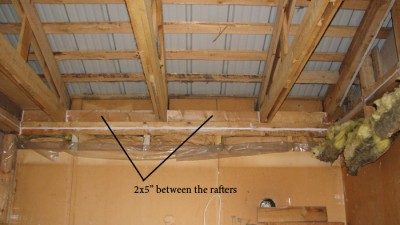
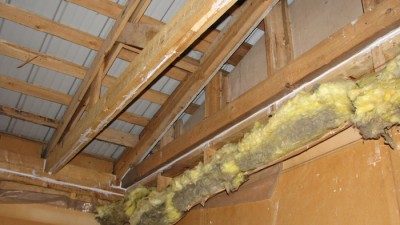
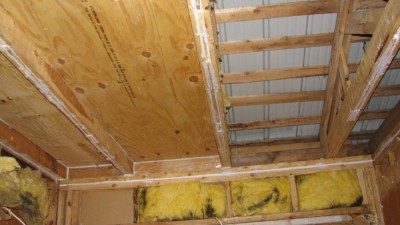
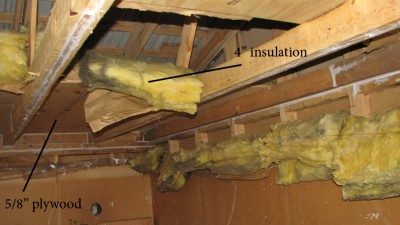
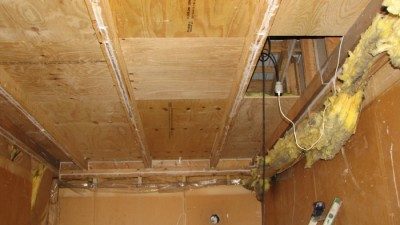
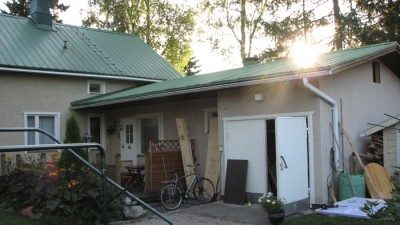
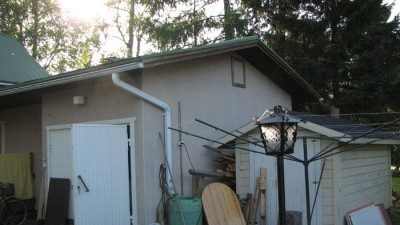
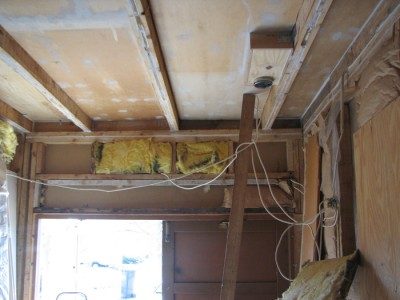
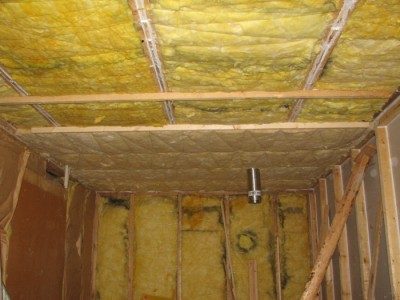
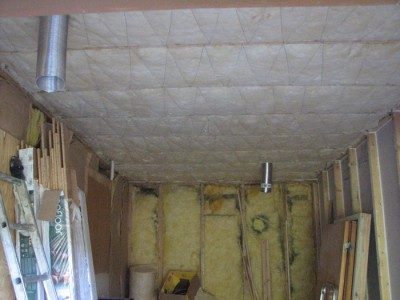
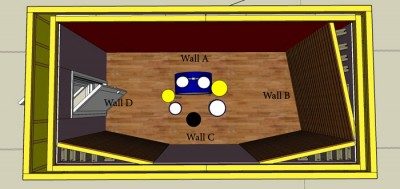
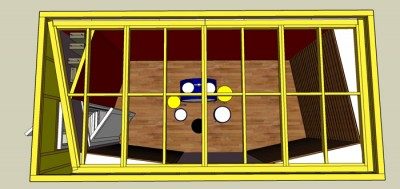
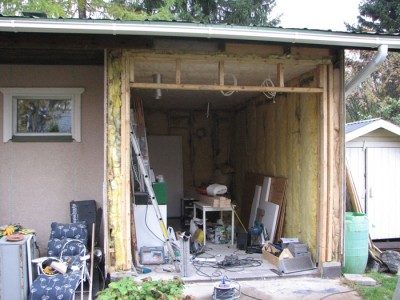
First pic "combo walls with treatments.jpg" shows the current layout of liveroom. Inside dimension are L=5,8m W=2,5m H=2,7m. Wall A is inside-out wall and all other walls are regular. Wall A is the wall which is attached to my house. combo walls with treatments.jpgSecond pic "LR-CR.jpg" shows part of my house and the room where I'm gonna build my control room. Dimensions of the control room are L=3,4m W=2,8m H=2,4m. That pic shows also how I'm gonna build my liveroom inner ceiling. It consists of four elements and it's inside out. Cablings must be lead through the attic.LR-CR.jpgPics "1&2" shows my garage as it was before any damage is done :D1.jpg2.jpgPic "3" I opened the inner ceiling3.jpgNext couple of pics shows what I was able to build at last summer.
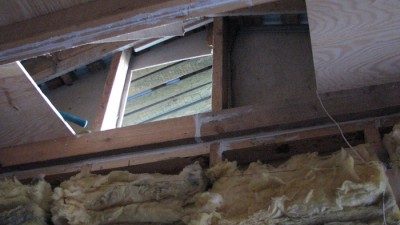
5.jpg7.jpg10.jpg11.jpggarage 001.jpgI had to make a hatch to the attic so I can maintain AC fan units if needed.garage 011.jpggarage 012.jpg
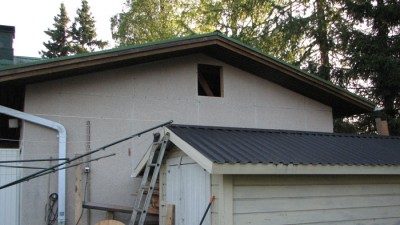
Next pic shows my whole house and how that garage is attached to itgarage 015.jpgAnd the last one shows the hatch in place. I'm gonna replace that ugly siding to the wood paneling as soon as I have a time :Dgarage 017.jpg-janne
More progress :D
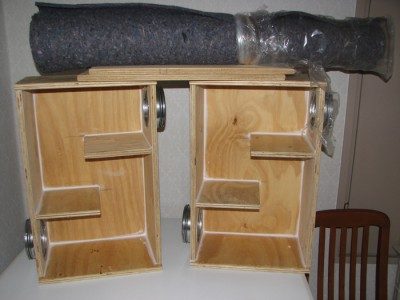
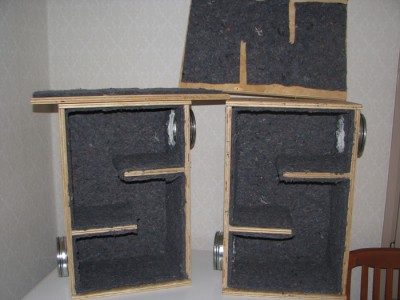
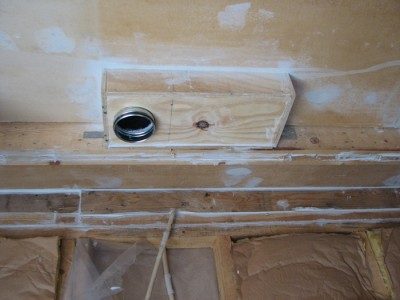
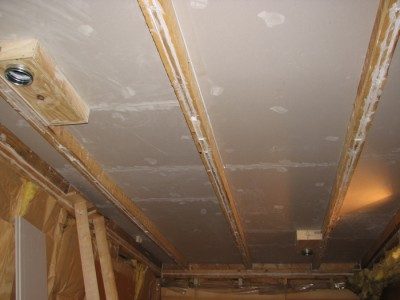
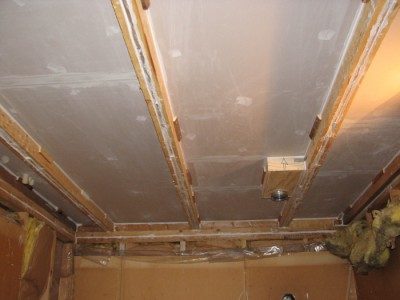
I made couple of silencer boxes with 15mm plywood. Dimensions: W 250mm, L 580mm, H 300mm. Inside is lined with 12mm felt sheet.
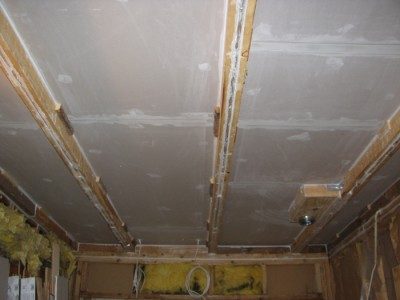
12.jpg13.jpgSilencer boxes are installed in place. First gybsum layer is also in place between the rafters.
14.jpg15.jpgI've got lot more pictures to show but now I have to run to record some guitar tracks :D
-janne
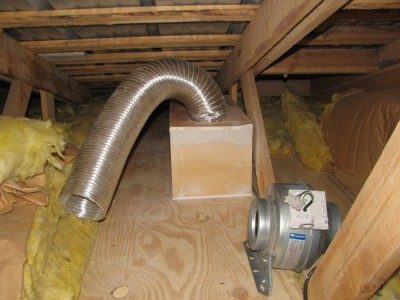
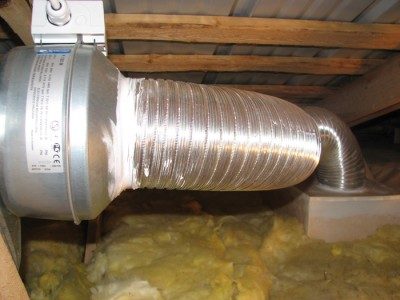
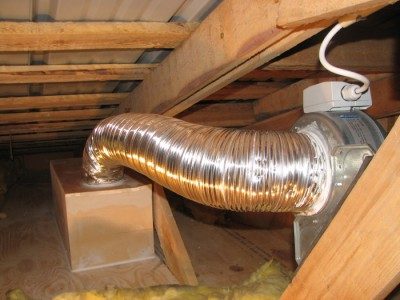
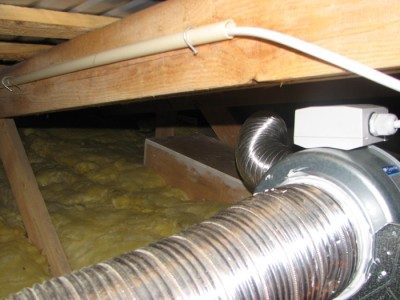
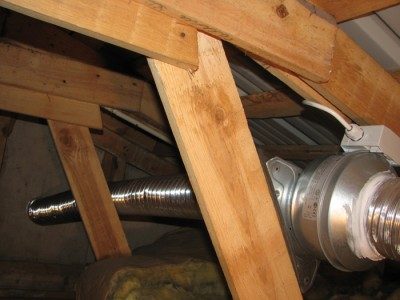
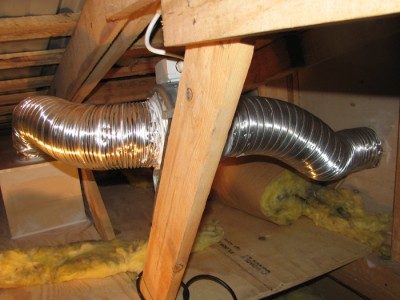
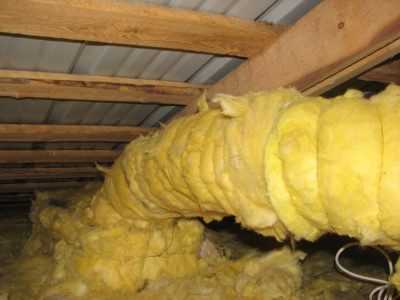
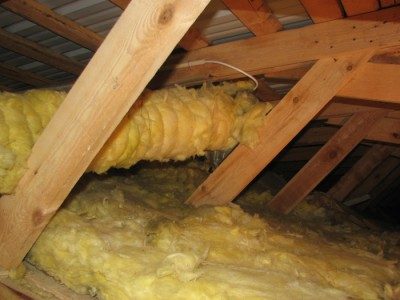
More pictures for picture lovers :D I used flexible aluminium duct. I did't find it insulated so I have to insulate it with fiberglass insulation. Air fans are system airs model K 125 M. I bought speed controller so I can portable adjust the air flow in and out.
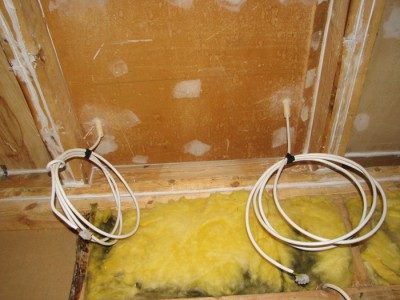
17.jpg19.jpg22.jpg29.jpg21.jpg23.jpgEverything is insulated. Last pic shows electric cables which leads to the air fans.
30.jpg31.jpg32.jpg-janne
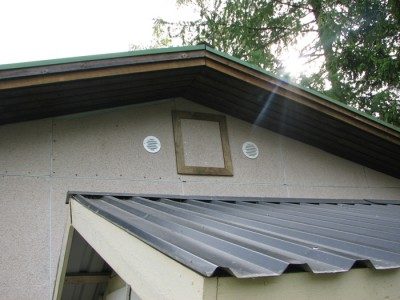
Air con vents and hatch to the attic.
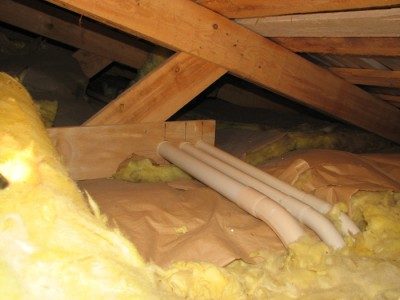
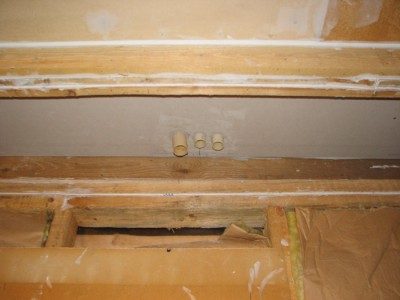
construction 005.jpgNext two pics shows audio cable conduits. One 40mm and two 30mm pipes leads through the attic to my upcoming control room.
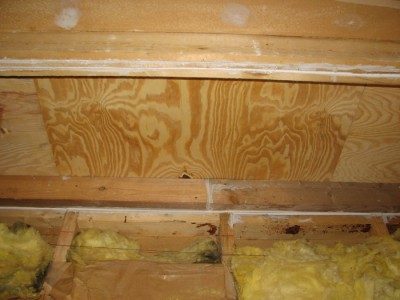
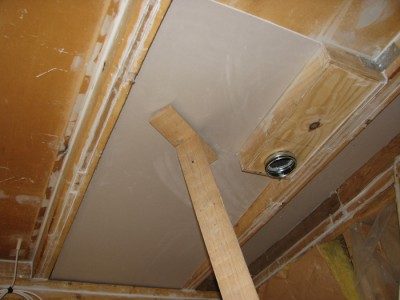
33.jpg34.jpgLast piece of plywood in place. Outer ceiling almost ready :D35.jpgSecond drywall layer goes up.
construction 001.jpgSecond drywall layer in place.
construction 002.jpgLast two pics shows finished drywall beefup. I used backer rod and acrylic sealant at the perimeter of drywall. Drywall layers are attached with screws and secured with cleats.
construction 008.jpgconstruction 010.jpg-janne
Small update!
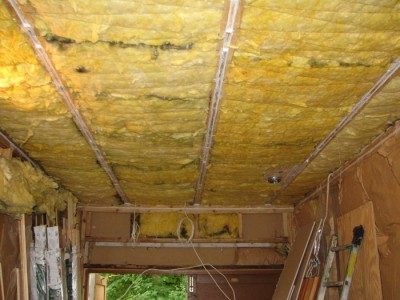
I haven't done much studio construction lately. Been very busy at work. Anyway, outer ceiling insulation done.
studio 008.jpgstudio 012.jpgNext step is outer leaf beef up process. I'm going to use finishing nails to hold drywall layers in place and secure them with cleats. In that picture "studio 010" you can see air barrier layer. I can't attach drywall layers with screws because that air barrier is so porous and screws might penetrate siding.
studio 010.jpgI Bought today more drywall and caulk. I hope I get some time to start beef up next weekend :Dstudio 005.jpg-janne
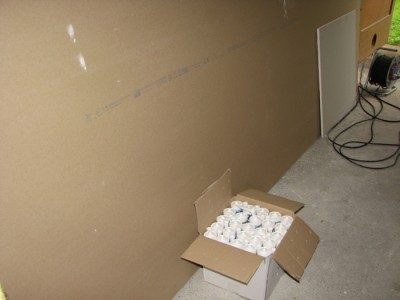
Small update. I've been mostly working to beef up my outer leaf walls. I used 2 layers of 13mm (1/2") drywall strips between the studs. I know 16mm (5/8") would be far more better but I manage to bought those 13mm drywall sheets almost free. And I'm not looking for a perfect isolation. Only little improvement is fine. Both layers are caulked and sealed. I used backer rod and acrylic sealant.
pic 002.jpgpic 006.jpgInsulation back in place. Thin metal wire holds insulation in the cavity.
pic 011.jpgSecond outer wall beef up is done. If I forgot to mention, I used finishing nails to hold drywall strips in the cavity.
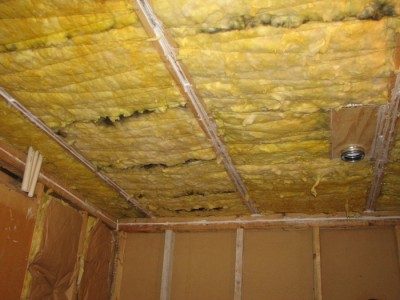
pic 028.jpgpic 023.jpgI'm gaining my ceiling insulation for extra 50mm. So overall thickness is 250mm at outer ceiling and 70mm at inner ceiling. Total of 320mm. It's a minimum recomentation for ceiling insulation thickness here in Finland...
pic 032.jpgpic 035.jpgNext step is to remove old garage door and replace it with regular outdoor...
-janne
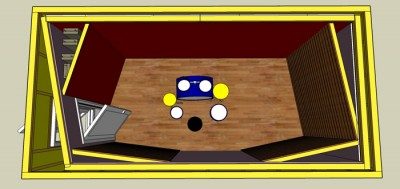
I've been planing garage door removing and I got new floor plan idea. In my original plan front door and inner door are in the middle of wall D as you can see in first pic. But if I angle wall D and put both doors closer to the wall C. That gives me good space for big bass absorber and I won't waste much my valuable floor space. What do you think about this?
original floor plan.jpgfarmhouse liveroom.jpgLast pic shows inside out ceiling frame without drywall on top of it and closed slat resonators.
farmhouse liveroom_c.jpg-janne
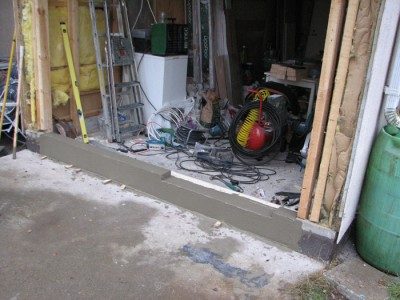
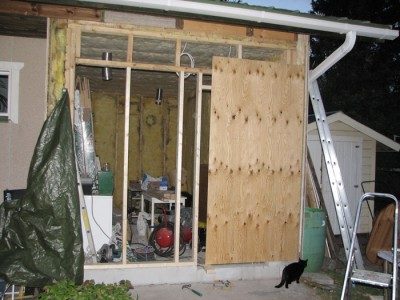
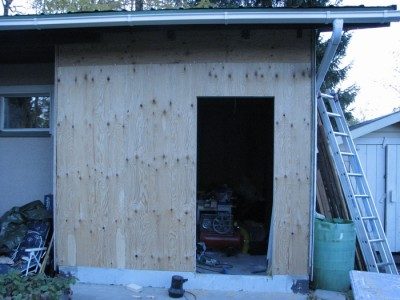
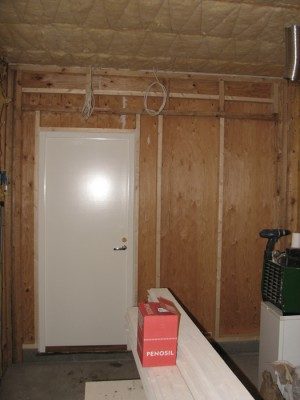
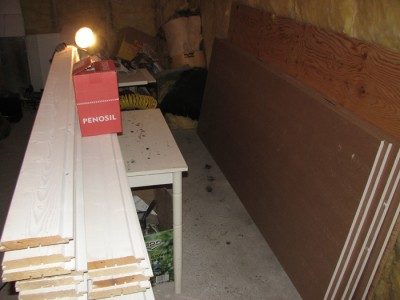
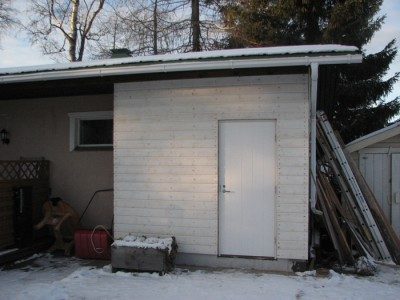
It's been two months since my last update.. Nothing much done. Day job routine, fixing my house, wife, playing in three bands etc. eats all my precious studio construction time :D Some progress anyway. Garage door has been removed and replaced with normal door, Wood paneling in place.
I used 13mm plywood and wood paneling over that. Inside face gonna get one layer of 16mm drywall beef up between the studs.
In last pic you can see that we have already snow on the ground :evil: I hate winter!! Next summer I'm going to replace whole my houses siding in that same wood panel as in front of the garage.
update6 003.jpgupdate6 008.jpgupdate6 011.jpgupdate6 013.jpgupdate6 014.jpgupdate6 018.jpgpic 003.jpgnext update contains beef up and caulking photos...
-janne
Thanks Janne,
You got some really neat silencers there, I'm on my way to make my own now.
What were your principles for designing them if I may ask?
Nice wood on the exterior as well!
Cheers
Vakis
Actually I kind of stole that design from Greg's thread 8)viewtopic.php?f=2&t=11485&start=105
I didn't do any calculations at all. :oops: I was thinking that my liveroom is used quite rarely, one or two persons at a time, so couple of air fans do the trick. If we are running out of fresh air then we take a brake and open up the doors :roll:
Before I adjusted those silencer boxes permanently I made a little test and was quite happy with the result how they work. I can adjust portable with those air fans and when running lowest velocity air flow was pretty good and it wasn't noisy at all.
I noticed that you found the answer at your air con / silencer problem. :D
-janne
Yeah from what it seems I'm going with the combination of a ventilation system and an air conditioner unit.
It seems to be better this way. I used to have a big problem with the ventilation the way the studio was some years ago,
So I really wanted for everyone to feel more comfortable breath wise. :P
Still trying to figure all this out though. Lot of info to absorb.
Cheers,
Vakis
Still trying to figure all this out though. Lot of info to absorb.
Yeah I know that feeling Vakis. :) Still better to have lots of info than too little. That's why I love this forum. You can find the answer at your question some way or another if you keep searching. Sometimes it eats all your spare time :D
-janne
Progress of last weekend:
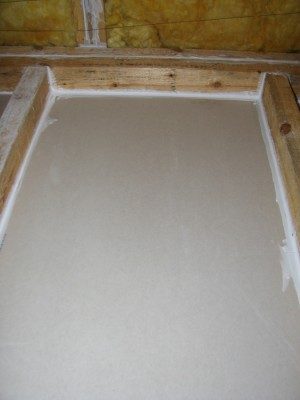
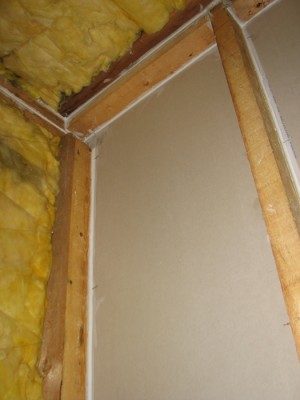
Pics 1-3 - Stud cavities got 1x15mm drywall beef up layer. Gaps between drywall edge and studs filled with backer rod and caulk.
Pic 4 - Hardest job was to put drywall in that small 30mm gap between the studs. Gap wasn't as nearly even. It vary 30-40mm, but I manage to put drywall strips in the cavity and burst lots of caulk at the edges. :finger:
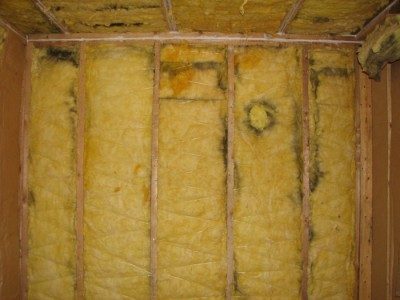
Pic 5 - 100mm fiberglass insulation in place.
I started to beef up last outer wall at sunday. If you look at my floorplan, it's wall A. Behind that wall is bathroom and sauna. One stud cavity in that wall contains inlet and outlet water pipes and electic feed to laundry machine. Beefing up that cavity is going to be fun :twisted: From that electric feed I'm going to have power to my heat radiators, lights, AC etc. I'm going to feed amps etc at different fuse "clean fuse".
-janne
cheers Carsten and thanks! :D
Have you finished your studio yet? I checked that your last update was at september :wink:
I must say that You've done absolutely stunning job so far :D
thanks a lot, janne!
finished...well...it ain't that easy.
but yes, right now i'm at a point where i can say that i am (nearly) finished.
(i guess i will never be finished with it, some improvements here, some changes there, etc :wink: )
unfortunately i ran out of cash :(
after 2 years of renting, pay back monthly rates for the credit i took, planing, ordering, building and earning money, plus nearly
a half year when i wasn't able to do anything due to a "i have absolutely no clue what to do next and how to elaborate
the acoustics anyway" my account screams...no it's more like a whispering: empty! nada! niente!
the major problem is exactly this damn half year delay.
anyway.
i'm glad.
i'll update my thread soon :)
take care and good luck,
carsten
Christmas update!
Pic 1-6.
That wall cavity was pain in the ass to beef up! Laundry machines water pipes and electrical feed are inside that cavity. I'm going to use that electrical feed to my studio lightning, AC and heat radiators.
Pic 7.
Shows that same wall but on bathroom side.
Pic 8.
Accurate sizes of drywall pieces and lots of caulk did the beef up job fine :D
Pic 9.
Those blue boxes are electrical feed to my studio. Upper one for lightning etc. lower one feeds amps etc. it comes from the different fuse to minimize the buzzing, humming, clicks and pops where I'm sicken tired of..
Merry Christmas to everyone :D
-janne
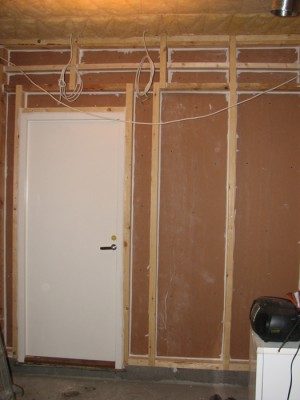
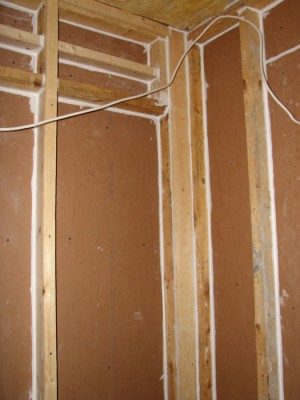
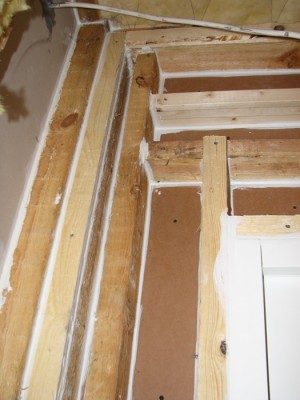
Pics 1-3.
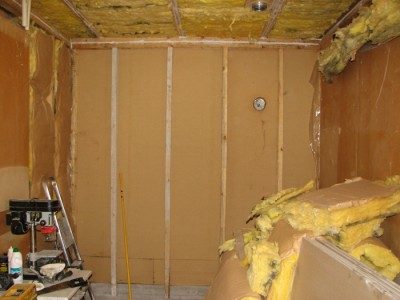
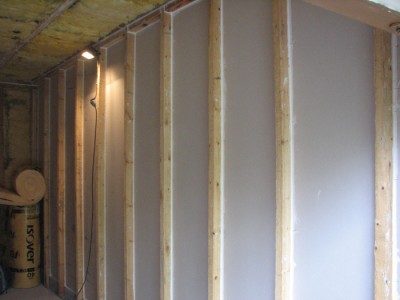
Beef up job continues... As I said in my earlier post that other side of that wall is bathroom and sauna, so I'm using just 1 layer of 15mm (5/8") drywall because that wall consists already 1 layer of 12mm plywood and also ceramic tiles in bathroom side.
But in three last stud cavities I'm using 1 layer of 15mm and 1 layer of 12mm drywall beef up because other side of that part of the wall locates my sauna. In the side of the sauna there is only thermal insulation layer which is dence wool with aluminium coating and top of that thin wood paneling.
Pic 4.
Beef up job done!! :yahoo:
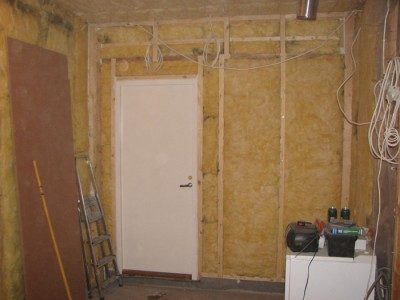
Pics 5-6.
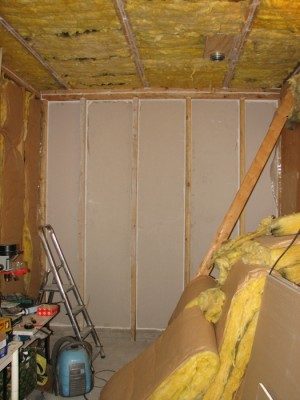
Insulation in place. At the rest of the wall I used 70mm Paroc rockwool insulation.
Outer leaf done! Next update consists framing photos :D