So the key issue here is that the pins on the connector (in this case wall plate) work in pairs to send and receive? I still don't think I understand why it would matter which cable is connected to which pin - just so longs as they matched on either side. :?
Twisted pairs are the reason that Cat5e cable doesn't need to be shielded. The twist in the balanced connection reduces the effects of EMI and crosstalk. For short runs, point to point will probably work, but you probably won't ever reach the full bandwidth potential of the system.
For the same reasons, balanced audio cables are also twisted pairs internally.
trouble........much trouble
I've spent the last day and a bit installing the glass.
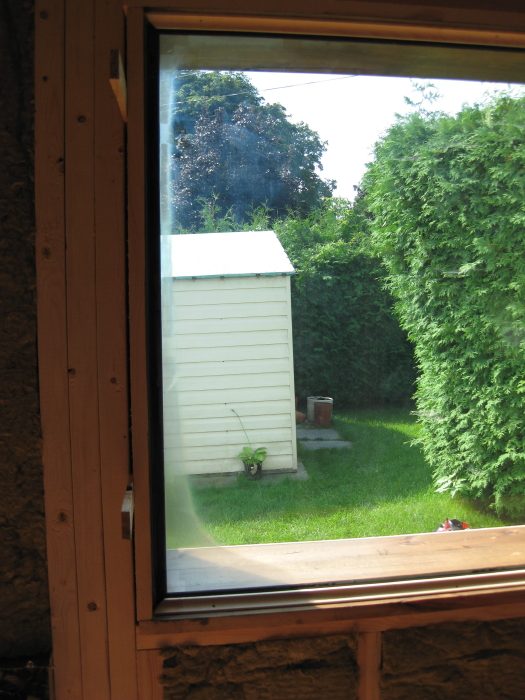
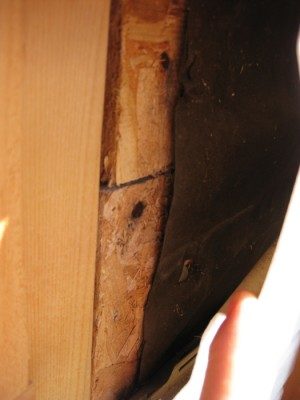
FIRST PROBLEM: The first issue I came up against was one of the jam stops was bowing/warping out in the middle, such that the glass pressed up against the glazing tape firmly in the middle of the pane and not at all on either end.
This was the first pane to go in to the CR/LR window. Removing the pane once it was pressed up against the glazing tape required me pushing full force on one side while my wife stood ready to hold the glass up on the either side. It was VERY difficult to get it to release from the tape - it actually pulled off part of the wood in one spot.
To fix the problem I decided to simply add a second layer of glazing tape in the spots where it was needed.
SECOND PROBLEM: The last pane to get installed was the CR side of the CR/LR window. Once it was installed and I was cleaning all the smudges I noticed bubbles in the glass at the bottom of the pane. I obviously didn't inspect them close enough before installing :oops::x . My glass guy said he had to re-do two panes before completing my order due to bubbles (its been very humid here and his shop is not climate controlled - apparently the cause). I spoke with him this morning and he'll make another immediately - not a problem.
But - getting that pane out is going to be extremely difficult! I don't know how its going to happen yet. Perhaps a right-angled flathead screwdriver could get in behind and scrape away the tape? A heat gun would theoretically break down the adhesive.....
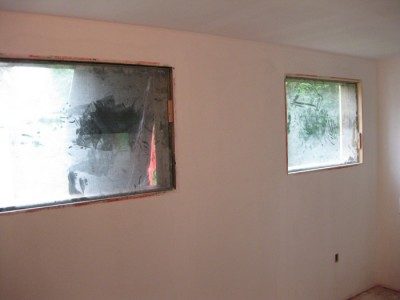
THIRD PROBLEM: This morning I discovered that the two exterior windows were fogging up on the inside. One of them was completely caulked on both sides and should have been totally sealed - obviously not. Same big issue of removing the panes in order to ensure everything is properly sealed.
Today is not a happy day.
Sorry to hear about that!!
Don't you have such glass carrier thingy that you'll attach on the pane by removing the air underneath (vacuum).. dunno what it's called. It'll make it easier on you to move the glass.
Don't you have such glass carrier thingy that you'll attach on the pane by removing the air underneath (vacuum).. dunno what it's called. It'll make it easier on you to move the glass.
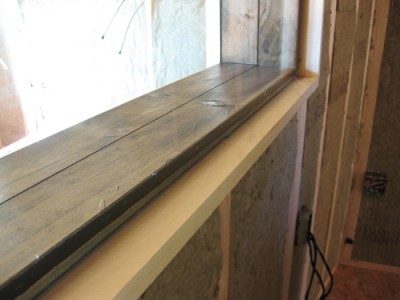
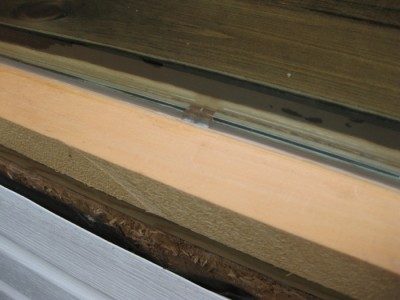
Since I caulked thoroughly around the edges of both panes of glass in each window it seems pretty clear that the air/moisture is coming in through my 1/8" gap between the jam stops. I also had a 1/8" gap on the bottom jam which I caulked to create the seal (pictured) - obviously not well enough.
But the air is getting to that gap presumably from my gaps around the window on the exterior and interior. I'm wondering - if the moisture inside the window dries up and I caulk these exterior and interior gaps while its dry whether I might get lucky and not have to remove any panes......?
I have no idea how that works though - if its dry that could just mean the moisture has evaporated but is still between the panes just waiting to condense again when the air cools.
I've created quite a situation here for myself. My hole design seems really questionable now - that decoupling gap was not worth this... :x
Hey guy, sorry to read about your concerns. a few things that may help...work with me :)
It is a typical procedure to wrap the exterior of the building and let this wrap come into doors and window ways. I cannot locate a procedure page on the Internet that shows what I am referring to, but it is an important part of what you are doing.
It isn't a small thing to consider how both sides of your wall are open to the environment with little protection, it matters as you have found out.
I didn't go back through your build but if it is a double framed system then this is big in what you are dealing with. Not only can the moisture pass through the unprotected areas around the boundaries of the framed hole for the window...once it gets in it is free to move in the cavity of a double framed wall system.
Simple enough I would think to get the exterior of the build completely wrapped and resistant to moisture after removing the window and allowing a dry time.
I know silcon beads help reduse the "fogging" between the frame. It might not be sealing problem but simply moisture caught between while being installed.
xSpace - thanks a lot for your thoughts! I was hoping you might post something :wink:
xSpace wrote:
It is a typical procedure to wrap the exterior of the building and let this wrap come into doors and window ways. I cannot locate a procedure page on the Internet that shows what I am referring to, but it is an important part of what you are doing.
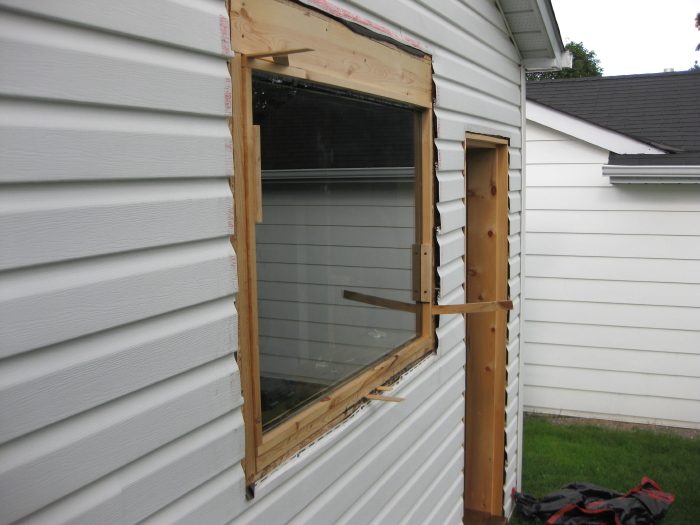
The garage was wrapped when it was built 9 years ago but not in the newer Typar stuff - it was wrapped in that black tar paper (pic). I cut it back to the same point as the siding when I was starting work around the windows.
xSpace wrote:
once it gets in it is free to move in the cavity of a double framed wall system.
Definitely something I want to avoid. My plan had been to acoustically caulk all gaps on the exterior and then tuck tape right from the window jam to the tar paper. Its clear now that I should have done that BEFORE putting in the glass. IF I can get those panes of glass out without breaking them then I'll do that once its dried out and probably also caulk the 1/8" gap in between the window stops (I was trying to avoid that for aesthetic reasons... :roll: )
xSpace wrote:
Simple enough I would think to get the exterior of the build completely wrapped and resistant to moisture after removing the window and allowing a dry time.
It would probably be good to replace the tar paper with some Typar.....but the thought of removing all the siding isn't appealing at the moment. Maybe once everything's complete inside?
I think Ro's suggestion of those suction cups may be really helpful in trying to pull the glass out. That glazing tape does its job extremely well.
I know silcon beads help reduse the "fogging" between the frame. It might not be sealing problem but simply moisture caught between while being installed.
Hi Lilith - I was wondering the same thing. It gets pretty humid around here in the summer and was particularly so when the glass went on if I remember right. But it really seemed to me that the air was flowing into the cavity - just by the way the fogging/condensation increased over the course of the day and then decreased towards the end (I almost took pics of that). But I don't know.....
I guess the best thing to do would be to wait for a relatively dry day to close everything up a second time.
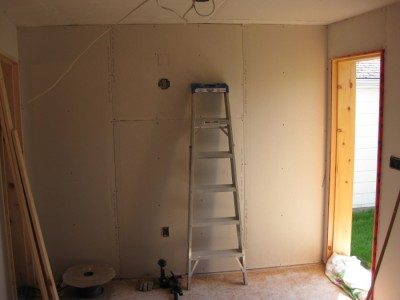
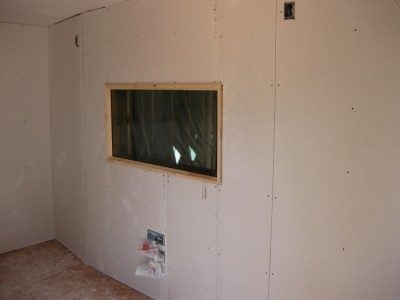
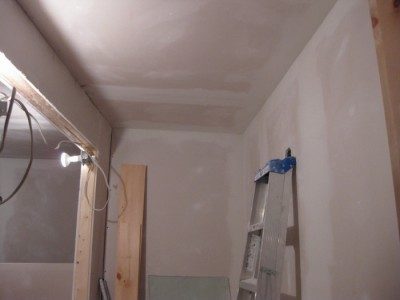
1st layer of drywall is going in. It certainly is a good thing that I had help working on the ceilings - I wouldn't have got it done by my self!
I'm a little torn as to how to fill the seems between sheets. If I used the Tremco acoustical sealant I'll have to tuck tape it all so it doesn't get everywhere. Otherwise, I could use a white silicone caulk or simply use drywall compound.
Drywall compound really isn't much of an option since it will obviously crack and pull apart pretty easily with the shifting of the structure. Any thoughts on using silicone?
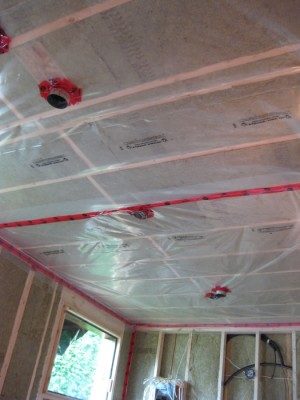
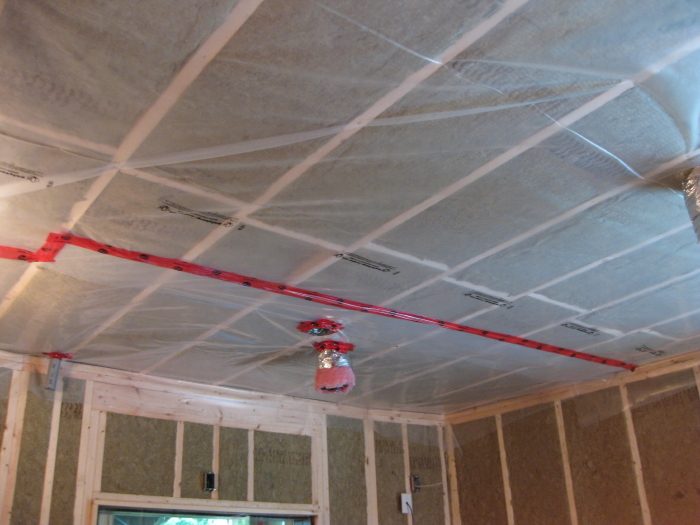
The gaps around the ceilings have been filled so far with Tremco and covered with tape before the walls got their drywall.
1st layer of drywall is complete.
I think I might go with acrylic painters caulk for most of the wall seams and around wall boxes. Floor seems will still get the Tremco Acoustical sealant covered with tuck tape and I may also use Tremco on spots where the wall seams will have to be aligned on both layers (corners, etc.). And any large gaps will get Tremco. And I'll probably fill the screws with drywall compound.
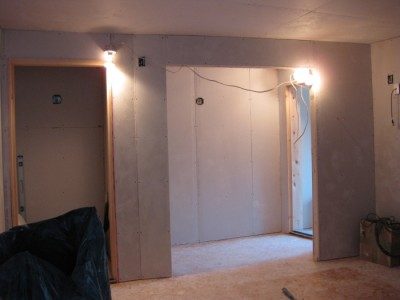
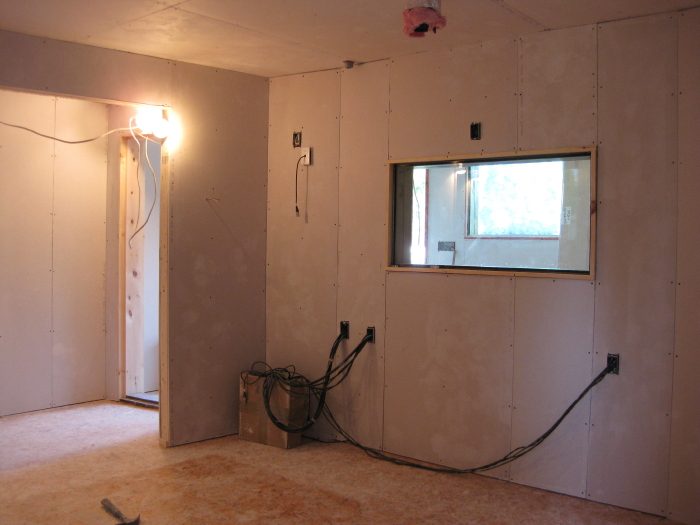
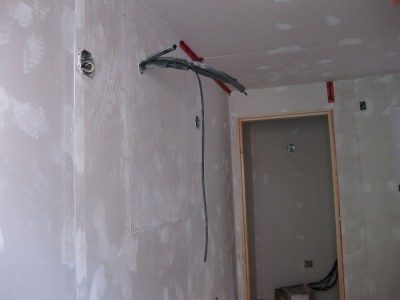
My HVAC contractor and I decided the best way to put in the air handler units would be to hold off on the drywall in those areas until we can know exactly where the units will sit and exactly where the tubing/cabling will need to poke through the wall - thus the hole at the back of the control room.
quick update - not much exciting:
1st layer of drywall is caulked, mudded (screws) and ready for the 2nd layer. And my HVAC contractor and I finally finalized the location of the air handler units so we knew where the cables needed to punch through the drywall.
Getting there!
Do you have any idea of how much this has cost you to date?
Hi Jan - welcome to the forum!
I've put out around $14 600 so far - but there are also a few very large items/services that have been or are in the process of being received but aren't yet paid for. Including those I'm right around $22 000. $20 000 was my initial budget. I think I'll quite easily be around $25 000 invested by the time I'm done.
All the best in your build!
I've put out around $14 600 so far - but there are also a few very large items/services that have been or are in the process of being received but aren't yet paid for. Including those I'm right around $22 000. $20 000 was my initial budget. I think I'll quite easily be around $25 000 invested by the time I'm done.
Thanks for posting the figures. Do you envisage getting the income to keep pace with making a living, maintaining the studio and future refurbs?
JB
Ok - update:
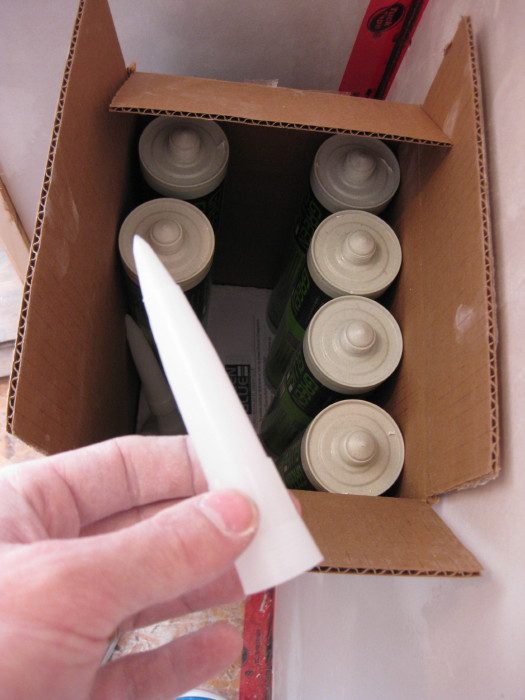
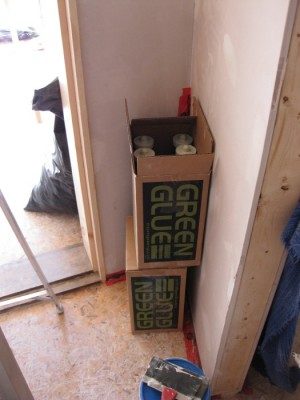
I wasn't planning on using Green Glue but decided that isolation from my neighbors is worthy investment. I got two cases at $15.97 Cdn each - picked up locally from a distributor in Mississauga (about a 40 minute drive each way).
I planned on the minimum recommended coverage of 1 tube per 4x8 sheet to go in the live room and iso booth. I was really impressed with the removable nozzle that come with the tubes. This allows you to get all of the material out - usually the portion in the nozzle is wasted. Fantastic! :)
I've done some mudding and taping before but had slightly less than professional results. I was determined to do better this time.
And then yesterday and today I was priming! I worked for a few years as a trade painter before engineering started paying the bills. I always found that a coat of primer really showed where the imperfections in the mudding/sanding were. So after the second coat of mud I decided I'd prime everywhere and then go around with a light and patch up where it was needed (did this as a matter of course as a painter).
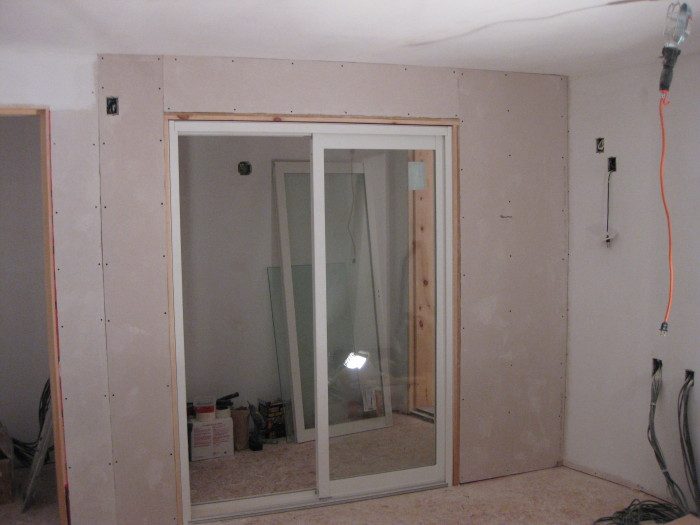
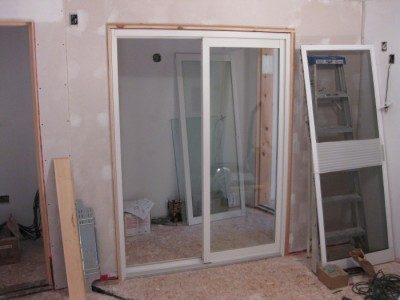
My sliding glass door has taken a ridiculously long time. I decided to hold off putting up the second layer of drywall around where its going to go. Once I've got it I'm going to install the jams to ensure a snug fit and then finish off the drywall and install the door. I probably didn't really need to wait since I know the dimensions of the door, but I made that decision a while back.....The door is supposed to be ready tomorrow.
Once all the patching and priming is complete I'll be moving on to painting, installing doors, flooring and trim in that order. While I'm doing all that my HVAC contractor and electrician will be out at some point to finish up there part.
Almost there!
I've really been slacking with the updates. I've been pulled away a few times from the project by the need to earn money :roll: but progress has still been happening so I'll try to get all caught up with a handful of posts.
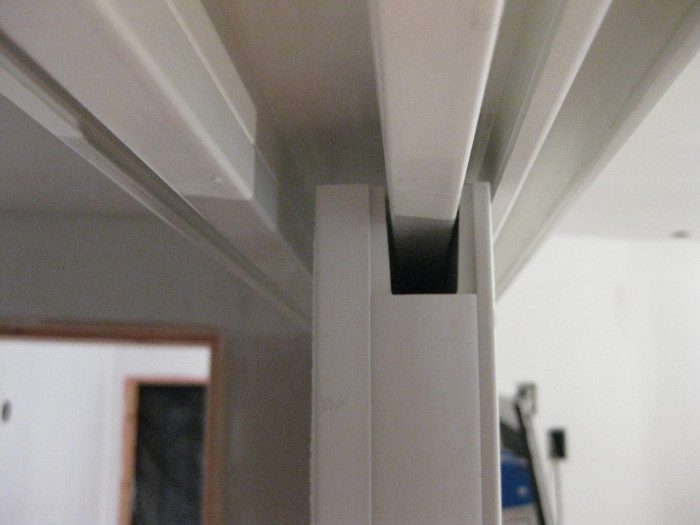
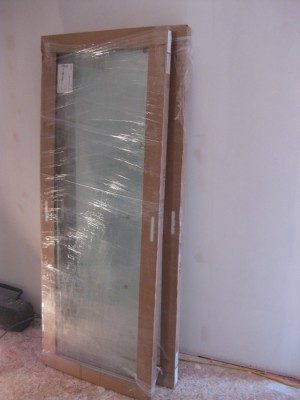
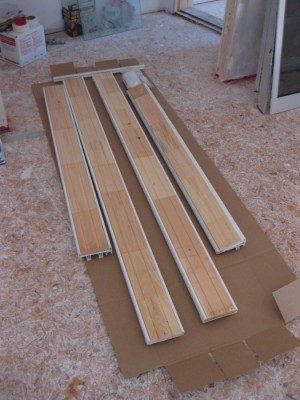
The sliding glass door took 9 weeks from order to pickup! Pretty awful. But everything was as ordered. It cost an extra $75 to have it assembled by the manufacturer so I tackled that myself. Actually assembly is still in progress but the frame is in.
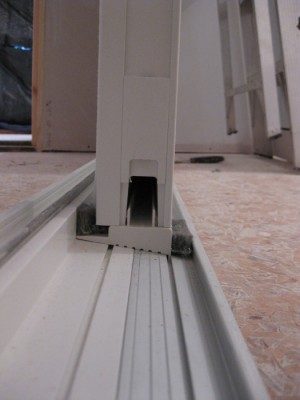
One concern I had was the large amount of hollow space left for getting the panels in and out of the track. This is a serious weak point for sound transmission but obviously necessary. I could stuff some insulation in there on the fixed panel but the slider's operation would be hindered if I put some in its cavity so I'm not sure that'll work.......
Once the slider frame was in I finished off the 2nd layer of drywall around it.
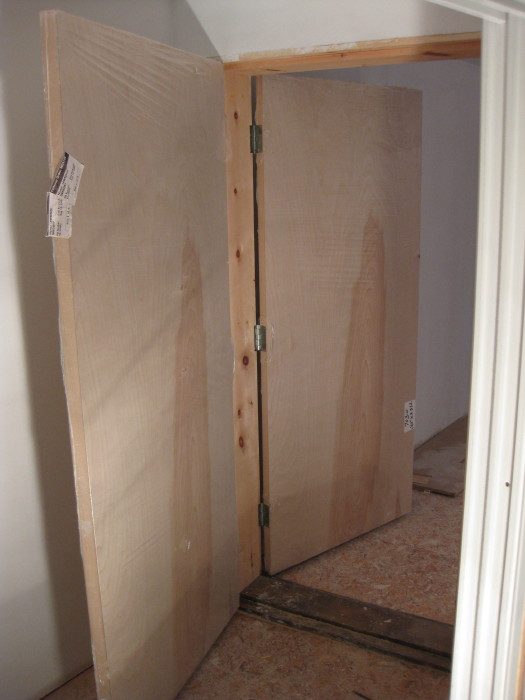
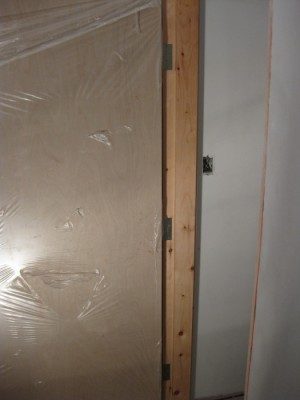
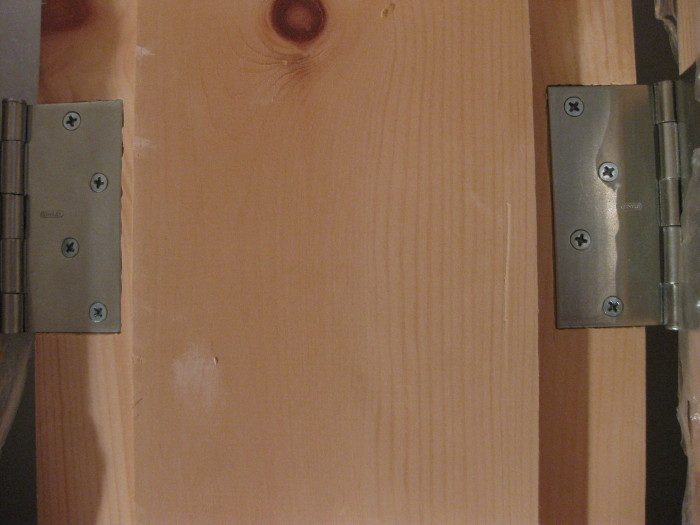
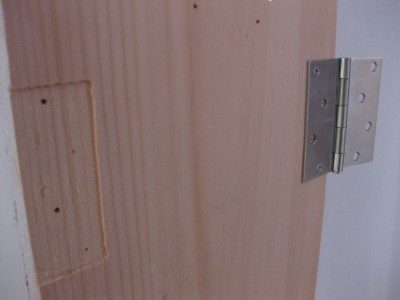
Next up was installing the rest of the doors which meant first cutting out the slots for the hinges on the jams and doors. I borrowed a baby router from a buddy. This was an invaluable tool. The process was to measure out the location of the hinge, screw it on temporarily with a couple screws, score/trace it out with a utility knife, pull the hinge off, router the area out and then finally attach the hinge. I did this 42 times! (7 doors, 3 hinges each door - door and jam).
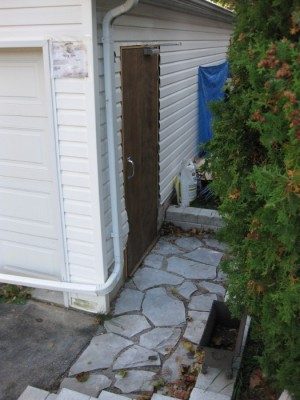
My two door openings to the exterior were both too small for the doors for a few different reasons. That meant I had to rip the doors down to size. At first I thought I'd use a table saw but the doors were so heavy and wide that it would be extremely difficult to keep them tight against the fence while cutting. So I decided I should use a circular saw with an dependable attachment guide/rip fence. I have two circular saws, a $50 Ryobi and a 20 year old Black & Decker. I trusted neither to do the job properly so I planned to rent a saw. The first Home Depot didn't even rent a circular saw - the 2nd had one but didn't have the guide for it. PITA!
In the end the doors got cut and hung.
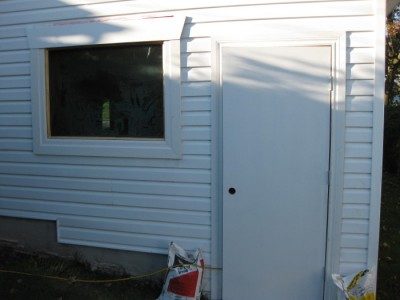
We got some unusually cold weather and I realized I'd better hurry and get the exterior work done. The windows and doorways needed trimming out and of the course the doors had to get painted/stained and all sealed up.
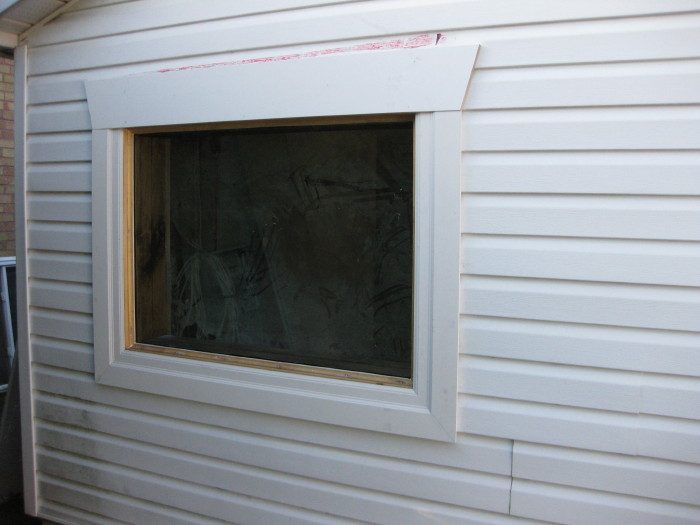
The windows that were originally installed in the garage were taller than what I was doing which meant I either needed to fix the siding on the exterior or create a trim finish large enough to cover everything up. I used a 1x8 primed board to create a sort of 'lintel look'. It didn't quite cover the red tuck tape residue from my garage bag covers I put up so I'll need to take that off with some glue remover or something.
I REALLY love the combination of stone wood and metal so I'm quite excited about the way the front entrance is looking! Still need to get that door trimmed out. You can see that I installed a door closer - one will go on the rear entrance as well.
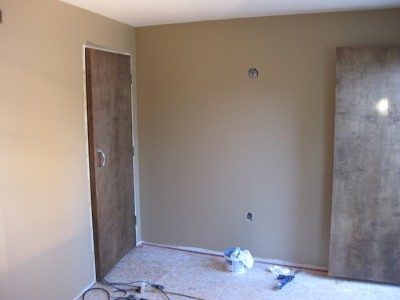
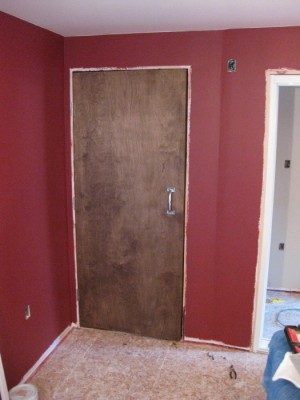
Then I threw up some paint and stained all the interior doors.
Electrician should be out this week to get power all hooked up! My flooring is ready on Tuesday so I'll probably get that in right away and start trimming out the interior. I bought a bunch of ball catches/latches for the doors - once they arrive I'll work on the seals for the doors. And next week my HVAC guy will be out to get that all going.
And that's about where things are at. Slowly but surely.