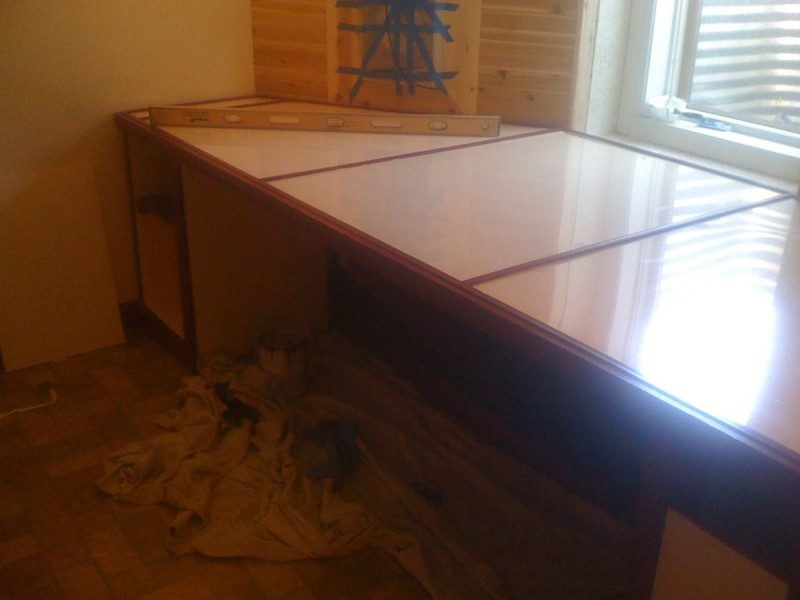
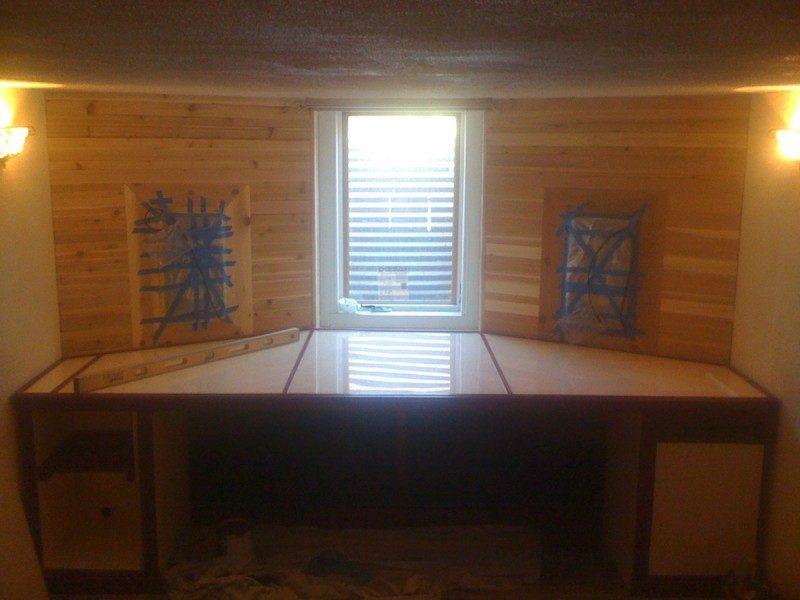
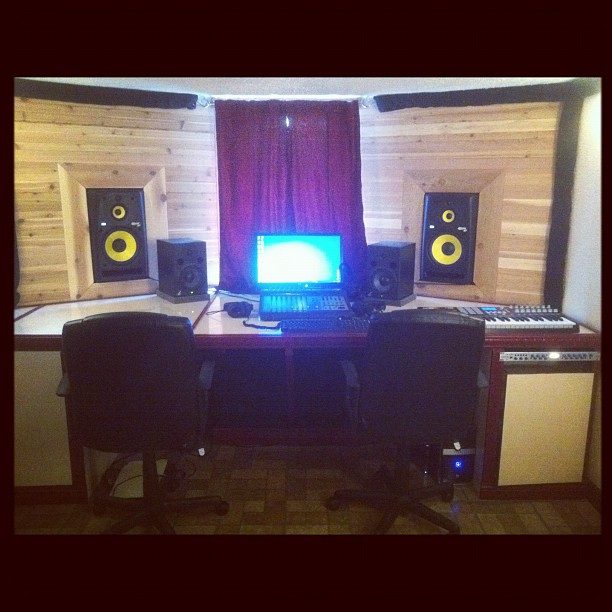
What started as a simple basement re finish project has turned into a home recording studio project and more. From throwing some walls up and picking out laminate flooring I have somehow fallen into reading and studying sound reduction index graphs for various door constructions (thanks xspace! - next time "BBC door blanks" comes up in casual conversation I will be ready!) and learning and actually considering bringing out a wet saw to cut open the entire basement floor.
I continue to be amazed at the volumes of great technical and practical information to be found on this website.
I started a thread with a somewhat dumb question about walls that seemed to devolve into a build diary (here: http://www.johnlsayers.com/phpBB2/viewtopic.php?f=2&t=17345 ). So I thought I would migrate to this part of the forum.
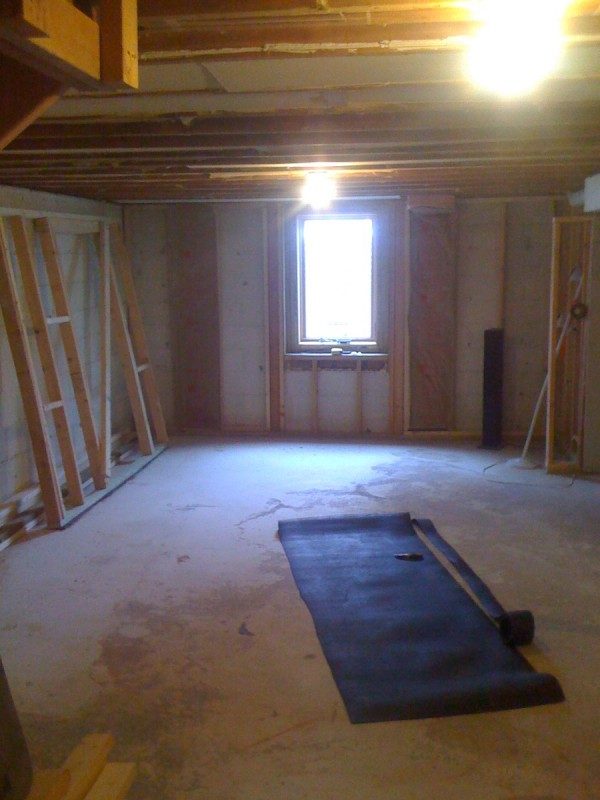
Particulars: Basement with low ceilings. It is a decent space that was intended to be an additional bedroom with a small studio attached but, plans change and the studio room has taken over. There are obstructions and ducting, plumbing and beams all to contend with. Despite these issues and with my limited abilities and time I have decided to make a go of it as best possible. Hopefully, some level of isolation can be achieved and a decent recording space can be created.
Budget: is limited- this is a rental property with several other projects - bathroom remodel, kitchen remodel, etc - currently ongoing. I am trying to piece a reasonable budget together but, really took a step back when researching door and window costs. If I can get some time I will try to formalize what I expect to spend but really, it is hard to pin down at this stage of the game.
Use: Here I am less clear - I will not be the end user, tenants will be. While I can strum a guitar and make it sound somewhat in tune, I would never call myself a musician. The end use will be for creating, mixing and recording hip hop as well as designing beats and DJ type stuff. Those who plan to use the space eventually are my grunt workers. However, it appears I am the only one seriously considering the acoustic ramification of the construction. These guys just want it done ASAP so they can play. They are more willing than I to cut corners for the sake of schedule.
Plan: I plan to get a vocal booth up and running ASAP. Then the rest.
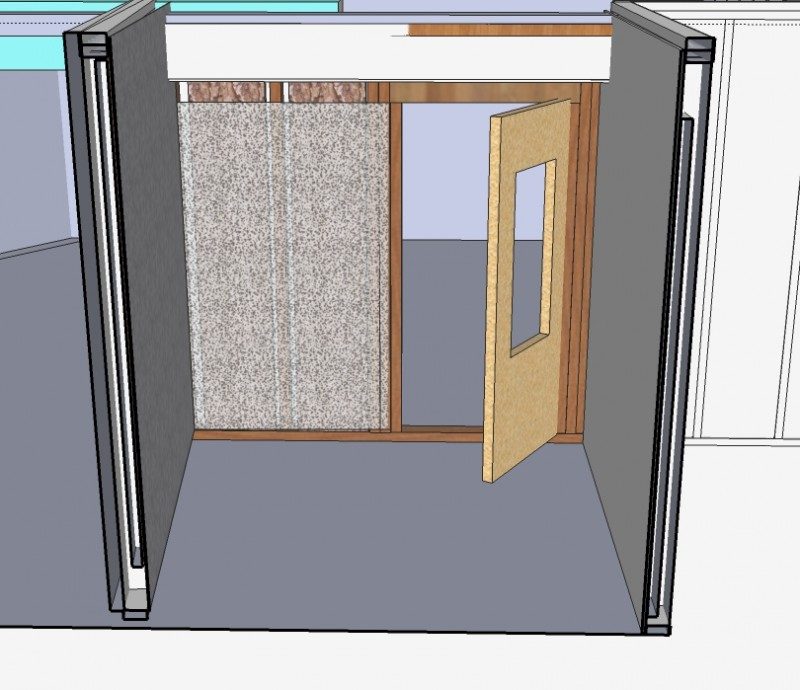
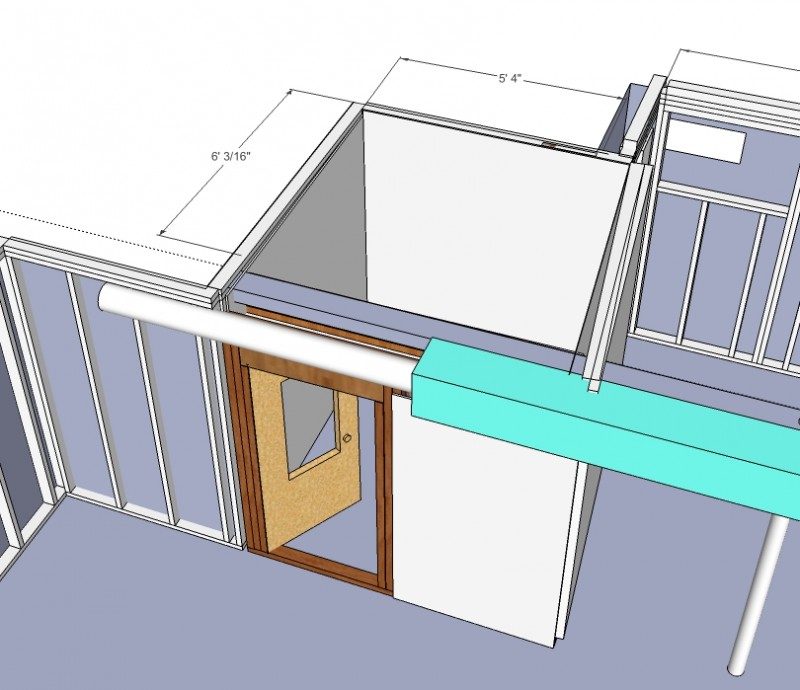
Critical issues: Low ceilings and beam. Because of room layouts I need to frame up a doorway under some ducting and support beam. I considered a few options but, I think I am set on a double walled construction between CR an vocal booth. which leads to the low doorway. I will need to either get a pair of solid core doors and cut them down or some MDF sheets, etc and bolt together a hobbit door. Framing will be a pain and I will need to make some soffits on the vocal booth side. Also - not sure about the ceiling inside the vocal booth. Need to take another look.
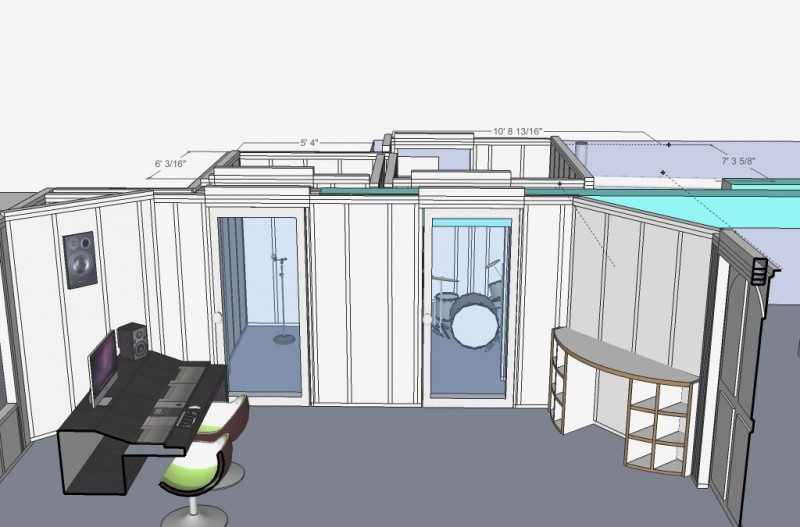
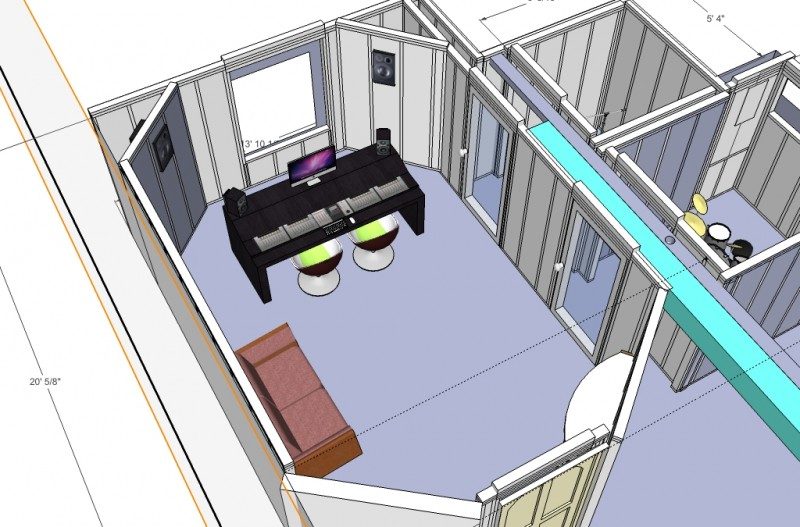
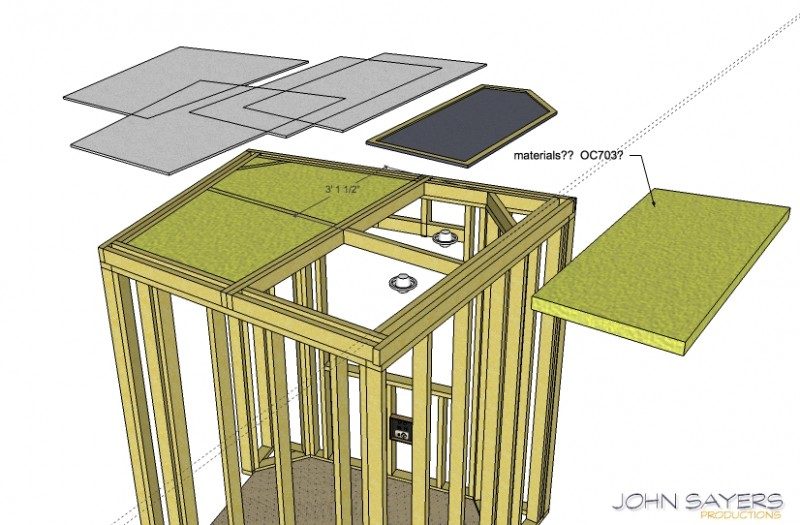
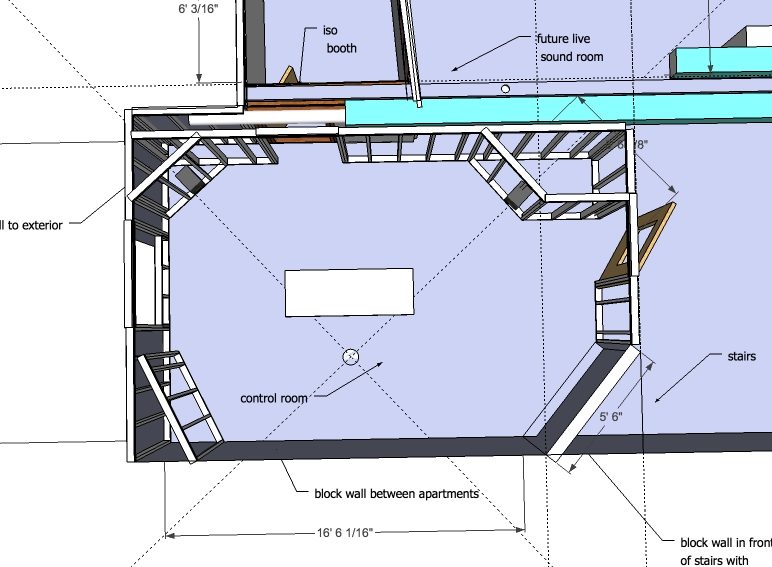
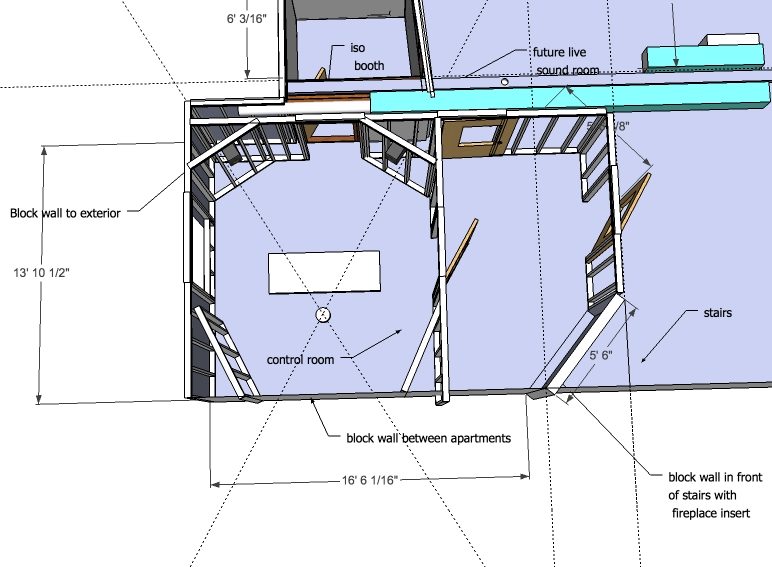
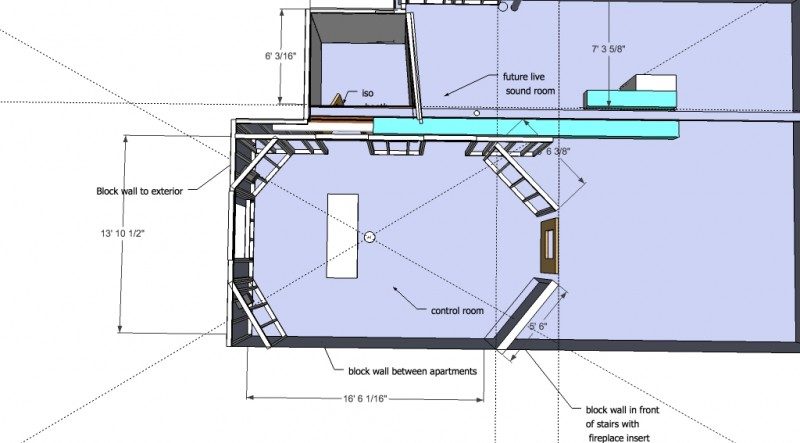
Here is the overall plan and a sketch up file of just the vocal booth section. Some framing done but, more will go up in short order.
Thanks for looking - cajole, criticize and condemn at will. I am open to ideas.
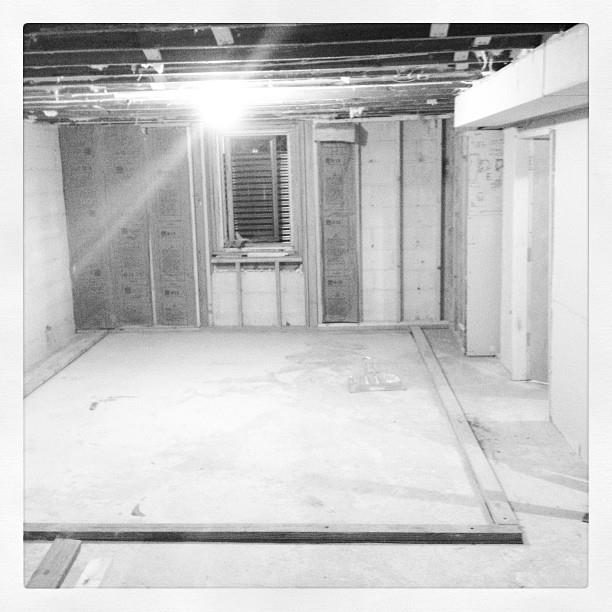
A few additional details: The exterior walls are below grade and made of hollow cinder block. There is a egress window along one wall. The floor is a typical poured concrete slab. Ceiling is 85" at most places. Something like 76" under beam. The building is 50 or 60 years old. Forced air heating and AC.
The booth I am planning will be installed with two side along the block wall. Drywall will be installed on the interior side of these walls (i.e. the side you see when inside the booth). The other two walls I planned on building as "inside out" walls with drywall on exterior of booth and insulation and cloth covering facing inside. My thinking was to finish will wood slots and use as absorption. So two walls faced with drywall and two with cloth covered insulation. Also - possible addition of some corner treatments.
I am estimating the vocal booth will cost $1500-$2000. The majority of which will be door and door hardware.
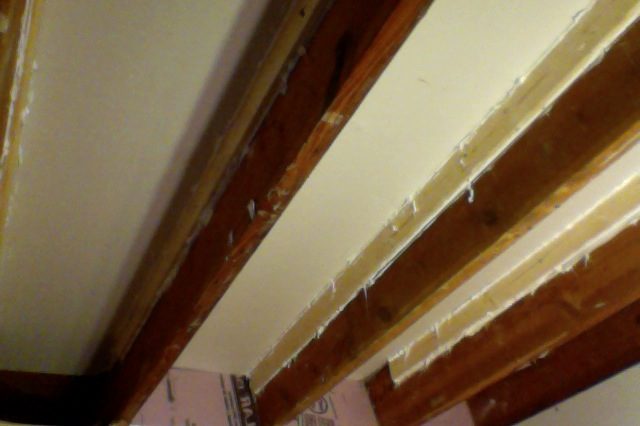
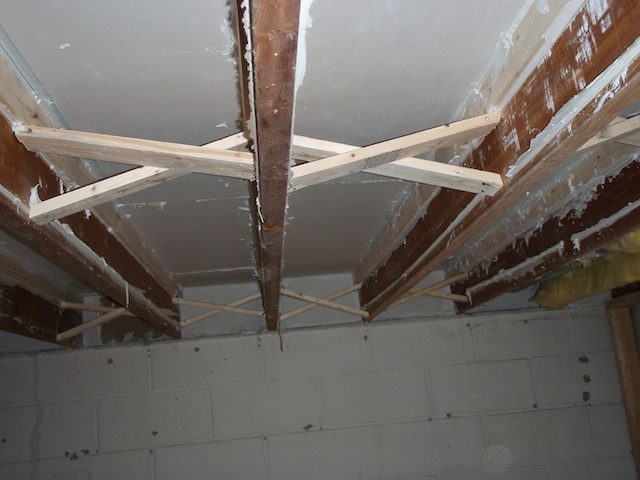
Some progress made - mostly preliminary work. Getting existing ceiling structure some additional mass and caulking the heck out of it.
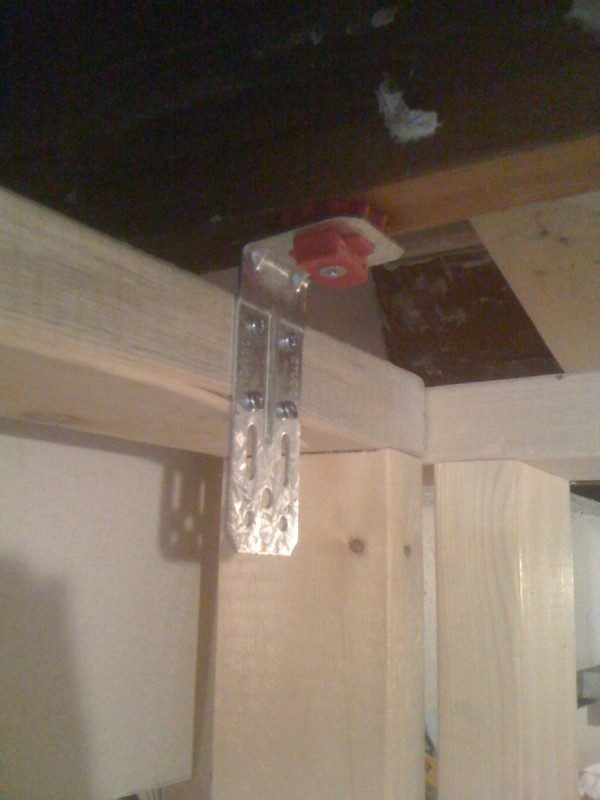
We should be framing up the vocal booth today. I am still a little unclear about the ceiling of the booth. My plan at this point is to build the booth walls 3" or so below the existing ceiling and somehow sliding a built ceiling over the top then securing and caulking (somehow). I also saw in John Shryrock's post (http://www.johnlsayers.com/phpBB2/viewtopic.php?p=51632) that they used metal brackets (similar to what is used to build outdoor decks) and built a mini joist structure to hang sheet rock from. This, obviously, would also work but, I was unclear as to how you would later caulk up the seam where the ceiling and walls meet.
From dissecting the self standing booth Mr. Sayers posted a while back, it appears a basic frame minimally strong enough to support two sheets of drywall and the insulation. Does not appear to hold to 16" OC stud framing or the likes (but the sketch up may well be just a rough representation here). From re reading the early chapters in Mr. Gervais book, there is a section about adding more acoustical absorbing materials to iso booth ceilings (also covered later in the section about ceiling clouds). Just wonder what would be used in a design similar to the simple design John posted. Are those ceiling sections more ridged insulation? Are those lights supported by the ridged insulation?
The rest of the iso booth is similar to John's in that it is made with the "inside out" wall approach, two layers of 5/8" drywall on the outside and wall cavities filled with mineral wool insulation, cloth covering, etc. However, our ceiling height is much lower. Existing ceiling is 7ft so things go south from there.
Trying to develop a decent CR layout while also fully utilizing the space. Reviewing nodes and modes but, I need to pin down a layout more before I go crazy (-er). A couple options:
1) roughly as currently planned. Speakers soffit mounted on either side of window and desk facing to outside world. To the left of the desk is a block wall. To the right will be doors to iso booth and eventual second recording area. Behind is a angled block wall, new doorway and new wall. With this set up treatments of the back wall will be difficult due to door and since one side is cement block wall. Possibly movable panels/traps could be used and wheeled behind mix area in when actual mixing going on.
2) turn desk and mount speakers in soffit on either side of iso booth door. Cut room down in size and try to create second room between main door and CR room. I think this set up may give the best room acoustics and options for adding treatments. Wall behind is a block wall that divides apartments and inside out wall or other base traps would fit. Also so overhead sound cloud might be possible in front of iso booth door. However, it also does not utilize the space fully in my opinion.
3) expand to use full room and attempt some 90 degree speaker angle soffit configuration. Not sure if this is realizable. It does have advantage of utilizing space. Also that wall behind could be thoroughly treated.
These are rough layouts but, you get the idea I think.
Opinions?
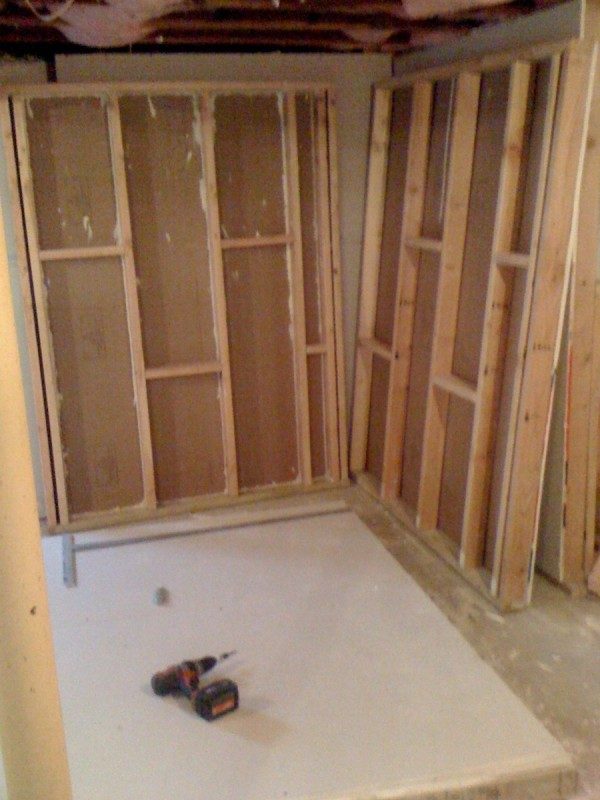
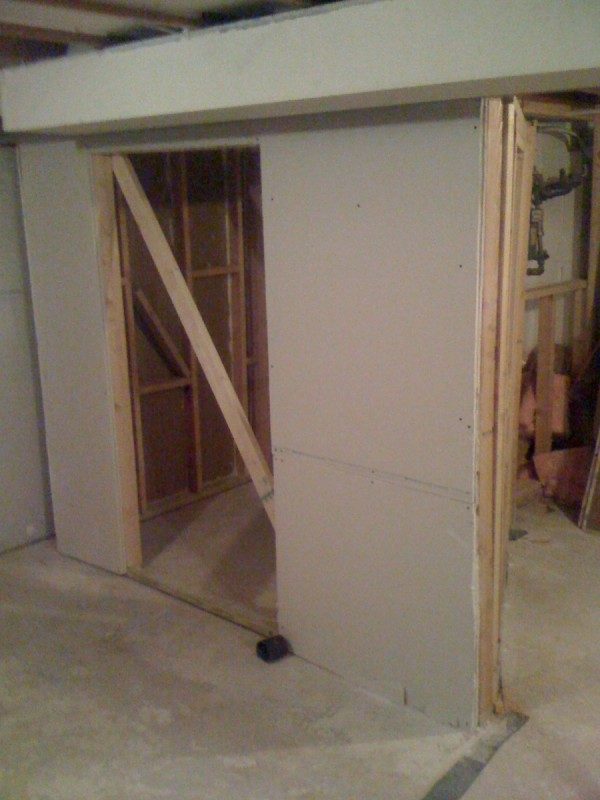
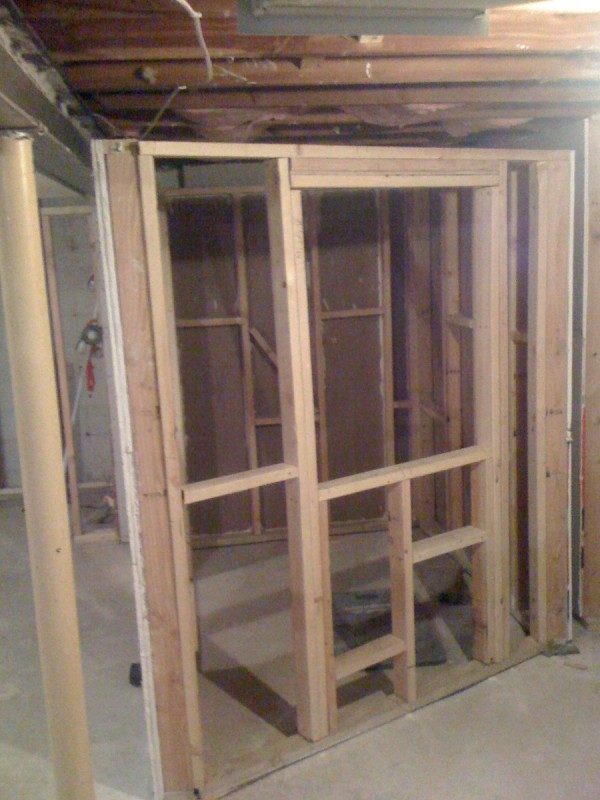
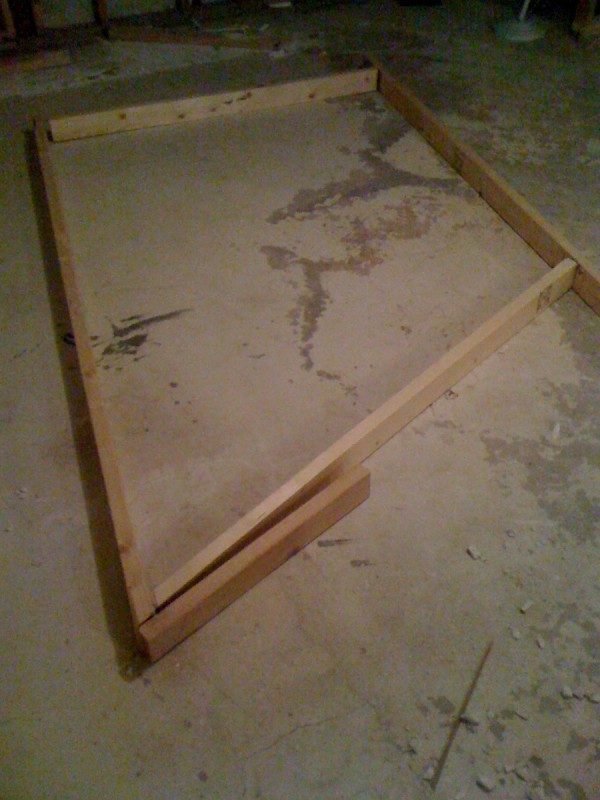
Photos of iso booth walls getting built. Plan is to use 3/8" lag screws to fasten walls together then caulk. Looking for something beyond caulk to place between studs on wall sections (compressed mineral wood?). Top of booth will be built next. Found some rubber pad material to cut up and use under each wall section just to decouple slightly from cement floor.
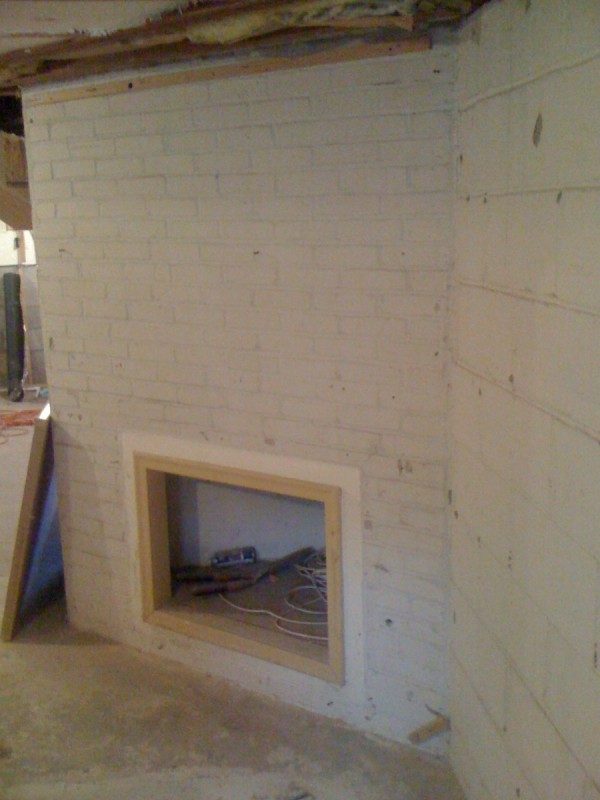
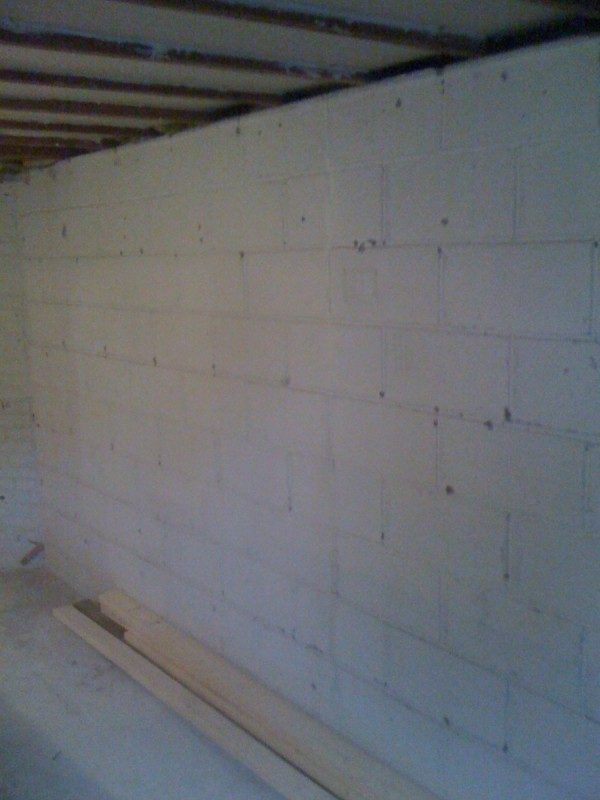
IMG_1320.JPGPhotos of block wall that divides between apartments and the opening in wall that I am not sure what was for (a TV?). Could make a bass trap but, it is part of foundation for fireplace above - direct path for sound. Was original plan to install a electric fireplace type insert (i.e. when this was to be a bedroom). These two walls are opposite from where iso booth door is and form the perimeter of where the CR will go. Looking for ways to seal it tight so likely will need to built framing and sheet rock (inside out wall?). Not exactly sure the best approach to building out from these walls.
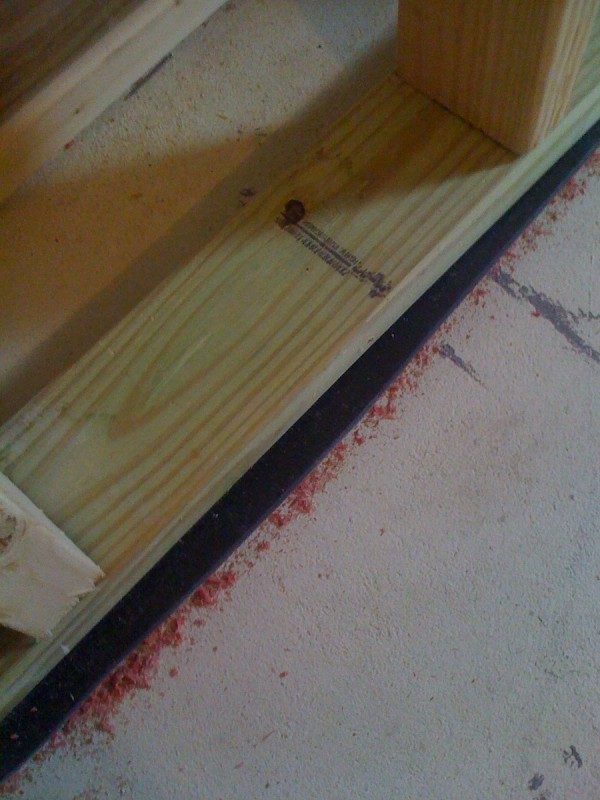
Found some rubber pad material to cut up and use under each wall section just to decouple slightly from cement floor.
That's not much use! You have to put anchor bolts through the framing and into the concrete floor, so the framing is going to be coupled to the floor, regardless of the rubber...
- Stuart -
Ooooh. I guess that's true but I was actually considering NOT anchoring iso booth walls to the floor. My thinking is (was) to assemble walls together and securing top and just letting this small room sit on the cement floor. Seems small enough that it would hold together. However, I realize i might be dreaming and once door is on things might get wobbly. I figure I can always anchor if this doesn't fly. Other walls are anchored. Just was just gonna leave the iso booth loose. But, with anchors, I agree, rubber pad is kind of useless.
Thanks for getting me to rethink this.
but I was actually considering NOT anchoring iso booth walls to the floor.
:shock: Ummm.... Did you ask your local building inspector about that, and whether he would pass it? :D
I figure I can always anchor if this doesn't fly.
Actually, if you DON'T anchor it, I think it might "fly".... especially if there is any kind of vibration going on in your house... not to mention what would happen in even a mild earth tremor...
- Stuart -
Oh darn - forgot about opening and closing the door!!! Yes a couple anchors may be prudent - don't want the booth to walk around the cement floor like some franken-studio monster (it's alive!).
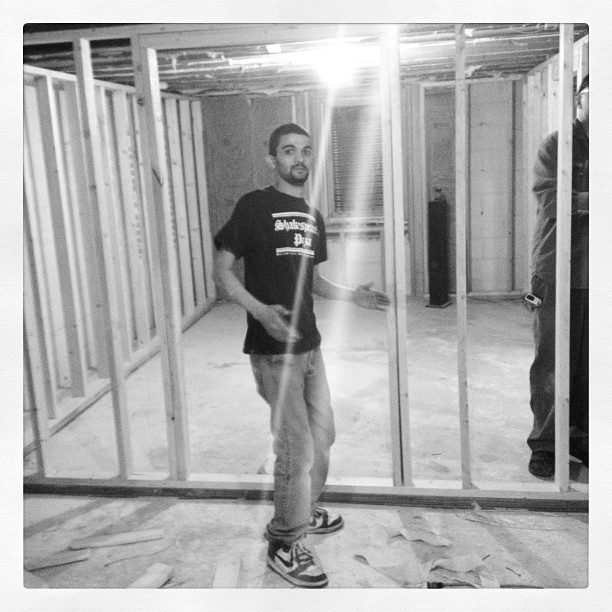
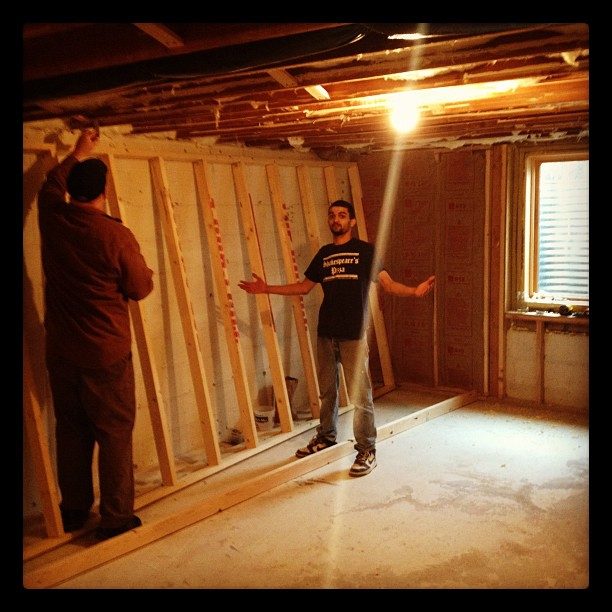
The individual wall section went together somewhat reluctantly. Do to some twisty wood studs, not so great carpentry and a nailing mishap, one wall did not really fit right. Fairly amazing how much wood will bend and deform when pressure is applied (and a few choice words are uttered). We got it all to fit in the end.
IMG_1330.JPGIMG_1332.JPGThe rubber was really not a big deal. Just something I saw cheap and attached to the bottom of the wall studs. Took only a few minutes - I will add this to the growing list of stupid ideas I have wasted time on.
IMG_1326.JPGIMG_1324.JPGThe roof of the booth is the next monster to be a tackled. Some strange angles to be worked out.
IMG_1329.JPG
The rubber was really not a big deal. Just something I saw cheap and attached to the bottom of the wall studs. Took only a few minutes - I will add this to the growing list of stupid ideas I have wasted time on.
Maybe not totally wasted, if your floor is uneven! At least it helps to create a better seal in those cases, and a good seal is very, very important. If you already have the rubber, and your floor is uneven, then you might as well use it.
Also, you should check your local building code to find out what type of anchor bolts you need, and how to space them: There's a reason why thy put those things in the code: Your own safety!
- Stuart -
you should check your local building code to find out what type of anchor bolts you need
Will do Stuart. I used tap cons of a certain length and spacing previously based on code but, I should re look. Thanks.
Some of the local inspectors have been less than ideal. Freaked out about drywall on outside of framing (even with extruded insulation sheets against block wall first) and decoupling walls from building and really got confused about the iso booth ceiling. They were the ones pushing me into closed cell spray foam insulation. Electrical inspector has been better but, I have not talked to them about star grounding yet.
On the next phase we are looking to build out the CR. Despite struggling with room rations I think we will proceed with original layout (option 1 above). Looking a two ways to isolate.
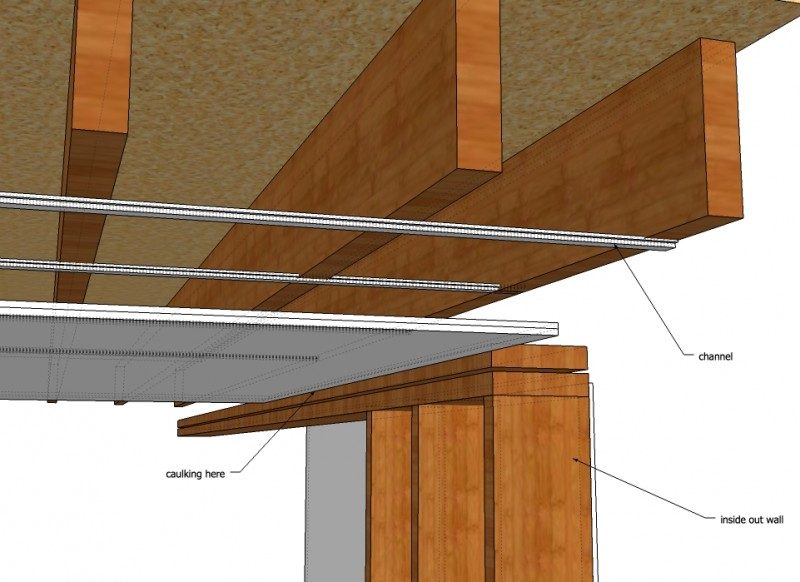
One being building inside out wall parallel to block wall that separates apartments and then using RC mounted on ceiling joists to hang sheet rock.
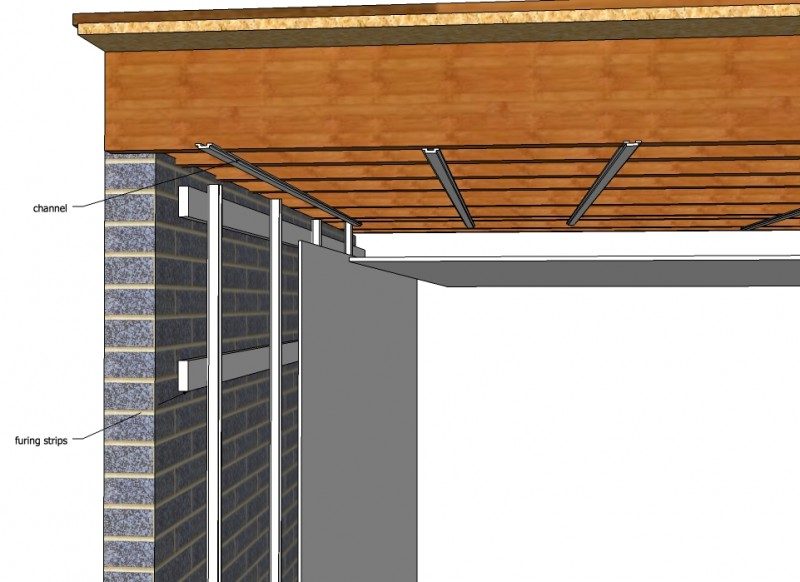
ceiling 3.jpgSecond is to use furring strips or other framing secured directly to block wall and install RC to wall and ceilings. This saves a some space for later treatment but, I think I am losing my spring? Block wall- small air space spring with Channel- sheet rock. Have I coupled to much to the block this way? Probably better to build full frame? I need to look at the details and requirements for the RC stuff. Never used anything like it before. Looks time consuming! But from what I am reading it seems to work well.
ceiling 4.jpgI really appreciate your comments. Thanks again.
Post edits:
OK - I see the RC needs to be installed horizontally on walls. So the image is not correct but, it is the concept I am wondering about- securing to block wall.
OK- I see this is likely not the way to do things (attaching directly to block wall).
Do not do the RC on furring strips like that! Not even if you do it horizontally. You need at least a 4" air gap in there, or your MSM resonant frequency will be rather high, and your low frequency isolation rather poor. Once you start getting below a gap of around 4", the frequency rises pretty fast.
Another way of looking at it: you'd be building resonant cavities along the side of your room, that will sing along with the music... or rather "sing along" with parts of it, and suck the guts out of other parts...
- Stuart -
Thanks again for the help - of course, like everyone, I always want more.
Had a couple seemingly small questions.
1) when adding mass between joists to existing ceiling deck we are using ledger board nailed to joists to hold drywall board in place, then adding bracing. Does the ledger board need to be run the complete length of the joist or is it OK for it to be just run at intervals? We have been going the full length and that appears to be what the Rod Gervais books says but, thought I would ask.
2) thickest glass my vendor sells is 9/16" laminated glass (not sure what thickness the two laminated pieces are). Smaller sizes are fine (i.e. 3/8th) I bought a piece of 1/2 for one side of window in Iso booth. My plan was to install other half down the road, however, I am not sure I like that plan anymore (can not see a way to get a good tight wall framing around window doing it half now half later). My question is should I just go 3/8th on second side or would 9/16th be better? I was thinking 3/8 would suffice even though it is not quite the 3/8th and 5/8th Rod's book recommends for laminated glass equivalent of two sheets 5/8th drywall.
3) trying to assess the different clips and channel assemblies available and potential labor required. Are any one of the clip systems (isomax, whisper, Genie) easier to assemble than others? Is using Rc-2 directly attached to joists least labor intensive? I am having a little sticker shock after talking to several vendors of clips systems - I think I really underestimated the number I would need. So I am re-evaluating and leaning toward RC-2 attached to ceiling joists.
Thanks again.
Trying to get a read on how many of the WIC clips I am going to need.
Rod's Home Recording Studio book seems to imply using just one every 8ft (section A-A , fig 10.9 of second addition).
From Mason Industries:
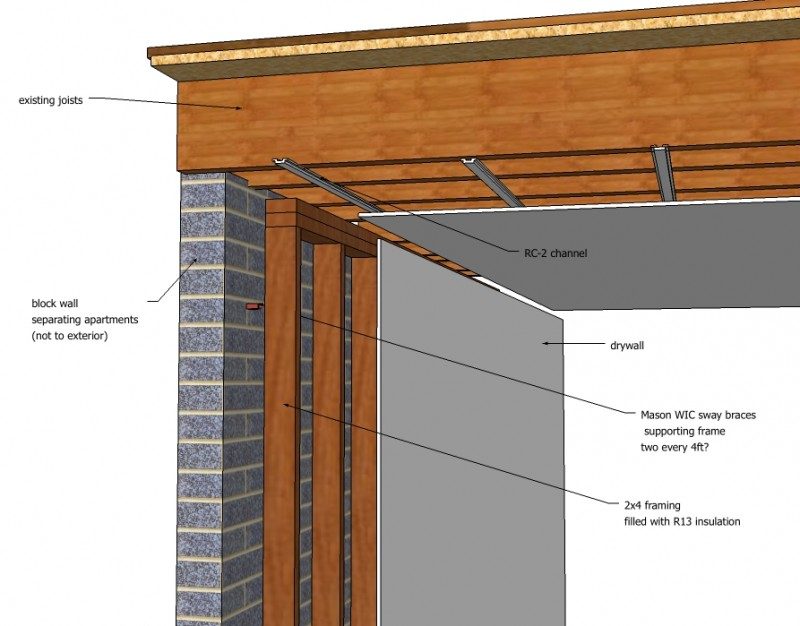
Braces are normally placed 4’ apart horizontally with the vertical spacing of rows dependent on the height and thickness of the wall. It is seldom that more than two rows of braces are required.
Our walls will be 7ft and secured to the cement floor with tap-cons. Since these WIC braces are not cheap it would be nice to minimize the number I need. IF I used just one row every 8ft that get me down to 10-12 WIC braces. Every 4 ft with two rows make more like 48.
ceiling 5.jpgAlso - I see that in places where there are only joists overhead and no outer wall structure to attach to, the Home Recording Studio book recommends attaching framing to RC-2 channel mounted on ceiling joists (section DD, fig 10.12 in second addition). This seem preferable to (and easier) than using something like the Acoustigaurd ISO-Braces which I was originally considering. My only concern is getting framing to that exact dimension (i.e. to meet the bottom of RC-2) given uneven floors and really bad carpentry skills. I guess the shims will be coming out - hack carpenter's best friend! (there is a reason I did not post pictures of the window framing - ugly!)
A few updates and photos:
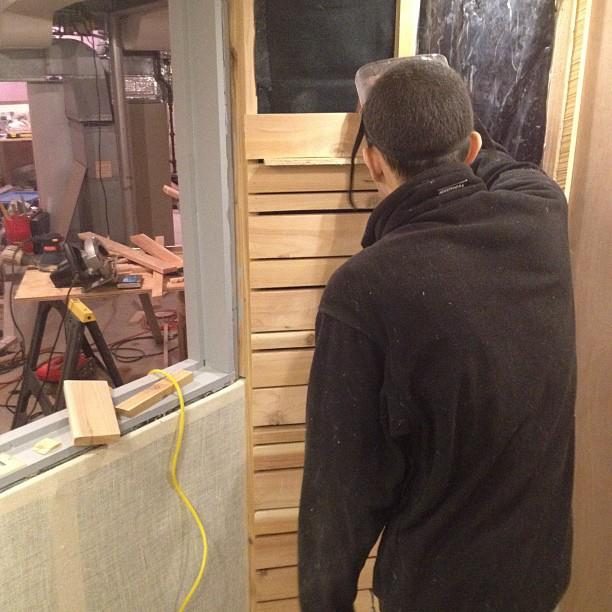
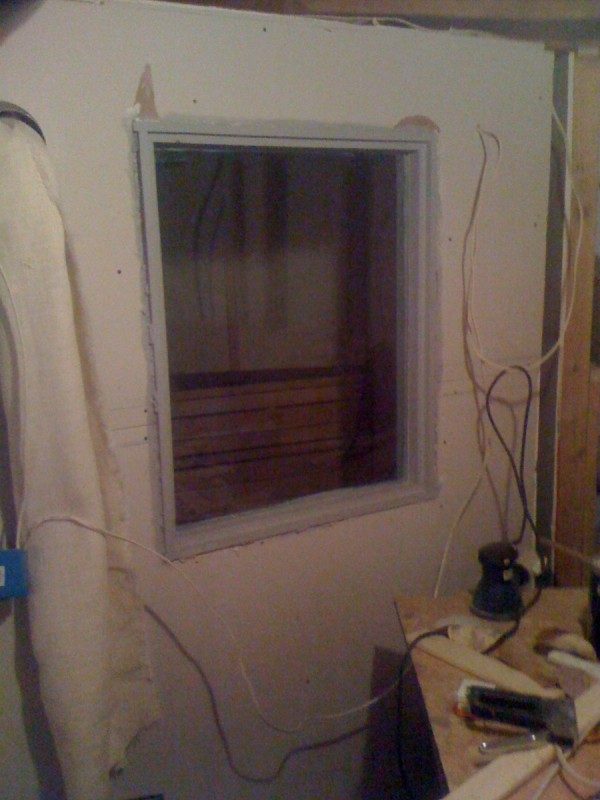
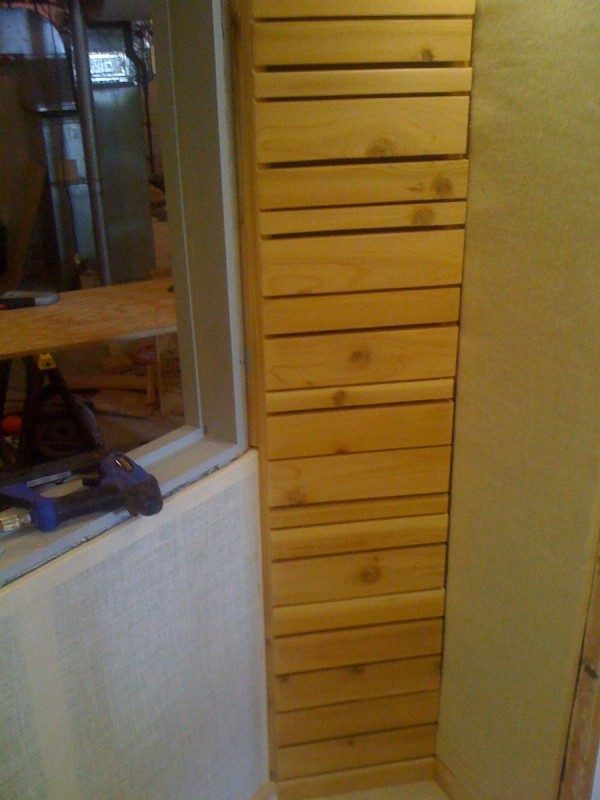
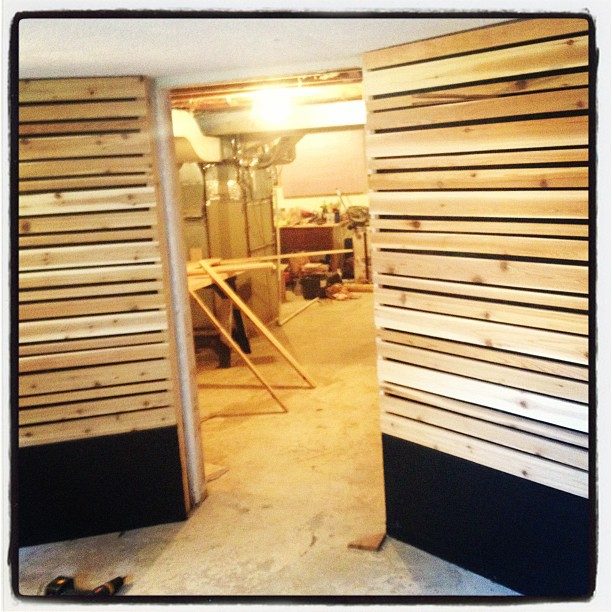
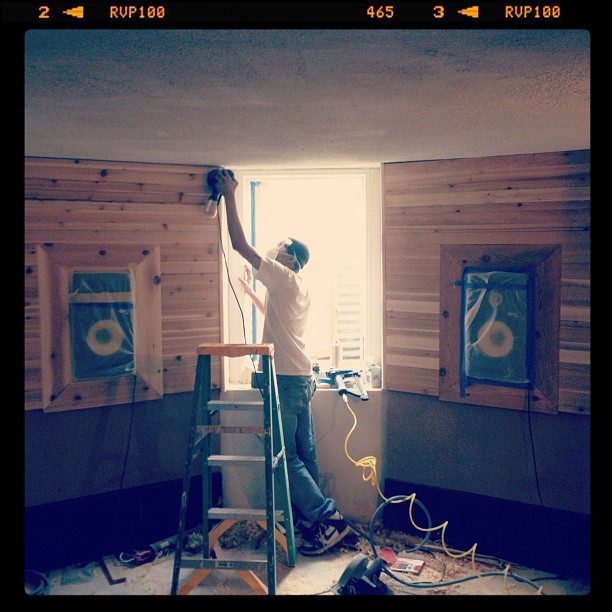
-Vocal Booth near complete. Finish work and cedar trim work. Door needs to be cut out for window and sweeps added but might hold off until all else done. Window ready to be installed.
-additional mass and cross bracing added
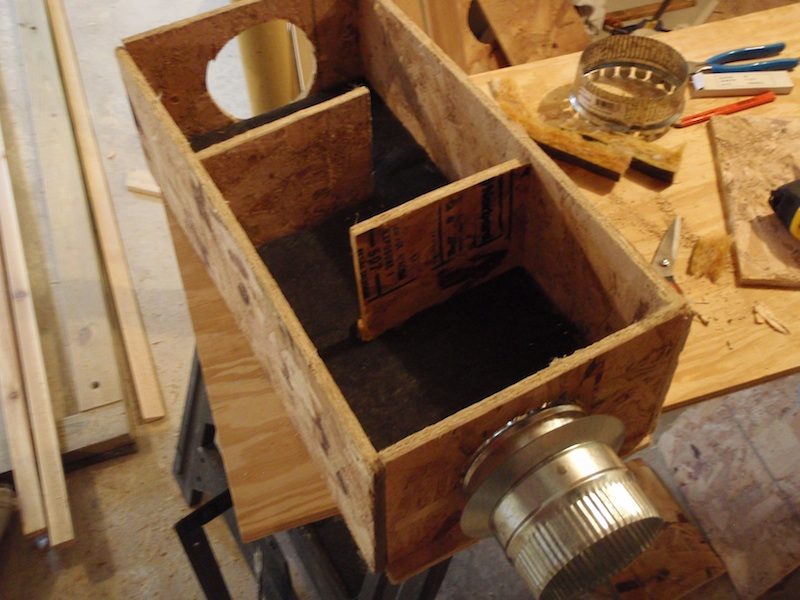
-HVAC silencers and ducting underway.
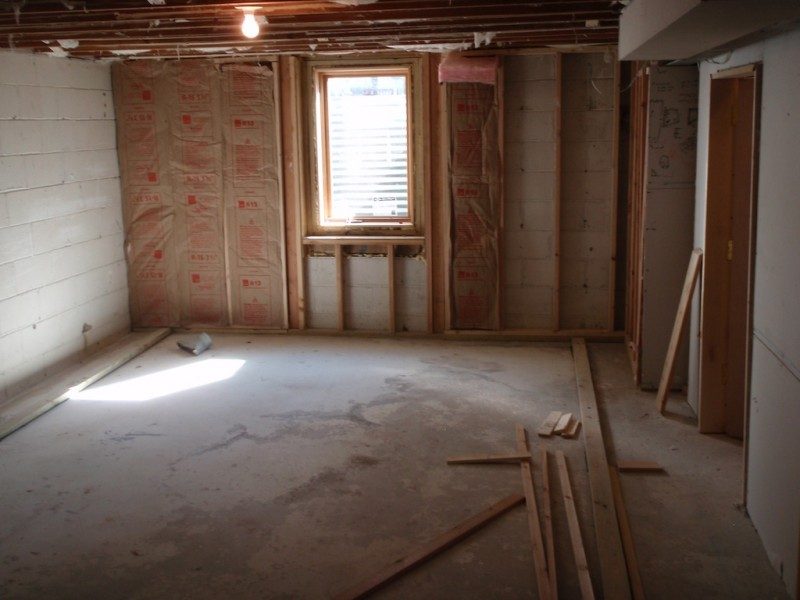
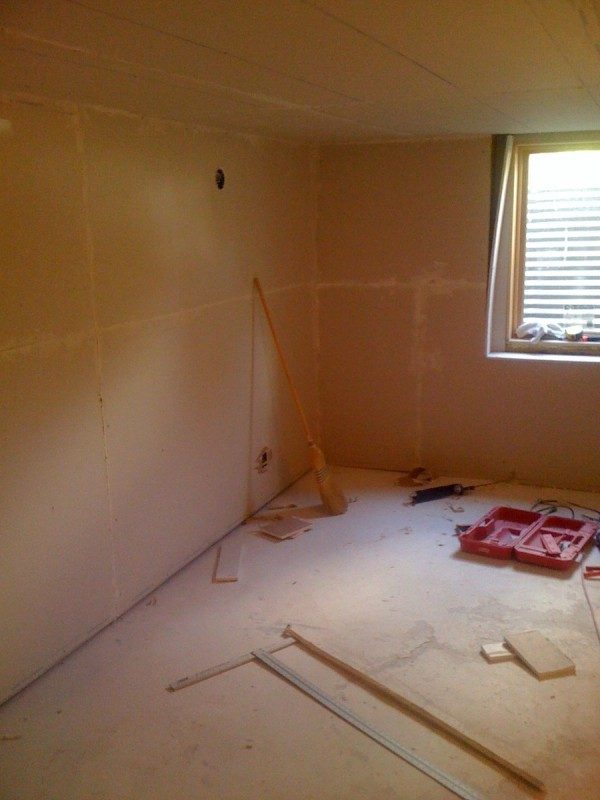
-beginning frame and layout of control room/mix room.
Things to do differently :
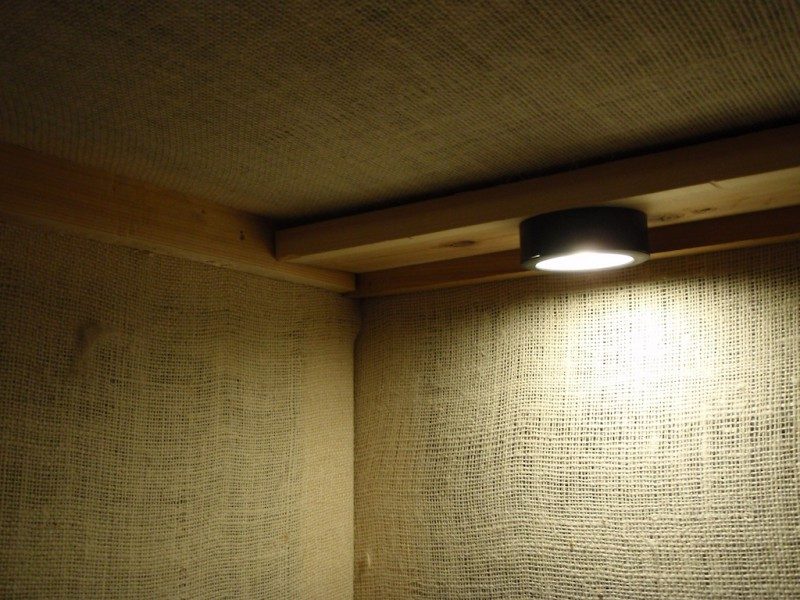
Do all the finish work and trim THEN build burlap frames to fit the space between trim. First tried to stretch and staple burlap direct to framing but t was too saggy and wrinkled. Built frames prematurely and then added wood trim/light bars, etc. In some cases had to rebuild cloth frames after doing some realignments of wood trim or light switches, etc. We may add a whole second set of burlap panels. We are finishing with 1 inch cedar trim and this might not have been the best plan either. Originally thought it would give the VB a cedar closet feel (and smell).
Planned out HVAC baffles and new ducting better. This has held things up somewhat and we look for places to add vents and cold air return inside vocal booth. We were going along considering not addition any vents or return in the vocal booth but, realized that fresh air exchange is definitely a must. Especially once wall cavities and insulation were covered up with plastic.
In the process of reviewing electrical plans one last time. I have been opposed to cutting any holes in ceiling (2x 5/8" drywall hung from hat channel hung from whisper clips hung from existing ceiling joists) for lighting fixtures. In the Vocal Booth we used hockey puck style under cabinet type LEDs. For that small space it works pretty well. In the CR I planned to employ some of those again but also some wall mounted up lights.
However, I have seen some new recessed LED fixtures that are pretty nice and seem to be fairly well enclosed. I was thinking it would be possible to seal these up pretty well and use them in the ceiling. Has anyone employed any of the new recessed LED's with success (I did see where Rod says he is using them) and what steps were taken to seal things up (i.e., chalk, puddy pads, closed cell foam, etc.).?
Also - I am putting this link here so I can find it later. Some real good info...
Thanks!
http://www.johnlsayers.com/phpBB2/viewtopic.php?f=2&t=8887&p=73528&hilit=fixtures#p73528
Have not posted progress lately. Some additional pictures of progress so far.
Control room and vocal booth mostly done. Experimenting with doors somewhat. Installed a 1 - 3/4" solid core door in vocal booth and added a large 1/2 inch laminate (1/4+1/4) window. We wanted a large view of vocal booth but - this may be too big. Used 5/4 maple jam and used long screws into the 2x4 framing for hinges. These where a fairly cost effective door solution. All installed, gasket, maple frame, window, hinges, closer etc. likely still under $400. They appear to work adequately but, I need to seal things up a little tighter and do some measurement. This is just a test door. I am considering something heavier. My local glass people are reasonable for the lami but, only have up to 9/16th. The other door (this is a double wall system with 2 X 5/8th rock and green glue facing on each of the walls, shooting for 5.6+ PSF assembly) is just a slab for now and I will add a window there as well. Was thinking of a different thickness piece of glass as I have seen recommended but, 3/8th would be next step down, 9/16 the next step up. Or I could just go with another 1/2" piece. 3/8th seems to put me back under my wall mass of 5.6 PSF. Am I over thinking?
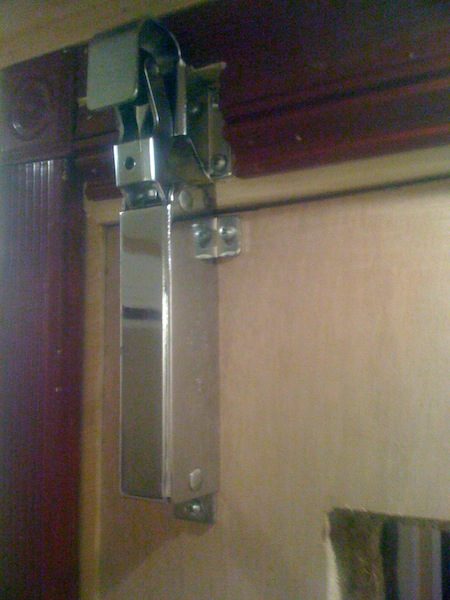
Low ceilings have been an issue for closers. This is why I am trying out the walk in cooler latch.
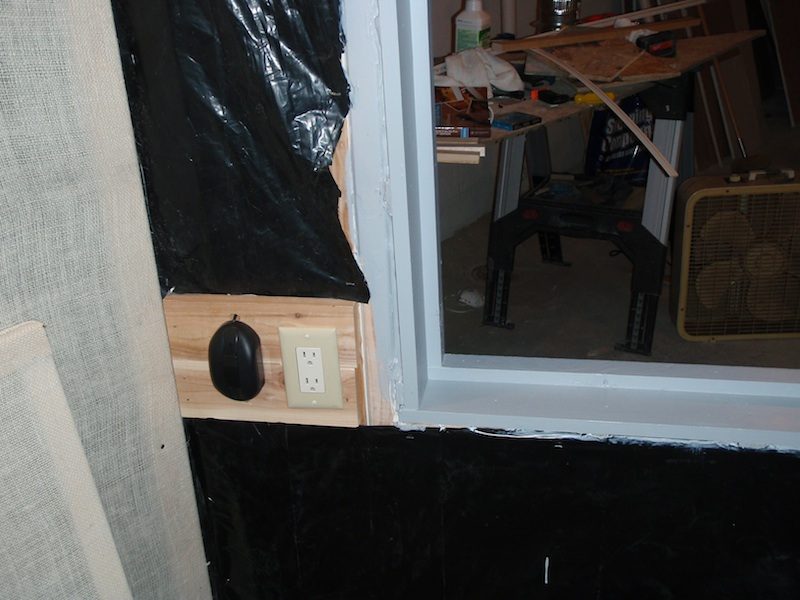
Also found out that 1 inch deep extenders for electrical boxes and not something easily found. I cut up the back of a second box to make a working electrical box that is deep enough for the two ayers of 5/8th sheetrock. Not sure how others have worked this out.
I also did not think through the screwing of the hinges through to studs on the CR walls that are not inside out. Stud has 2x 5/8th sheet rock plus green glue and is about as think as where the screw holes for the hinges go. Nothing to screw into but the door frame and then the sheetrock. Glad I used heavy maple door frames and jams but, I expect some sagging down the line.
At this point they have set up gear in the CR and are doing some mixing and recording. We will take a break and see how things are working. Then on to the third phase - the live area.
Thanks again for the help - of course, like everyone, I always want more.
Had a couple seemingly small questions.
1) when adding mass between joists to existing ceiling deck we are using ledger board nailed to joists to hold drywall board in place, then adding bracing. Does the ledger board need to be run the complete length of the joist or is it OK for it to be just run at intervals assurances deces? We have been going the full length and that appears to be what the Rod Gervais books says but, thought I would ask.
2) thickest glass my vendor sells is 9/16" laminated glass (not sure what thickness the two laminated pieces are). Smaller sizes are fine (i.e. 3/8th) I bought a piece of 1/2 for one side of window in Iso booth. My plan was to install other half down the road, however, I am not sure I like that plan anymore (can not see a way to get a good tight wall framing around window doing it half now half later). My question is should I just go 3/8th on second side or would 9/16th be better? I was thinking 3/8 would suffice even though it is not quite the 3/8th and 5/8th Rod's book recommends for laminated glass equivalent of two sheets 5/8th drywall.
3) trying to assess the different clips and channel assemblies available and potential labor required. Are any one of the clip systems (isomax, whisper, Genie) easier to assemble than others? Is using Rc-2 directly attached to joists least labor intensive? I am having a little sticker shock after talking to several vendors of clips systems - I think I really underestimated the number I would need. So I am re-evaluating and leaning toward RC-2 attached to ceiling joists.
Thanks again.
C'est un sacré chantier ce qui s'y trouve à ce que je vois. Mais combien êtes vous à faire cela.
C'est un sacré chantier ce qui s'y trouve à ce que je vois. Mais combien êtes vous à faire cela.
Salut. Veuillez lire les règles du forum [url = http: //www.johnlsayers.com/phpBB2/viewtopic.php? T = 3231] [i] pour publier [u] (cliquez ici) [/ u] [/ i] [/ Url]. Vous semblez manquer quelques choses! :)
[I hope that came out right in French! I don't trust Google Translate at all, so hopefully it's good enough that you can understand it...]
- Stuart -
Ooooh. I guess that's true but I was actually considering NOT anchoring iso booth walls to the floor. My thinking is (was) to assemble walls together and securing top and just letting this small room sit on the cement floor. Seems small enough that it would hold together. However, I realize i might be dreaming and once door is on things might get wobbly carton déménagement. I figure I can always anchor if this doesn't fly. Other walls are anchored. Just was just gonna leave the iso booth loose. But, with anchors, I agree, rubber pad is kind of useless.
Thanks for getting me to rethink this.
I find this great idea, but the realization is not easy. Maybe you should ask for help.