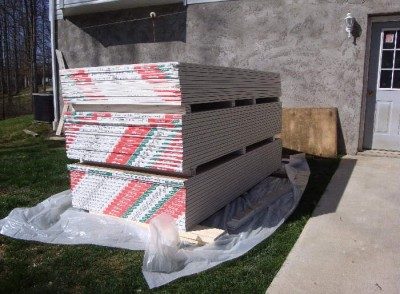
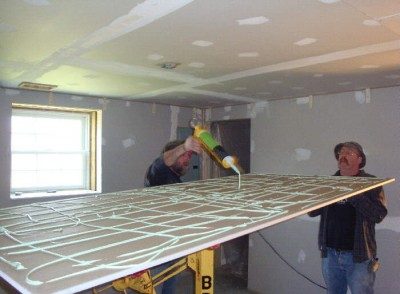
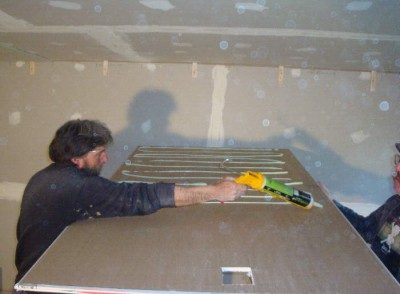
The Drywall arrives!
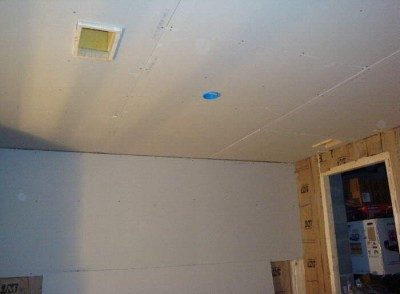
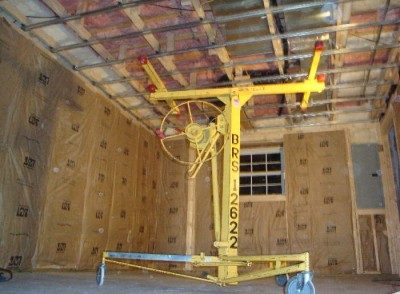
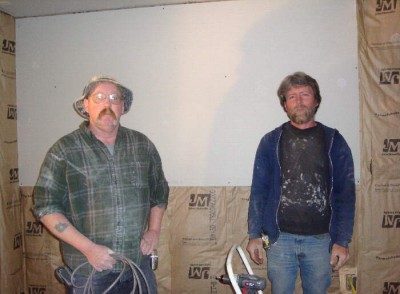
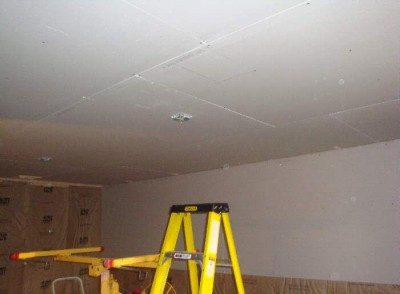
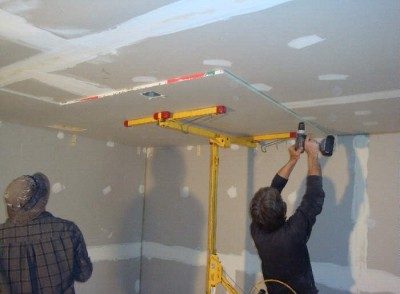
Butch and John started hanging it. They already put up the 1/2" drywall in the hall outside the recording area. Today the 5/8" drywall was delivered. They hung the drum room ceiling.
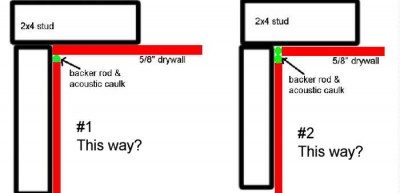
One question: In the corner of two walls, how exactly does the drywall get placed with the backer rod and caulk? Please see picture below... Is it picture #1, #2, or something different?
I'd go with #1, I think, but I'm wondering why you use only 1/2" drywall on part of the build: that's pretty thin, and not so great for isolation! Why not just use 5/8 everywhere? More mass, better resonance characteristics, etc. Or is the 1/2" stuff going on walls that have nothing at all to do with isolation (not part of any MSM system)?
- Stuart -
The 1/2" drywall went in the other (non-studio) parts of the basement.
My MAM is:
M(basement studio 5/8" drywall-green glue-5/8" drywall)
A(air gap between the studio walls/ceilings and the upstairs)
M(upstairs floor)
I never tried to isolate the studio from the rest of the basement. Although I may have inadvertantly done that somewhat.
John and Butch started putting up the 2nd layer of drywall, after applying 2 tubes of Green Glue per sheet. They have hung the ceiling drywall in the control room and drum room.
I ordered glass window setting blocks and glazing tape from a website I found... http://www.technologylk.com/
I'll post later how that works out. They seem to have the products you need for a DIY window at a decent price...
1/4" x 3/8" Black Double Sided Glazing Tape Roll $18.05
1/8" x 1/2" x 4" Neoprene Setting Blocks - 100 Pack $21.71
I'll try and buy butyl caulking from Lowes.
I found a local glass dustributor who said they could get me 9/16" and 7/16" laminated glass.
I may get 9/16" for the drum room and 7/16" for the control room. They were about $250-$280 per piece (3' x 2.5')
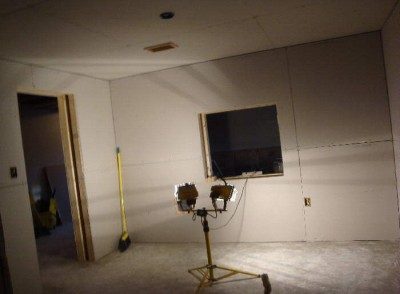
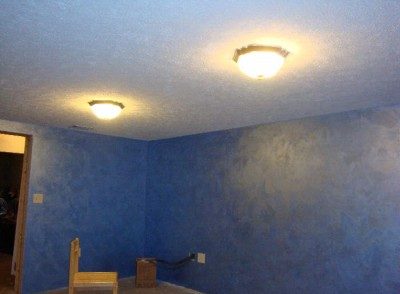
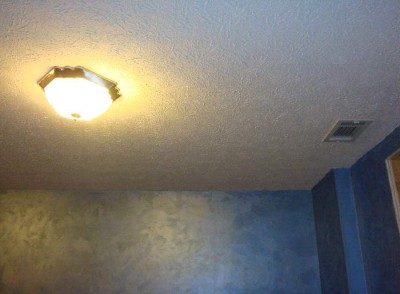
The drywall is done.
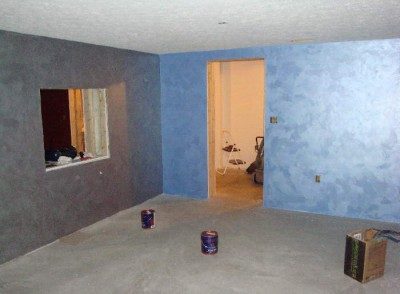
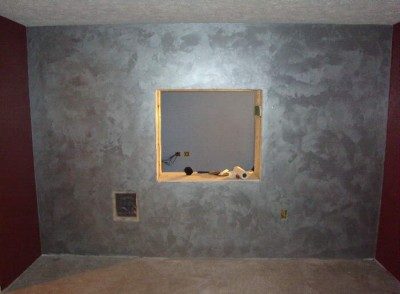
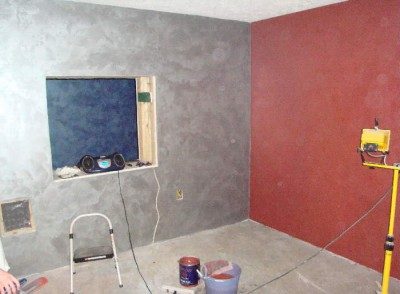
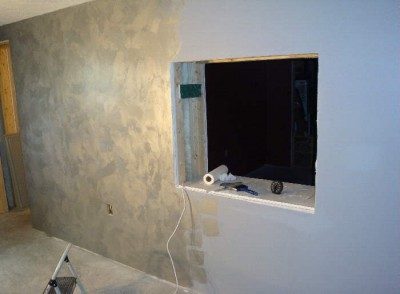
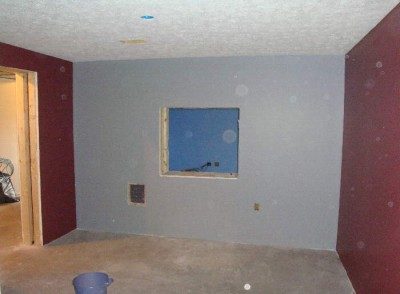
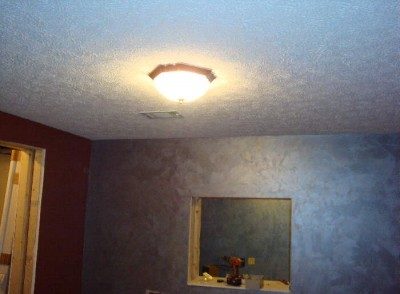
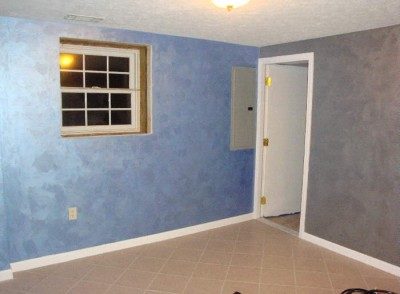
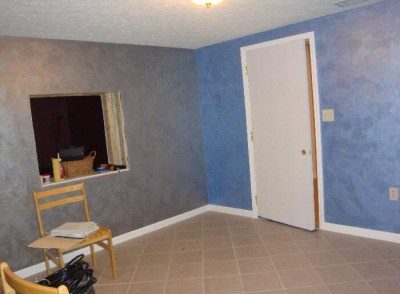
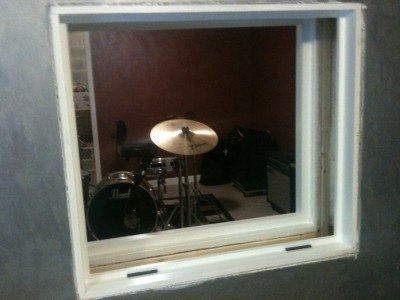
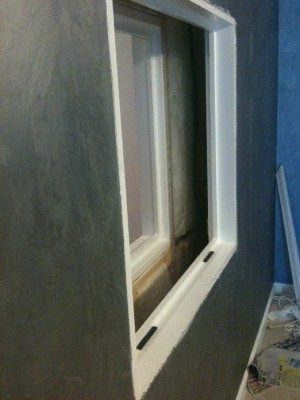
The rooms are painted. We decided to pain an accent wall in each room. The control room is blue with a silver accent wall. The drum room is red with a silver accent wall. The accent wall in each room is the wall with the window to the other recording room.
We bought Valspar paint at Lowes and found a process called Brushed Pearl. You put down a base coat. After that dries, you put down a second coat with the Brushed Pearl tinted paint. Before that dries, you trowel it in circles.
I realize that the OC703 bass traps that I will make later will cover much of this up.
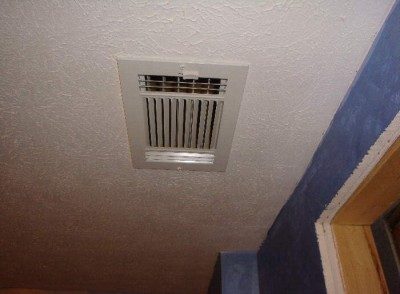
The electrical wiring is done in the control room and drum room. The HVAC registers are in place. I still have electrical work to be done in the hallway.
I had some fancy lights that were pictured in an earlier post, but they got very hot and could be reached while standing. Someone could have gotten their hand burned. So I put in different light fixtures.
After the ceramic floor tile, doors, and trim are done, I have 60 pieces of Owens Corning 2' x 4' x 2" 703 that I will build bass traps out of and hang.
That should give me about 30 4" deep bass traps to hang. Hopefully, those will take care of it.
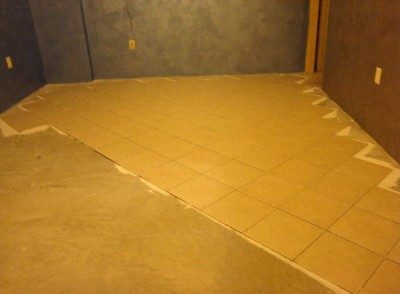
John and Butch have finished the floor tile. The trim is done, except around the windows. I still have to order the laminated glass and install the interior windows. They also hung the doors.
I bought the doors at Lowes. They are solid core doors with luan on the outside and it looks sorta like OSB type wood chips on the inside. They are pretty heavy, and I could add some Green Glue and a sheet of MDF on one side, if I think they need more isolation later. I think I could make a semi-super door later, although I might need to add more hinges to do that. I may be happy with the isolation without that. Hopefully, I can test it soon.
They painted the trim and caulked around it.
Thanks Roman. Congratulations on your new son! It's hard to get a lot done when you have little babies to take care of. I remember remodeling the basement from my last house when my daughters were born.
My progress has slowed greatly since John and Butch are not on the job. I ordered the laminated glass for my windows. That will be here this week.
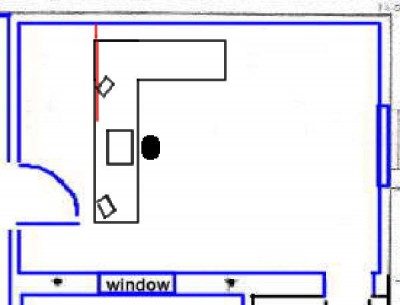
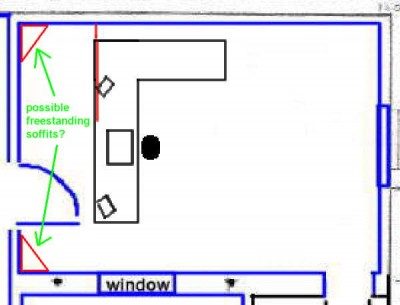
In the meantime, I have been thinking about furniture. I have pulled my old computer desk down to the control room. When you open the control room door, there is not much room between the door and the desk, if I want my head to be at the 38% mark of the length of the room. The red lines are the cabling (snake, mics, electrical power.) The rectangle in front of my head is the Digi003. Then there are the two KRK RP5 monitors.
I was thinking of making an "L" shaped desk (drawn below), but I was wondering if that will create major problems with control room symetry. Please comment... Thanks.
I want to thank you Brian, for the opportunity to participate in your build. It was a learning experience that I am sure will be beneficial in future endeavors. Butch.
Butch- Great to see you posting here... I just got my laminated glass and I will install soon.
Butch came up with a great idea in constucting my door openings to the area outside the studio. He installed a door weather stripping seal between the outside hallway wall and the wall in the studio. So the inside wall vibrates without a hard connection to the wall in the hallway.
Butch and John- Thanks for your help and great work and ideas in building my studio.
I got my glass in... 7/16" and 9/16" thick. It's a good feeling when you find out your laminated glass fits the opening. I don't think I could cut laminated glass in the field.
I hope I can install it soon. I already bought glazing tape and butyl caulk as per Rod's book.
With my temporary desk in the room, I have noticed that I don't have much space for two sets of speakers. My KRK Rockit RP5's will sit on the desk OK. But there is no space on the desk for my JBL4412, or any other set of speakers. I have been considering replacing the 4412's with Mackie 824mkII's.
I did not build soffit structures as part of the wall, because one of my main goals was to have a fairly "normal" looking room, in case I ever need to sell my house (I know the control room window would need torn out and drywall put in that hole).
Even back in my 2nd post in this thread, I was wondering about free standing structures for soffit mounted speakers. These would be built like many other soffit mounts on this site, but would have a back wall in them, and would sit against the room wall corners. I attached a rough drawing. Could be done with good sounding results?
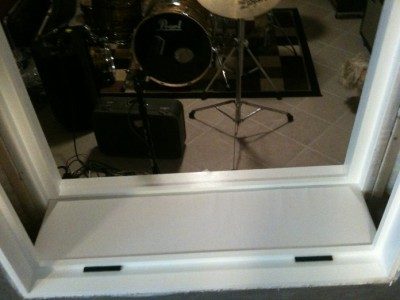
I have had all of my window materials for a while and finally got the time to install them. I bougt glass window setting blocks and glazing tape from a website I found... http://www.technologylk.com/
1/4" x 3/8" Black Double Sided Glazing Tape Roll $18.05
1/8" x 1/2" x 4" Neoprene Setting Blocks - 100 Pack $21.71
I found a local glass dustributor (S&M Glass in Fairmont, WV). I got 9/16" thick glass for the drum room and 7/16" thick for the control room. They were about $180 and $200 per piece (3' x 2.5')
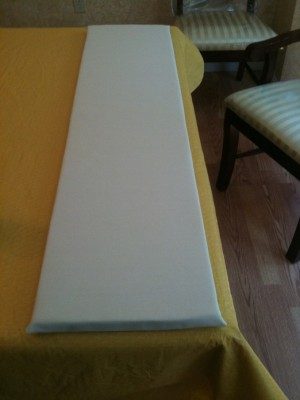
I already had my Owens Corning 703 in 1" thickness. I went to Joann Fabrics at the mall and spent about $15 on some cloth to cover the rigid fiberglass.
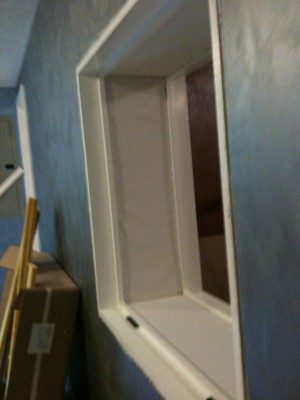
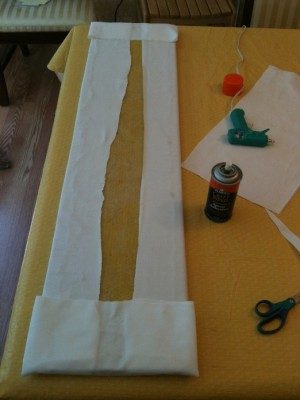
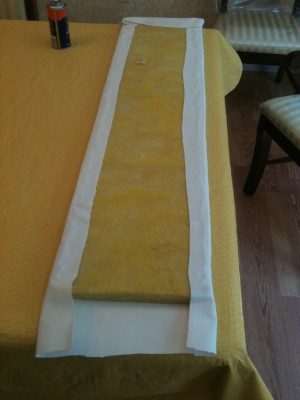
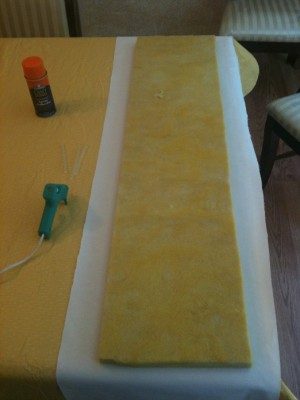
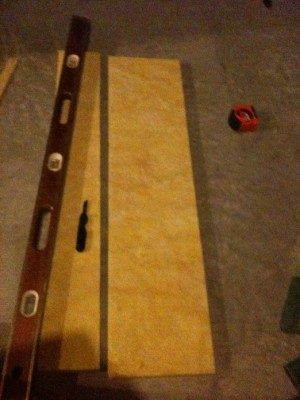
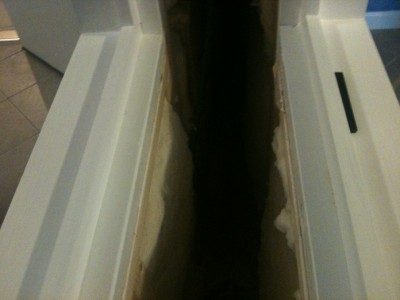
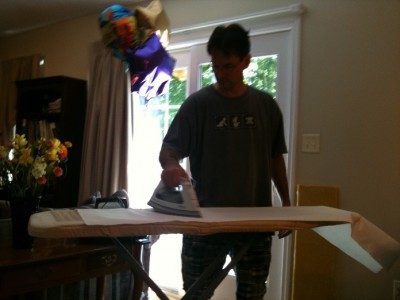
I ironed the cloth so it wasn't wrinkled. I cut the 703 to the size of the opening between the two rooms' windows. I cut the cloth to be a little bigger. I used a glue gun and spray glue to glue the fabric to the 703. I set it in place. I measured and cut three more to cover the gap between the windows of the two rooms. I used a staple gun with long staples to make sure the 703 would never fall out of place. I didn't' staple through the 703. I stapled beside it and left most of the staple sticking out of the wood beside the 703. The rest of the window install to follow in the next post...
12 all cloth 703 in place.JPG11 703 in cloth in place.JPG10 cloth covers.JPG9 more glue.JPG8 glue cloth.JPG7 cloth wrap.JPG6 cutting 703 for window.JPG4 window before glass.JPG3 gap between rooms.JPG2 open window rubber setting blocks.JPG1 ironing cloth.JPG