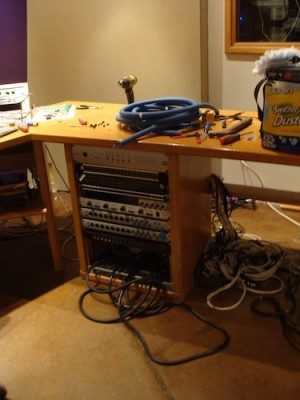
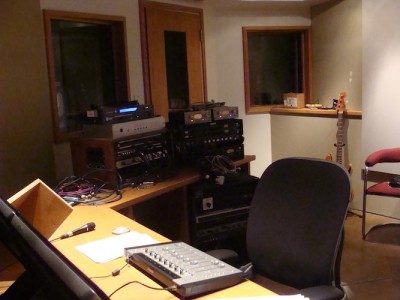
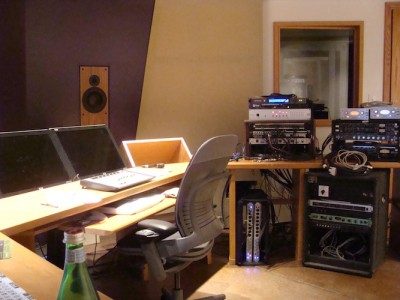
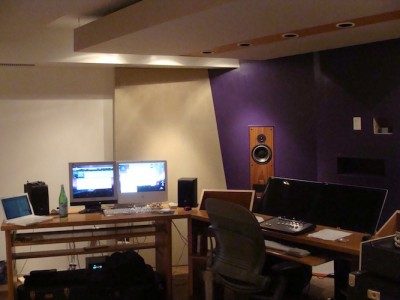
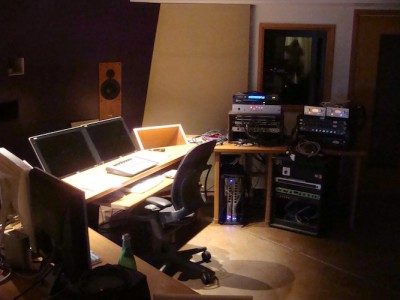
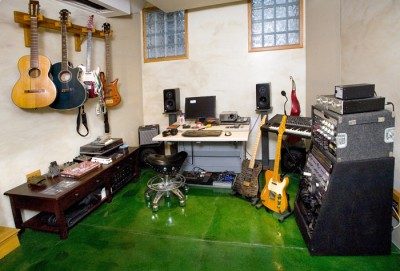
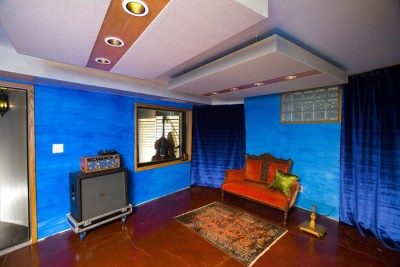
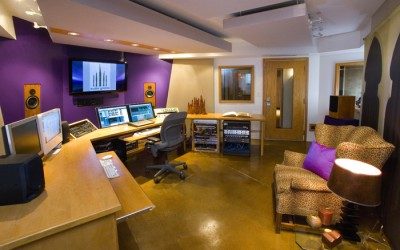
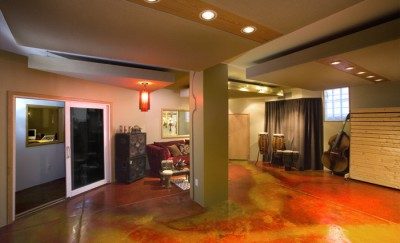
Its been a while and time for another update. We are down to a few things.
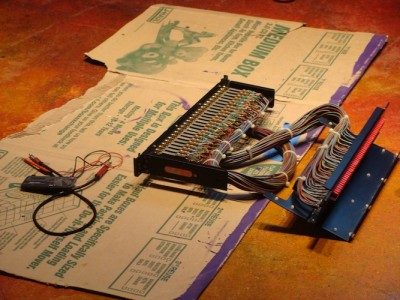
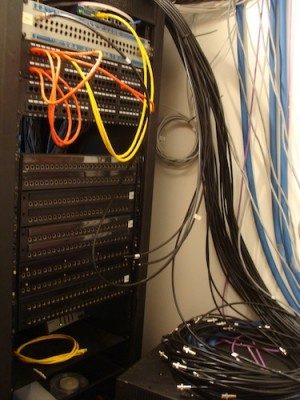
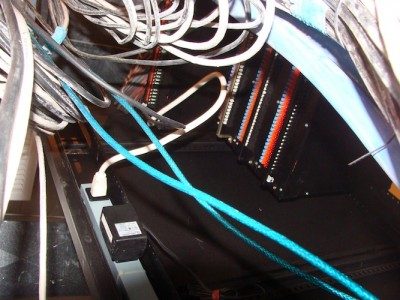
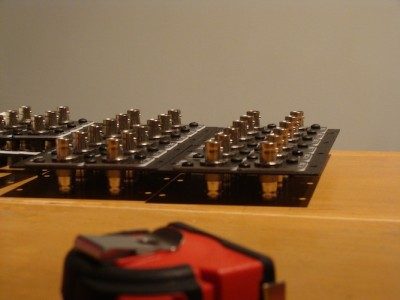
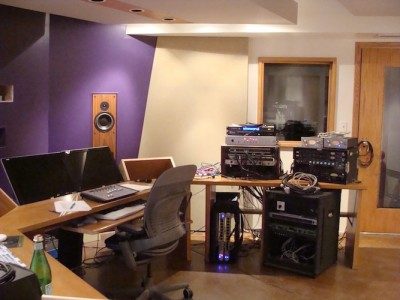
• Studio Wiring, patchbays, panels, testing etc...
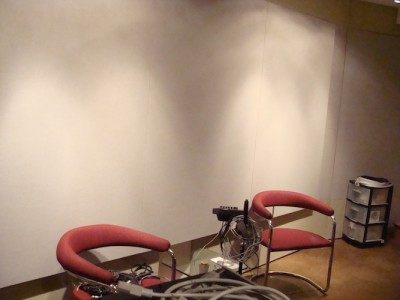
• cosmetics, curtains, touchup painting, a good cleaning etc...
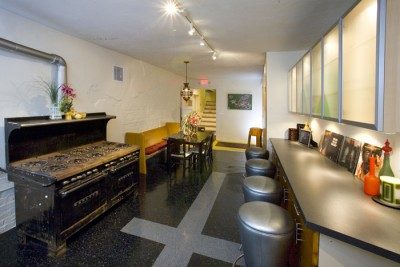
• Kitchen and Bath remodell, which is underway right now.
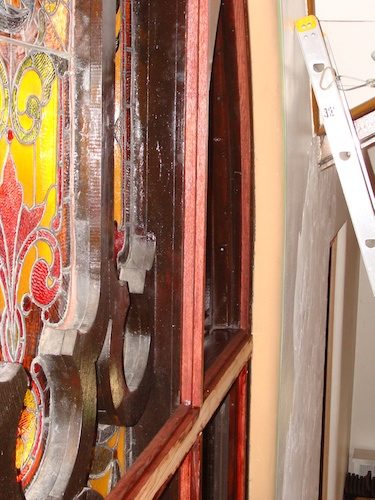
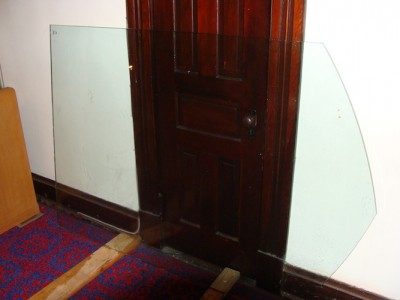
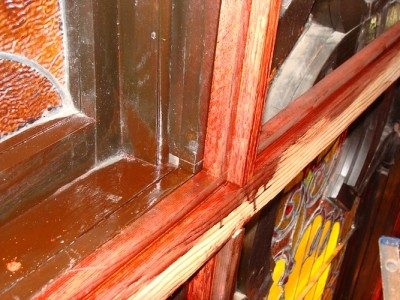
• Stained Glass sound abatement:: done
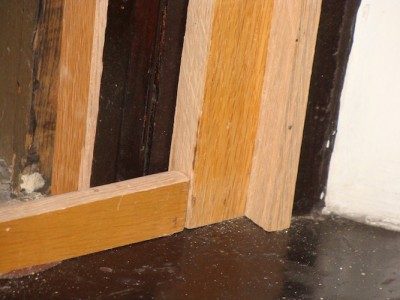
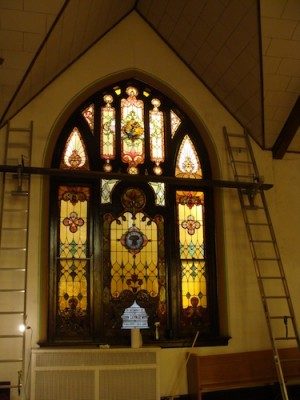
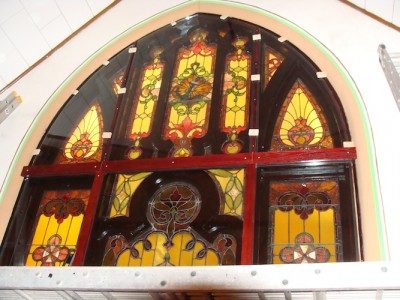
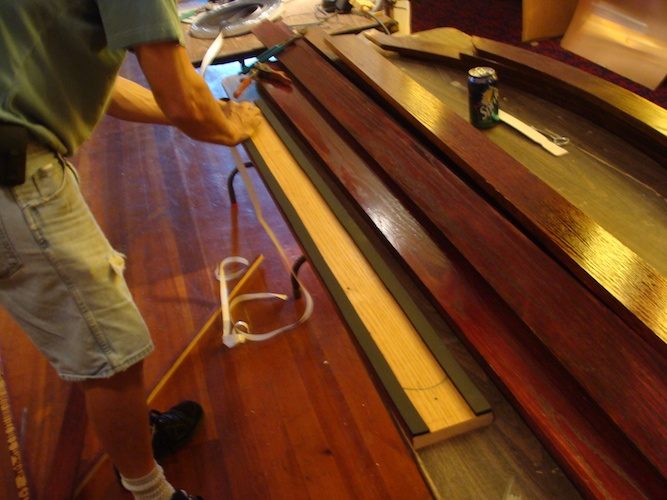
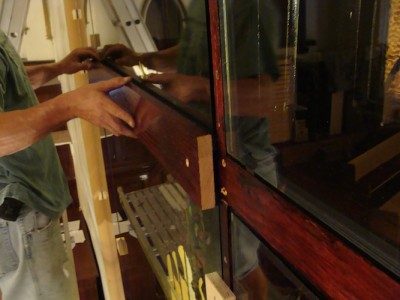
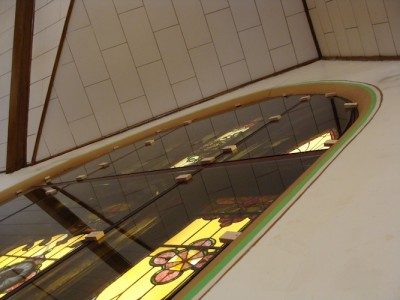
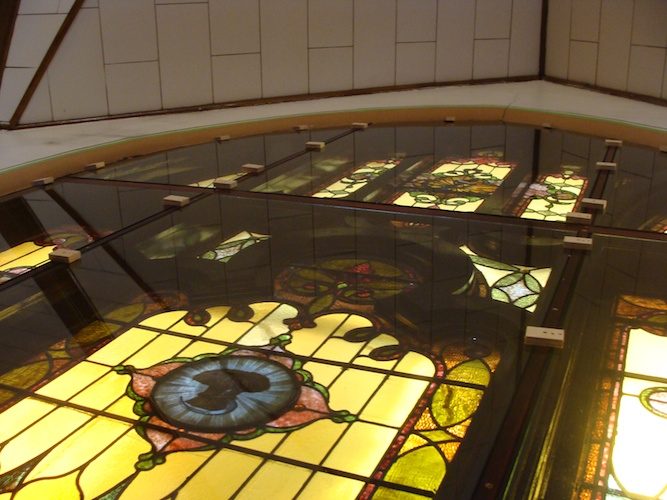
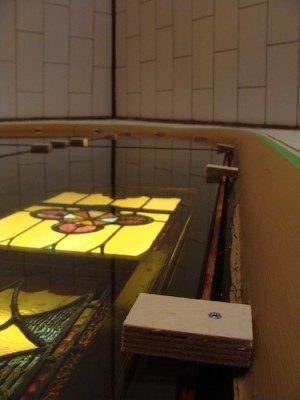
Here's some pics of prepping the stained glass, building the frame and installing glass:
-ashley
wow! Having a studio with such beautiful stained-glass windows must be breathtaking... great work on the laminated glass attachment job!
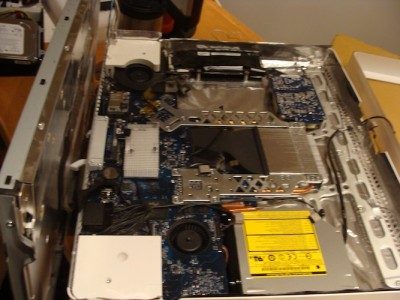
Now, get that darn mac working!
I've got more updates coming but wanted to mention that I am shooting for an opening date of Sept. 24th. There is a music festival here in Cincinnati that week called Midpoint Music Festival where a couple hundred bands show up to play and meet along with industry folks. I will be having an open house all three nights of the festival so if you happen to be attending MPMF (www.mpmf.com) or will be in the area, please come drink my beer and eat my food! :shock::P:P:P:shock::shock::wink::mrgreen:
PM me if you want more info. The studio website is www.audiogrotto.com. More piccies coming soon. We are on to the kitchen and bathroom, wiring still progressing.
-ashley
Sorry, guess I wasn't clear. :?:?
I'm having open houses three nights in a row, Thurs, Fri and Sat from 5pm-9pm so that people can see the studio and then head out to the clubs to see bands afterwards. The Thursday evening one is also geared to advertising clients and post-production while Friday and Sat are more music and bands.
Here's the studio blog with details:
http://audiogrottoforum.blogspot.com/
-ashley
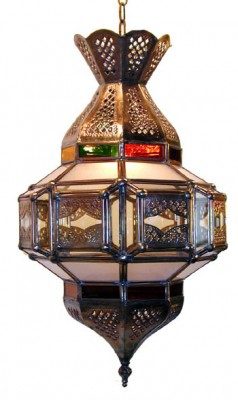
So progress continues but now more so on the kitchen and bathroom. Just got back from IKEA with the cabinets and have picked out the pendant light for the kitchen table.
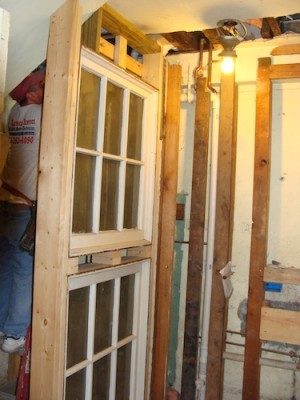
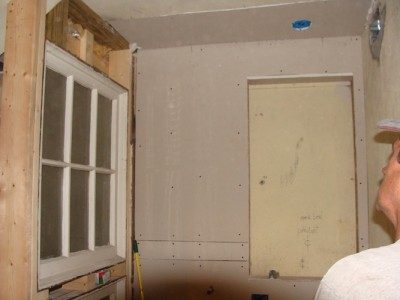
We're going to have some exposed brick in the kitchen and paint it so that there's a rough mixture of plaster and brick on one wall. Bathroom is using a salvage window set as the partition between the sink/urinal and the toilet. I've got to export some pics and to a proper update. Work is in earnest now that we're in September..... Only a couple weeks left to finish the whole thing.
Taking delivery of custom made analog passive summing box and Hypex 3-channel amp with a passive monitor control and switcher thanks to my good friend Don Aren, local bass player/hi-fi tweak artist....
Closing in on final wiring and testing of things... so far so good. Always check your normals in any new patchbay. Mine were missing the shields and so phantom was not working on mic lines. Fixed.... more to come.
-ashley
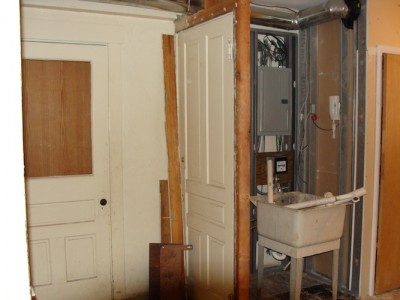
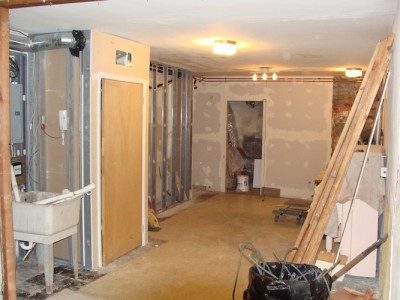
Right, on to the kitchen and bathroom.... Saved the best for last, eh? The party ALWAYS ends up in the kitchen so why not make the whole lounge one big kitchen?
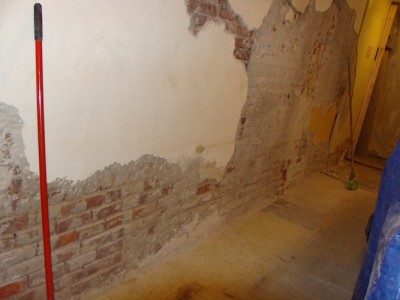
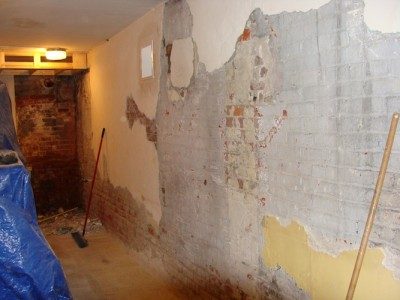
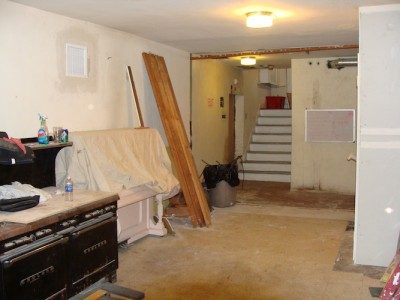
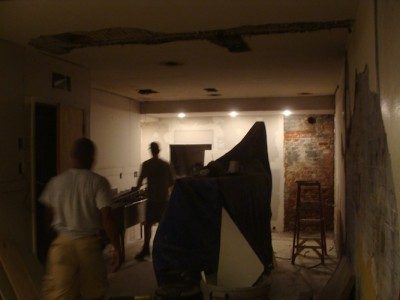
These are shots of demoing out exiting stuff. This room used to be my temporary control room while I was building the studio proper. We are adding a soffit over where the sink will be to cover up some electric and plumbing, plus give us a place for can lights and added dimension to the room. The long wall we have taken off the bad plaster and then got the wild hair to keep it like it is with mixed brick and plaster. It will all be painted one color though so the texture will be the only change.
Framing, drywall, you know the drill..... Gotta go to the store and get friggin' corner bead, structolite and metal lathe.... OY! will it ever end>?
-ashley
Hey Ashley,
Great fortune that I happened to be in town for your open house. Congratulations, man. The place looks fantastic, pictures don't do the place justice!
The upstairs big hall looks and sounds great! The tracks you recorded and played back for us were fantastic.
Here's to great prosperity and even greater music for you!
Thanks for the props, JWL. Had no idea it was you! Good to see you and whenever I get up there, I'll get in touch. Eat a lobster roll for me, please.....
-ashley
PS some pro pics are on the way......
Well I had to go back to the begining and see how it all started. :shock:
I did remember the church part of it but was confused by the beer and pizza.
What kind of church you got there Ashley :lol:
Congrats and job well done.
A proud moment indeed
Peace
Tom
Well, we have a completely secular church building that is now apartments, event hall and recording studio... I can certainly understand the confusion! But if it was wine would there be a question? :?:twisted:
-ashley
Hey Ashley congratulations on finishing your studio. It looks wonderful. I'm very jealous about how fast you completed it. Been working on mine for over 5 years aggg!
I'm in the process of ordering patch bays and I'm wondering how you wired yours up. I planing on using TT bays but because of the whole phantom power thing am debating using XLR bays for my mic to preamp connections. Also is that a Alpha-link you are using? If so how are you liking it? Thinking of selling my 002 and Fireface (bye PT) and getting one.
Hey Jester,
SSL is sounding great. The best deal in IO for me, running 40ch total when needed. Simple and allows for flexible control room routings in Nuendo. The sound is excellent comparing to the LynxTwo card that I have used for years. I will be trying various external clocks as time goes on.
I went with the 1/4 longframe patchbays for cost considerations. Phantom goes right through just fine although you have to make sure that the shield connections are normalled as well. These bays use the punch-down system which is fast and easy. Gotta have the tool though. Patch cables can be hard to find but I think worth it in the end. They do take up 4 times as much rack space as TT bays though.
-ashley
Interesting you should mention that. I think we're doing pretty good. We had a halloween party last weekend with a DJ and he reported 51-52 dBC inside his house. I'd say we were pushing 100+ inside. That seems pretty good. The windows work great. If anything, the flanking through the eaves and from the front of the building are now the limiting factors.
As I can afford to do it, I will cover the rest of the windows with the same treatment as I want more isolation from the traffic noise on the other side of the church. Its an ongoing process I'd have to say... :horse::shot::cop:
Today we did some ethnic drums and percussion, including big "stomps" on the floor. No complaints. I keep him informed of things that might be loud so he knows to call me if there is an issue. That's reasonable to me and helps keep communication lines open!
-ashley
Hellooooooooooo
Just wanted to post back here with some follow ups on the studio outcome. We never hear from those builders once they're off and recording again do we??
Anyhow, a couple of things I would stress to other builders out there:
1. Acoustic caulk does NOT constitute a resilient connection.
We had a couple walls that had to be close to a non-isolated ceiling and we connected them with a large bead of acoustic caulk and backer rod. These connections transmit sound pretty well. Too damn well for my money. We had to pull out the caulk seams to get the transmission to stop. Foot fall noise from the space above was traveling into the control room and drum noise was of course going back up.
I would have, in hindsight, mounted the ceiling drywall on RC and made the HVAC runs in there on their own resilient mounts. This was hard to anticipate since the duct runs were added later. Proper building plans would have helped here. Be VERY careful when implementing firestopping in studio building. Even Rod's book has these caulk seams in the fire blocking diagrams. I'm not sure if I did something wrong but I just don't think the caulk has enough resilience to truly do a good job isolating between spaces.
2. Forget the green glue and go with another layer of rock if you have the space and structure to support it.
I went with three layers in the main control room and two layers everywhere else. They all have a layer of GG. And don't get me wrong, GG works, just for my money and given that I could hang that weight on the ceilings, I would have gone for three layers all around in every room with the money spent on GG. When space is at a premium and weight is an issue, GG baby, all the way.
If I desire, I can go back and put up another layer everywhere as the structure can handle it, but that is a last resort if isolation is not satisfactory. So far, it is minus the above caulk problem.
3. The more you treat a room, the more obvious the remaining problems become and the more difficult it is to fix those.
My control room is well damped but also has some RPG bad panels in the back so its not a 70's disco cave, but its nice and treated. The remaining acoustic issues become much clearer since most of the major ones have been dealt with. this makes the ones left more annoying to me. I have a couple modes that are so clear, I can move my head to a point where the frequency is totally out of phase in one position in the room. Its interesting.....
Just using a tone generator and an SPL meter, you can run through the low end in your room and see right away what's going on. I've been using a little corrective room EQ with great results. Don't underestimate the soffit bass effect! I love my bottom (and hers too) but too much is too much! Proper filters are needed to correct most speakers for soffit mounting.
OK. Back to messing with this kewl Federal compressor..... :D
-ashley