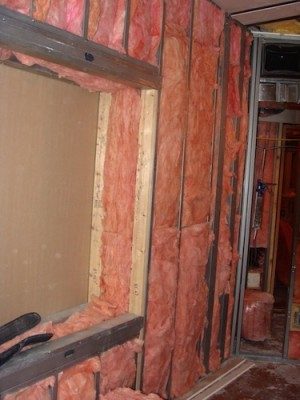
Right, now that all of the wiring is in, glass block and all the twiddly bits are covered, we can move on to insulation. One detail that I did not want to overlook (and my contractor kept harping on me about this) was insulating all the water and drain lines for sound. Nothing like a toilet flush to ruin a perfect take! :horse:
I had some foil backed HVAC duct insulation lying around that worked great for the drain lines and then bought a bunch of the water line stuff at Home Depot. Strangely enough, it was cheaper there than at the building supply place. You never know where to get the best price. It seems I always make 10,000 phone calls before figuring a place to buy something in quantity.
Speaking of cost, go with an insulation contractor. They can get the materials at such a reduced cost that even thinking about doing it yourself will cost more out of your pocket than getting some one else to handle the itchy stuff for you! All of this material in the walls was either R13 or in some larger cavities R30. No need for the rockwool as this is only dampening the drywall, not sound in the room. I don't think I'm going to have much of a heating bill though. Now there's a plus! :yahoo:
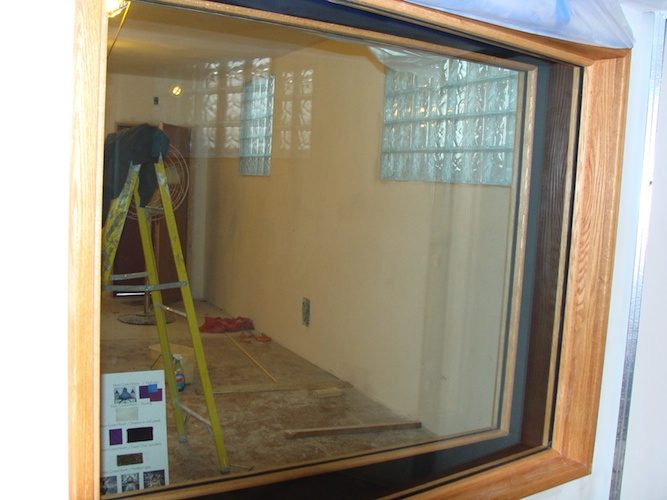
In the last pic, you can see the insulation between the two wall frames at the window. Later on, once the drywall was installed, I went back and did some wall thumping test (real scientific!!!) and realized that the insulation was packed too hard in there and had to pull some out to decouple the two walls. It made a HUGE difference. Insulation contractors think more is better but stay on top of everything when some one else is doing the work. The buck stops with me and no one else.
Anyhow, on with the piccies.....
-ashley
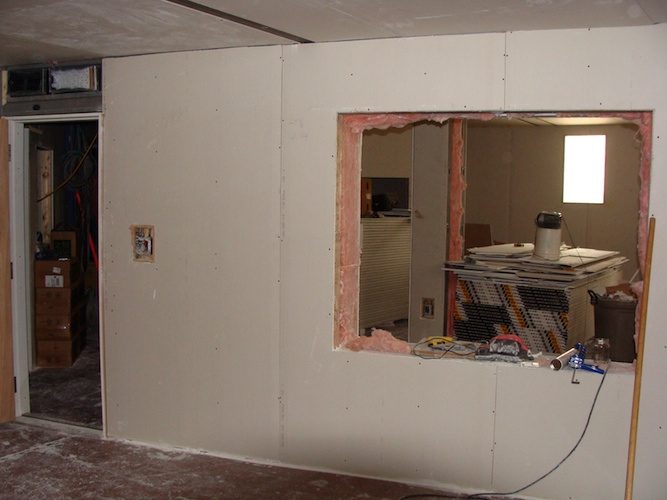
Finally some rock on the wall! They started hanging the ceilings so that the wall layer will provide support and keep the ceiling square and true at the edges. Every corner gets backer rod and caulk. Most rooms are only two layers but the main control room gets three. The top layer in each room gets the green glue. I'm going with a minimal application due to cost (1 tube per 4x8 sheet).
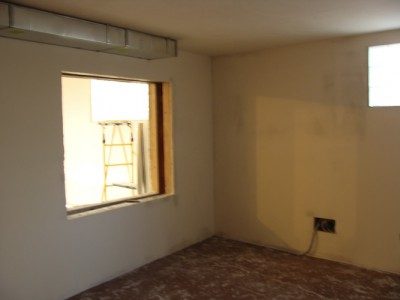
OK, now for some boring shots of drywall going up..... This is the phase where my first crew decided to get lazy and got fired. The second crew had one guy who could hang drywall faster and better than anyone I've ever seen! This guy barely used a tape measure and cut the stuff so tight it was amazing.
Piccies....
-ashley
Thanks for posting guys.... I was kinda feeling like I was tossing piccies into the VIOD :blah::blah::blah::blah:
OK, Gyprockin' Part II
In these pics, you can see more boring rock going up but the interesting thing is the HVAC ducting that we've brought into each room. This was a key part of providing isolation and lowering air handling noise in the duct design. The idea was taken from a Walter-Stork designed room that had a detailed diary over at gearslutz:
http://www.gearslutz.com/board/photo-di ... ienna.html
This was a really helpful build diary as I got a good idea of how Stork does the HVAC. They bring the supply and return into each room and then continue the duct inside around the room and soffit around that to add turns. the other thing to do here is to double the size of the duct once you are within the room. This slows the air down and reduces noise. That was a neat trick. You can use smaller ducts to get the air which keeps the static pressure up so the system works right. Then, once in the room, slow the air down for noise.
When I am in the rooms, the air handling noise is not perceptible. Now, this might change as I perfect the seals on the rooms and add treatment, but for now, I am extremely happy. :yahoo::yahoo: I did not put in any silencers at all. I planned the route of each supply and return to maximize the amount of turns and distance between adjacent rooms. This was a tricky bit of figuring but has worked well so far.
So, enough of my :blah::blah::blah::blah: and onto the PICCIES!!!!!!!
-ashley
Now that the drywall is all installed and the inner HVAC ducts are placed, we create soffits around those inner ducts which will be insulated thus helping with isolation and air noise.
Straight to the piccies.....
-ashley
PS more piccies in next post.... ran into the limit
OK, now for some finish fun!
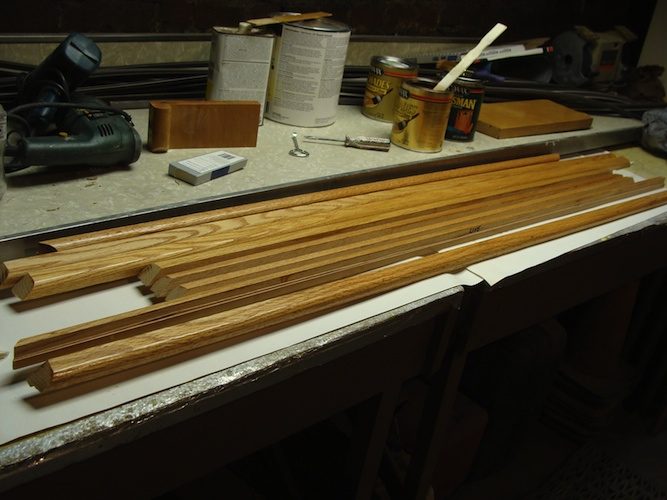
My carpenter who is absolutely the best and has helped me do this whole freekin' project (including the two 1700 sq ft apartments above the studio) had the grand idea to use the pews from the church as frames for the studio glass. The backs of the pews have a rounded bullnose that made for a perfect trimmed frame for windows.
Ever since I bought this building, I have wondered what to do with the darn pews. They are solid oak and well made but I tried to sell them without any luck at all. The good news is now we have re-purposed them for all of the trim and details including my desk for the main control room. I simply could not have afforded the wood to do this and with all the pews I have, I'm saving many thousands of dollars and getting high quality oak trim for the studio! Plus the added vibe of church pews and historical value makes this a no brainer.
Check it out....
-ashley
Right, frames installed and prepped for stain etc....
Now to figure how to trim out the gap in between wall frames. We've all seen various methods for this and it gets tricky. I wanted black fabric to cover the gap and we had to figure how to upholster this to the frames without coupling them together. Wrapping 703 is really tough to make look nice. Plus mounting that resiliently is another conundrum to overcome. Our idea is to simply staple the fabric to the frame on either side and use the glass stops to cover the staples. The frames are only coupled by fabric and the look is nice. Still a PITA but not as much as making a bunch of 703 inserts for the gaps.
-ashley
Let's do this.....
Upholstery is a bitch :horse::horse:
Glad that Roy is good at just about everything. You can see how getting the fabric to stuff in just right takes some skill and time. But we ain't coming back to this so it's gotta be done right.
-ashley
Well, I did learn a lesson on installing the glass and should have had Rod's book in front of me but one of my old horrible crew guys has absconded with it. Gee thanks dude.... :finger:
So, when we first installed the glass, we only used silicone to set it in the frames. This works about as well as brushing your teeth with a garden rake. :mrgreen::evil:
Had to order some custom neoprene to make seals for the windows. Got some squishy 1/4" thick by 3/4" wide quality neoprene with sticky stuff on one side for the job. Now this works great and makes a mucho better seal for sound. The silicone did not even completely seal the glass at all. I did some isolation test and was almost suicidal after the results. :cry::evil::cry:
Seals are everything once you've made a massive wall. Right now, the doors still have holes where the locksets go and no seals on the frames. I also had not yet stuffed and caulked the window frames so the test was moot. Once we installed the glass with the seals and stuffed the frames, the same test was much better.
-ashley
While the windows were going in, we also started framing in some of the acoustic treatment including soffit walls for the main control room and false rear walls for bass traps in both control rooms. There are also some corner traps in the two live rooms as well.
Piccies....
-ashley
Well, onto the floors!
I had always wanted to use an acid stain on the concrete for a floor finish. This won't work since the drywall is already in and the acid needs to be neutralized by a water wash. :( So, next best thing is water based dye....
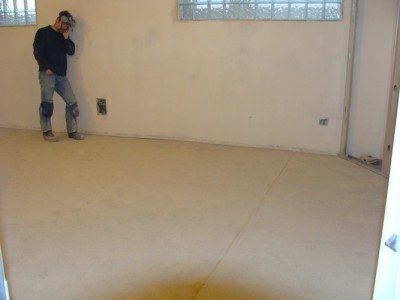
Here's the rub. Regardless of how you finish concrete, you must first prep the concrete with grinding. This is labor intensive and time consuming. My contractor had just taken possession of a new grinding machine with a vacuum system and this was its maiden voyage.
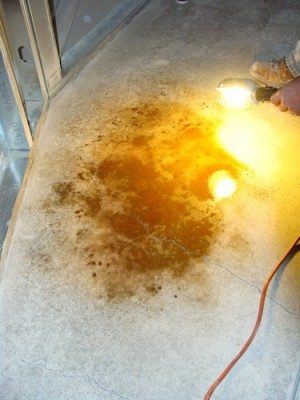
We did some test spots with the dye and sealer to see how things were going to look. Its really interesting how the sealer affects the color.
PICCIES :D
-ashley
Floors are ground. Time for the color. Water-based dye sprayed on and tooled by hand with towels and whatever works.... It pools and runs around to create cool patterns and such. Emerald green is for the second control room.
PICS
-ashley
MWWWWWUUUHAAAA HAAAA HAAA!!!!! Color. 8):jammin::ahh::asth:
Well, I hope that "interesting" really does turn out to be cool. When the acrylic sealer goes on the concrete, it really changes the look in a good way, making it pop and gleam.
Here are some pics of the finished look. It took several layers in the lava room to get the right texture and color. the yellows really soaked in and it was hard to get a bright yellow out of it. As the concrete guys kept saying, each concrete slab is different and takes the color in unique ways.
I was most pleasantly surprised by the ocre color in the hall, vocal booth and main control room. It has such a deep variety of color and turned out better than I ever thought. I still dig the lava, but knew what that was going to be like mostly.
Onto the piccies........ :thu:
-ashley
Image not preserved: Concrete Color Finish 019.jpg
Image not preserved: Concrete Color Finish 018.jpg
Image not preserved: Concrete Color Finish 017.jpg
Image not preserved: Concrete Color Finish 016.jpg
Image not preserved: Concrete Color Finish 015.jpg
Image not preserved: Concrete Color Finish 014.jpg
Here's some more of the lava room, big red booth and the main control room floor.
Some comments on the process:
•Its expensive! :cop:
•But lasts just about forever as far as my life is concerned.
•The sealer is death in a can. :inn: Don't be there when they do it.
•You can't predict exactly how its going to turn out but that's usually a good thing.
•No issues with laminate flooring or weird acoustic effects of layered flooring. This was the best option for me.
Right. Onto the f- :cen: piccies!
-ashley
Image not preserved: Concrete Color Finish 026.jpg
Image not preserved: Concrete Color Finish 025.jpg
Image not preserved: Concrete Color Finish 024.jpg
Image not preserved: Concrete Color Finish 023.jpg
Image not preserved: Concrete Color Finish 022.jpg
Image not preserved: Concrete Color Finish 021.jpg
So, that brings us up to date on the project. The painters are in there priming right now and should have some new pics in a few days.
The only other thing going on is the construction of the ceiling panels. I had to really sit down and do some design work to figure them out and also get a handle on the lighting, which will be entirely mounted on the ceiling clouds. All that is installed in the ceiling is outlets connected to switches. I installed several circuits in the rooms to provide some mood changes without using any dimmers.
The main task lighting is 5" cans mounted in channels in the clouds. Then, for accent lighting, some panels with have track lighting on the sides that can be aimed for indirect light. Here's the overall plan and a couple shots of the frames in the shop being made.
-ashley
Image not preserved: Ceiling Panels floor view.jpg
It certainly is a grand view! There doesn't seem to be any one color in any one area that doesn't enhance the uniqueness of the room it is in. Especially the Lava River, that looks like you could walk into the room and fall into the void!
Real nice indeed.
Much continued success to you in this build,
Brien
I just want to say THANKS to BASSMAN for this fantastic build diary!
Wishing you the best from a fellow bass man in the Philippines. And I have that book on your sig too!
Hey there sound weaver.... Which book? The Pro Tools one? I hope its been helpful for you. thanks for the support on thread.
I do have more news. As I got closer to the actual building of the soffits, I became clearly aware that I have no idea what I'm doing here. The soffits and the overall geometry of room and the sound that will result are critical. Having never built a true soffit system before, I decided I need help. As my budget has always been tight, not small but not unending either, I have hired Wes Lachot to finish out just the main control room.
I want to say this in support of all professional designers, many of which help out greatly here on this board.... (Rod Gervais and his book of course!!!) Beyond their acoustic knowledge and experience, the fact that a pro really has "done this before" can pay off in unexpected ways. Wes has already called me out on some very expensive code violations that would have shut me down during a final inspection. This fact alone has saved a good deal of his fee in avoided costs. That being said, I am looking forward to an improved control room sound and ergonomics by working with him.
Basically, he is going to move my listening position and the soffit wall to a more optimal spot. I had done some initial testing in the raw space and once again, interpreting the results became voodoo real quick. I have so much on my plate currently that my brain just started shutting down on the task of figuring this out. OK, Wes shall figure it out. There will also be some diffusion incorporated in the rear wall, which is very typical of Wes's designs. Looking forward to getting the plans and diving in on the soffit wall. Updates to come...
This site has been the single most valuable asset in my now four year journey to building this place. I do want to thank everyone who has helped me in so many big and small ways. I hope that my experience here can return the favor to others on the site. That's what its all about, right?
OK, back to getting the ice of my roof!!!
-ashley
"Wes has already called me out on some very expensive code violations that would have shut me down during a final inspection."
You didn't happen to document these and maybe be willing to share the wealth, so to speak?
Good luck,
Brien