Hi, Welcome to Geoff's Studio Build. (& my first post!)
AIM
To build a studio for composing/mixing/editing music and audio. Operating at various hours.
MAIN FEATURES
Control room, with vocal booth.
RECORDING SET-UP
Based around Mac G5, Tascam FW-1884 Control Surface, JBL LSR6328P 5.1 set-up (budget permitting).
DESCRIPTION OF SPACE
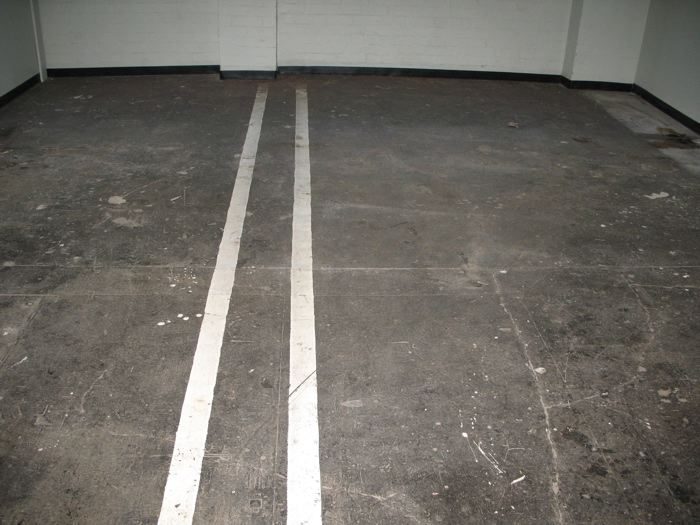
Located in the basement of a commercial building.
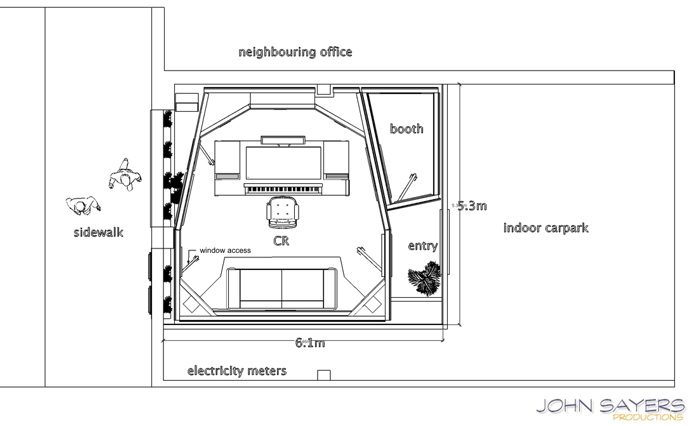
5.2 x 6.1m room.
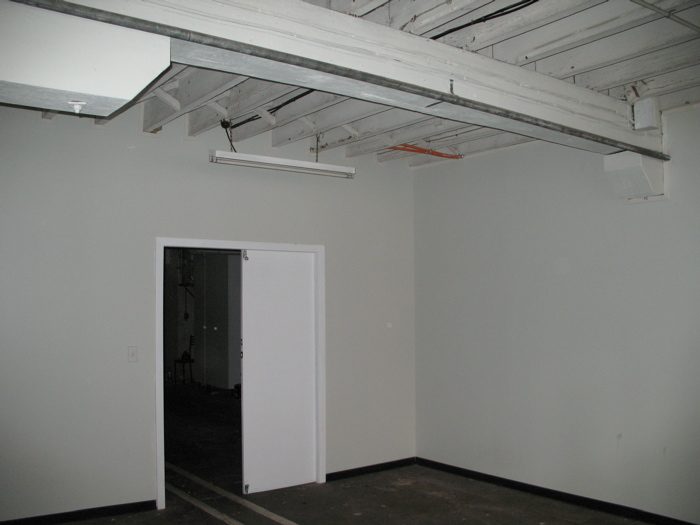
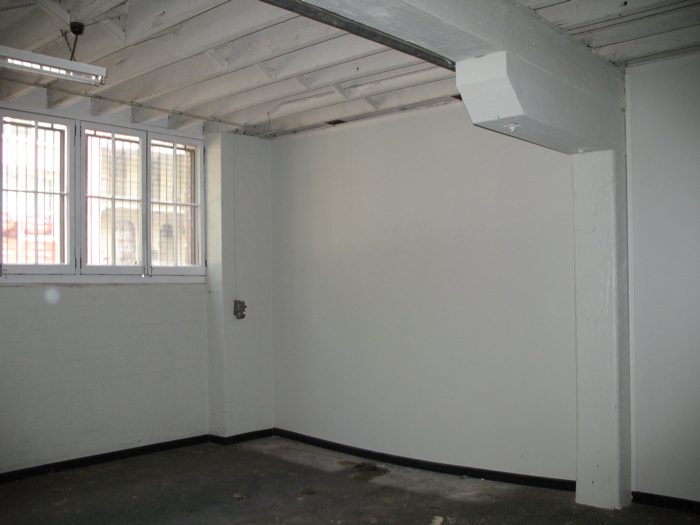
3.0m ceiling, timber with exposed joists of floor above.
Walls are 100mm timber framed "drywall". The streetside wall is brick with 1.4m high windows.
Concrete floor.
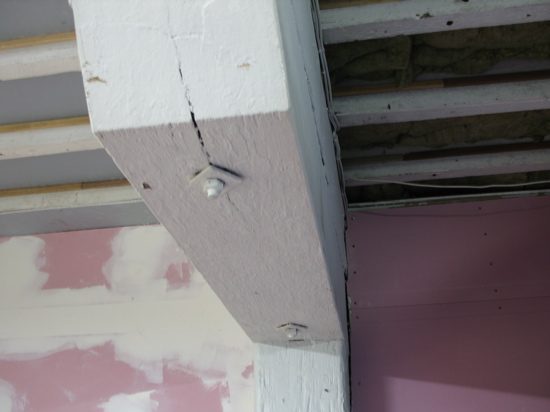
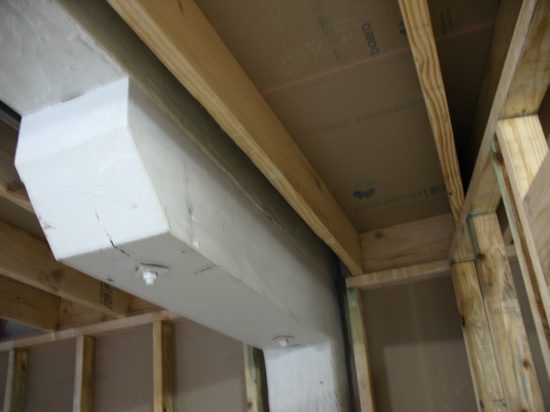
A 300mm square horizontal beam spans the ceiling south to north, roughly in the centre of the room.
OUTSIDE NOISE
Building fronts busy 4 lane road. Rear lane: some traffic.
Neighbouring buildings: offices and a restaurant.
Lecture rooms for a local college above, operating into early evening. Footfall noise, etc.
Courier company in neighboring office, operating 9 to 5. People/vehicles coming and going.
GENERALLY...
This space has many challenges, as you can see, but it's in a great location, and is within my budget.
SO FAR...
I thought it best to go straight to JS Productions for the design. John has worked his magic, worked around intruding beams and every other challenge and limitation, and come up with a design that is perfect for this space.
He even dropped in to have a quick look at the space on his way through town - I felt blessed to meet the legend himself!:D
LOCAL AUTHORITIES
As per the advice on this forum, I had plans drawn up by a drafter, and submitted a Development Application with the city council. This itself wasn't an inexpensive process, but I have peace of mind.
And my advice, if the authorities say to expect an answer in 6 weeks, don't wait 6 weeks to call them! Call them WAY before that to "check on the progress" of the application, and then KEEP CALLING THEM until you have the piece of paper in your hand! Mine took... slightly longer... than the 6 weeks - OK, it was TWICE that! Not like I'm building a block of apartments or something!
Next post: floor plan and pics... Thanks for reading!:D
So, starting with the floor...
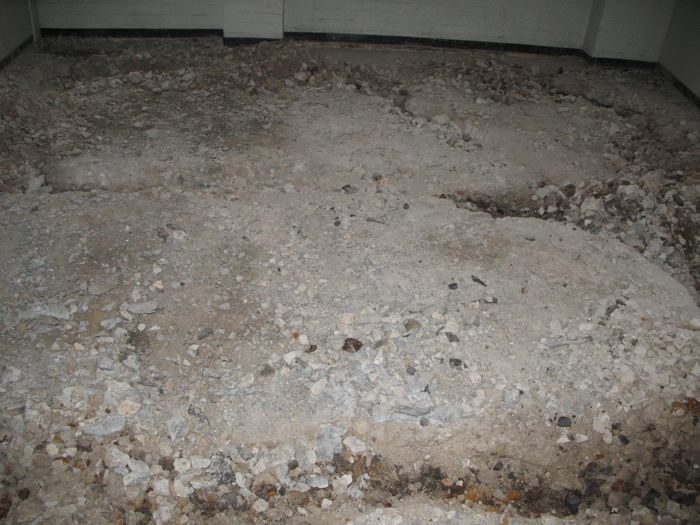
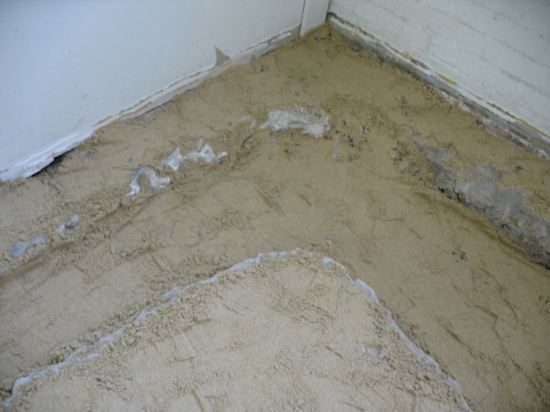
A keen eye will have picked the unevenness in the pics above. I didn't really think about it at that time...
There is about 50mm (2") difference between highest and lowest points, measured with string and a level :?Existing Slab Structure:
5mm (1/5") bitumin coating
50mm (2") concrete
100mm (4") compacted sandstone fill
Quite loose black organic looking, not really clay or sandy... (my veges would like it! haha)
I've dug/jackhammered channels for wiring conduits (red in the pic below) (and I've learned from this forum not to go to the local plumber for these pipes...)
And I've taken out half of the actual concrete surface, with the aim of lowering the "high points" to save precious ceiling height, and to avoid a huge step at the entry door (the lowest point) when the new concrete is laid.
My plan is to dig footings along the lines marked blue below.
And add some sort of reo. (steel reinforcing mesh? in Aussie English, haha). Not real sure where to put it though...
I hope to leave most of the compacted sandstone layer intact, and maybe some of the old concrete, at least at the lowest points (with the bitumin removed).
Will the new concrete bond ok to old concrete?
Promise photos of demolished floor later... thanks for reading!
So, the jackhammer has gone back to the hire shop. Not gonna miss it much either!!
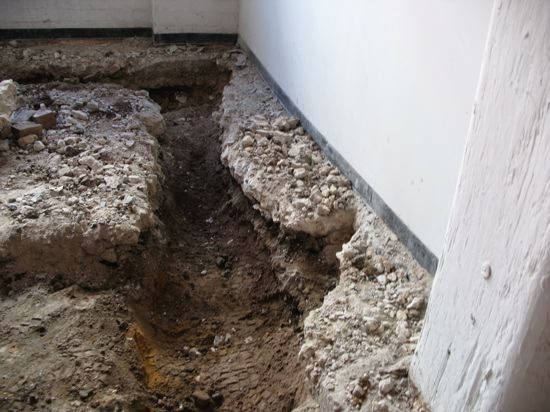
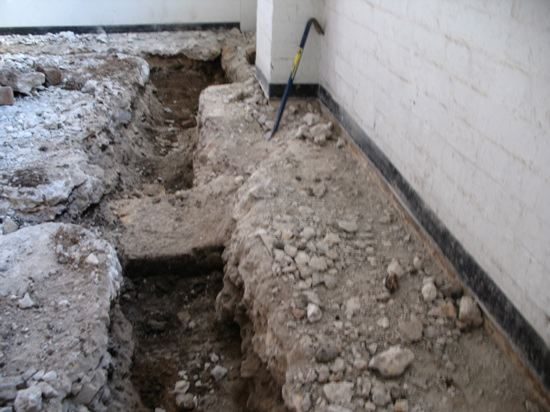
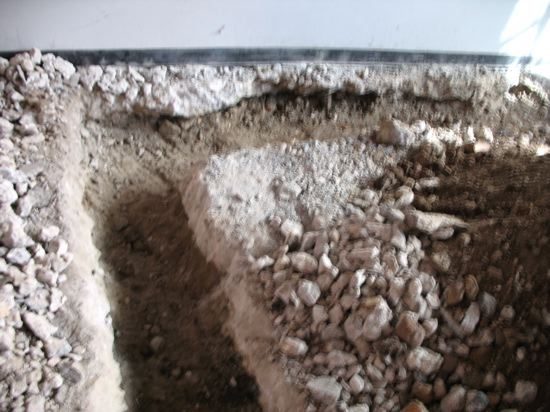
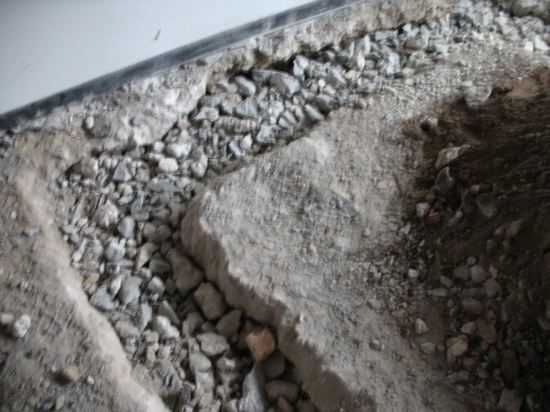
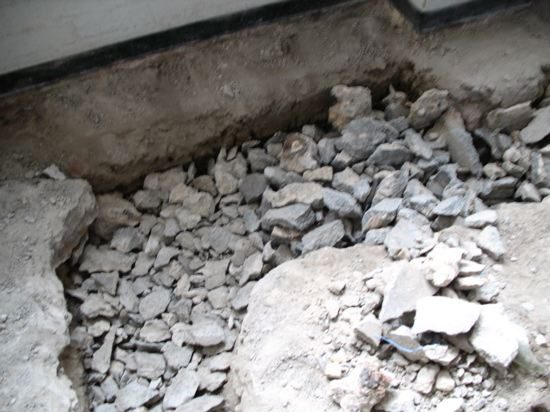
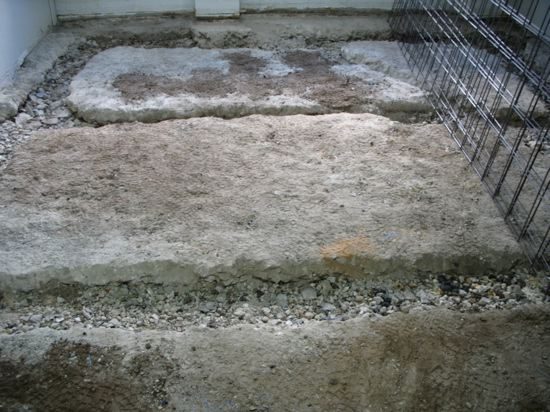
I'm left with none of the original layer of concrete. Most of the compacted solidified rocky/clay(?) layer below that remains. It's a pretty solid mass, even held up well where I had to jackhammer footings etc...
Channels dug for cabling, and footings, down to the dirt layer below.
Footings are a bit rough, though tried to stick to 300x300mm (12"x12").
My local government certifier is happy not to see them :? so I guess I'll just do my best!
For now, still removing the rubbish from my trenches, as the pic might show.
From what I can tell, the new slab will be around 50 to 100mm (2 to 4") thick, plus footings, with vapour barrier and mesh reo. More reading, and talking with concreters to do...
Enjoy the B4 & after pics!
Hi again,
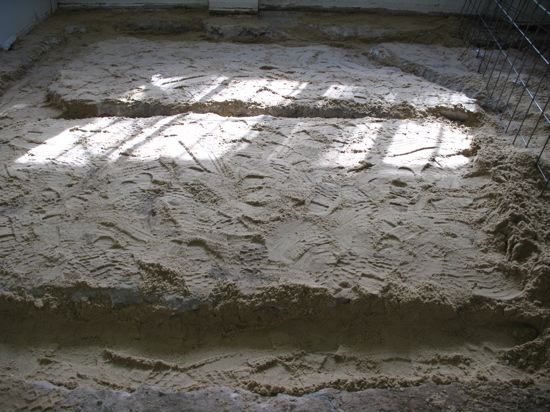
I've cleaned out loose rock/soil from trenches for the support beams of my slab, and refilled with broken/crushed concrete from the original slab - I know, not a uniform fill!
Next time: compaction of fill, and laying vapour barrier, conduits, and reinforcing mesh.
Bye for now! :)
Just one pic today:
Footings rammed, until I got blisters, using a six foot fence post, oldschool, haha;
Ground prepared - hoping I can get away with not using sand to protect the vapour barrier :oops:
Steel [200mm squares, 8mm guage, 6m lengths - the room is 6.1m 8) ] is cut to size, plus trench mesh. Ready to lay vapour barrier, steel and chairs.
(Next time I'll remember to take the gaffer tape for securing vapour barrier :evil: )
Promise next pics will be in colour!
Bye,
Geoff
Hi Geoff, Just wanted to say that I would definitely apply a 30mm sand bed to protect your membrane - without it, you really do risk the weight of the concrete pushing the membrane onto a sharp stone somewhere and puncturing it, thus rendering your membrane useless! :wink:
Regards Dude,
Lou. 8)
Yeah, you're right Lou, there are some fairly sharp stones, especially in the footings. I'll order some sand, and maybe use left-over membrane as an extra layer on those craggy edges, too.
I also read that moisture can be channeled towards a hole in the membrane, causing problems in that area.
There didn't seem to be much moisture present in the ground, but better to spend some extra bucks on sand for insurance :) .
Many thanks Lou for your advice!
Regards,
Geoff
Hi all,
Before my updated pics, some great concreting info, from Australian websites...
For a basic guide: the Ten Steps to Building a Reinforced Concrete Slab-On-Ground pdf:
http://www.sria.com.au/expertise/ten.pdf
For more indepth guides, look for the "Guide to Concrete for Housing" pdf and other free info at:
http://www.concrete.net.au/
and from the same site:
http://www.concrete.net.au/pdf/concretebasics.pdfExplanation of latest build pics:
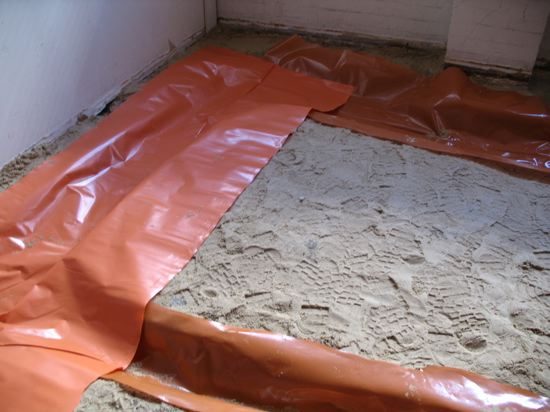
Laid sand bed, though not quite to Lou's recommended cover... half that(?). Definite improvement, especially in footings.
Next, laid under layer of membrane in footings. Let me rephrase that, laid an under-layer of membrane in footings :lol:
Then main layers, with plenty of overlap, and excess in footings for movement during the pour.
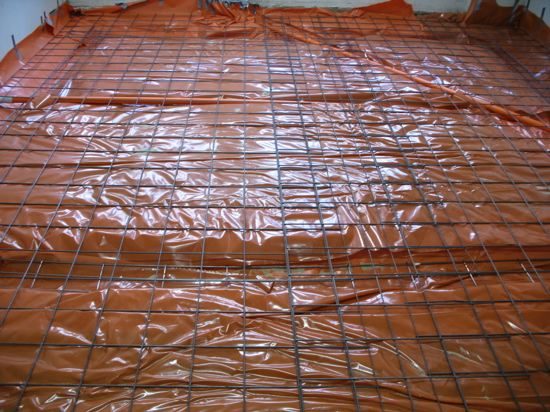
Laid out steel [2 whole sheets, and a strip in the middle, turned over :wink:], and conduits, ready for tomorrow:
Install chairs, ties, cut and secure conduits, extra gaffer for walls and a few holes caused by trying to get the steel in place :oops:
Bye for now :)
Geoff
Hi again, Forum-ers!
So... slab's in!:D
This week, after getting a few quotes, I hired a concrete contractor - good price, seemed to know what he was talking about, and not too pushy!:wink:
He suggested beforehand that I raise my chairs higher, and attach a foam joiner round the outside of the slab. I attached the foam to the perimeter, to slab height, as close as possible using my string and level; and doubled up the chairs, but I think still didn't go high enough to get the steel in the "top third" of the slab. Top...half...?
Anyway, the contractor was satisfied that the slab was "not going to break". That's some dry Aussie humour :lol: but I think he understood my "weight issues"...
So, day of the pour, straight from a nightshift at my "real job" (well, I did stop to eat breakfast and check in on the forum :D ), did some final gaffer-taping, some formwork attached in the doorway, the concreter and one labourer arrive and set up, and we wait...
Firstly, for the pumping contractor to arrive and set up 10m of piping to come through the indoor carpark area from the rear lane. Then the call is made for 4 cubic meters of concrete, and we wait some more :roll: ...
Concrete arrives and it's all go, until it starts to look like 4m is not going to make it!!! The guys re-checked their (laser) levels and "stretched" the concrete as much possible, but in the end had to call for another 0.5m, and wait :roll::roll:
It could have been that they were laying the concrete too thick, or the supplier "ripped us off", or the calculations (on my uneven site :oops:) were out - all these theories were thrown around :lol: but it was probably a combination of all of the above....
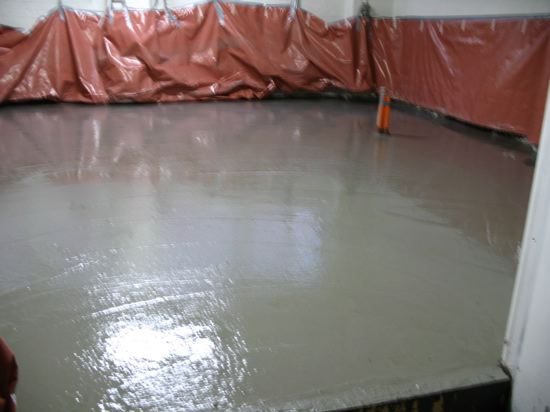
Anyway, a nice looking slab in the end. Finished with a ~130mm (5") step in the doorway; went well over my foam joiner; lost plenty of headroom, etc. more than I'd hoped, but... "I'll work with it."
I'll go back and have a look at exactly what I've got tomorrow, and take more photos, I promise! No arty shots like Lou's, though, sorry! [I used to think it was my camera, until my sister took some fantastic pics with it last year - I'm definitely doing something wrong!:lol: ].
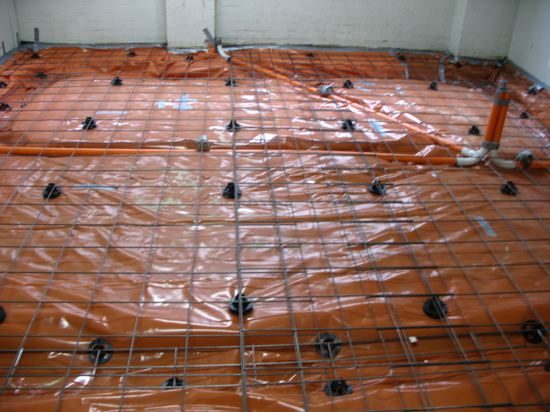
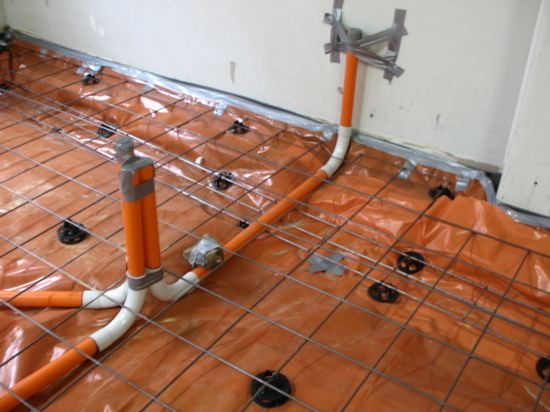
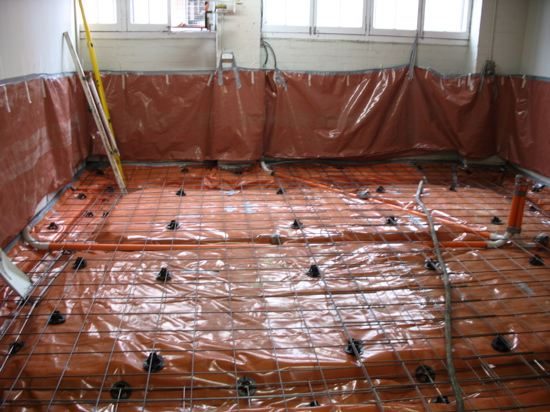
These pics should give an idea of the steel, chairs, and conduit set-up:
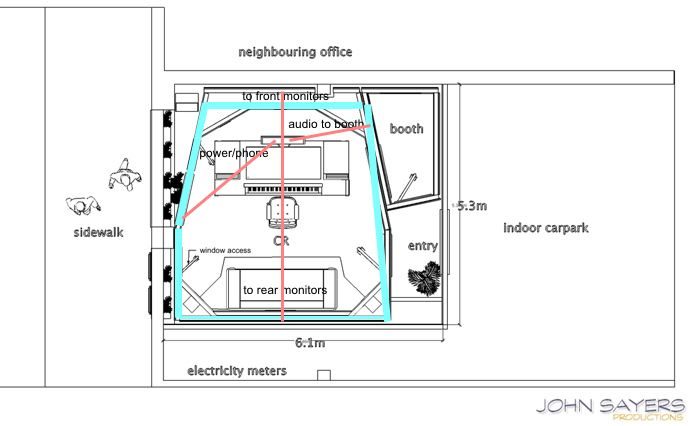
A conduit from the west wall for power and phone, and north and south for monitor outputs.
[eventually saw the wisdom in John's words :wink: and will simply go through the booth wall with cabling, I'm thinking a custom plate each side of the wall...? Right, hope you guys can help with that later :) ]
and the concreters taped some extra plastic to the walls for splashing. And a shot of the slab at the end of the (very long!) day. Oh yeah, and I went home, slept 2 hours, and went back to my "real job" :!:
Bye for now! :)
Geoff
Hi all,
Update time:
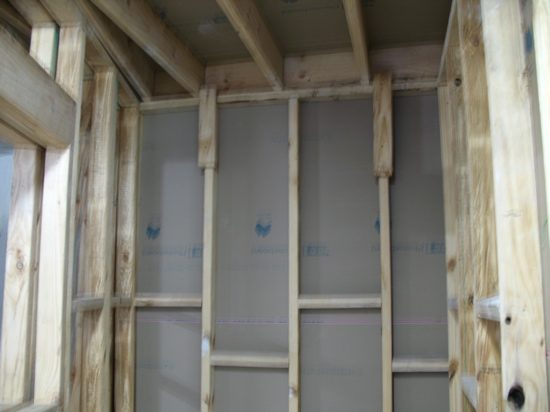
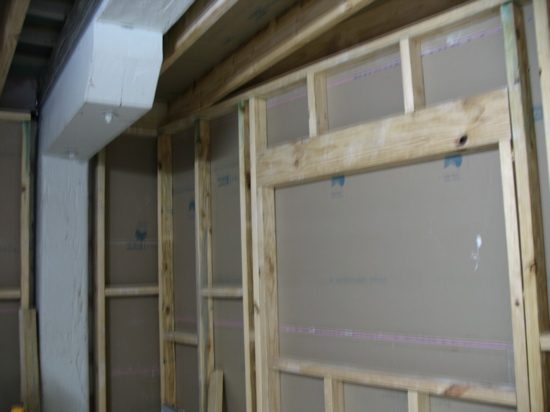
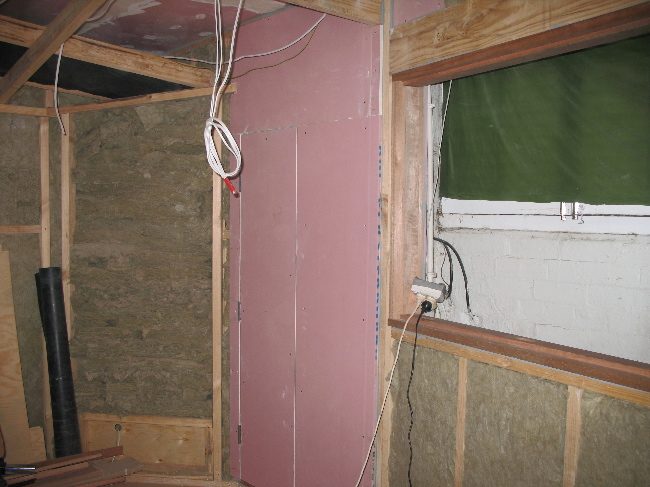
Added a layer of 16mm BGC Fire-Resistant plasterboard (12.4kg/m2) to existing walls. This is what I'll use for the whole studio.
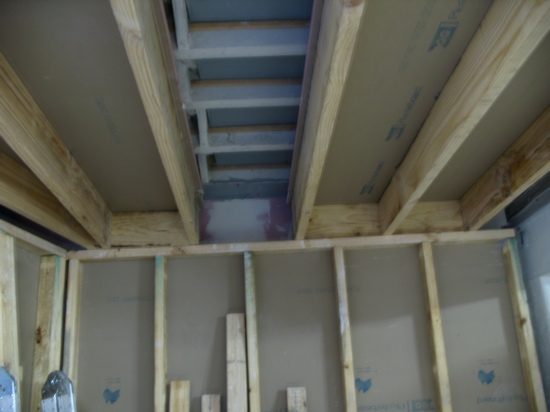
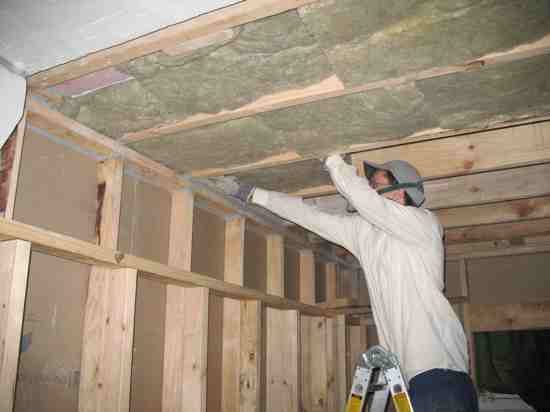
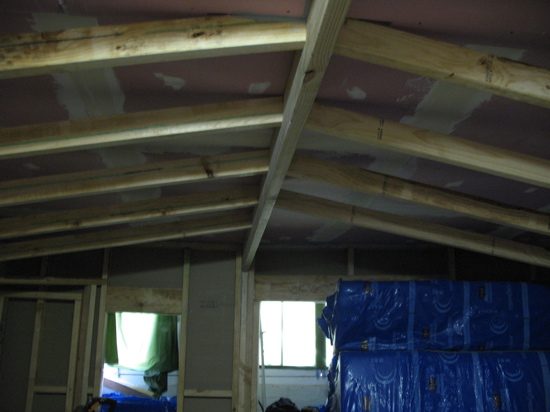
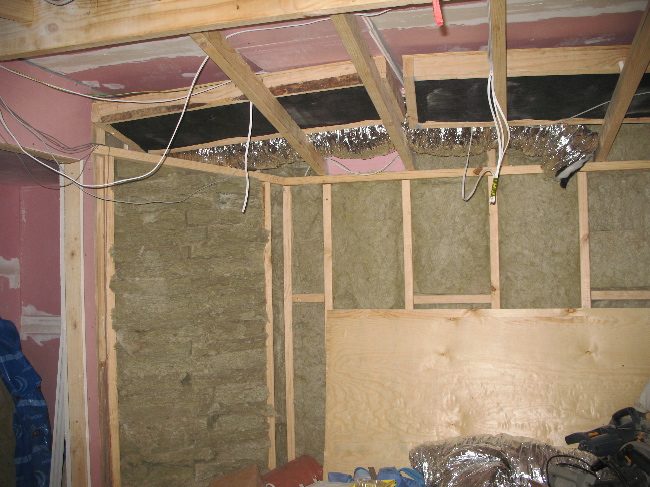
Stuffed 120mm CSR Bradford Soundscreen (30kg/m3) into existing ceiling, and covered with 10mm Gyprock FlamechekMR Plasterboard.
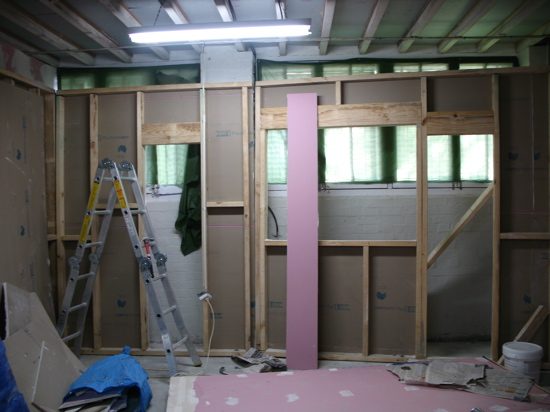
Framed up the first few walls, laid on the floor, using 45x90mm (2x4"?) structural grade pine, then added 2 layers of plasterboard to the outside face and tilted them up into position. So heavy!!! I recall seeing someone use a forklift to tilt up walls on the forum, now I know why!
Pics show treatment of existing ceiling/floor above. One half is not finished, because that half of the room is stacked full of batts...
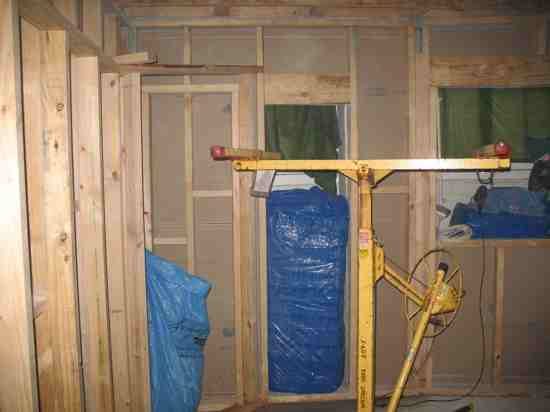
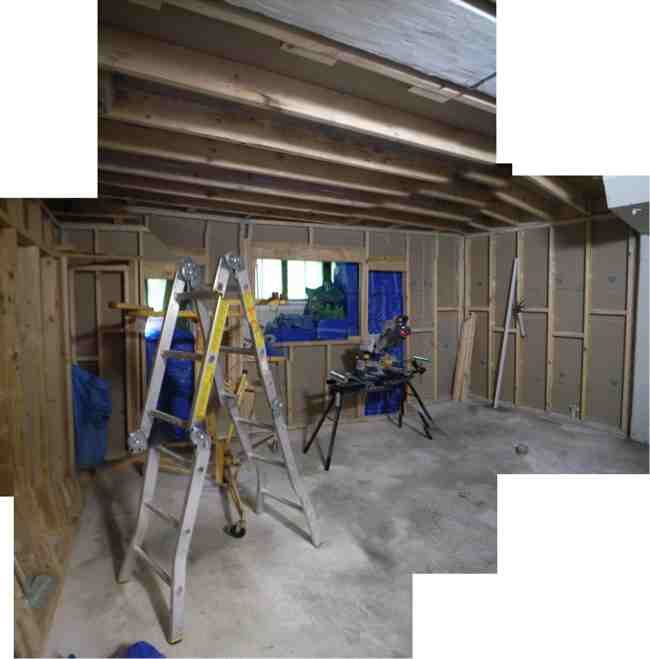
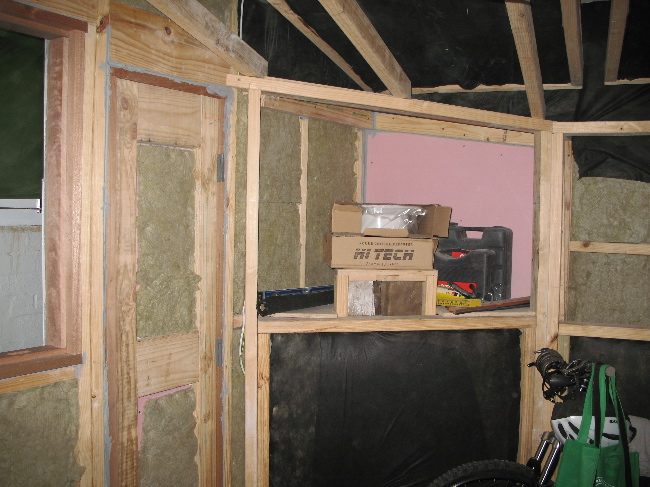
and a pic of some walls in place, and one on the floor, but no joints between walls yet. (Those "doors" are for access to windows "for cleaning" as a requirement of my Development Consent :roll: )
More pics when I've done more work, and cleaned up a bit...
Thanks for reading, and thanks for all the info on this site!
Geoff.
(and sorry for non-imperial weights/dimensions!)
Hello All,
Close to finishing wall and ceiling framing - the CR and booth entry sections still to go.
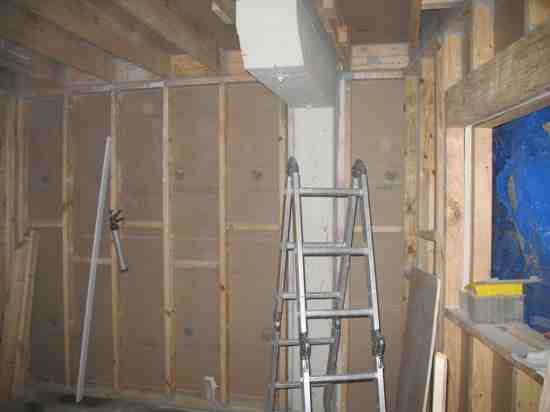
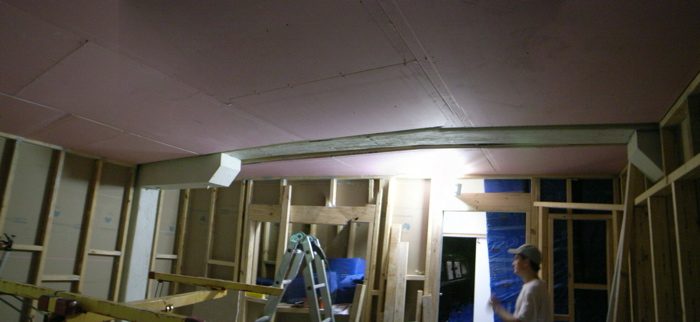
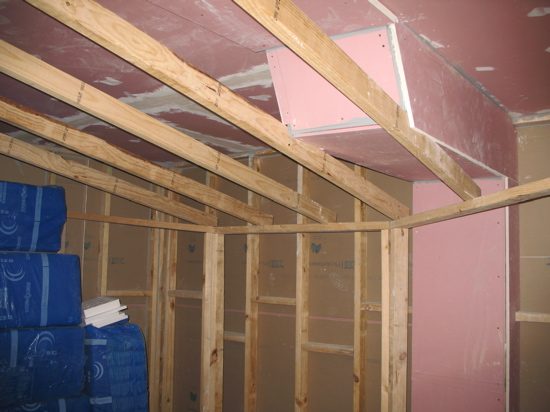
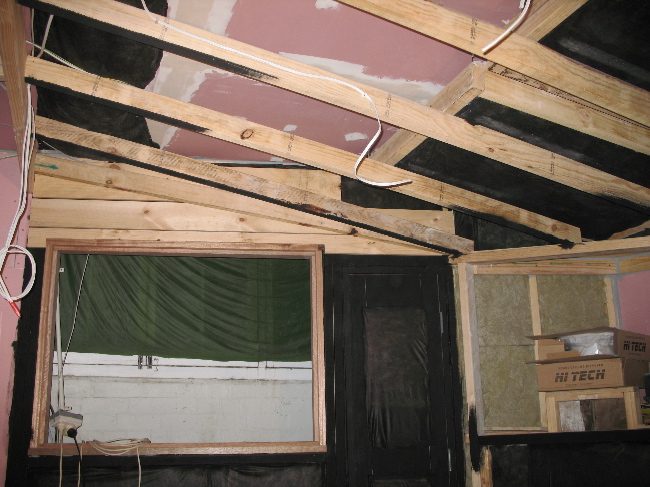
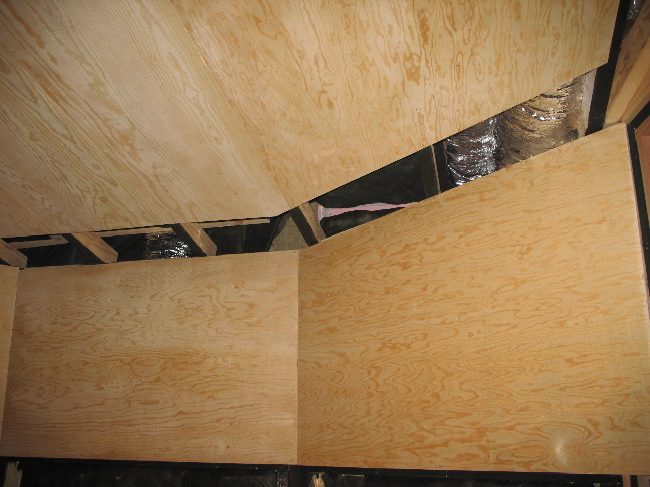
Here are some pics showing the North-side wall and the iso-booth, with most ceiling sections up, but not quite in place yet, all sitting on top of my internal walls; everything isolated from the original structure by an inch or so, and the booth similarly isolated from the CR, with its own ceiling section.
That exposed beam will be boxed up, and covered by the front monitor enclosure and an angled false ceiling (Thanks John!).
Looking forward to HVAC, wiring, doors, windows, and room treatments etc. etc. Will be a nice change to damned framing! :lol:
Bye for now.
Geoff
Hey! It is really starting to take shape! Looks good! Keep the pics coming!
Now, let's see... 2.54 cm per inch... um... Now where is that danged calculator??? ;)
Still waiting for Lou's update? Me too! Well, here's mine in the meantime... :wink:
Thanks DH for the encouragement! I still use "feet and inches" in a conversational kind of way. Seems easier to picture... and maybe because I never heard my parents talk in metric. :D
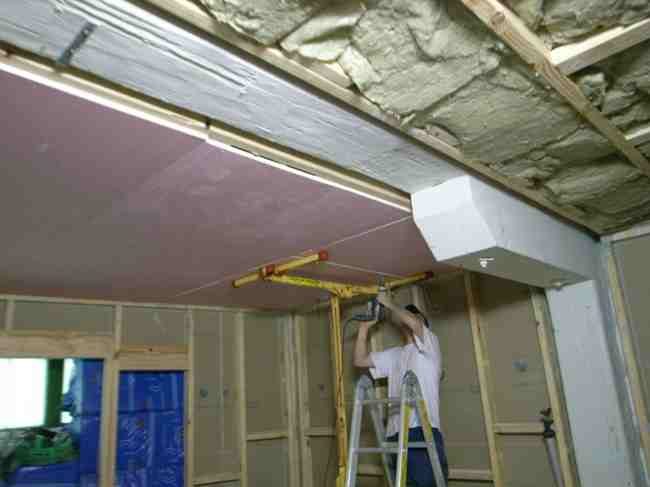
This weekend, plastered the underside of the inner ceiling. Pics show me putting in the insulation. Camera's batteries ran out before the plaster went on, though. More later from my mate's camera...
First pic also shows framing for rear absorber wall and speaker enclosures. The "false ceiling" will sit on that framing, angled up to the centre of the room, and back down to sit on the front speaker enclosures. That's next week... and will allow for the rough in of electrical wiring.
Thanks for reading!
Geoff
Hi all,
Some progress, but still not into the really "technical" stuff - doors, windows, enclosures, wiring etc.
My HVAC guy is dropping off some flexi-duct and brackets. That should be more... interesting... than framing, plasterboard and caulk!
Pics for today:
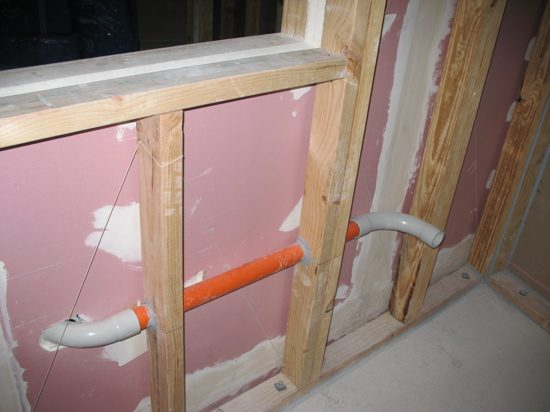
Conduit for audio into the booth. This was plastered (drywalled) over after the photo was taken, and will have wall boxes each end. Upon reflection, I should have "floated" the conduit on some open-cell rubber rather than bits of backer rod...
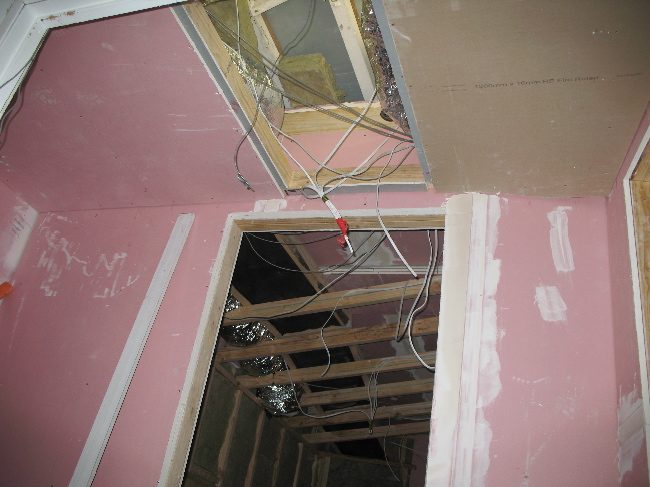
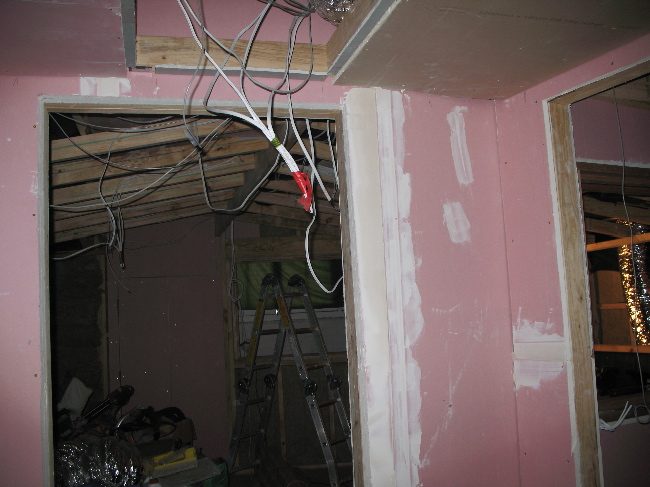
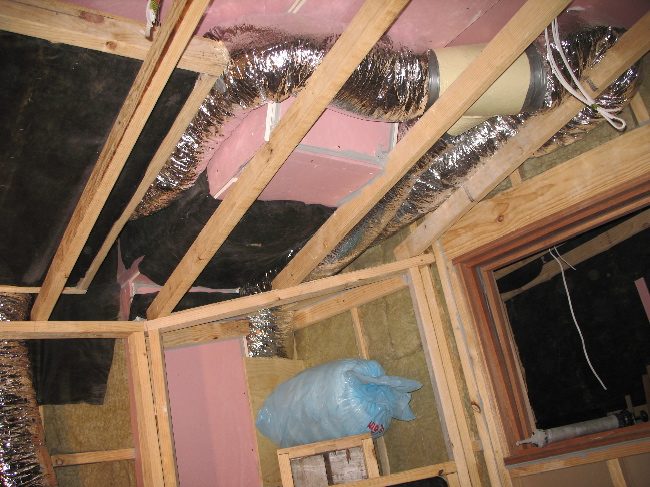
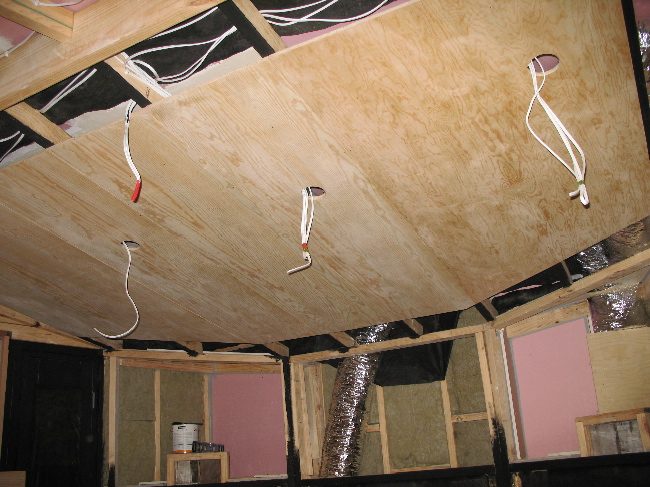
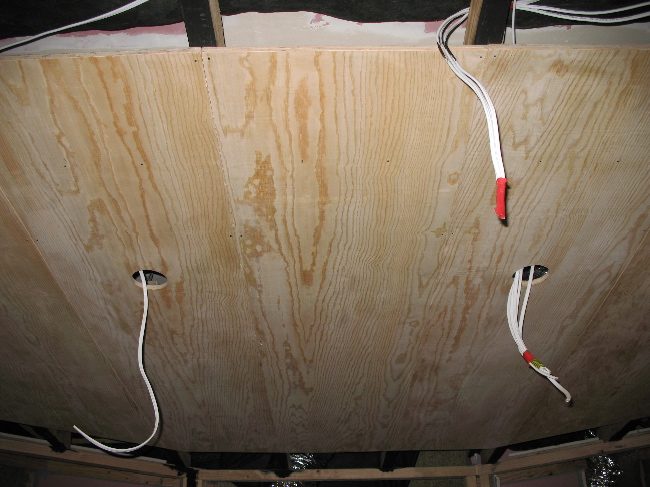
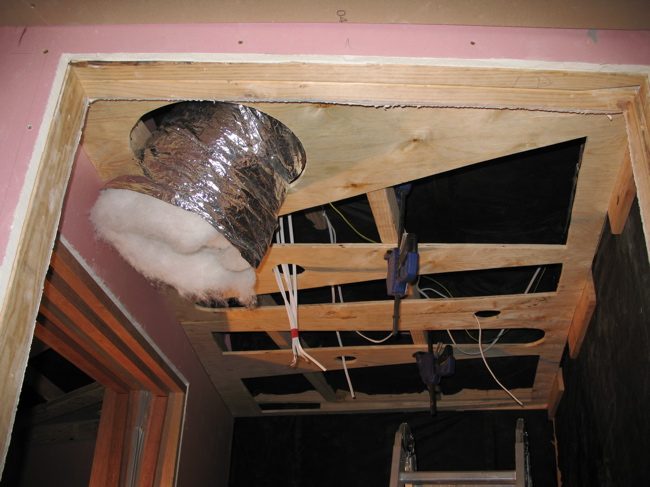
False ceiling, to house down-lights; with wiring, flexi-duct, "cloud" type hanging treatments etc. above. Some joists still to go in at the ends, when I've finished working above.
Framing for front speaker enclosures, showing existing support beam "boxed-in". No hard connections between "inner" ceiling and false ceiling. Just caulk seals; and rubber strips where the ceiling sits on top of the walls.
Thanks for reading!
Geoff
Well, it been a while... My last update was February '08!
I've been watching the forum, though, when I'm not watching eBay for more studio goodies! Hard to imagine building without this forum. Thanks everyone, and hope these next updates will be of interest to someone!
Since the last update.
Electrics were roughed-in; there will be 3 circuits for lights, power (general and ventilation etc), and studio equipment, all star-grounded.
Flexi duct has been installed for CR and booth feeds and returns.
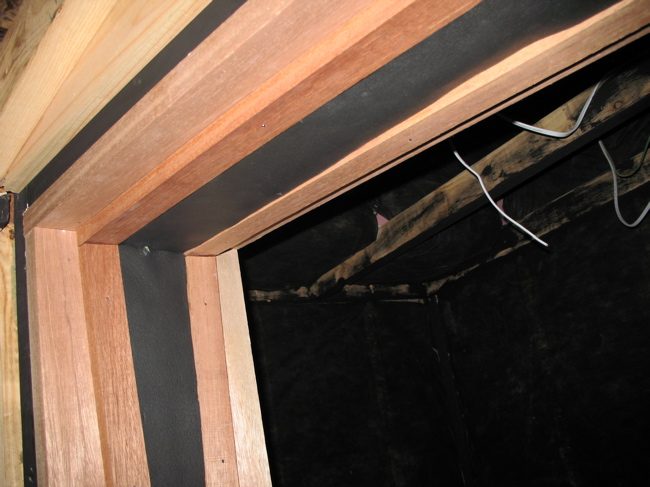
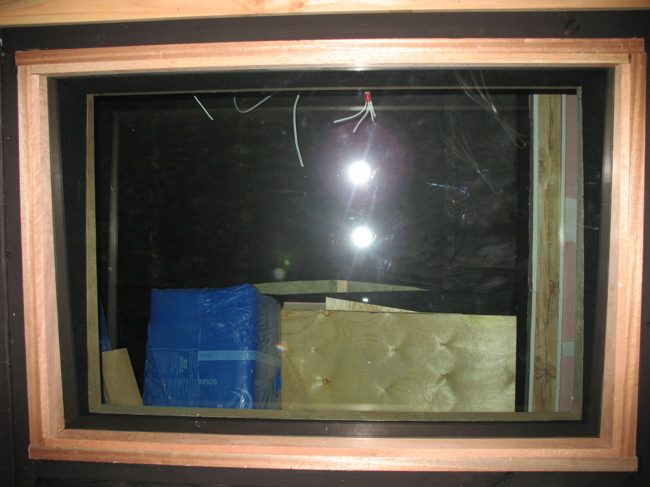
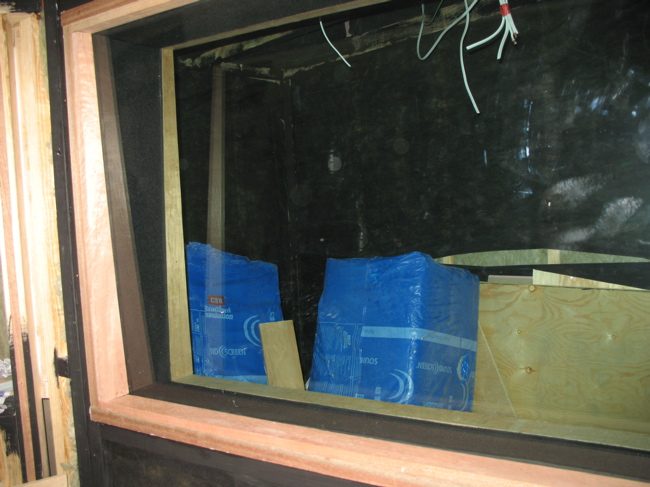
Doors for access to outside windows installed. Windows framed and ready for glazing each side of the CR.
The rest as seen in the photos, or as I think of it...
Thanks for looking!
Geoff
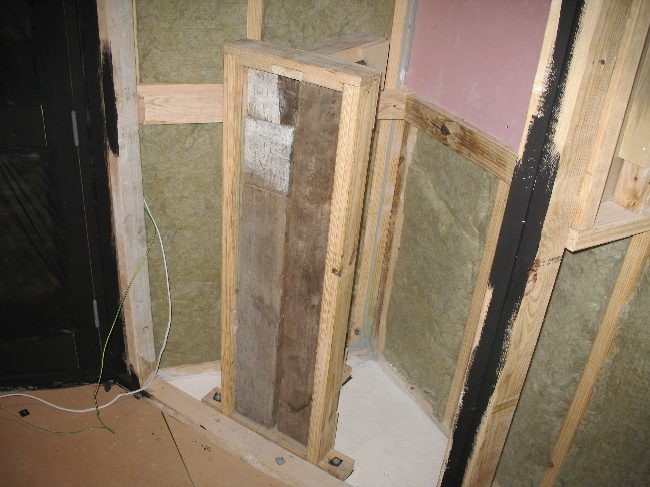
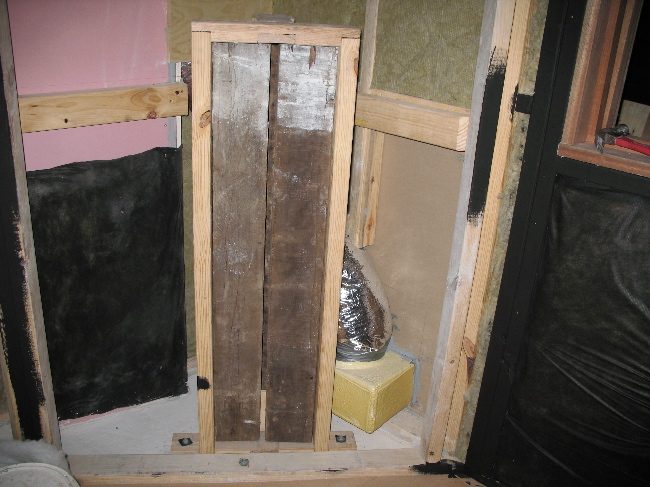
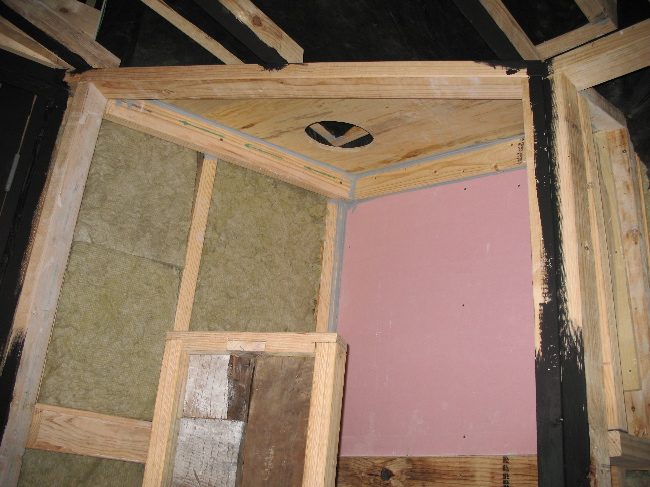
front speaker enclosure.jpgRear corner trap.jpgEntry area ceiling.jpgCR and booth entries.jpgCR entry and feed duct.jpgCR and booth relief ducting.jpg
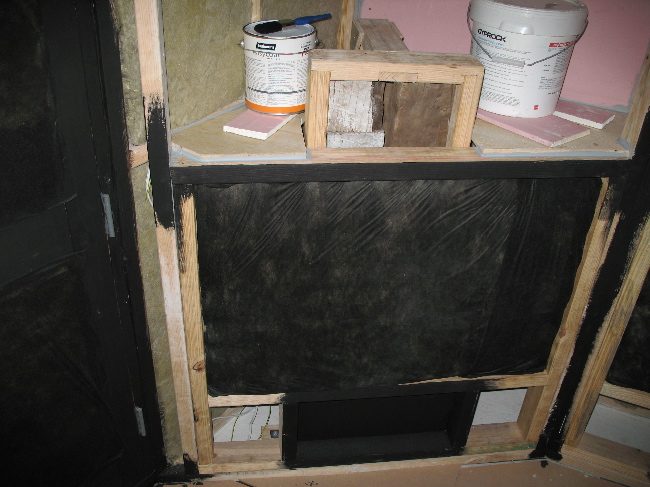
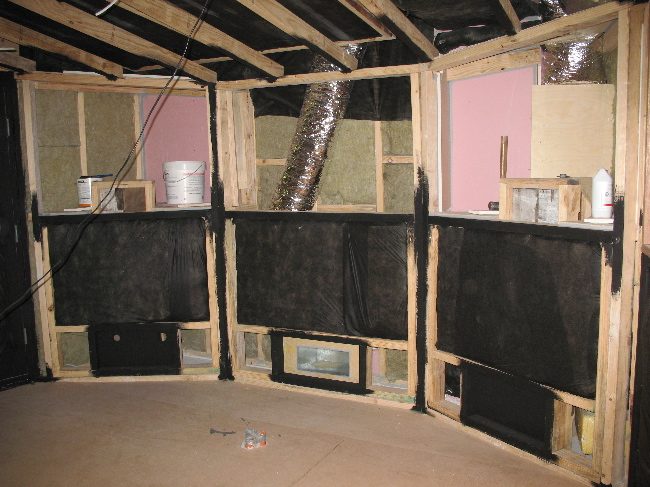
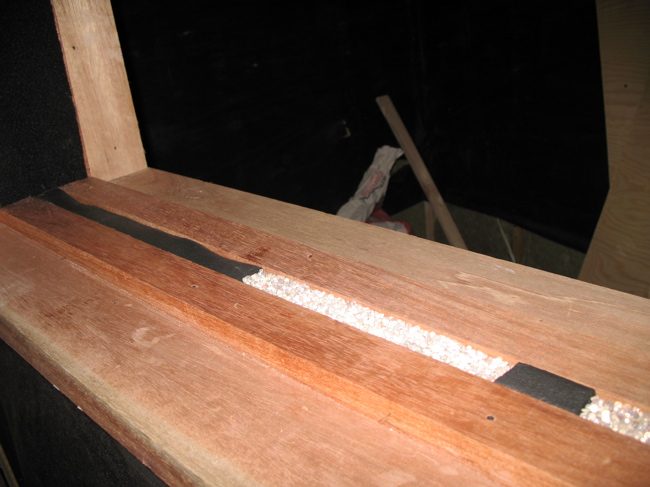
Insulation, weedmatting and black paint, to be under the slot resonators.
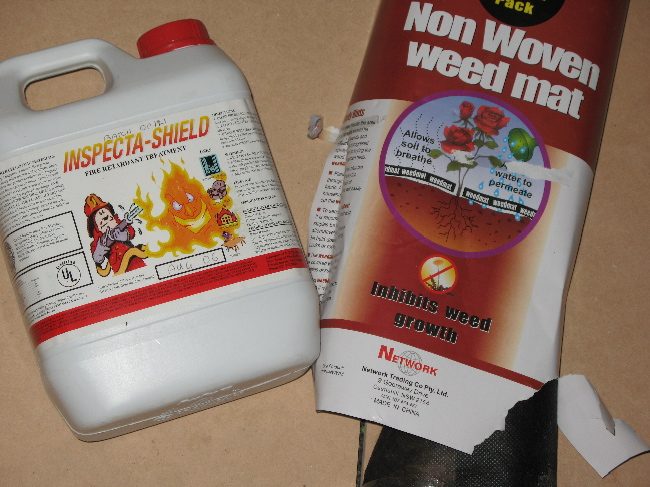
BTW the weedmatting failed the "cigarette lighter test". Not scientific, I know...
I have used flame retardant spray on any that will be above or near lighting and monitors. The closest is 300mm/1' from the back of my downlights.
Is that enough? I will ask my local authorities, but what do you guys think?
Geoff
Flame retardant for the weed mat.jpgTop of slot resonator.jpgWeed mat and black paint.jpg
Hi all,
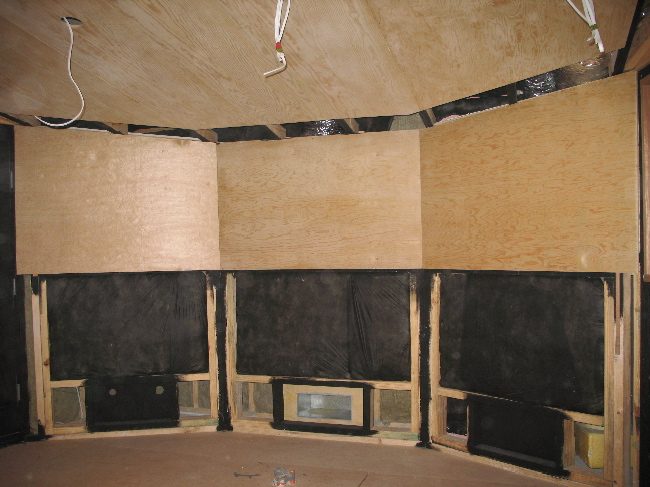
The last few days, front panels for ceiling, and monitor enclosures.
The left and right monitor front pieces will come down again to be cut out.
The surrounding areas will have fabric screens.
I have the next 2 weeks off from my "real job" so hope to have plenty of pics!
Geoff
Front ceiling panels.jpgFront ceiling detail.jpgFront panels.jpgFront panels detail.jpg
Thanks for the comments Lil,
I used CSR Bradford Soundscreen insulation, though have since read that less dense insulation ("pink fluffy stuff") is in fact better for LF TL... (huh?)
The denser insulation actually transfers lower frequencies through what should be an airgap in a mass-air-mass wall. Not sure what this means for my inside out walls, though. Ok, now my brain hurts!
Thanks again, more updates to come...
Geoff
Hi again,
I've been making panels from plywood to house down-lights and the ventilation feeds. The panels will be covered with black fire rated cloth I found at a stage and theatre supply place.
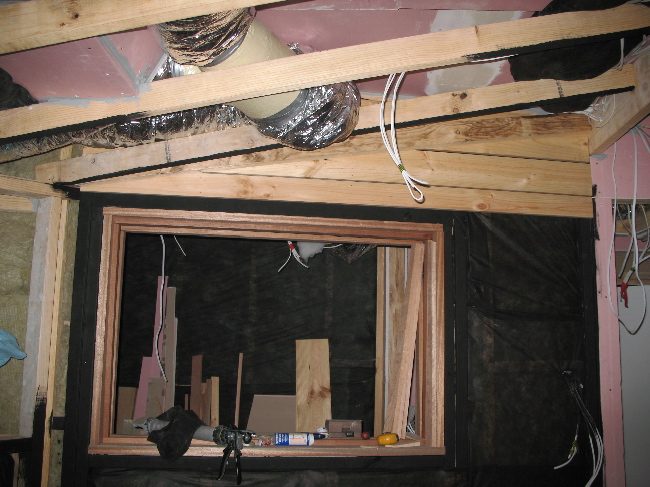
Also getting ready to put glass in the windows on each side of the CR.
Thanks for looking!
Geoff
Thanks for the encouragement, jwl!
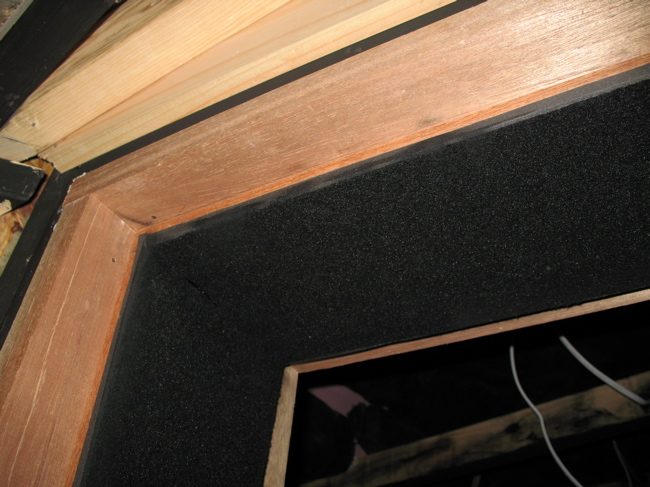
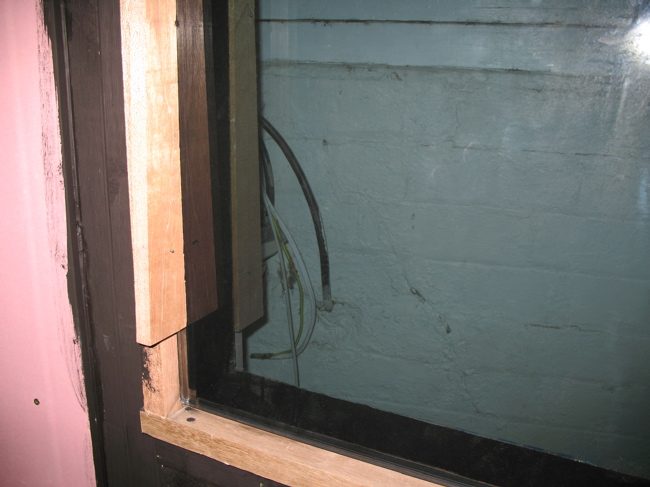
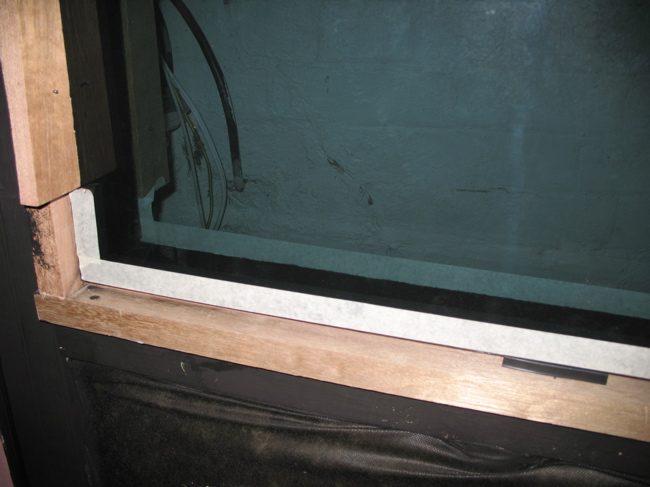
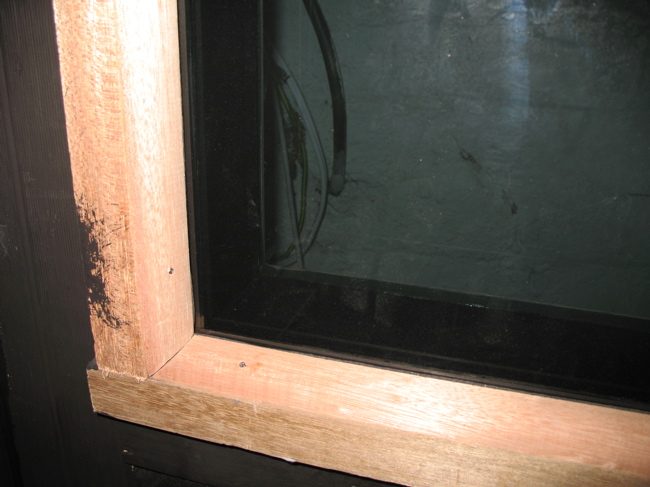
Glass was installed today.
All done with the help of this discussion in the Reference Area.
The shopping list:
Foam and carpet material to fill the cavity
Silica crystals
Setting blocks
Glazing tape
Silicone
Masking tape
The harder to find stuff was found at a friendly glazier's workshop (not from the glass-cutter).
Following the before mentioned method (I believe), it worked like a charm:
-Stuck glazing tape to the inside stops.
-Checked glass for fit and level on the setting blocks.
-Put glass in place. (Much time was spent cleaning the insides of the glass.)
-Installed temporary stops at the sides.
-Masking taped the top and bottom edges of glass.
-Filled the gaps with silicone. (I used foam backer rod for the larger gaps - my setting blocks are 10mm).
-Removed the masking tape, then installed top and bottom stops with glazing tape stuck on the inner edge.
-Removed the temporary stops; taped and siliconed as before; before adding the remaining stops (including glazing tape).
Perhaps the following pictures will help too...
Thanks to all, Rod especially, for your insights. The "hold my hand for my Window install please!" discussion (in the Reference Area) is essential reading!
Geoff
West window temporary stops.jpgWest window taped up.jpgWest window with stops.jpgEast window with stops.jpgEast window with stops2.jpg