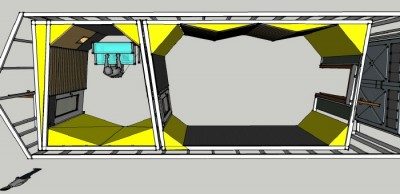
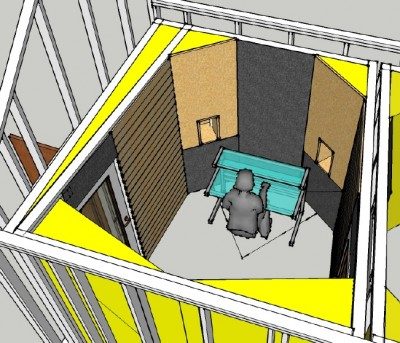
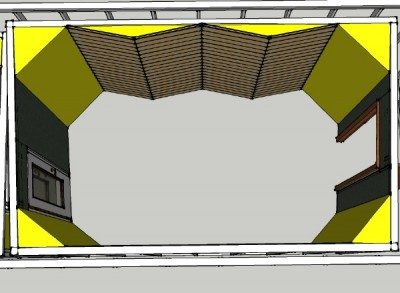
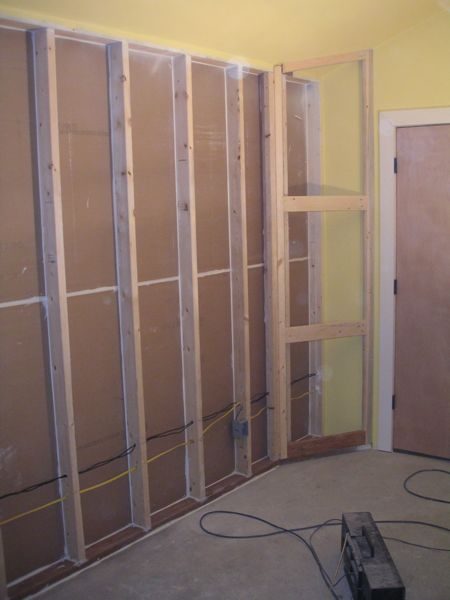
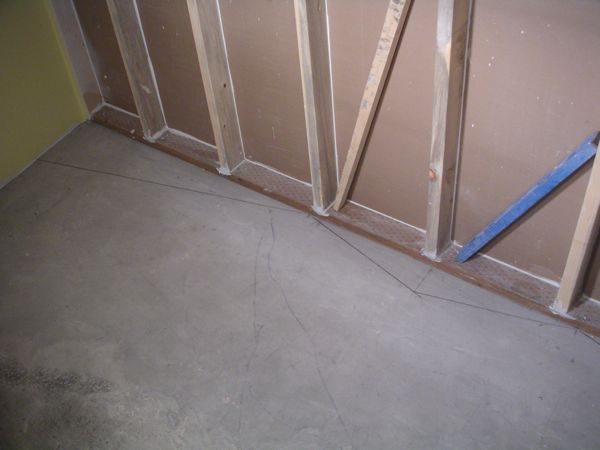
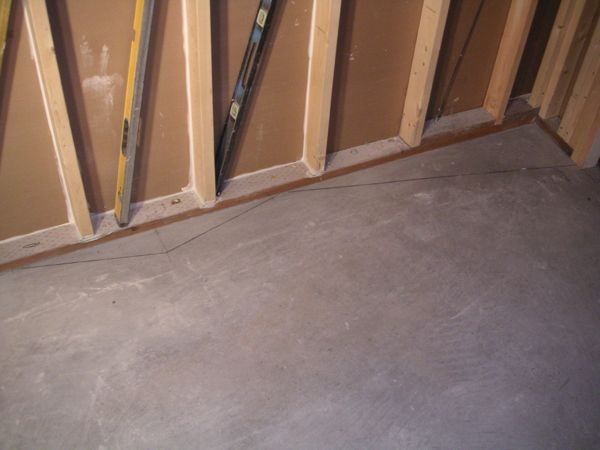
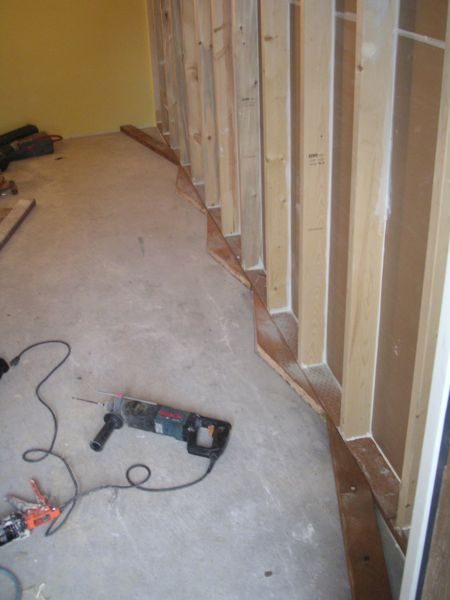
Well, I've been pulled away from this project for several months, now (I hate how work and family etc, etc tend to do that). However, I'm getting to the point where I want to start chipping away at the construction of my studio again. If you're curious, here's the thread to my design phase: viewtopic.php?f=1&t=13938outside front.JPG
Image not preserved: Outside back.JPG
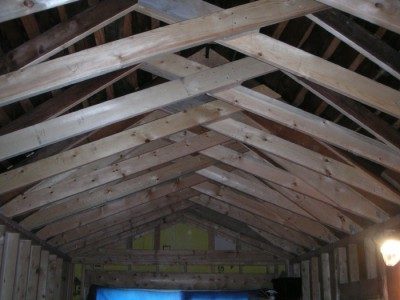
After several iterations, my final design shows up near the end of that thread, but I'm sure I should probably put quotation marks around the word "final." Thanks to some prodding from Lilith_envy, I decided to vault the ceilings, giving me quite a bit more volume in the space. This was done after consulting with a structural engineer and having him draw up plans for converting my roof framing to scissors trusses. While this will affect my room ratio calculations, I've decided I'd rather treat the rooms as necessary, rather than forgo the additional room volume that vaulting the ceiling provides. The space is definitely far less claustrophobic now.
I suppose a quick summary is in order for those of you who don't want to slog through my previous thread:
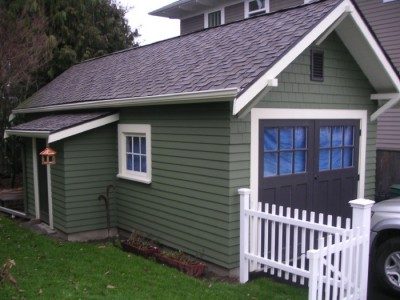
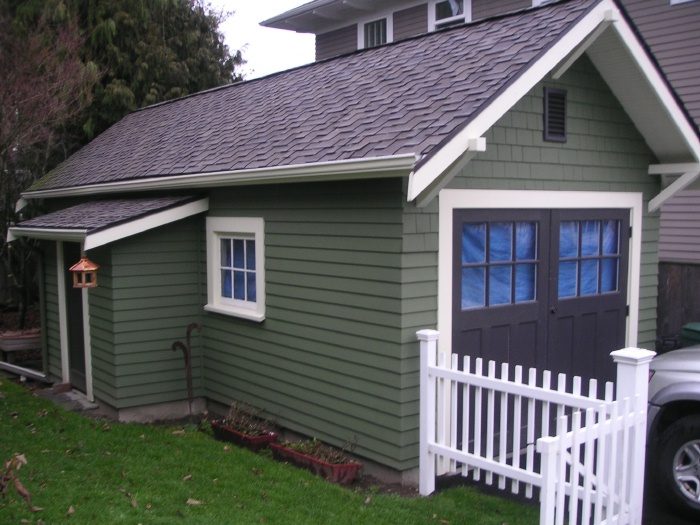
My name is Mark, I live in Seattle, WA, and I'm wanting to be able to record and play music (3-4 musicians, including myself) with live drums. I'm hoping to attain enough TL to make this possible. If this proves unrealistic, I might have to settle for electronic drums. My nearest neighbors are only about 12' away from this building, so isolation is important. The current shell of the garage is as follows: 2x4 framed walls with scissors trusses. The first layer of the exterior leaf is comprised of a variety of materials (the original building is 100 years old): there are 1x4's, 1x6's, 1x8's, and 1x10's as well as 1/2" CDX on the new addition. Over this layer I added a layer of 5/8" Densglas (that yellow sheathing that's common around here, at least, on commercial buildings), caulking the seams as I went. Then, over this layer, there is siding felt and cedar siding.
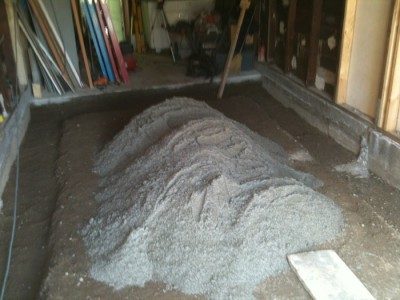
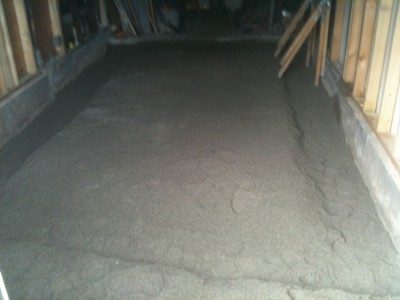
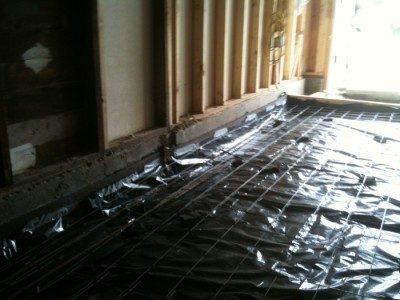
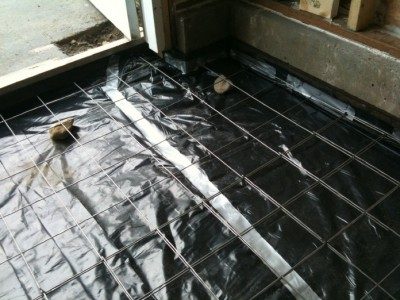
The floor in the live room is new concrete with expansion joints all around, a thickenend slab on the perimeter, and sand underneath.
This is probably going to be a slow process, but I decided that since I have some questions that have popped up, I should go ahead and start this build thread and chip away as time (and money) allows. My budget at this point is sort of vague: I hope in the neighborhood of 15K. I will be doing all the work myself. I don't forsee this studio being a source of income for me, so the lower I can keep costs, the better. Having said that, I do want something that I'm happy with.
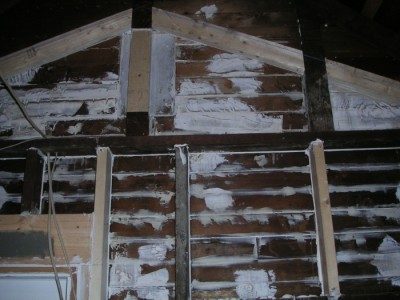
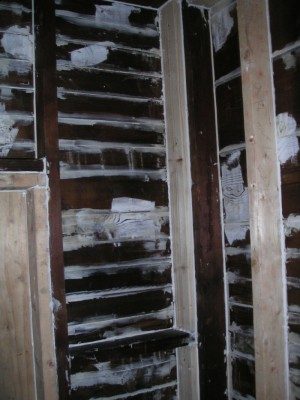
My question at this point involves a third layer to my outer leaf. As I mentioned above, the 100 year old layer of sheathing is comprised of various widths of 1x material. I decided that I would try to make this part of my mass, so I took the time to fill knotholes with Fix-All and all the joints with acoustic caulk. My hope that treated this way, the old sheathing will add to my mass rather than just leaking sound through its various holes. I now plan to add a layer of drywall between the studs, which will be my third layer of mass to this leaf (outer layer= 5/8" Densglas, middle layer= old 1x sheathing with filled holes and caulked seams, inner layer= 5/8" drywall between studs, with backer rod and acoustic caulk around perimeter).
So here's my question: I've been thinking that I will spring for green glue at some point in this project. My plan was for my inner leaf to be two sheets of 5/8" drywall with GG in between. However, I've been thinking that, with all the irregularities of the 1x material, perhaps it makes sense to use the GG during this "beef-up" stage of construction. My thought is that the GG could help dampen between the irregular siding layer and the "beef-up" drywall layer between the studs. But I don't think I can afford to use GG both during this phase and the inner leaf phase, and I want the most bang for my buck. Do any of you experts out there have an opinion on this?
Thank You!!
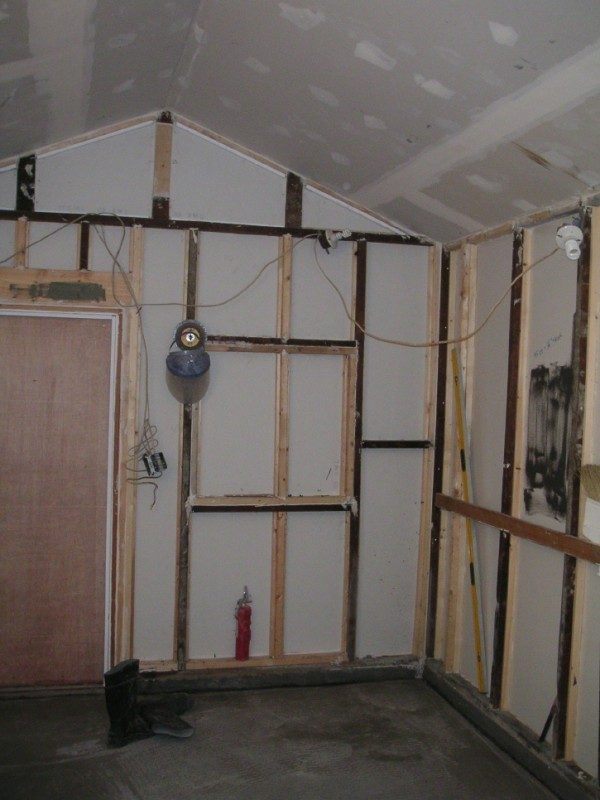
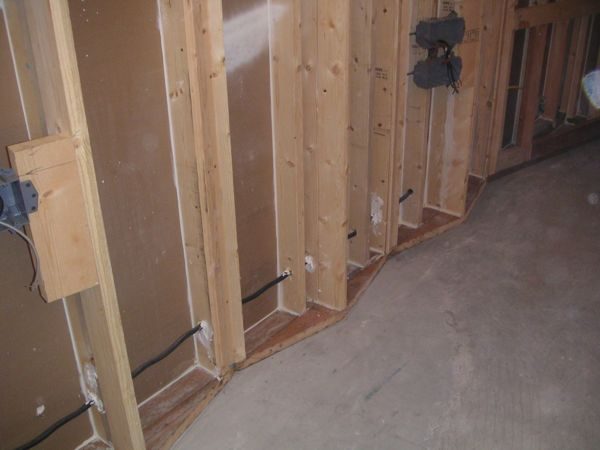
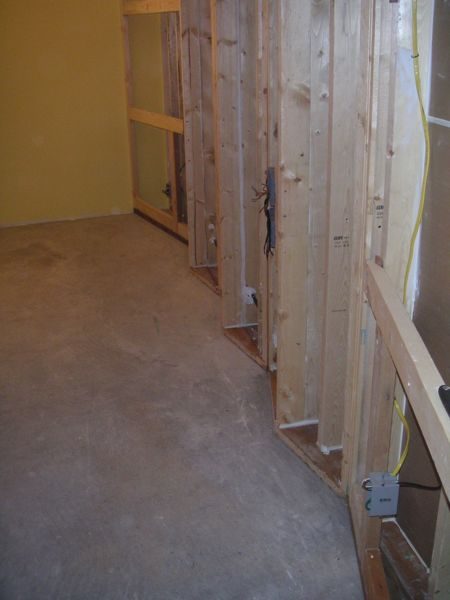
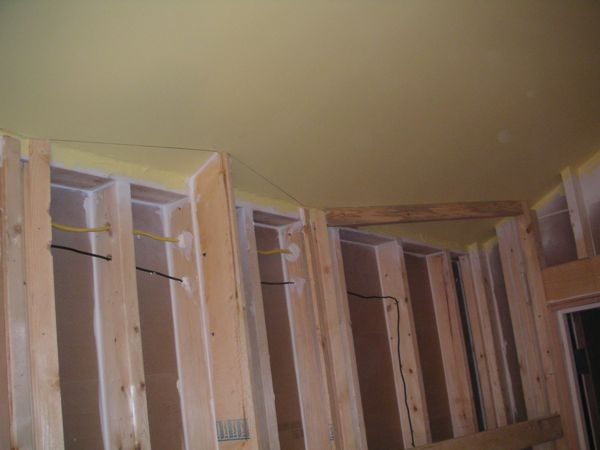
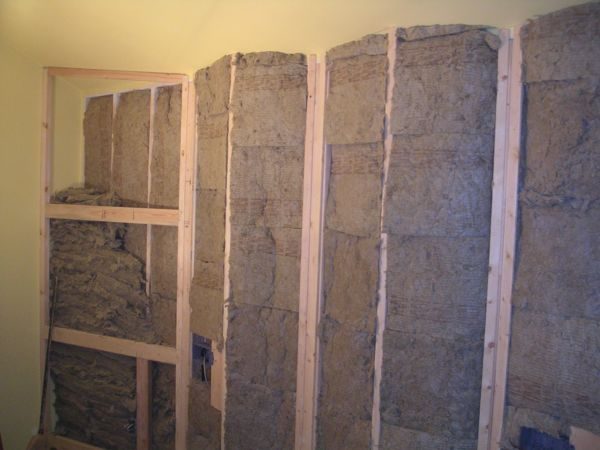
Here are some pictures of where I'm at.....
sandpile.JPGtrusses.JPGsand in place.JPGwide shot with grid and plastic 2.JPGcloseup grid and plastic.JPGgable detail.JPGwall corner.JPG
looks like a good plan but i'd move the door up closer to the mix desk so you can have a view into the live room. otherwise 'd install a window on that dividing wall or even a pair of back to back sliders.
Thanks, Glenn. Yeah, I've been thinking about that; I just thought I'd get a better RFZ for the mix position the way I have it designed. However, another thought I've had would be to have a removable section of slats with an attached layer of 703 or something behind it that I could put in place over the window for mixing, but remove for tracking in order to see into the live room. That way, I could just use solid core doors beween the LR and the CR, maintain a good, balanced RFZ, and not have to scoot back in my chair to see into the LR. Does that sound like a good solution?
My more immediate concern, though, is about the Green Glue question. I haven't seen anyone use GG in the "Beef-up between the studs" phase. My reasoning is below:
"However, I've been thinking that, with all the irregularities of the 1x material, perhaps it makes sense to use the GG during this "beef-up" stage of construction. My thought is that the GG could help dampen between the irregular siding layer and the "beef-up" drywall layer between the studs. But I don't think I can afford to use GG both during this phase and the inner leaf phase, and I want the most bang for my buck."
Thanks for any thoughts you have on this!
i've used the window plug idea on several studios so it will work. other times just a heavy drape and matching one opposite will suffice. on the GG for beefing - if you have only one place to do it - do it on the main isolation walls and skip it on the beef up mass. the additional mass your adding is already compromised due to the joists protruding and flanking it.
Glenn--thanks so much for the input. I like the idea of the removable slats or your drape idea--much easier for tracking (and seeing while tracking)!
And that was my suspicion about the framing compromising the beef-up layer. Thank you for confirming it. I think I'll just use the GG when I construct my inner walls. Sounds like there will be more bang for my buck there, although I guess I could decide to splurge and do it both on the exterior leaf and the inner leaf, unless you think I'm throwing money away by using GG on the "beef-up" layer....
Glenn--I'm a bit confused--my floor is concrete slab on grade--do you mean that you wouldn't bother with the GG between the studs on the outer leaf?
Thanks,
Mark
Well, it’s been more than a year since I’ve posted on my build; progress has been painfully slow, but I’ve been chipping away at it. My exterior leaf is now essentially complete: I’ve beefed up between the studs with 5/8” drywall, giving me three layers on that leaf, if you count the layer sandwiched in the middle, which is the original 1x sheathing that I caulked and filled (see previous pix—not sure how great a layer that is, but so be it—it’s got the beef-up layer on the inside of the leaf and 5/8” Dens Glas [exterior drywall] on the outside of the leaf).
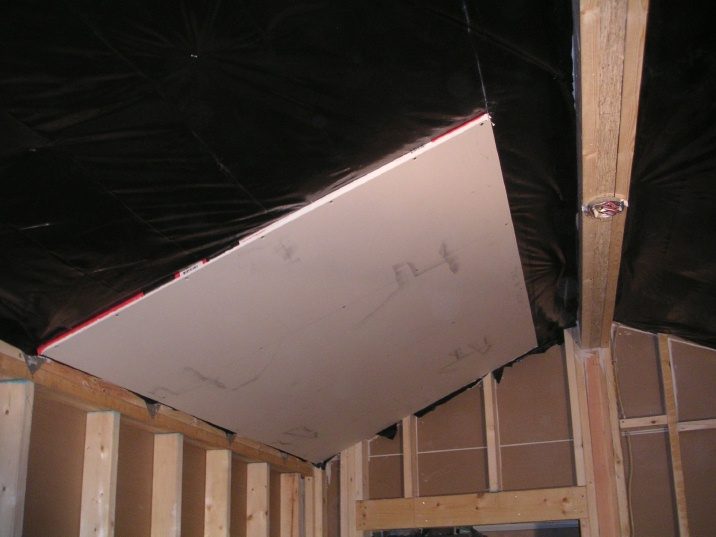
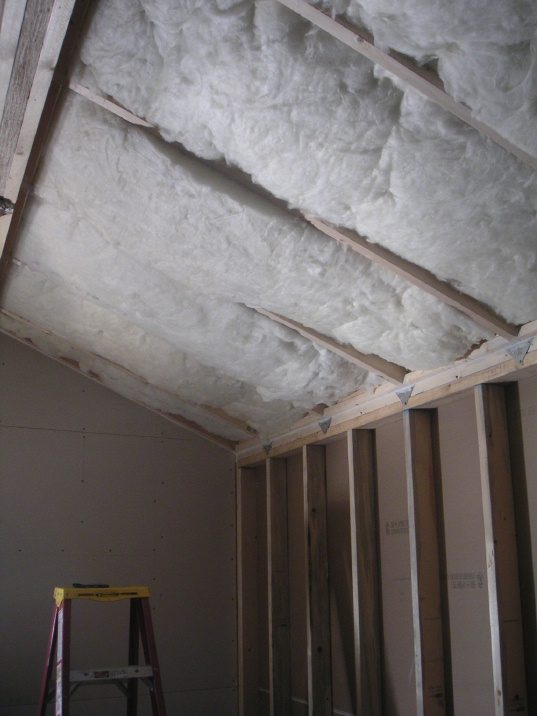
The ceiling framing of the outer leaf has been converted to scissors trusses. After insulating with R-19, I attached two layers of 5/8” drywall with Green Glue in between. I will have what is essentially a three-leaf system up there, but given the roof structure and need to ventilate it, I see no way around that. I realize that my outer wall leaf and outer ceiling leaf are constructed differently, but given what I have to work with as far as existing conditions, I’ve done the best I can. I think it’s difficult to predict how effective the inner sandwiched layer of old 1x material will be as part of the wall leaf structure, but I’m hoping it will help a bit. I’m also hoping that the use of green glue on the ceiling of the outer leaf will help compensate for the existence of the third leaf above. I’m also hoping for World Peace, so I realize that hope does not equal science. :)
As mentioned before, my floor is concrete slab on grade, with expansion joints all the way around. My doors have two layers of mass and two layers of trunk rubber to seal them. I may decide to add a third mass layer to them, but I can do that later if need be.
I’m going to have a 7” gap between leaves along the long walls in the live room, which I’ll fill with fluffy insulation. These long walls will be built inside-out. All the control room walls will be inside-out as well, but the live room wall that abuts the control room will be built with the drywall facing the live space in order to give me a roughly 5” air gap between the control room and live room walls. For the remaining three walls of the CR, I’m planning on a 5” air gap filled with insulation. I’m making that smaller than the live room in order to maximize space, and since my monitoring level won’t exceed around 85 db, I think I’ll be ok with the TL that affords. I’m not going to build the inner ceilings inside-out, but since they’re vaulted, I’ll have room to treat them as needed once the rooms are complete.
Below are a few pictures of my progress--more to follow. I'm very interested to hear from any of you experts if you see me heading down the wrong path! Thanks!
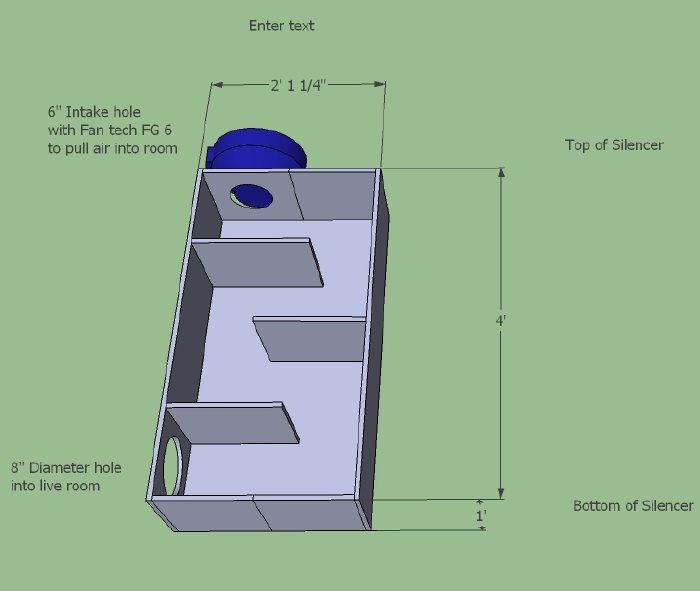
I've started building the walls for the interior leaf, one at a time. Waiting for a shipment of green glue to arrive before I can attach my second layer of 5/8" drywall to the first wall. I'll post pictures soon. In the meantime, I'm working on a design for a silencer for the live room. My plan is to use a mini-split for heat and a/c, and a ventilation system similar to what realdoyle ended up using in his build.
The silencer would be mounted vertically, with the intake air coming through the top, pushed by a Fantech FG 6 fan, through the silencer, and then through an 8" hole at the bottom into the live room. The silencer would be installed inside the shed attached to the side of the building. The silencer would be lined with duct liner, as well.
The live room is roughly 1,440 cubic feet, and I will have an identical silencer at the other end of the room, minus the fan, for exhaust.
Any thoughts on this design? does it seem adequate?
Thanks for your help!!
Mark
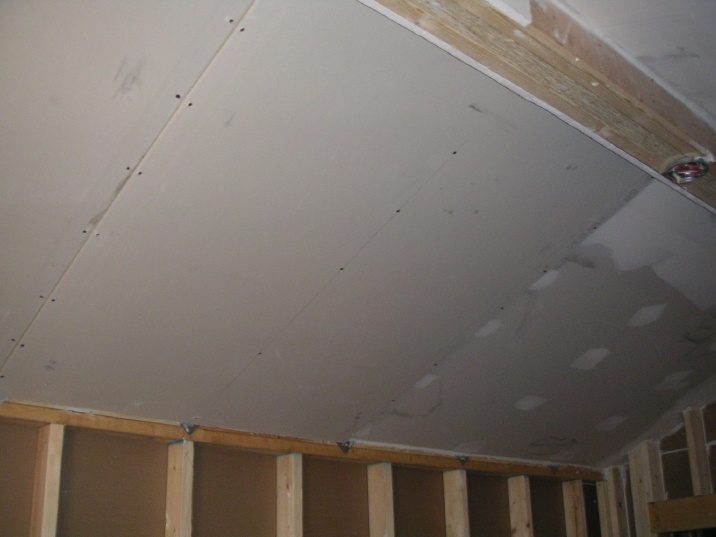
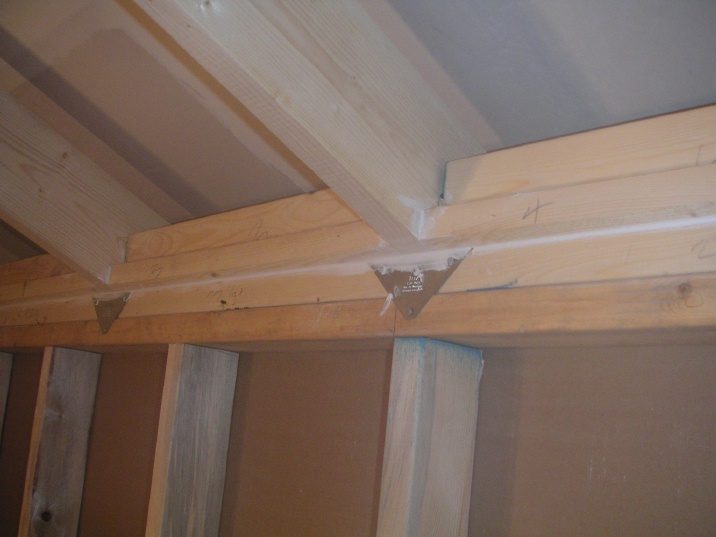
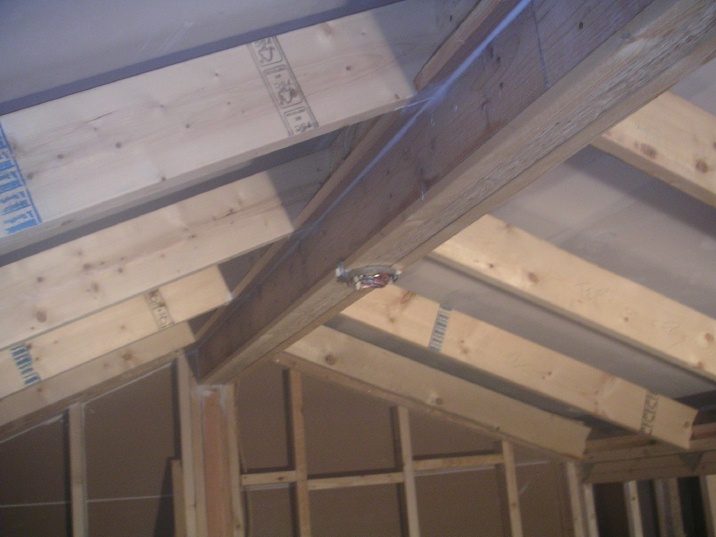
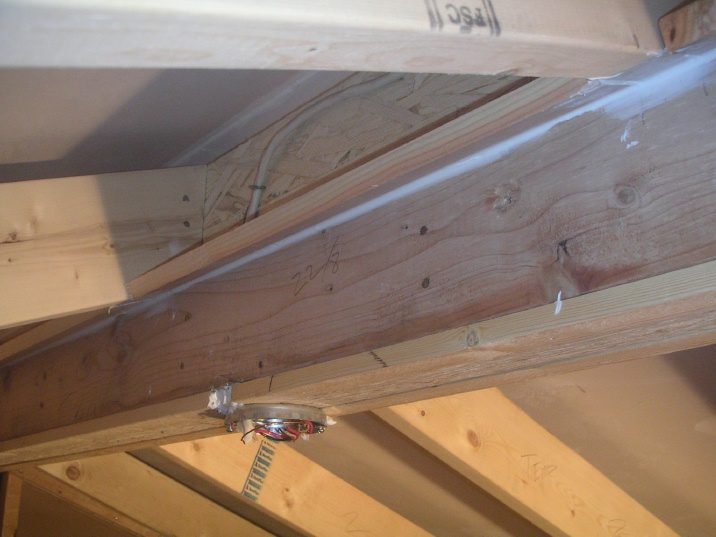
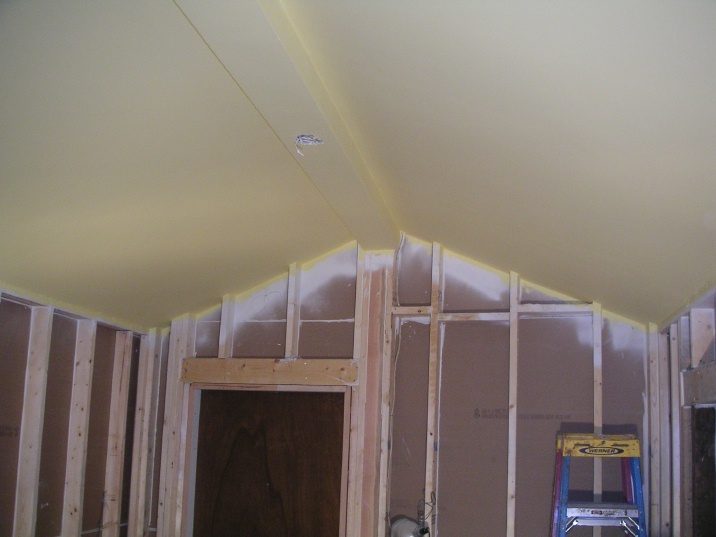
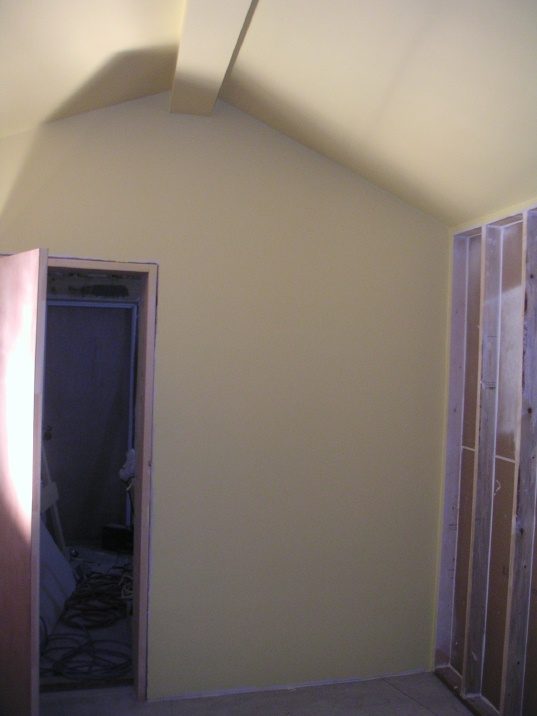
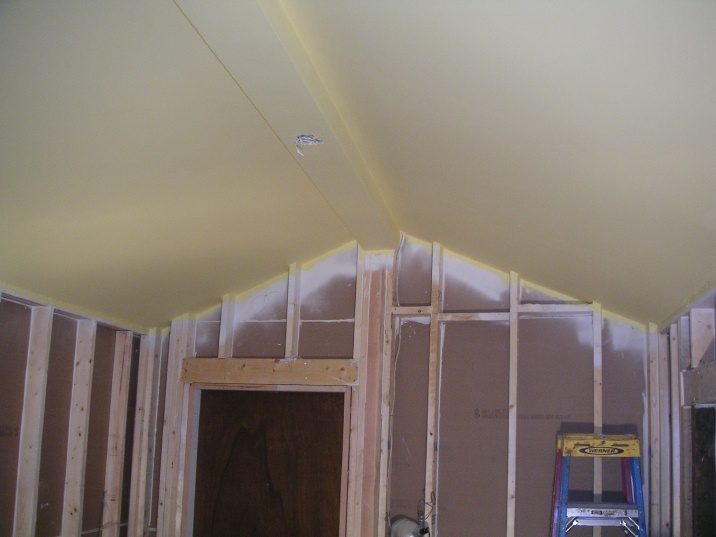
Well, I've had a little time to focus on framing in the live room. I framed the two long walls on the floor, and then added two layers of 5/8" drywall with Green Glue between them. Boy, that was heavy, lifting them into place. I "stick framed" the end walls and then lifted the ridge beam into place, adding the rafters once that was done. Three of the four live room walls are framed inside-out. The wall that is adjacent to the control room I framed in the traditional way, so that I could have a bigger spring between the walls. The ceiling is not inside-out either. This was dictated by how difficult it would be to frame, given the framing of the scissors trusses on the outer leaf and my desire to have the most spring possible between the roof leaves. I figure I have plenty of room for treatment up there, anyway.
so anyway, here are some pictures; any feedback is welcome and appreciated!
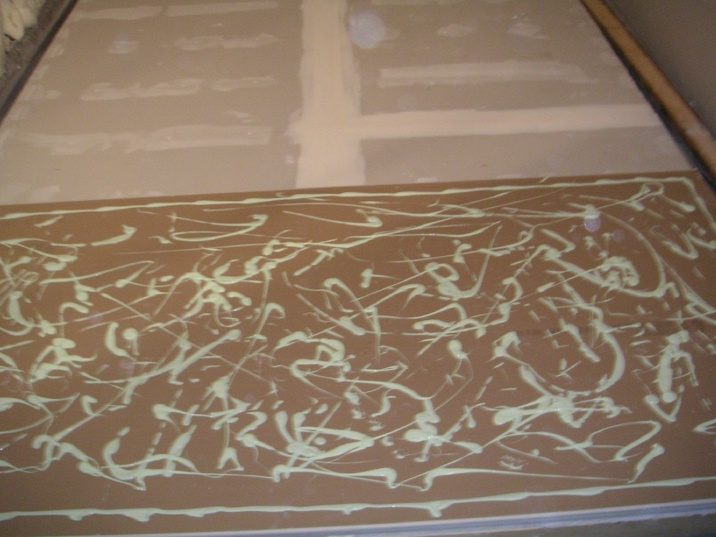
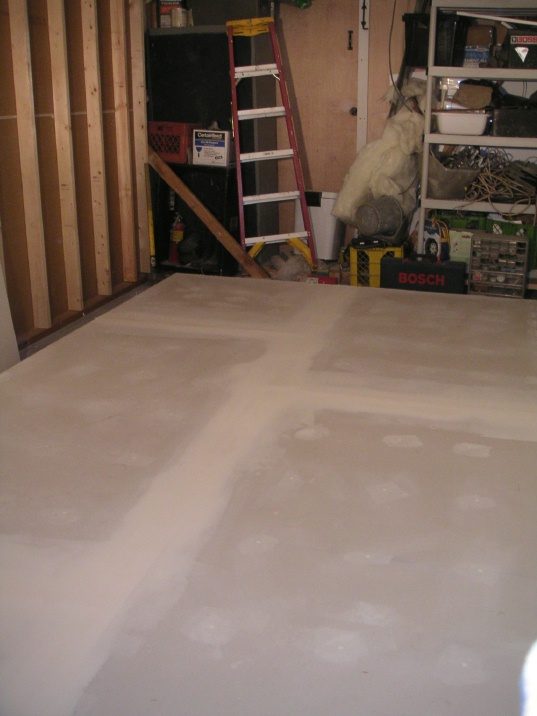
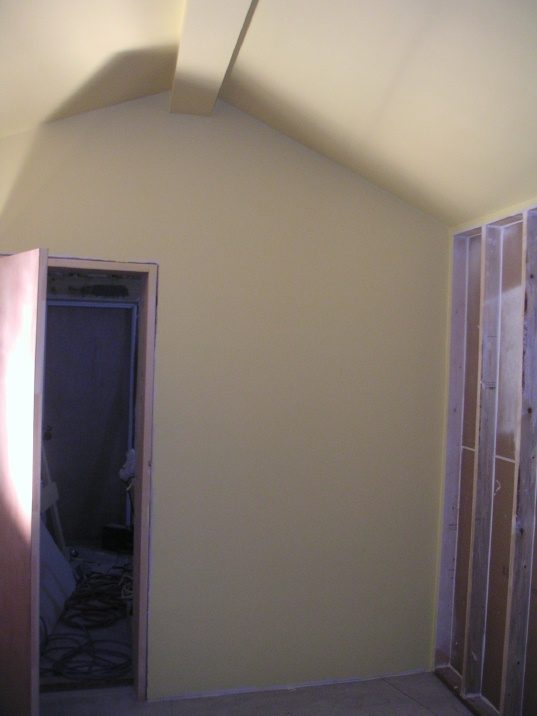
second layer of ceiling drywall.jpgvapor barrier, 1st layer of ceiling drywall.jpginsulation inner leaf ceiling.jpgrafter framing 4.jpgrafter framing 3.jpgrafter framing 2.jpgrafter framing 1.jpgRidge beam.jpgInner leaf framing.jpginner leaf drywall.jpgGG on second layer of wall.jpgready for second layer.jpg
Oh no! You did it all wrong! Take it down again! :)
Naah, it looks pretty darn good, actually! Must have been a pain to get that beam in there.
- Stuart -
Making progress--drywall in the live room is finished. I've now started working on the silencers for my fresh air. As I mentioned in an earlier post, the fresh air silencer will be located in the shed on the side of the building. I've ordered an Fantech FG-6 to pull the air into the room. The stale air silencer will be located in the storage area in the front of the building.
I've come up with a problem regarding the fresh air silencer, which is this: how do I avoid having a flanking path between my inner and outer leaves, while still maintaining the integrity of the spring between them? In other words, there needs to be a duct going through the void between the two leaves, linking the live room to the silencer, and fresh air. It seems if I use a hard duct (a wooden plenum made of 2x material, for instance) I will be able to seal it nicely, but I will also create a flanking path. However, if I avoid the flanking path by using insulated flex duct, am I not compromising the seal greatly between the inner and outer leafs? Am I missing something?
Right now, my silencers are built with two layers of OSB with Green Glue between them. For the fresh air silencer I could add another layer if that would help. I will also line the insides with 1" thick duct liner. Not sure what to do here...help!
North wall LR.jpgSouth Wall LR.jpgoutside front.JPGsilencers.jpg
how do I avoid having a flanking path between my inner and outer leaves, while still maintaining the integrity of the spring between them?
I'm not sure how others do it, but what I suggest is to cut the duct in the middle of the wall so that there is a gap between the two ends of the duct (a few mm or so), and wrap the gap with a strip of thick rubber (neoprene, sorbathane, etc.). Seal it all, of course.
It's the same principle as isolating your electrical conduit, just on a larger scale.
- Stuart -
I don't know much about wetsuits, but I'd suspect that it isn't just pure neoprene: isn't it woven in with some kind of thread, and other layers of stuff too? Not sure what the acoustic properties of that would be.
- Stuart -
Thanks, Stuart, for all your advice!
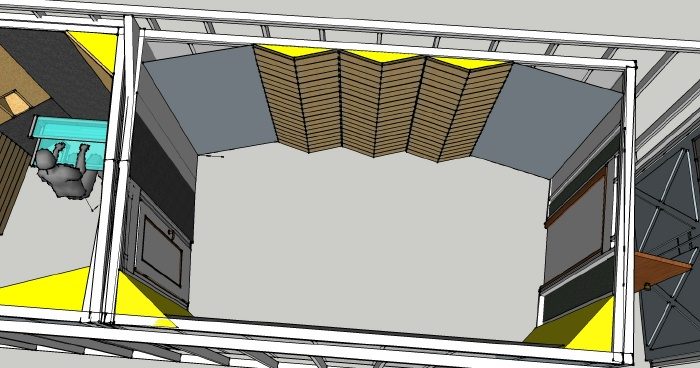
I'm kind of multitasking right now, working on silencers, door seals and my treatment plan for the live room. My plan is to have broadband resonators along the longer wall, with bass traps in the corners. The traps would be filled with Roxul AFB, stacked. They would be 15 or so inches deep at the corner x 46" long. There would be three resonators, angled at 12 degrees. Not sure of the pattern for the slats yet, but my thought is that for the live room, since there is not one single listening position, I might try to target different groups of frequencies with each resonator. The resonators would be about 8" deep at the deepest point and 4 1/2" at the shallowest point, filled with Roxul AFB. On the opposite wall, I would have bass traps in the corners again a little deeper than the other two, with the inside-out wall filled with Roxul AFB and cloth over it. The end wall adjacent to the storage room is also inside-out, and I'm planning to fill that with Roxul AFB as well and cover it with cloth. The wall adjacent to the control room is finished drywall.
A couple questions about this plan:
First if all, does it look ok for a room of this size (about 16'6" along the long wall, 14'6" along the shorter wall, and about 10' wide, with a vaulted ceiling that goes from 8' to about 10')?
Secondly, I'm really running out of money, and I'm under the impression that 703 might be preferable to Roxul AFB for a lot of this. Am I sacrificing too much absorption using the Roxul, or can I get away with it? Is there one area where I'd get the most "bang for my buck" using 703?
Thank you in advance!!
North wall LR.jpgSouth Wall LR.jpgwest wall treatment plan.jpg
First if all, does it look ok for a room of this size (about 16'6" along the long wall, 14'6" along the shorter wall, and about 10' wide, with a vaulted ceiling that goes from 8' to about 10')?
Your overall plan makes sense to me, and seems sound (no pun intended!).
For a room that size, theoretically you need about 500 Sabins of absorption, meaning roughly 500 square feet of perfect absorber. Of course, there's no such things a "perfect absorber" (except for an open window), but 500 ft2 is still probably about right (actually 497 for your room, if you want to be exact!). And of course, scatter it around the room, but you are already doing that. You have about 800 square feet of wall and ceiling area, so about 60% of the total area will have some type of absorption, with 40% being reflective. HOWEVER! That's for theoretical recommendations for a control room! So since this is a live room, you can adjust that whichever way you want. Not written in stone.
The vaulted ceiling might be an issue; that might need some special attention in the treatment.
Secondly, I'm really running out of money, and I'm under the impression that 703 might be preferable to Roxul AFB for a lot of this.
Not sure about AFB, as I couldn't find any data for it n their web site, but their Safe-n-sound products seems to be OK for what you want. Not quite as good as 703 in the low end, but not shabby either.
Personally, I think you are probably fine with either.
- Stuart -
Thank you, Stuart--you just made my day!
Yeah, I'm sure I'll need to address the ceiling; planning to do some clouds once everything else is done. But for now, I've got some framing to do!
Thanks again,
Mark
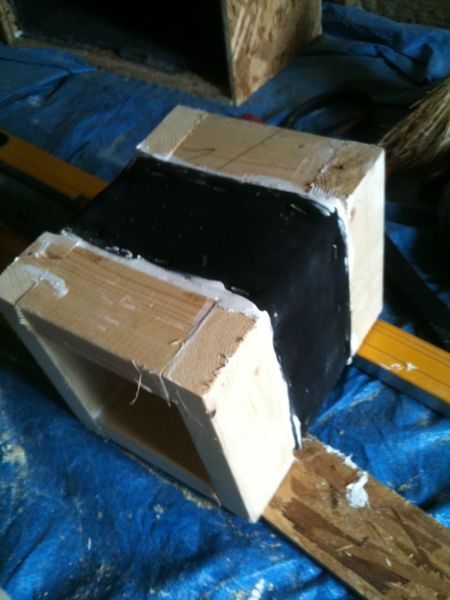
Well, I haven't posted here for a long time, but I have slowly been chipping away at this project. First I built a "duct" to go from my silencer which lives outside the building through both leaves. Duct.jpg This design is based on Stuart's suggestion for addressing my concerns about a flanking path between the inner and outer leaves. Here is the duct with the neoprene spanning the gap:duct with neoprene.jpgI've had a 4 piece rock band in the live room and I'm amazed at how effective this silencer is! With my ear right up to the outer opening, I can hardly hear anything coming from the other side! Great to see how the ideas on this forum work in the real world.
Next I framed up the treatment for the live room. Bass traps:
bass trap NE corner.jpgbass trap nw corner.jpg...and resonators:
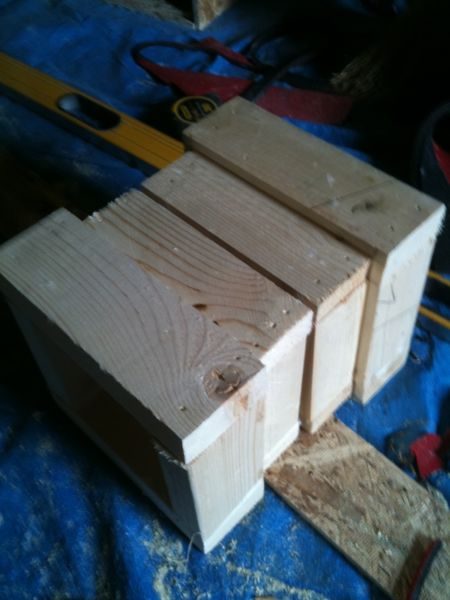
resonator build 1.jpgresonator build 2.jpgresonator build 3.jpgresonator build 4.jpgresonator build 5.jpgresonator top.jpg....and then installed the Roxul:
roxul install.jpgroxul.jpgThe live room is now ready for slats and cloth. I've been focusing on the control room framing so that both rooms are at the same point in construction. More photos to follow....
So my first question for this phase of the project pertains to Helmholtz resonators and the vapor barrier:
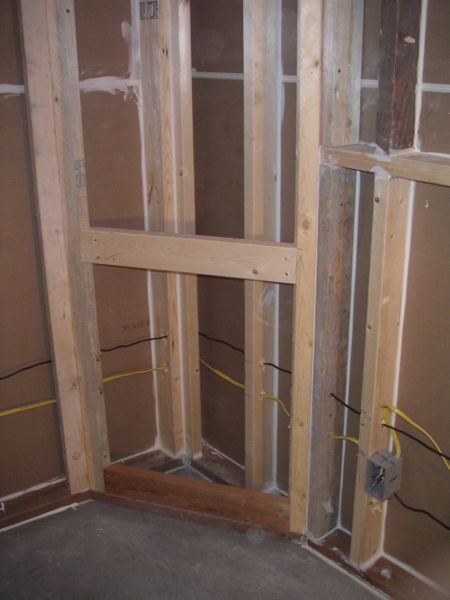
To review, my wall construction is mostly inside-out on my inner leaf for both the live room and control room. the only exception is the end wall of the live room that is adjacent to the control room. I framed this in the traditional way in order to have a larger spring between the live room and control room. So, my construction is as follows: beefed-up outer leaf with unfaced insulation between the studs, with no vapor barrier. The inner leaf is built inside-out, and my plan was to do my treatment (roxul) and then cover it with plastic for my vapor barrier, and then cloth and slats. However....
I've been following Simo's thread, and learned there that installing my vapor barrier the way I've been planning would compromise the effectiveness of the Helmholtz, so now I'm not sure what to do. As Stuart says:
A slot wall is a Helmholtz resonator. It works because the "slug" of air trapped in the "neck" of the device, which is the slot itself (the gap between two adjacent slats) vibrates, moving in and out of the slot for a certain distance either side. That's why you see the "neck correction" or "effective depth correction" terms in slot resonator calculations: the slug moves in and out, BEYOND THE LIMITS OF THE SLAT, into the open air in front of and behind the slats. This area extends roughly 20% of the thickness of the slat. So, for example, if the slat is 30mm thick, then the neck effect extends for another 6mm, or 3mm each way. So the slug needs to move 3mm into the cavity, and it needs to find insulation there, to damp it! If you put "plastic sheeting with holes in it" in the way, then you are BLOCKING the movement of the slug, PREVENTING it from properly moving into the insulation. In other words, you prevent the resonator from resonating... Plastic sheeting is NOT like cloth in this aspect: cloth is open-cell and fibrous, similar to insulation, and therefore does not interfere with the movement of the air slug.
But...unless I'm misunderstanding Brien's (Xspace's) multiple posts on this subject, the vapor barrier needs to be the inner-most layer of the construction, at least in my part of the world (Seattle). If the vapor barrier is not the inner-most layer, the moisture from inside the room would be absorbed by my Roxul instead of hitting the vapor barrier first.
So Brien, please correct me if I'm misunderstanding this concept. If I'm correct, I'm not sure what to do. My plan with my inside-out walls was to cover the insulation with the vapor barrier, then cloth, then slats. I'm thinking this still may be ok for broadband absorption in the live room, but for the tuned Helmholtz in the control room it would not.
Or perhaps I'm off-base on the placement of the vapor barrier(?)....help?
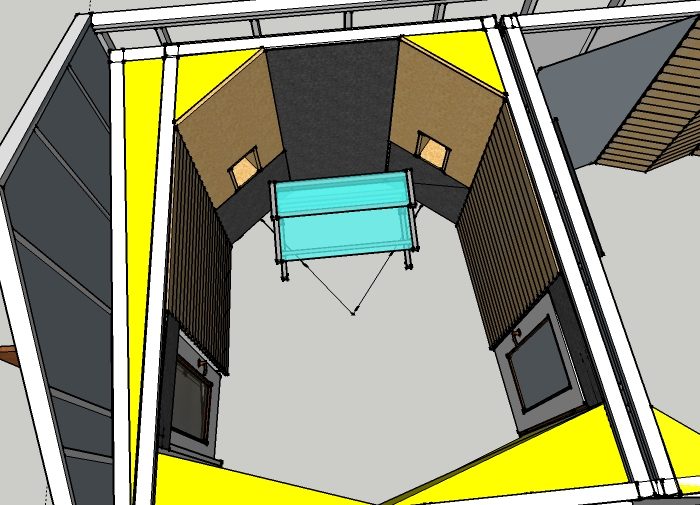
My main area of concern is the control room, where I'm planning to have Helmholtz resonators along both sides:
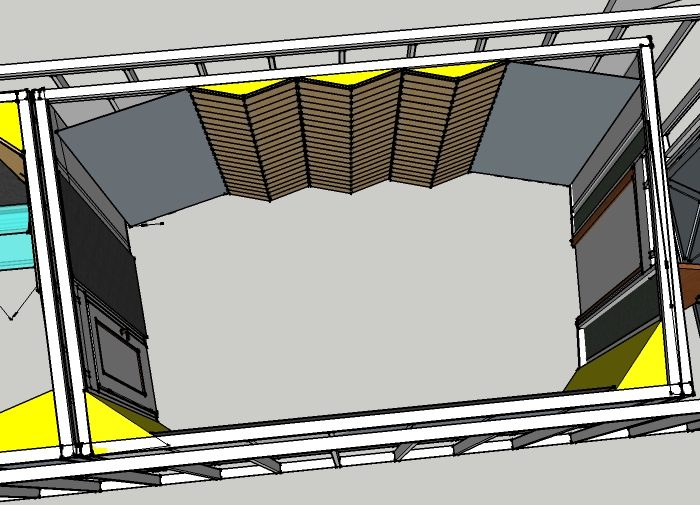
Control room vapor barrier.jpgThis is how the live room looks, also mostly inside-out. If I'm mainly planning on bass trapping and broadband absorption in this room, is it ok to have the plastic here?
live room vapor.jpg