Hi there all,
Simone here.
Hope you are all OK !
Sometime ago I created I thread for my Studio design (viewtopic.php?f=1&t=14215), and now here I am with the "construction phase".
Since i was last in touch I've been quite busy juggling between helping build the "outer shell" and doing sessions at the studio where I'm working (which has been quite busy recently and with good musicians too!)... and I guess it'll only get more chaotic with the arrival of my second daughter any day now! (which takes the current number of girls in the house up to 3... well 4 considering my lovely dog!!).
...and I was thinking of having the studio finished by the end of the summer.......eh eh... crazy uh?!
Anyway, no point in getting frustrated now as designing and building a studio is not one of the easiest things you can be involved with (even more so i suppose if you try to do it on your own!).
To quickly recap, the construction where the studio sits replaces an old shaky wooden shed that was sitting in our garden when we purchased the property.
Originally I was thinking just to beef it up and convert it into a studio.... but then I woke up (luckily) and realized that I needed a far more solid structure to start with to avoid throwing money to the wind!
I then applied for Building Permission and after that I filled in (and payed !) a Building Control application because the planned construction area was greater than the 30 square meters exemption limit.
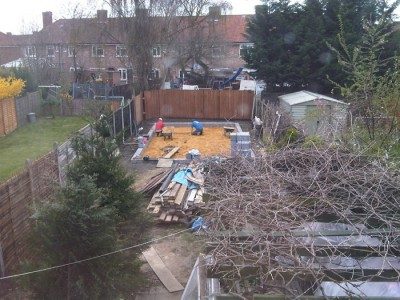
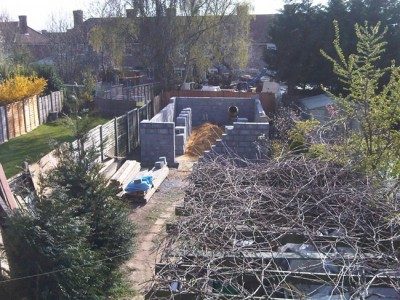
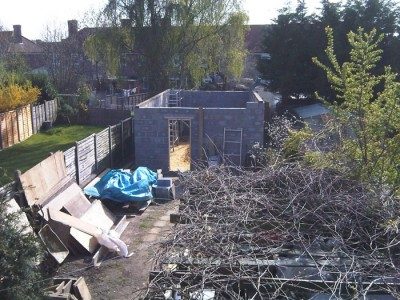
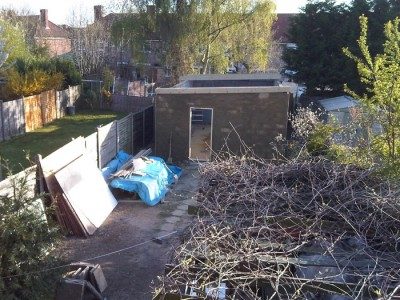
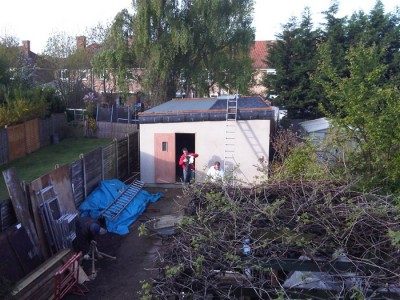
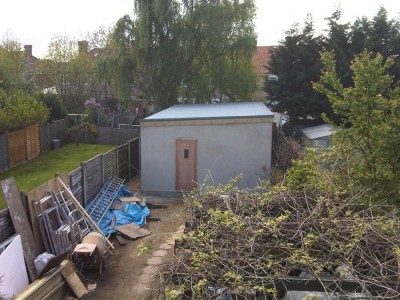
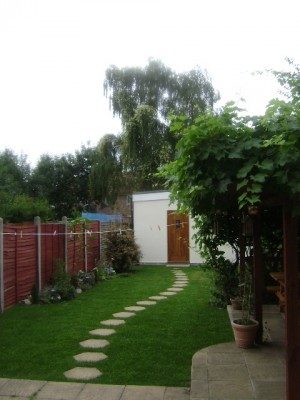
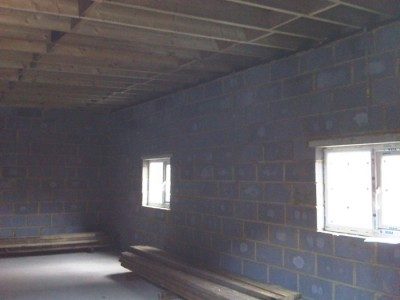
Well, after 3 and 1/2 months of hard work the "outer shell" is finally finished and now is time to get cracking with the (feared) inner construction... I'm presently in the process of finalizing the design (which I'll post here very soon), so I can finally make the order for the material.
I'm very focused and eager to get started with the inner construction, but I have to admit that I am a bit nervous as I've never done anything like it. Also, being italian I've never seen this type of construction as in Italy they build everything with cement and steal... they use wood very little in their construction, so all of this is quite new to me.
I've been living in London for 9 years now and I think it's just about time to get use to it, right?....right! - ehm.., but between getting used to it and actually building a soundproofed and acoustic correct environment is not exactly a small step, is it? :-) eek.
Well, no turning point now.... time to close my eyes and...... juuuuuuuuuummmmp !!
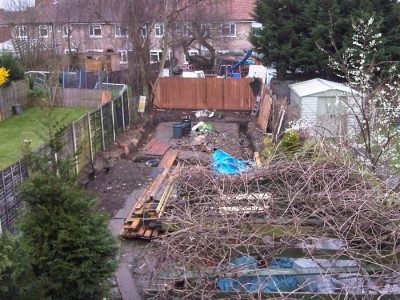
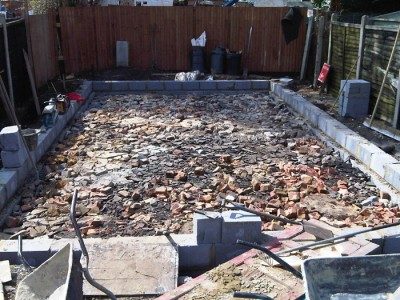
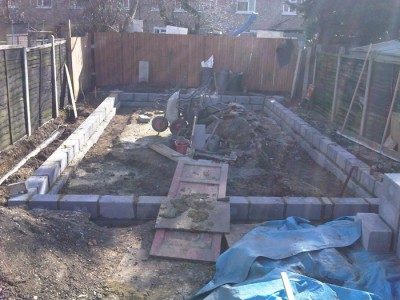
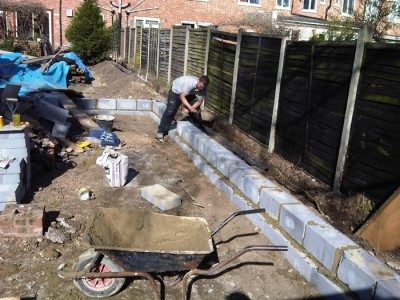
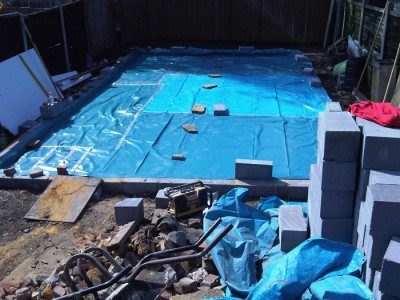
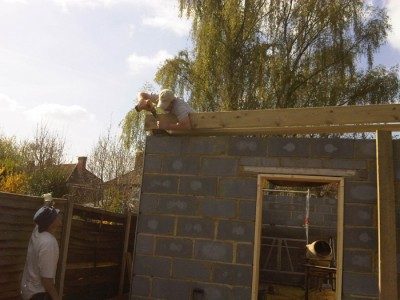
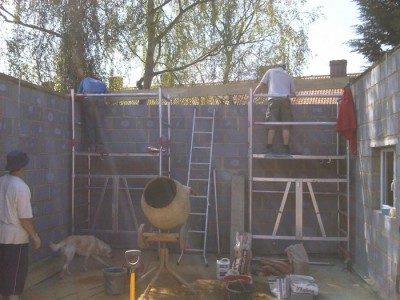
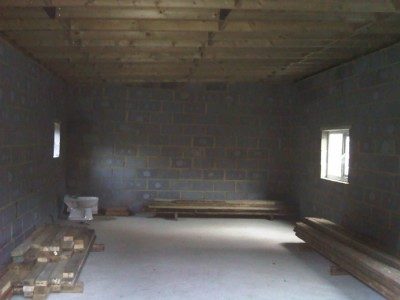
I have attached below pics of the outer building construction just so you can see where I am at.
All the Best and I'll talk to you soon
Ciao
Simo
pics index:
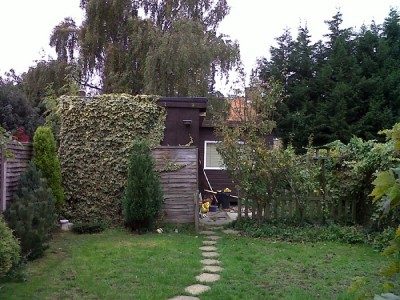
- S01: existing wooden shed
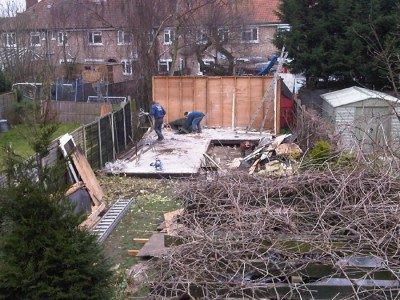
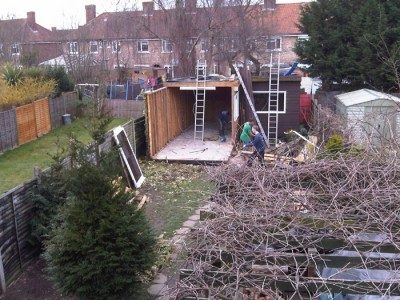
- S02 and S03: wooden shed being dismantled
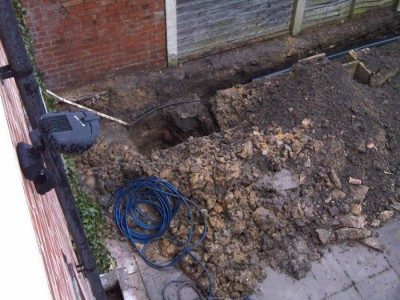
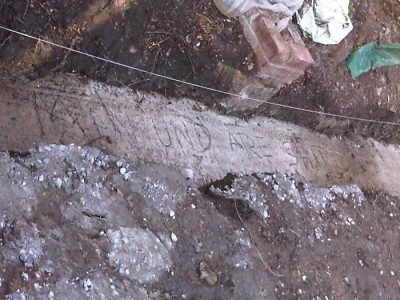
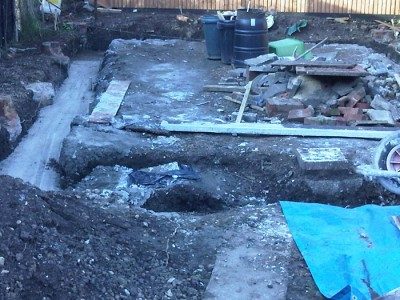
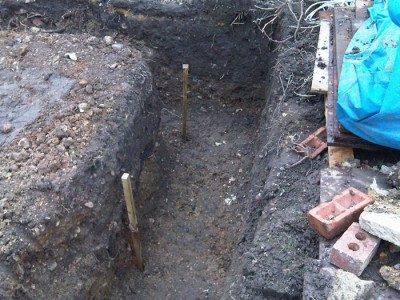
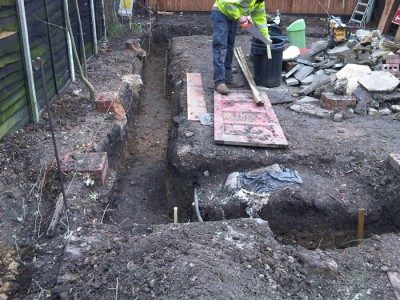
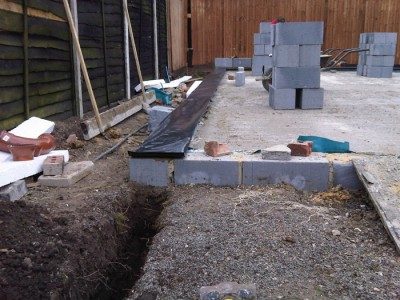
- S07, S08 and S09: digging foundations
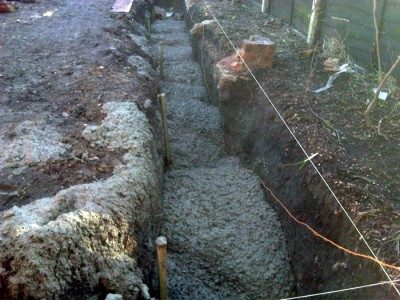
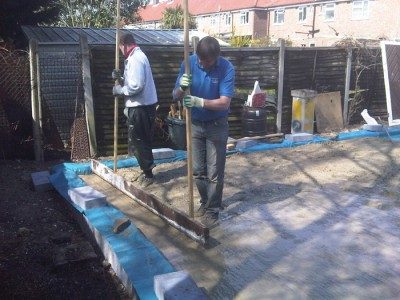
- S010, S11 and S12: cement poured into foundations
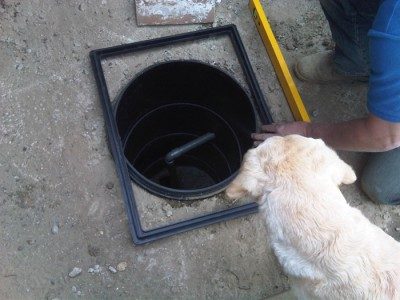
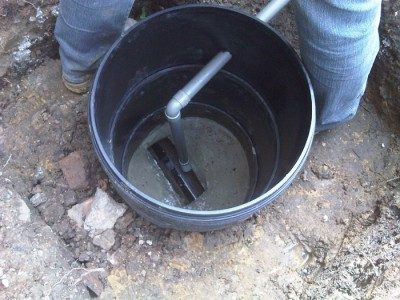
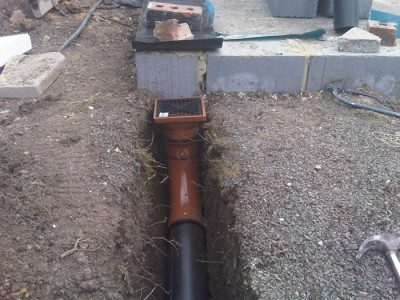
- S013, S15 and S16: new man hole installed
...didn't find out how to insert the text between each pic ?? :-)
...and some more pics...
pics index:
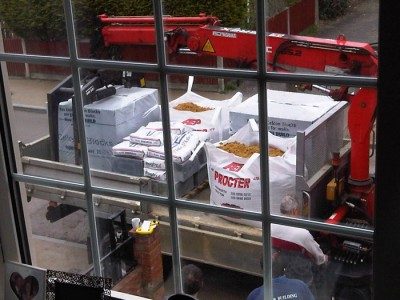
- S17: first load of material arrives
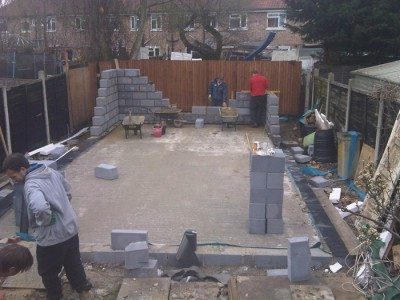
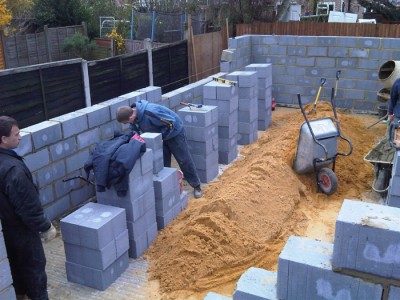
- S18, S19 and S20: bricklaying starts
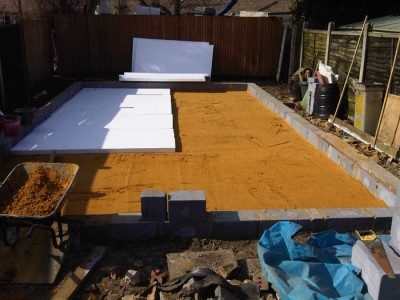
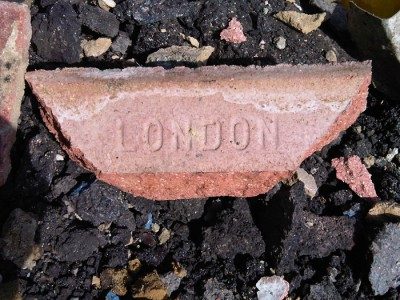
- S21: hardcore layer
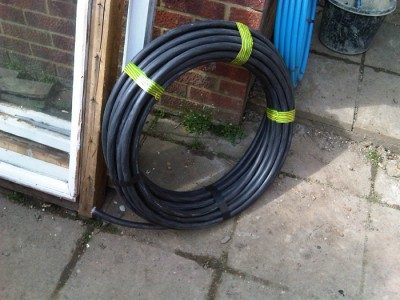
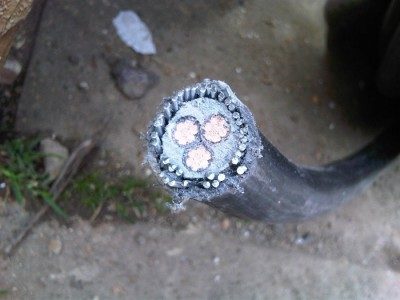
- S23 and S24: 16mm squared, 3 core swa. cable
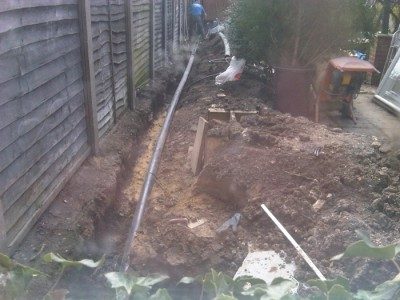
- S25: footing for electrical cable and water and waste pipes
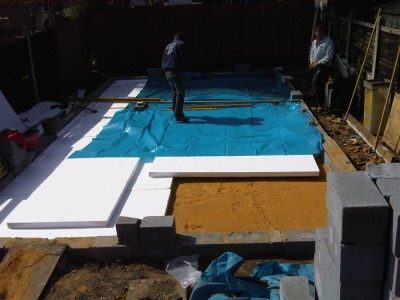
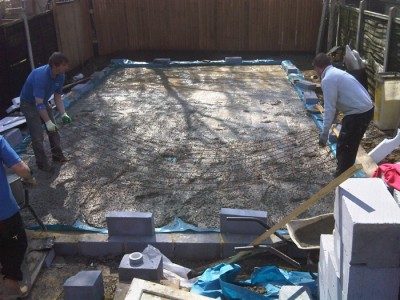
- S28: sand layer
- S30: polystyrene sheets (they started laying celotex sheets and then replaced them with that... no good uh?!! argggghh!!!
- S31: membrane layed
hi simone,
looking goooood :thu:
you can enter text between your pics simply by using the flip menu to insert your piccis instead of just posting the text including your uploaded pics (it's under your textfield).
select a pic and place inline. after the generated link you can post another text and so on...
greetings,
carsten
Hi Carsten,
Thank you for your very quick reply and the tip to insert text between pics! It so great to feel that you are not entirely on your own! Cheers
I'll give it a go straight away to see if I learnt something today :-)
- membrane layed
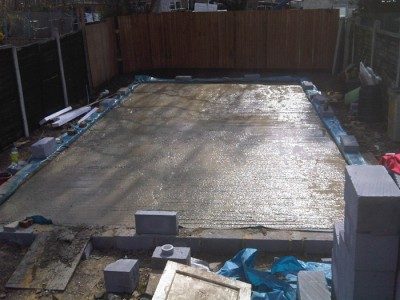
S32.jpg- cement layer
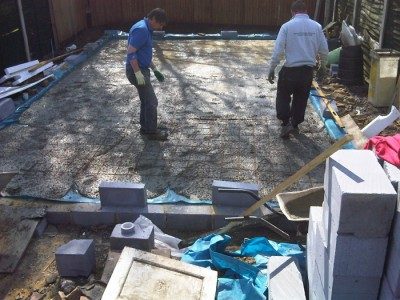
S35.jpg- mesh put down
S36.jpg- ... and pushed down into the cement
S37.jpg- rough cement layer finished
S38.jpg- DPC (Damp-Proof Corse)
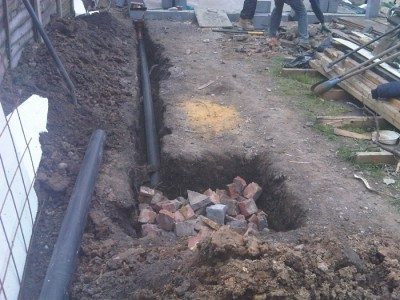
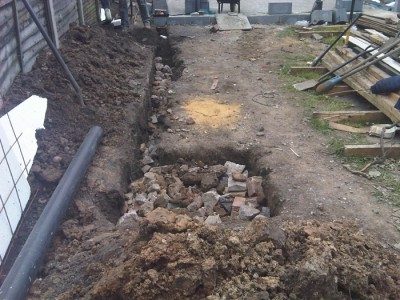
S40.jpg- drainage pit (5m from walls, 1m x 1m and 1m deep)
S34.jpg- drainage pipe
S42.jpg- hardcore placed within drainage pit
S41.jpgS43.jpg
yeeeeesss it's working !
oh this is fun ! I'm on a roll now :-)
here we are with some more:
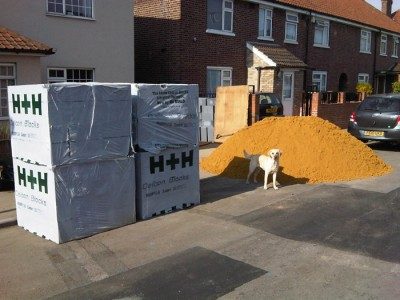
- some more material arrives (with my dear dog guarding it)
S44.jpg- walls bricklaying begins
S45.jpgS47.jpgS48.jpg- top plate placed on top of east and west walls
S50.jpg- ceiling beams attached to top wall plate
S51.jpgS52.jpg- ...going up fast !
S54.jpgS55.jpgS56.jpgS60.jpg
... and the last bunch (for now)
I waited and waited to start my construction thread so I could have some pics to post, and now I've got so many ... sorry for the invasion :-)
Ciao
Simo
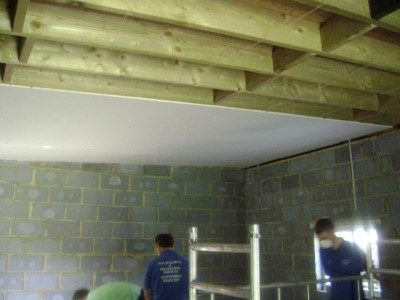
- ceiling beams installed (view from the door)
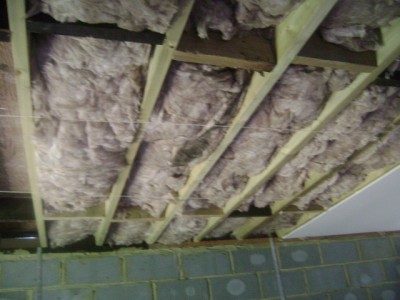
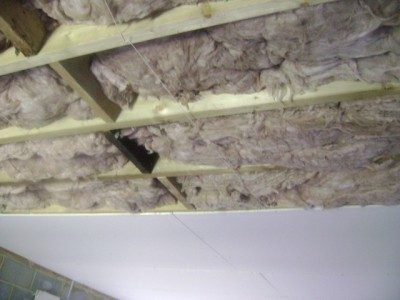
S58.jpgS59.jpg- insulation between beams then covered with plasterboard (12.5mm)... I'm about to place another layer of plasterboard layed in the opposite direction of the first one (all sealed with acoustic caulk)
S61.jpgS62.jpgS63.jpgS74.jpg
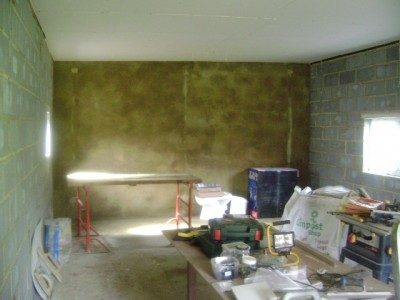
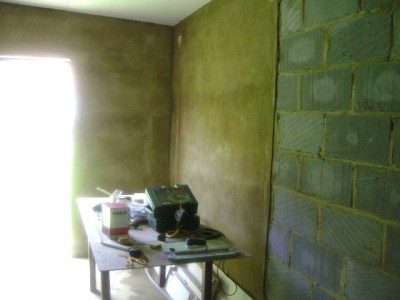
- 1.5cm-2 cm cement layer on walls
S66.jpgS68.jpgS73.jpg
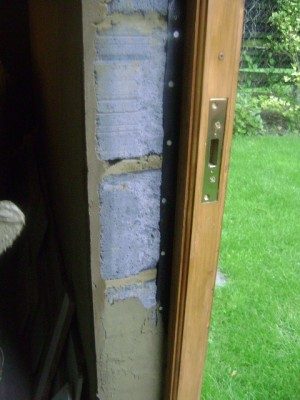
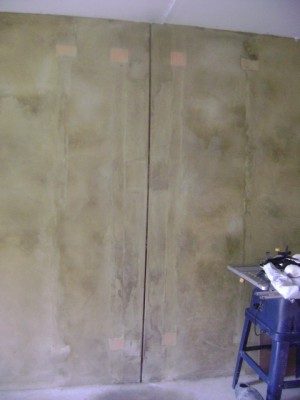
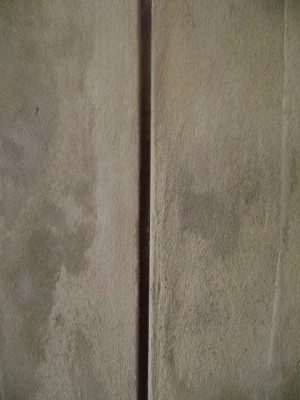
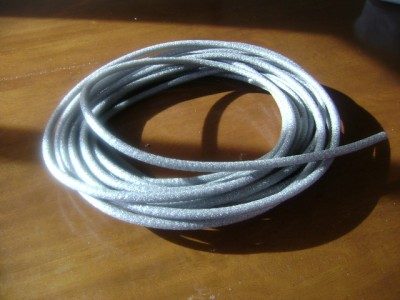
- expansion joint (gap filled in with a dense foam sheet which had (nearly) the same width and depth of the gap, then the opening on both side of the wall (inside and outside) was closed with backer rod and sealed with acoustic caulk)
S69.jpgS70.jpgS71.jpg
Hi there,
busy day for me here at the Forum - :-) -
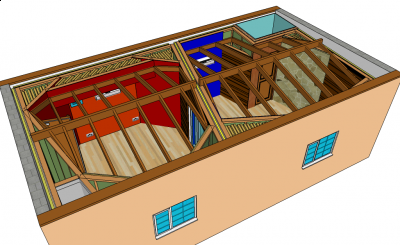
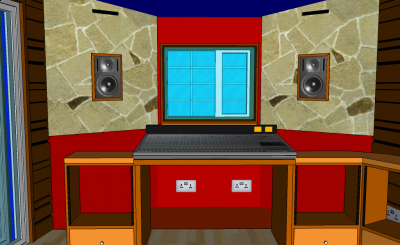
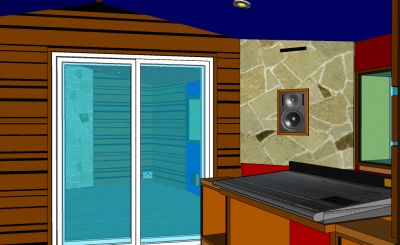
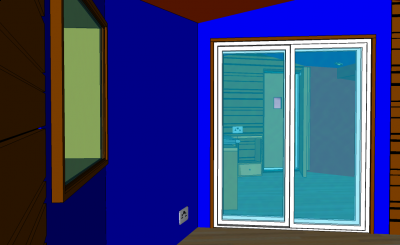
... just wanted to upload pics from my sketch up file (which is a bit too big too post directly) - hope that's not too much posting for one day.
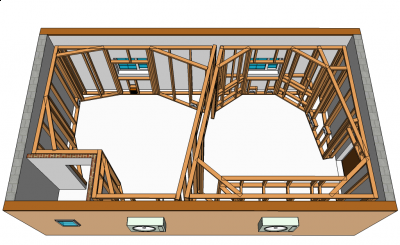
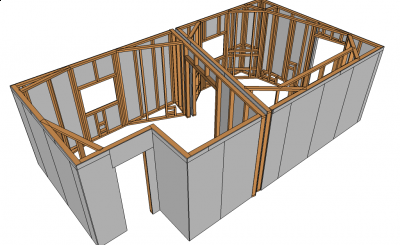
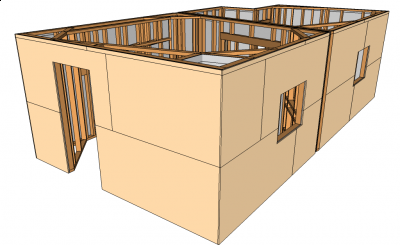
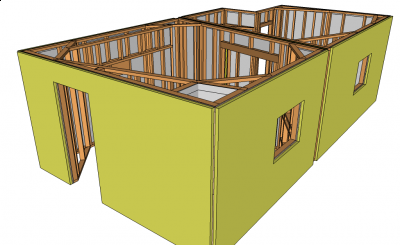
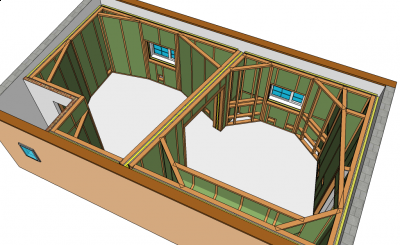
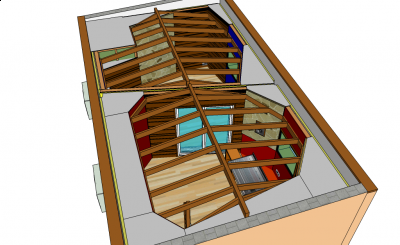
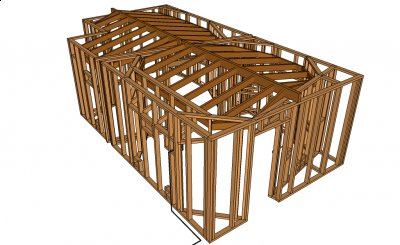
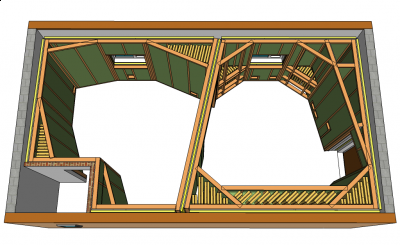
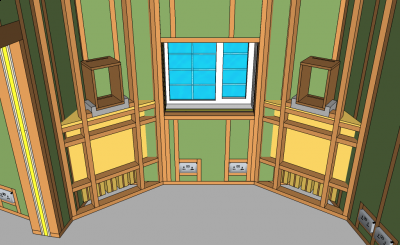
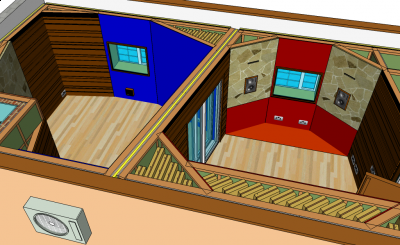
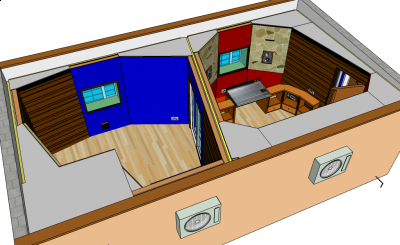
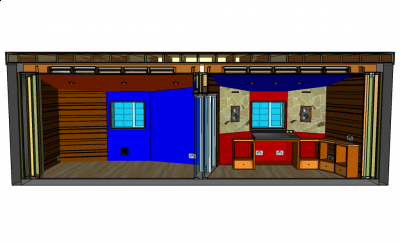
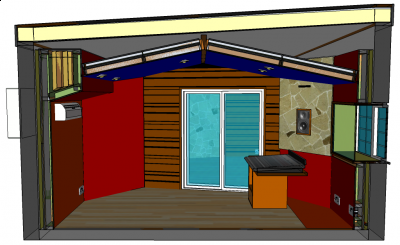
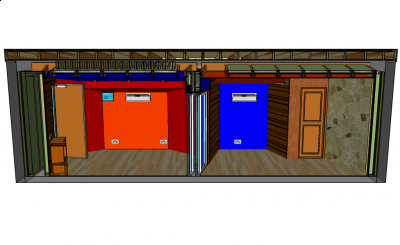
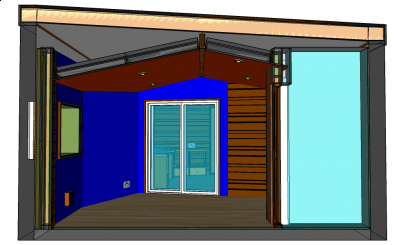
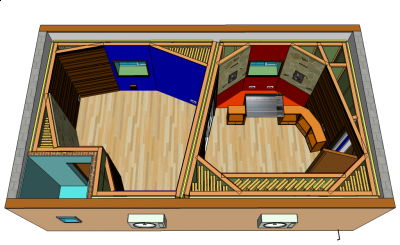
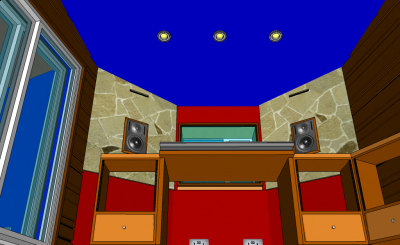
This is what I'm try to build:
Both CR and LR will be an Inside-Out construction:
- walls using 100mm x 50mm studs
CR + LR.png- 1 layer of 15mm plasterboard sheets
Plasterboard layer.png- (hopefully - budget permitting - Green Glue)
- 1 x layer of 18mm MDF sheets
MDF layer.png- rockwool (45 Kg/m3) glued on the back of the MDF sheets (50mm) fillin in the gap between MDF sheets and external wall
Insulation Inside-Out.png- rockwool (45 Kg/m3) between studs (100mm)
rockwool between studs.pngThe ceiling will be the same type of construction, but I will build smaller panels in order to make it easier to lift and install. These inside-out ceiling panels will be held in place by screwing them to the ceiling beams.
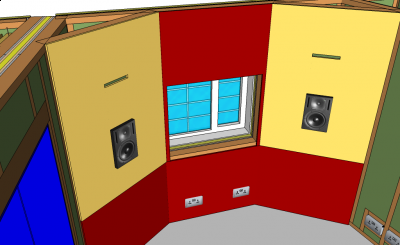
Ceiling Frame.pngStudwork Tot.pngAcoustic treatment will alternate between bass traps (with ac. hangers), Slot Resonators... the rest being absorbent (cavity between studs filled with rockwool and covered with cloth)
hangers.pngSpeaker Soffit.pngSoffit Front + Cloth cover.pngSlot Resonators + Stone cover.pngplasterboard on top of traps.png
At the present there are two sliding glass doors between CR and LR. However, if this proves too costly I'll substitute them with a "super door" (as per Rod book pag.94) and a set of windows.
Windows on the west side (CR front) will use 10mm laminated glass (or ideally 15mm if they are not too expensive).
Questions:
1) With the CR and LR walls being built inside-out, in the gap between the two rooms there is 1 layer of plasterboard and 1 layer of MDF on both sides (facing each other) with rockwool filling all the remaining space.
I noticed in Rod's book that if you put the cladding in the gap between the two wall assembly it actually reduces isolation... but in my case, the only cladding that can be moved on the opposite side of the wall is the one on the LR wall, as I believe the external cladding on the CR wall needs to be there in order to seal the back of the Slot resonator.
Is this correct? any comments/alternatives are welcome.
2) talking about Slat Resonators .... after having isolated the room the idea is to take some readings of the room frequency response to see which low / low-mid frequency bands need attenuation and then tune the slot resonators accordingly.
So I was wondering whether you could suggest me an Acoustic Analysis Software (possibly for Mac) that I could use for these readings ?
In my research I found a software for Mac called "FuzzMeasure Pro" (http://supermegaultragroovy.com/products/FuzzMeasure/) and "Room EQ Wizard" (http://www.hometheatershack.com/roomeq/).
Have you heard of / used it? Would it be "reliable enough" for the job in hand? Any thoughts / suggestions?
I seem to understand that a small diaphragm condenser mic would be an appropriate choice. Would in your opinion a Neuman kmi 84 be suitable? I also have a 414 (not small diagphram though!)... would that be still accurate? otherwise I will try to see if I can borrow a mic from the studio I'm working at. DPA 4011? (...or, if not, I could just rent one for a day)
P.S. A final note I reckon worth mentioning is that the Building Control inspector in my local area requested me to drill 18 holes in the PVC Fascia cladding covering the ceiling beams (from outside) on both the east and west walls, in order to install vents for under-ceiling ventilation (I will upload the pics asap).
I have to say that I was very nervous about that, but apparently that shouldn't be a big problem as long as I seal the plasterboard properly that's attached to the roof beams from the inside of the building, as per John's suggestion.
Anxiously waiting for your feedback!
Ciao
Simo
East Section
East Section.pngNorth Section
North Section.pngWest Section
West Section.pngSouth Section
South Section.pngTop view 1
Top View 1.pngTop view 2
Top View 2.pngRear CR view
Sofa View.pngStudio door view
Entrance View.pngLR view
LR View.pngI guess laying on the floor view :-)Floor View.png
... and now I "really" promise to leave you in peace !! :-) (for now - eh eh eh)
Ciao
Simo
hey simone,
awesome build till now! pic S01 vs S60 is great ;)
I'm using roomeqwizard and can say that it's pretty easy to handle. easy to setup. easy to
measure. don't know if it's reliable in all means but i guess it is. at least it seems to be.
I did (what you want to do) in my crtl room and was a little...erm...disappointed ' bout the
results. maybe I did sth wrong, I'm not sure. I made several measurements before, while and after
the build. there was a difference between a tight seal and a temporary mounting of the slatplate
(I haven't used slats. I used MDF plates and sawed and routed slots in it. so it was necessary
to seal the plate with the box...at least I guess...). overall I didn't manage to reduce the
target frequencies for more than 5db. it felt like breaking a fly on the wheel. so much effort
for such a small result =(
but maybe I'm expecting too much. or in other words: I have absolutely no clue what to expect.
this is the first time I'm doing stuff like this so there's no (practical) background knowledge to compare with...
btw. I'm not sure if all these equations are 100% transferable to the real life.
e.g.: I built a helmholtz resonator tuned to 51hz. a big one. nearly 200cm high. 40cm wide with a depth of
about 50cm (inner measurements). I did the mathematics and routed an absloutely exact opening. I took the cheapo
behringer measurement mic (I use this one with roomeqwizard) and measured directly in front of
the opening. the result was 74hz...hmmm...that was the wrong 51hz...so I had to start again and this time
I routed and measured and routed and measured till I hit the "real" 51hz...
strange.
the slot resonator is far more broadband and therefore a lot easier to handle. in my thread
there is a before and after measurement and it's nearly as expected. accept that it's not soooo effective (due to the
lack of depth of the box I think)
anyway.
a +1 for roomeqwizard
and a ++1 for your build.
I hope this helps a bit.
greetings and good luck,
carsten
Dear Carsten,
Thank you so much for your kind words and encouragement and for taking the time to respond me and share the experience of your build... which by the way looks just amazing. If I will only manage to get half your level of precision I'd fell more than satisfied - really !
man, I've got soooooo many questions I feel dizzy... it's like a drug this "oh YEAH... I can do it ALL by Myself"... you just start with convincing yourself that just a "not-too-bad acoustic environment" were you can do acceptable recordings would do just fine for you ... and then - there it goes kicking in the eager side of you that just doesn't want stop at the "acceptable", and so you keep spending all your free time just searching and researching and reresearching aaanddd........ oh boy, I need to sleep
Hi there,
Hope life's treating you all well !
I'm still here, moving slowly but surely.... obviously becoming a dad for the second time doesn't make it any easier - if u know what I mean! :-)
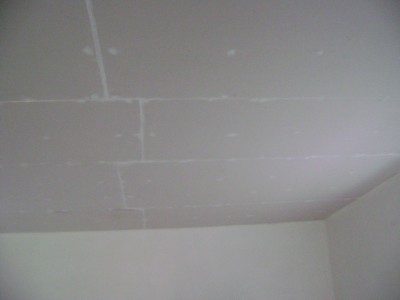
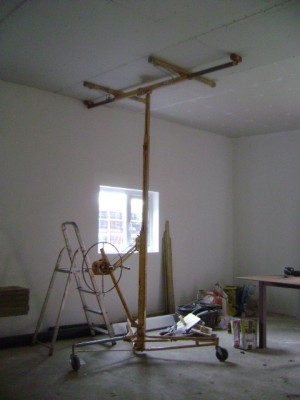
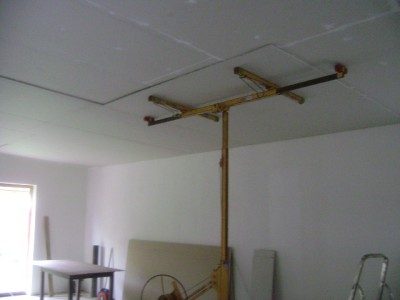
Anyway, I still managed to put up the second layer of plasterboard on the outer ceiling (staggered with the first layer) and sealed the connections.
first layer
first plasterboard layer.JPGsecond layer
second plasterboard layer-1.JPGsecond plasterboard layer-2.JPGsecond plasterboard layer-3.JPG
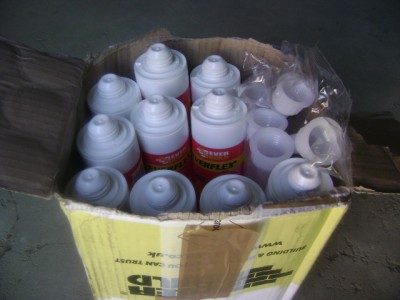
Still need to seal the perimeter where the walls meet the ceiling as I finished the first lot (box of 10) of acoustic caulk.... I started ordering a small amount as I didn't know how many I would have needed being my first time in such a job, and it turned out to be quite a lot !
I'm now in the process of ordering all the material for the inside construction.
I am undecided between 3 possible options regarding the double layer of cladding in my inside-out assembly:
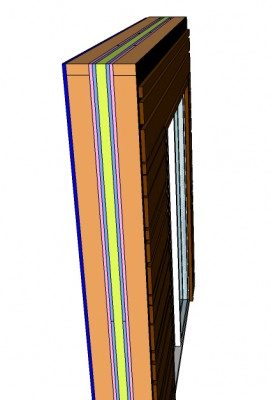
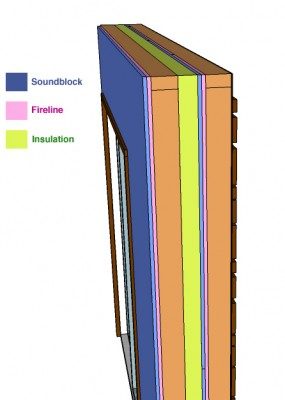
1st option: 2 layers of 15mm (standard) plasterboard with green glue between them
2nd option: 1 layer of 15mm Fireline plasterboard + 1 layer of 15mm (standard) plasterboard (maybe with green glue between them)
3rd option: 1 layer of 18mm MDF + 1 layer of 15mm (standard) plasterboard with NO green glue (as the MDF has more mass than normal plasterboard but it's more expensive... that's why No green glue) !
What do you think? Any suggestion on that will be much appreciated !
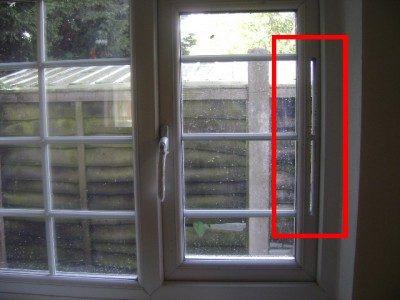
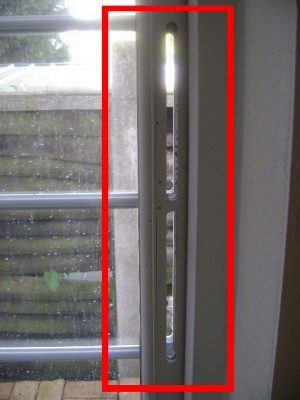
Also, I need to seal two vents that are on both my outer windows (see pics below).
window vents-1.JPGwindow vents-2.JPGAny idea on how to do it?
Many Thanks
Ciao
Simo
"Also, I need to seal two vents that are on both my outer windows (see pics below)"
Bondo or Water putty, depending on what the window rail is made of, bondo for metal or water putty for wood but bondo will adhere to wood also.
Hey Brien,
Thanks so much for the tip - much appreciated !
.... sorry for being persistent :) - but - any idea also on the double plasterboard layer options (listed on previous post) by any chance?
I really would like to place the order for the material asap (as I've got some spare time and the inside construction is my very next step) - but would be glad to hear your advice on that first !
Thanks in anticipation and all the Very Best to ya all !
Ciao
Simo
Hello there,
hope you are all well.
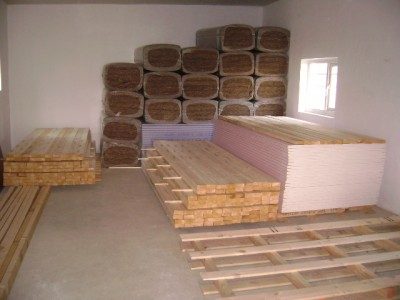
yesterday the material arrived.
wood.JPGStill need to receive the majority of the rockwool but have enough for the inside out construction to keep me busy for a while! Well, I can only start next weekend as next week is busy at the studio, but I'll keep you posted on how it goes :-)
I just have a quick question about the two walls between the Control room and the Live room on my design that I need to clarify before starting:
Both walls are build inside out. On the CR side of the wall is a Slot Resonator wall whereas on the LR side the wall is absorbent (cavity between studs filled in with insulation and covered with a stretched cloth).
My concern is that in such construction, the cladding of both walls will end up in the space between the walls
Wall between rooms options 1.jpg(close to each other instead of as far as possible - in order to have a greater air gap), which seems to be a "no no" (from nearly every source I can find) as its seen as a poor choice of isolation!
I guess that - if I want to improve that situation - I could move the cladding of the Live room wall to the opposite side (making it a reflective wall instead of an absorbent one)
Wall between rooms options 2.jpgBUT on the Control room wall I can't make the same change as the cladding in this situation acts as the rear of the Slot wall sealed cavity.
Shall I just live with such a limitation in isolation in order to keep the slot wall on the CR? Any comment much appreciated?
Grazie (Thanks) in advance !
Ciao
Simone
the choice to use back-to-back inside-out walls is made when you don't want or cannot afford to build out treatments on the inside of the room. you might just have to live with that. also, the space between the walls should have very little or no compression on the insulation to avoid connecting the rooms and losing isolation.
Hey Glenn,
Thank you very much for your expertise - much appreciated!
So, I think that I will have to live with that then (as I'm playing with a limited space).
I will leave the CR wall inside out in order to have the slot resonators using the cavity between the studs, BUT I will move the cladding on the LR wall on the opposite side, with the plasterboard facing the inside of the room (as seen in the last pic of my previous post) .... if when finished I feel that that will make the room too "reflective" I could always build a panel absorber on that wall, couldn't I ?
Regarding the fact that you say that "the space between the walls should have very little or no compression on the insulation to avoid connecting the rooms and losing isolation" - would you suggest I use the "fluffy" insulation (the one that is often used in lofts) in the air gap between the two rooms, instead of the rockwool slabs?
(I also seem to remember - reading somewhere in the Matrix....err...in the Forum - that the fluffy insulation is even better to absorb low frequencies!?)
Cheers
Simone
yes, you could add absorption on the inside of the live room when you need.
yes, you could use the pink or normal wall insulation instead of the rockwool.
Adding to what Glenn said: the density of the insulation is important. For optimum performance with fiberglass insulation you should use stuff with density in the range 30 to 40 kg/m3. If you use mineral wool, the density should be around 40 to 50 kg/m3.
- Stuart -
Thanks a lot Glenn and Stuart !
At the moment I've ordered rockwool slabs with 45 Kg/m3.
Now - for the air gap between rooms, I just need to find the normal (fluffy) wall insulation with the density in the same range, as suggested by Stuart !
Grazie !! :-)
Simo
Hi Brien,
yes it's easy to find fluffy insulation here, being as you said commonly used in residential constructions (lofts in particular).... the only thing is that it is never specified on the bag/wrapping the actual density (Kg/m3).... well more research required my end I guess...
Cheers
Simo
Dear all,
I'm really worried now.... I've been enquiring about HVAC systems for my studio.... and the result is quite simply astonishing.
The first quote I received was 3250 uk pounds for the AC and 1750 pounds for the fresh air system !!
Then, I approached another company from which I just received their quote.... hold on tightly.... ready... 12,000 pounds for two split systems wall mounted unit and separate outside air and exhaust air systems using heat recovery (exclusive of VAT, builders work and electrical work) !!!!!!!!
How on earth is that possible ????!!!
I don't / won't believe that a system can be THAT expensive... a lot more than the actual building itself !
How have you guys managed to find cheeper but suitable systems? because you HAVE, HAVEN'T YOU? :-):-(
As a matter of fact, before approaching these two particular companies I DID find split systems for around 300-500 pounds such as this one for instance:
http://www.britishaircon.com/Easy-Fit-A ... 1202S.html
The only thing is that, as I'm sure you all know, split AC do not have fresh air system - and I'm not confident at all to even try and modify it myself as I don't know the first thing about it and would much prefer to leave this part to a professional.
Please Heeeelp :-)
Any thoughts? ideas? suggestions? or anything to give me hope?
Simo
If I had to guess, the biggest issue is that you got the HVAC guys involved at the end of the build and they should have been part of the design phase.
The costs are going to be a high percentage of the overall project but the placement or involvement of these guys is crucial to avoid the higher costs you are facing.
But, nevermind the first or even the second bid. You need to get them involved in the remainder of your project and you may find that a few more eyeballs on this job might bring the cost down, still might seem high, but it is a very specialized thing you are asking of the craft.
And you have to take everything into consideration, baffles, air in/out from the individual rooms, it just takes cash, but you have to get a design that is going to work in your rooms and not be money spent that haunts you for ever.
.
if you go with the split units and an air exchanger per room (like an AeroPac) the cost of the systems should be reasonable but the installation and so on may be the bigger cost. most places in the US, only licensed installers can do the final step of charging the system with coolant and connecting the electric, but most of the installation steps up to that point could be done by anyone with experience in doing the work. some installers may charge more if you purchase the equipment on your own since then they're missing out on the markup.
as Brien points out, getting more estimates and working closely with the installer(s) could bring the cost down.
Hi Brien and Glenn- Thanks for your response and suggestions. Much appreciated!
Actually though Glenn... I'm not even near the end of the build . . . as a matter of fact I haven't started yet :-) (just got the material delivered) so I thought it would be a good idea to contact the HVAC guys at this stage so I could have the option of building around their requirements if needs be - as you also kindly pointed out.
I will try to get in touch with them (the company with the more realistic quote) again and see if they can offer me another solution and/or what else can be done from my and their side to bring the cost down. AND getting more estimates around as suggested by Glenn.
I totally agree with you Brien when you said that this IS a crucial part of the design, as it will make all the difference between a room that is comfortable to be in and work in, even for long hours (as often happens!) as opposed to a smelly trap that you just can't wait to get the hell out of !
Not least, it won't be easy AT ALL to upgrade or replace the HVAC wrongly installed or not suitable for the rooms at a later stage without wrecking the whole studio. ... SO ---> point taken, Thanks a lot !!
I'll see if I'll manage to get a compromise with these guys :-)
All the Best
Ciao
Simo