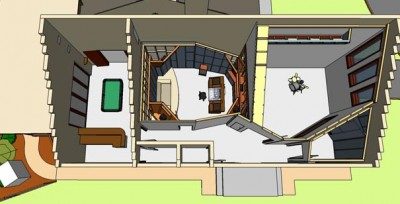
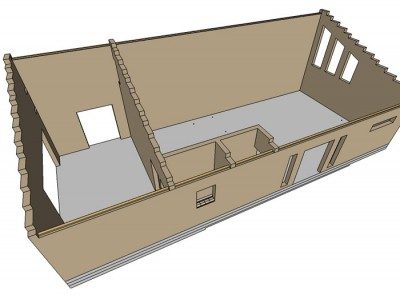
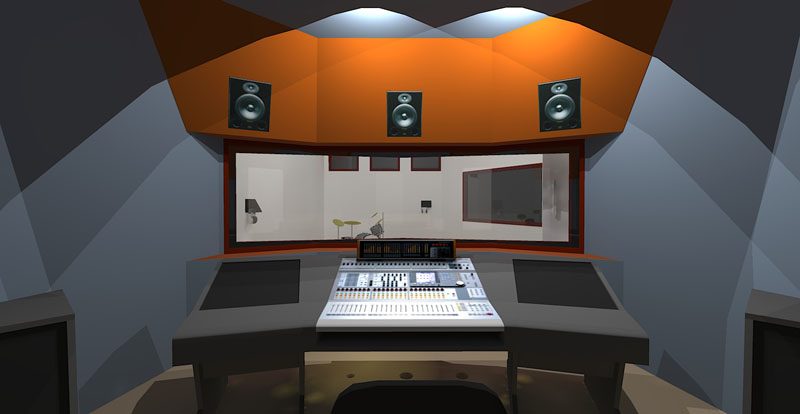
I've finally started my studio build after over 2 years of fits & starts. It's a residential house extension from the ground up. I really wanted an original John Sayers design, but it's not intended for commercial use so in the end I couldn't really justify it. This is my own layout based on the rules here & in Rod's book.
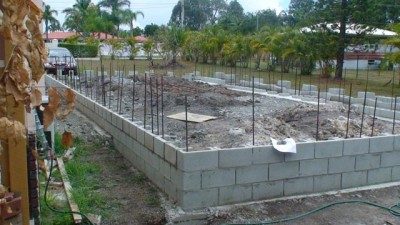
StudioPlan3D640.jpgWe finished the foundation blockwork on the weekend and should be ready to pour the slab in the next couple of weeks.
Foundations640.jpg
Good to see one come up out of the ground. What are your ideas on the slab? Conduit for cables? Have you considered or are you going to use sand, have individual slab/footers for each compartment?
This is a really big project so I do wish you the best of luck and good weather when you really really need it :)
Brien
Thanks guys, yep even getting this far has been a big project, and we're still a long way from where most people start!
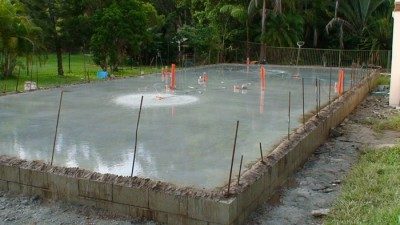
I wanted separate slabs for internal rooms, but the whole area is on reactive clay, and combined with the serious termite threat in my area, it just wasn't feasible. So it's one big slab, separated from the house as you can see in the pic. It's been over-spec'd to 150mm thick (with 450mm internal beams every 3 or metres) to keep the resonant mass down as much as I can afford, and to minimise cracking as I'll be keeping the floor as concrete.
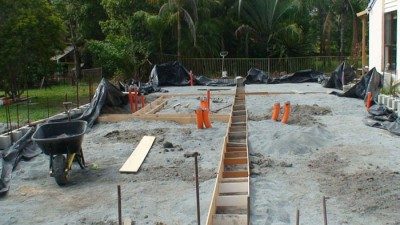
Conduit - I'll run as much of the signal wiring as possible through MAM gaps but yes several under-slab conduit runs will go in.
We already had our bad luck with the weather - serious rain filled up the footings just after they were dug. For a while we had a moat! And the clay at the bottom of the trenches turned into quicksand. I now have first-hand experience that neither moats nor quicksand are as fun in real life as they are in movies.
Adam,
From one lunatic to the other... if there is ANY way to put the majority of your conduits under the slab for your low voltage... DO IT!
I put ALL of my low voltage under the slabs... It's a MUCH better way to go!
Shame you can't justify the isolated slabs.... it really does make one heck of a difference!
I'll be watching you pull this one out of the ground, with great interest!
Good luck!!
Wow, Max! Thanks for the encouragement, I've been watching your progress on RO for years! Congrats on getting through it, you did some great work. I'm in a similar situation to you, with a full time day job & music gigs on the side, so progress will be... uh... nice & steady. Though I've got my Dad helping who's usually still bullocking along after I've worn myself out.
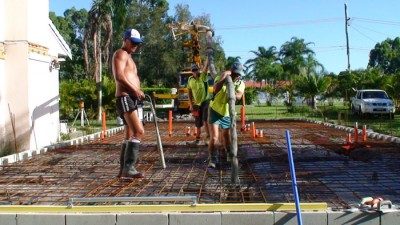
Recent progress: I hired a Kanga mini loader last weekend to distribute 20 cubic metres fill (they call it "cracker dust" in these parts). Video of that is here. We've had to dig in and shore up the slab's internal beams, which is nearly finished. We'll need probably another 8 cubes of fill, then 6 cubes of sand on top of that.
My low voltage conduit is actually 8 runs, some 63mm and some 100mm. All of them except for one had to run underneath the slab's internal beams, which meant digging them 600mm below finished height.
Haha I hadn't looked very closely at that pic until now, it certainly is a bit YMCA!
No that's not me, that's Joe the concreter/rapper who I've done a bit of recording for. He worked like a madman that day, especially considering the heat & humidity.
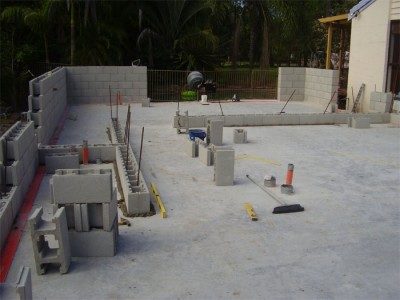
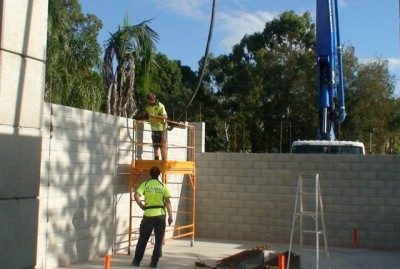
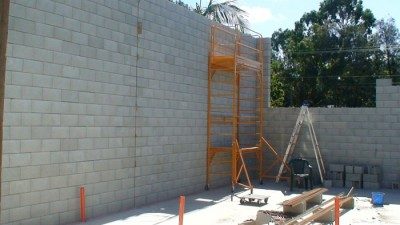
Started on the concrete block outer shell walls on the weekend. It's nice to be out of the dirt! We're using dry-stack blocks, so they go up pretty quickly after the first course.
How can you afford beer while you're building a studio anyway?!?
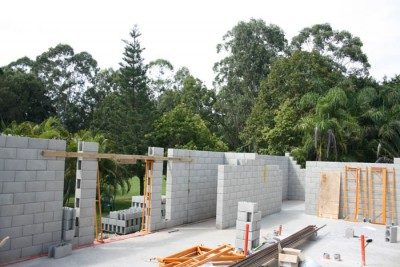
More progress over Easter. 1600 blocks laid, 900 to go. We're core-filling those on thursday to lock them in before proceeding further up into the sky.
The core fill is 20MPA concrete with 7mm aggregate. There is also steel reinforcement every metre vertically and horizontally, as specified by a structural engineer. It's pretty beefy.
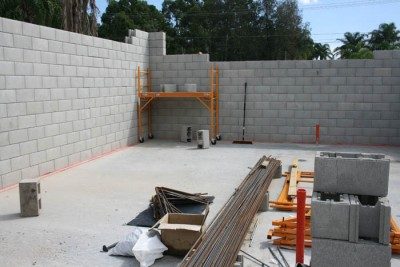
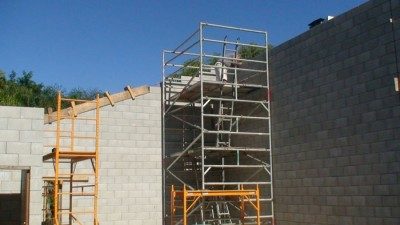
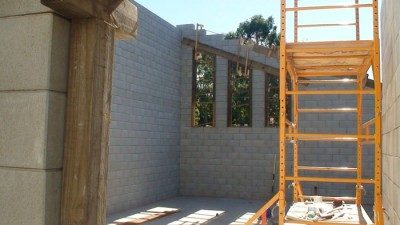
Well we've laid the final block on the weekend, had it inspected, and then core-filled on tuesday morning. Glad that part is done! Next up is the roof.
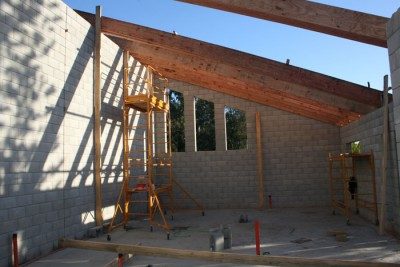
DSC00971_small.jpgDSC00975_small.jpgBlockworkComplete.jpg
Don't be too jealous, they're still just big holes in a wall! But I'm really happy with the vibe that those windows give it both the inside and the outside. They will definitely be a dominant feature of the live room.
In terms of progress, we've got the roof on now, but there's a still a lot of boring landscaping/decking work to do before the fun studio part begins.
Hi All,
It's been raining a lot around here lately but we've still managed to finish a lot of non-studio related parts of this build (plumbing, drainage, landscaping). The building is being rendered this week, then we just have to quickly knock up a 120 square metre deck before moving on to the actual studio rooms!
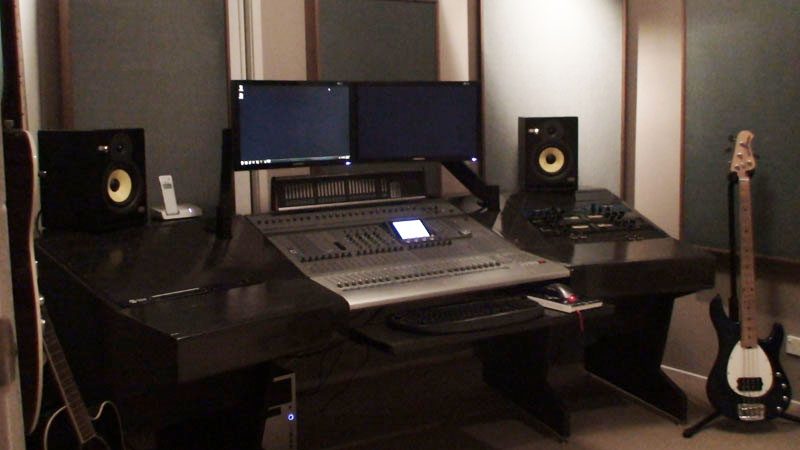
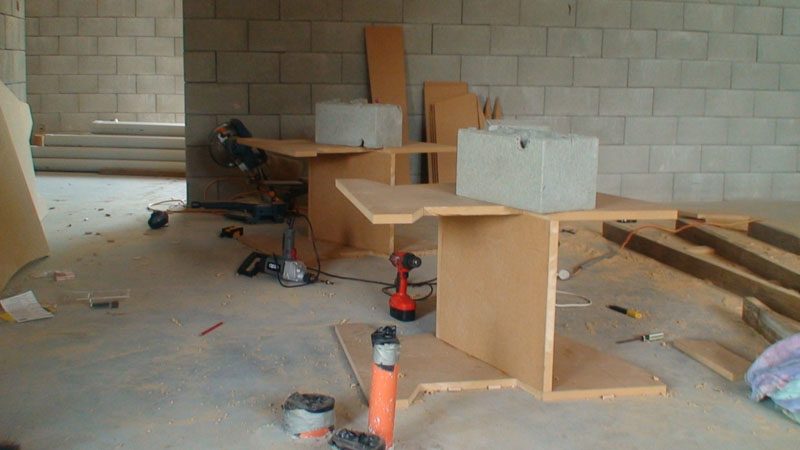
One good thing about the rain is that it gave me time to put a desk together. It's fairly simple, 2 cabinets made out of 25mm MDF and a couple of hardwood beams to support the mixer. And a slide-out keyboard tray. I used 7Flex monitor arms for the LCD screens which can be moved out of the way for tracking, or right up close for editing. Highly recommended!