Hello Audiophile Friends -
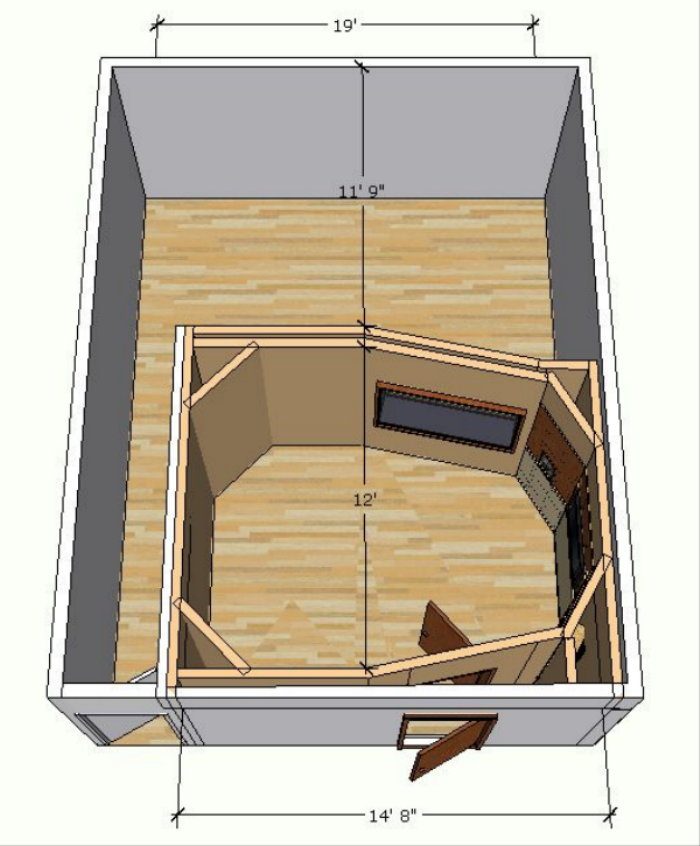
My name is Kevin and I'm building a studio in my home. I joined this forum about 4 months ago and have bought Rod's invaluable book to help me along the way. This forum has proven very useful and I would like to thank you all for your help! Here is the drawing Kendale provided for my use in designing the studio. I gave this to the architect and we did our best to apply his ideas.
Here are some pics of the construction process... enjoy!!
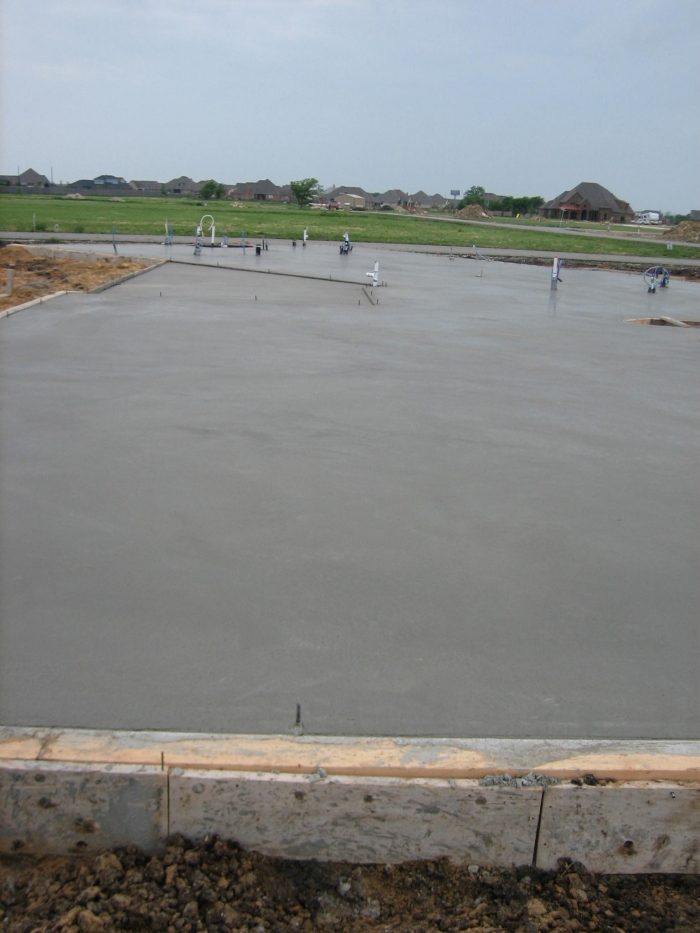
First couple of pictures are of site prep and foudation setup.
Howdy Neighbor!
It is always exciting to see a new build.
The pictures need to be resized smaller so that they can be seen better, you have to scroll all over the place to see it!
I wish you luck.
I am in the finishing stages on my project, it took me 2 years!
All I lack is the drum room wall treatments and I'll be done.
You on the other hand have a ton to look forward to.
How much of this pour is going to be the studio?
Tom
Hey Tom,
I've seen your name out there on this forum and wondered where you were located. I'm actually north of Fort Worth in Haslet. Nonetheless, the total room size that I've split is 26x19. Control Room is 12'x15' with 10' ceiling. The live room is 12' 6"x19' with 10' ceilings. There is a hallway behind the control room that is also part of the live room... if that makes any sense.
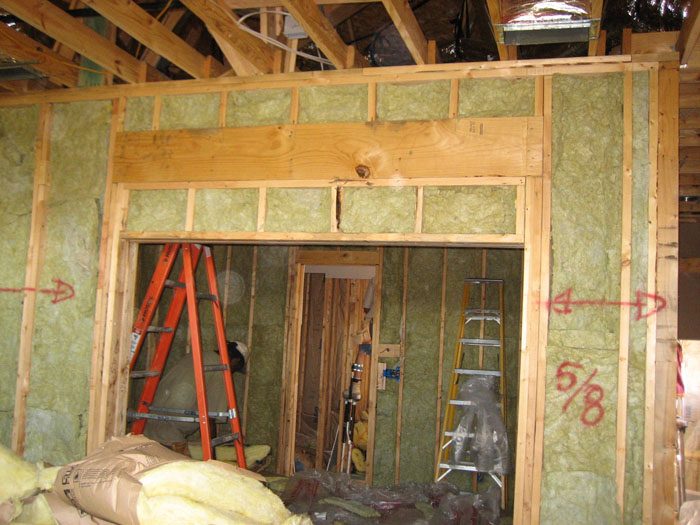
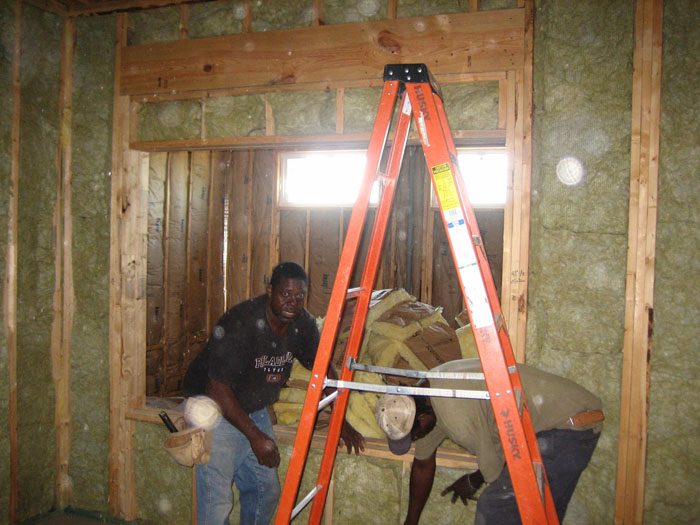
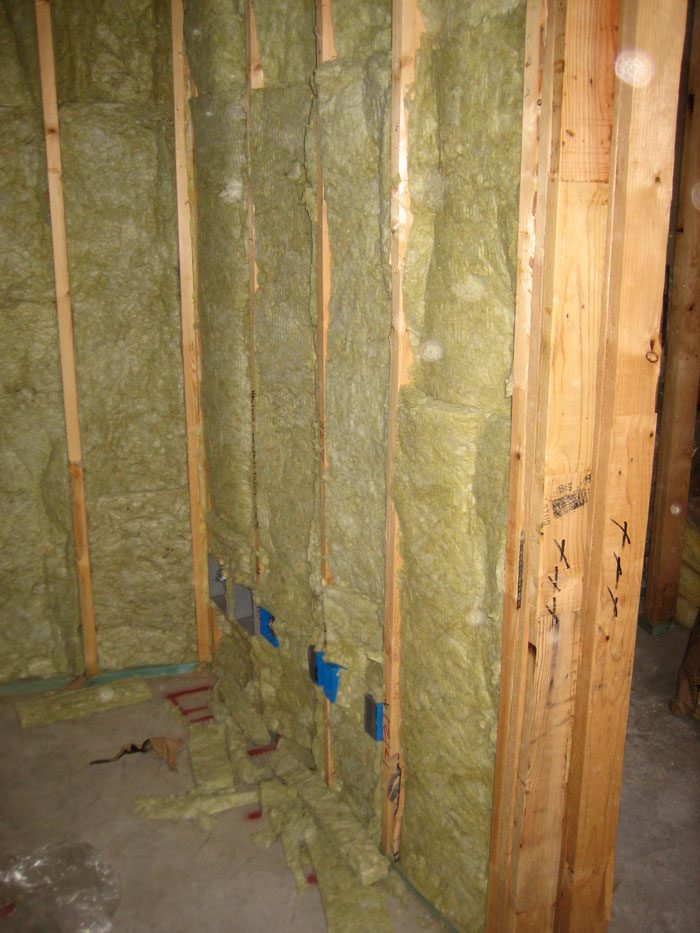
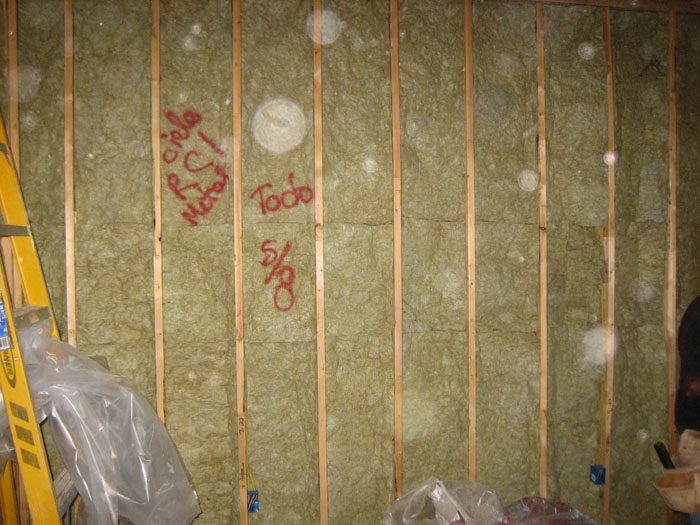
The rockwool was just installed and they are installing drywall today. I have quite a bit to go I know, but it's probably a lot closer than I think. The home construction project is scheduled to complete before September.
I'll drop more pics in and I'll try to adjust the sizes so they're more easily viewed. Thanks for the feedback.
Kevin
Hello again -
Sorry about those pic sizes. I realized after I had posted them that they were WAY too big, but didn't get a chance to re-size. I did however re-size the pics I'm about to post. So enjoy!!
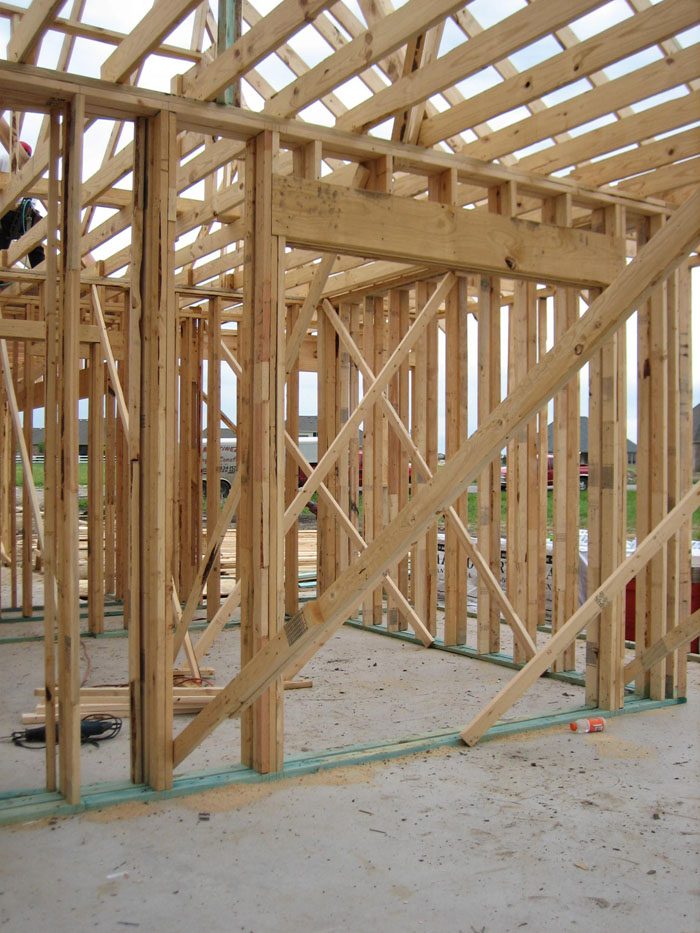
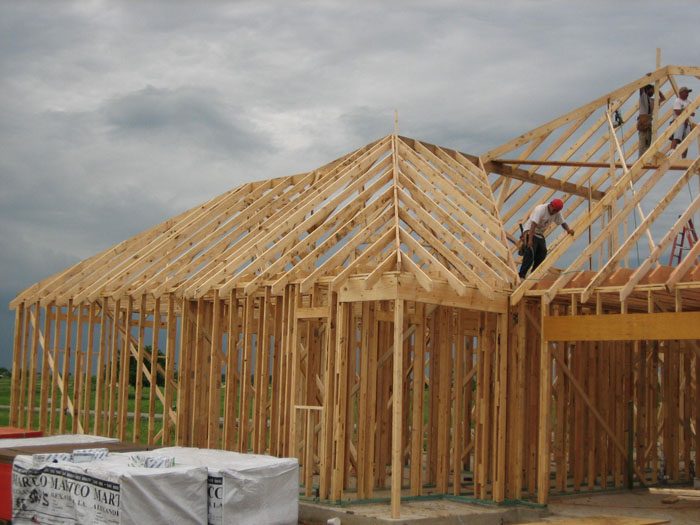
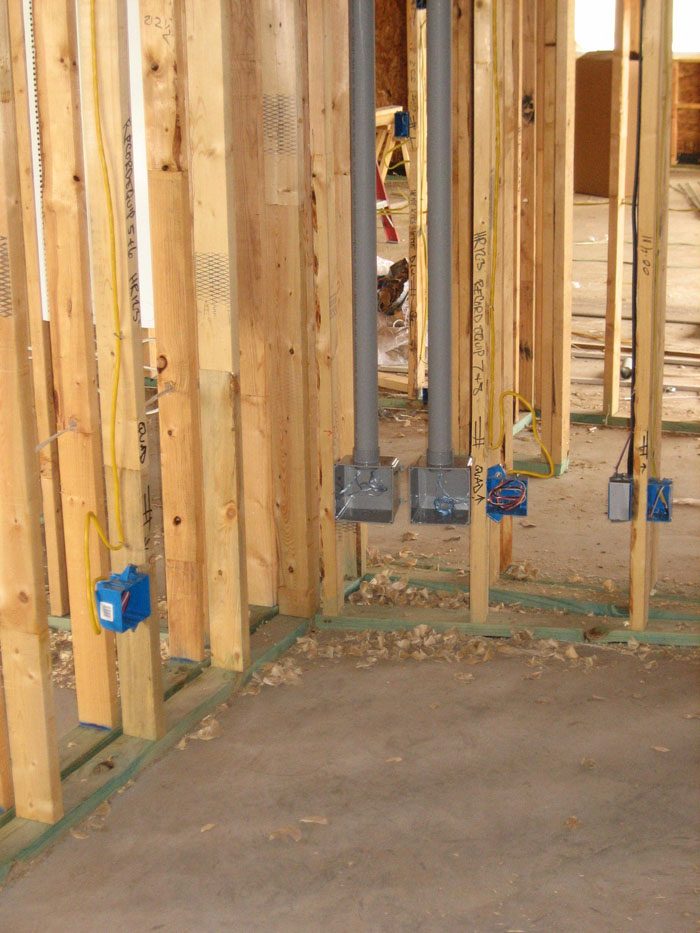
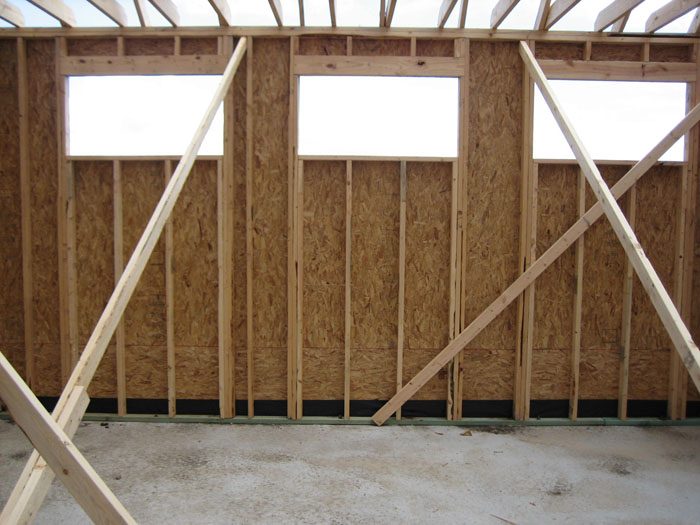
First set is the house being framed.
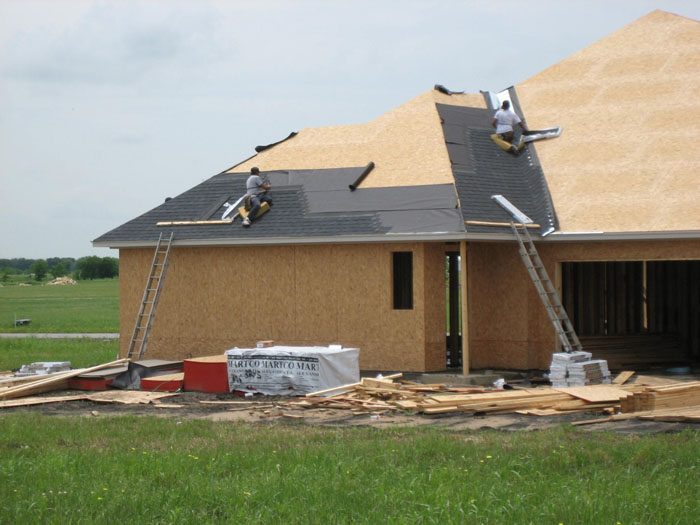
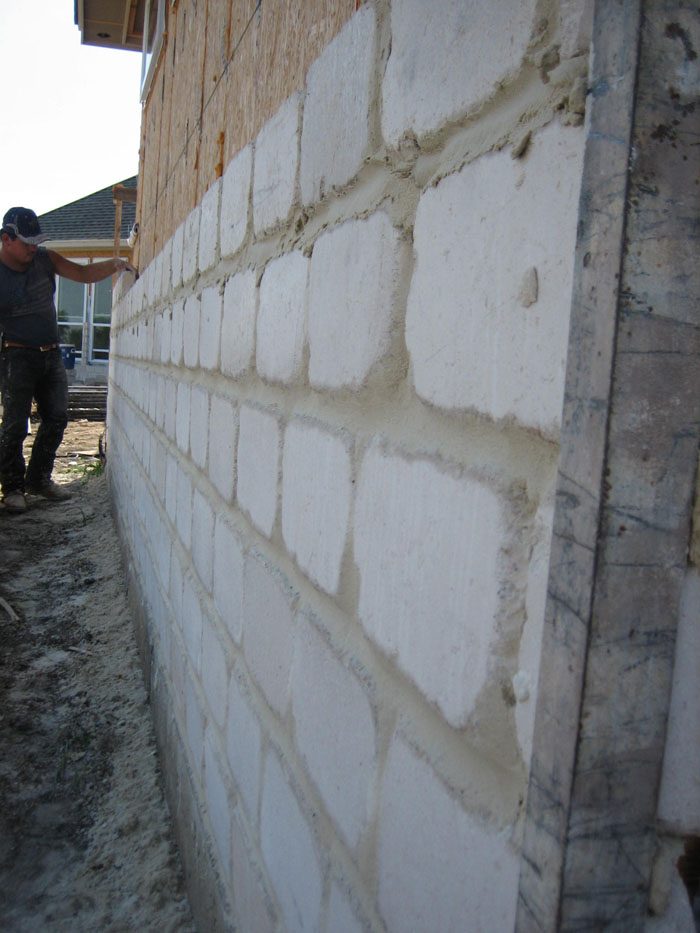
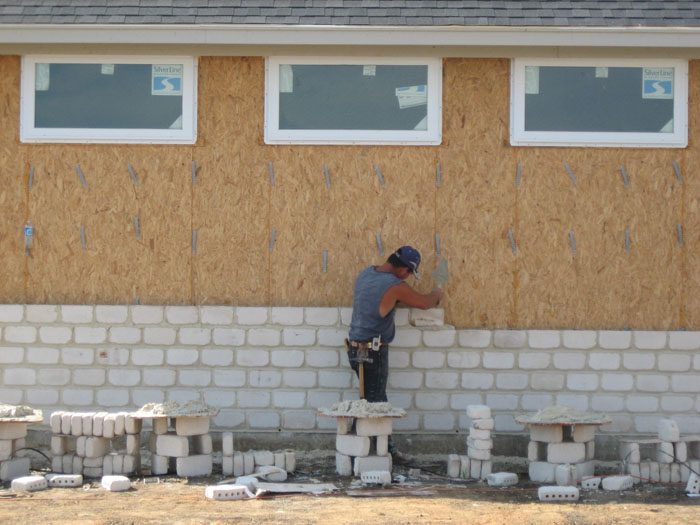
Here are some pics of the plywood going up on the exterior of the house. We live in tornado alley, so our builder uses plywood around the whole exterior of the home instead of therma-ply. He's from the "old school" of construction.
More pics of the construction project... you can see the actual studio/office entrance a little better in this pic because the exterior walls are more defined.
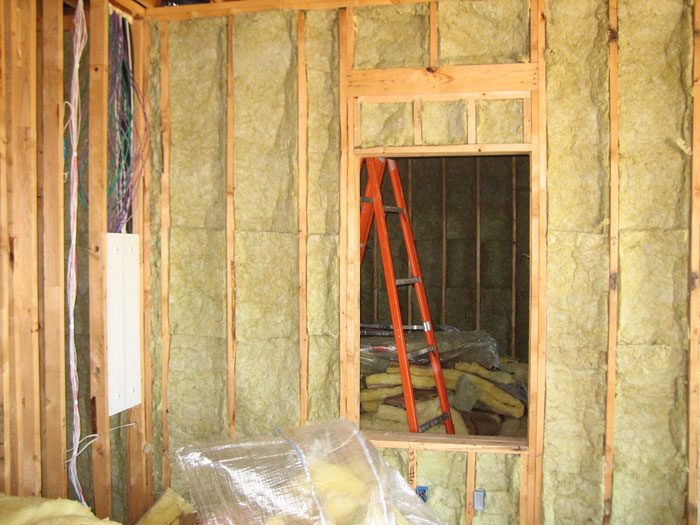
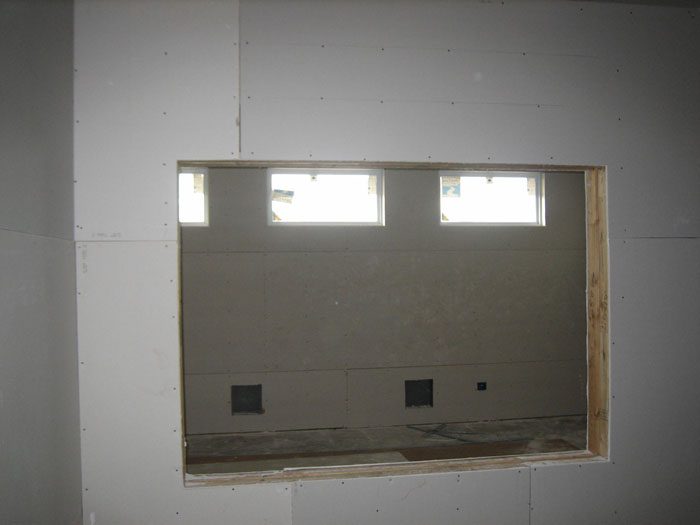
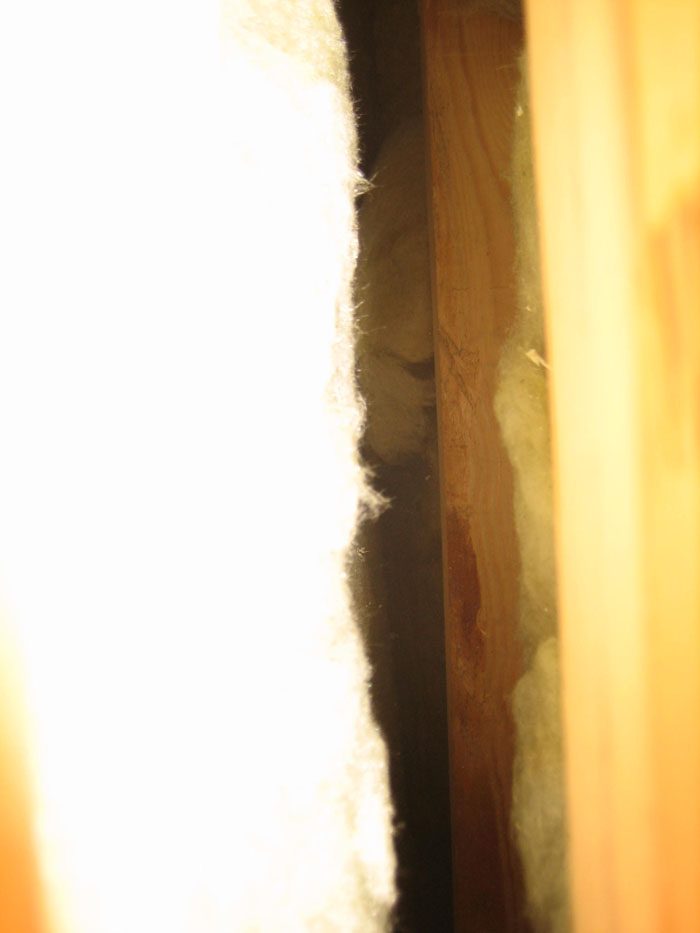
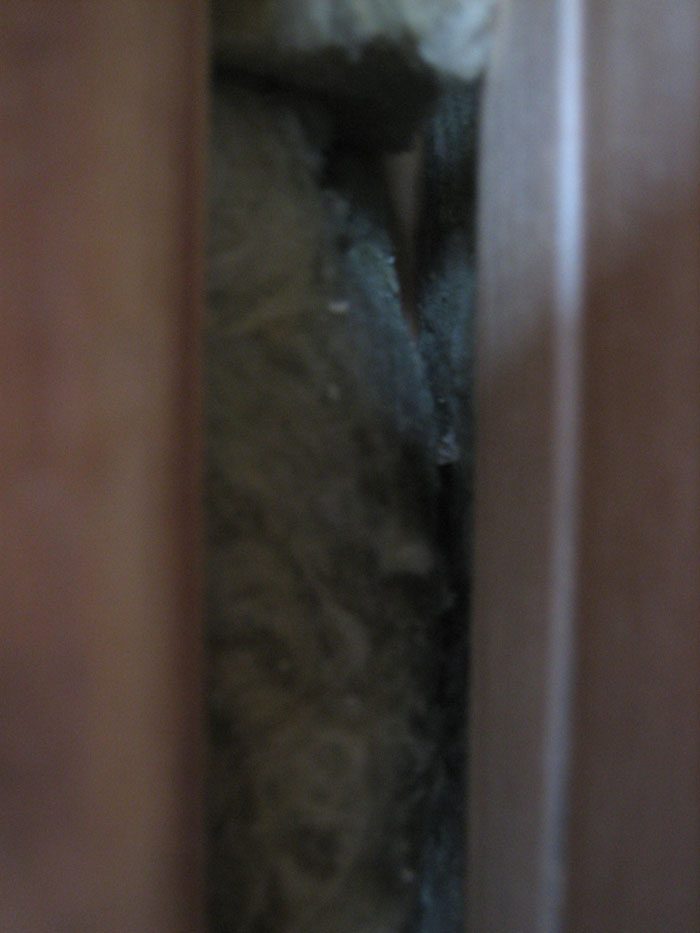
Pics of the insulation (rockwool) being installed in the studio. This is a better picture of the window between the two rooms thanks to the insulation. There's also a window in the front wall of the control room that looks into the office that you can see in the pics too. I believe the dimensions of that window are 3ft x 5ft.
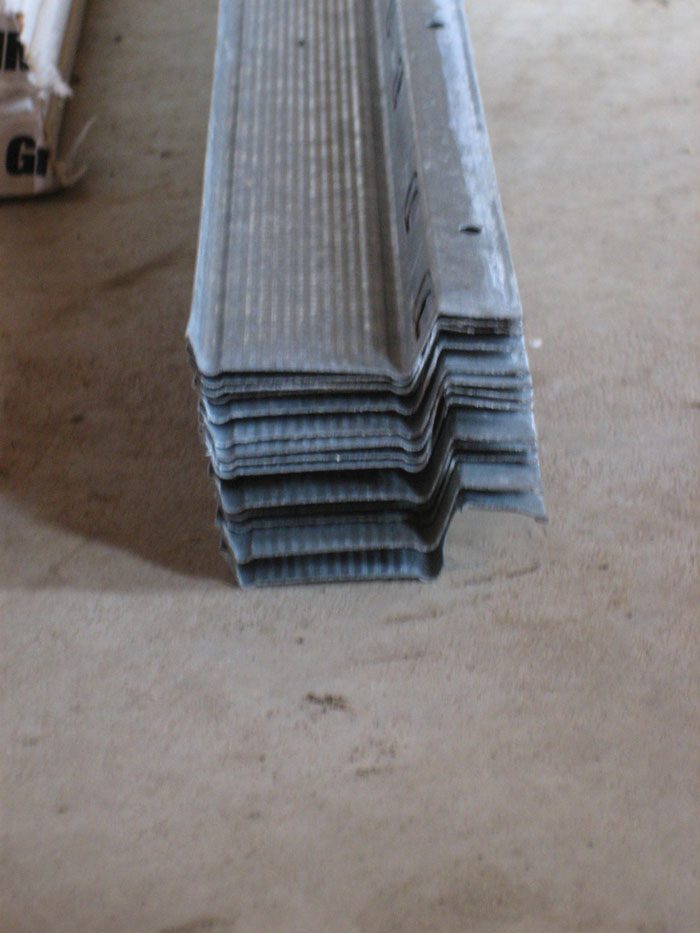
We had a coupling issue with the ceiling, thanks to the lumber package and framer design, so we hung resilient channel in both the control room and live rooms. I didn't get any pictures of them hanging the drywall because I had to be in the office the day they hung it.
Man!
It is really coming along fast.
It took me over 2 years to build mine.
With stuff going up that fast Ihope you took good pics of all the walls and ceilings before the sheetrock was up.
Maybe you are lucky enough to have detailed plans.
When it comes time to hang acoustic treatments, it sure is nice to know where all the wood is!
I had one of those "super-duper" sonar stud finders, but even THAT had problems locating wodd buried under an 1-1/4" of drywall.
Keep us informed.
Tom
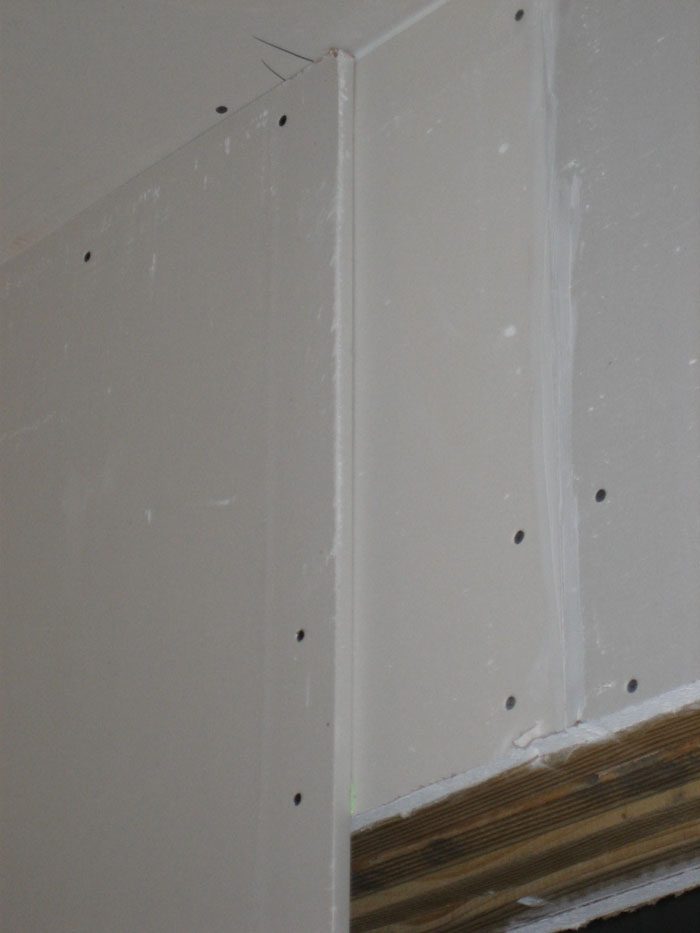
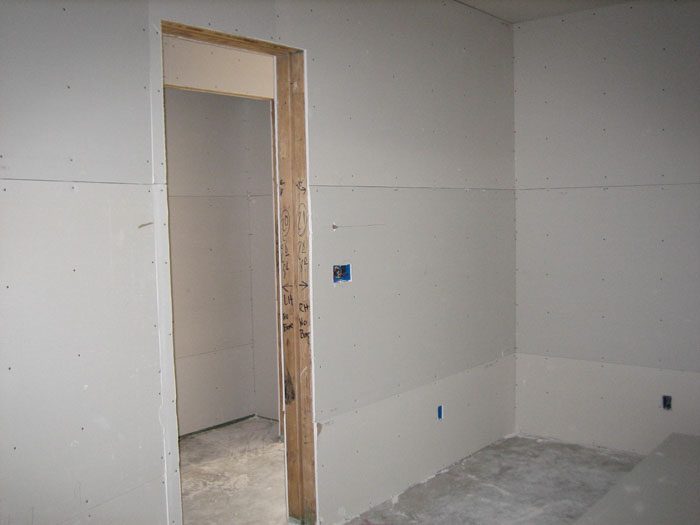
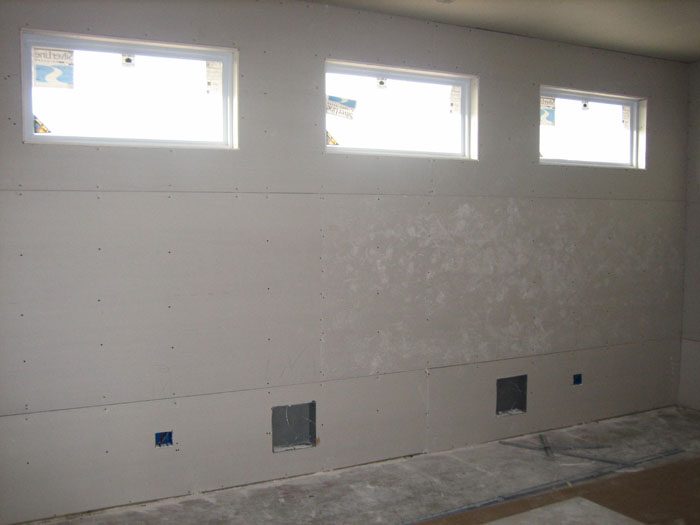
Enjoy these pics of first layer... then second layer with green glue application. The second layer of 5/8" drywall went up in 4x10 sheets, so there were fewer seams in the vertical layer of drywall. The first layer was sealed with OSI acoustical sealant, 4x8 sheets of drywall.
So we're finally to the phase where the outside of our home will look complete. Now it's to the minutia inside the house like wall texture, cabinetry, trim, paint, flooring, cleaning, etc. So I hope I haven't overwhelmed you with pics today, but it has been a fun ride so far.
Come back to see more in the coming weeks.
Kevin
So it's been a while since I've updated this, but the studio is getting close to completion as far as construction is concerned. So the walls are up, textured and painted. Trim is installed, two 1/2 inch windows are installed, and the wood floors are there. I'm waiting for quarter round to be placed around the base boards, then the construction portion will be completed.
We are actually supposed to move into the house/studio within the next 3 weeks. Once we're in, I'll run the mic cable through the conduit and setup the gear I have now. I have a whole list of gear to obtain still to bring it up to the level I want. I'll provide more pics soon.
Thanks for checking it out!
Kevin