New Studio in Turbenthal

Started by BriHar on 18 February 2011. 91 replies, 2011–2012.

Originally posted at johnlsayers.com, topic 15635.

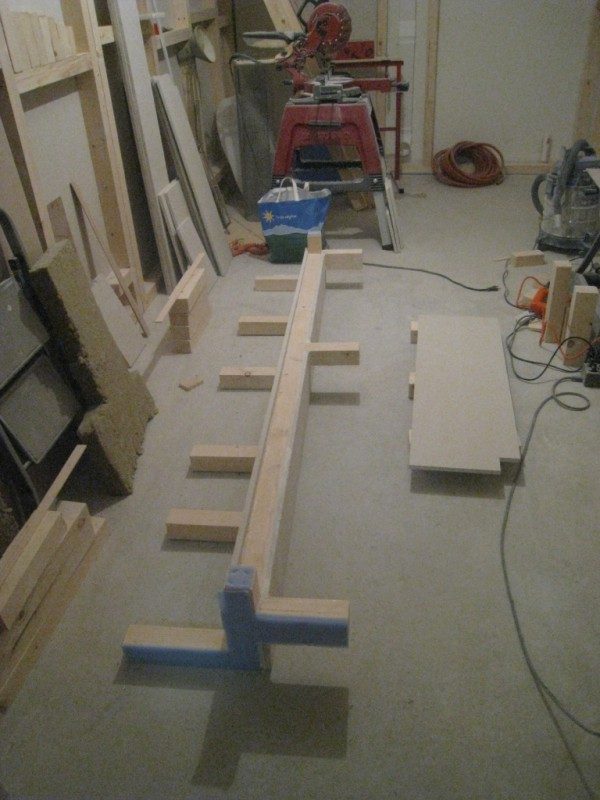
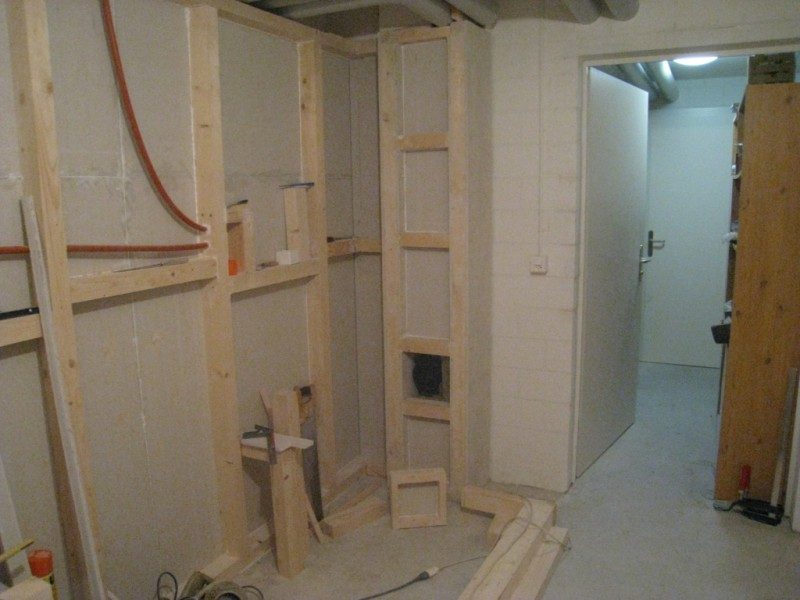
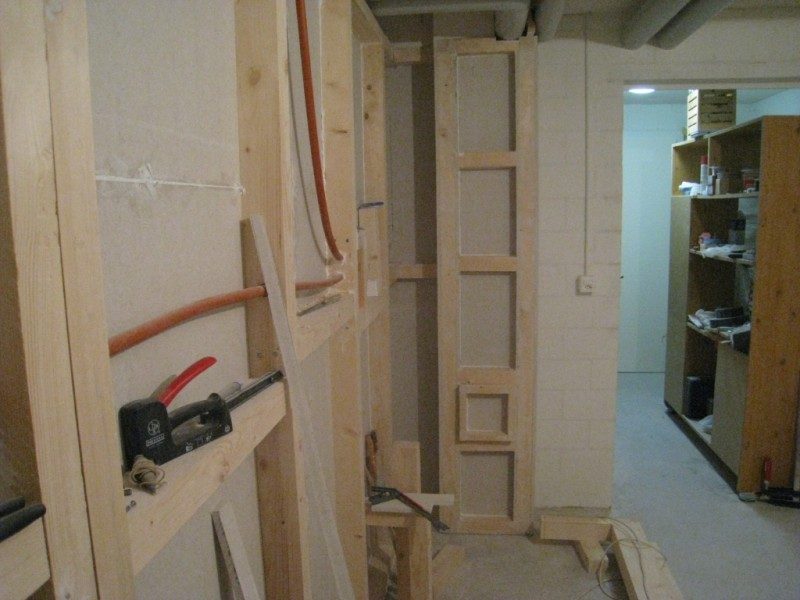
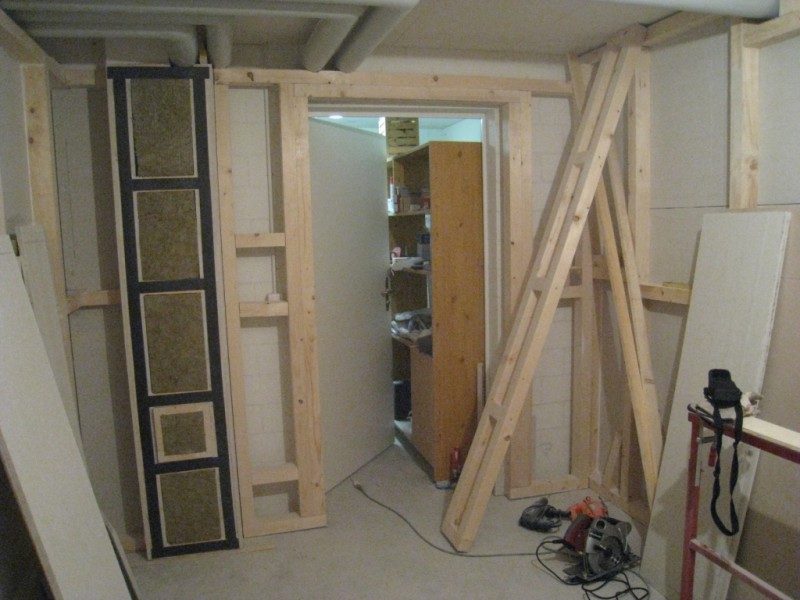
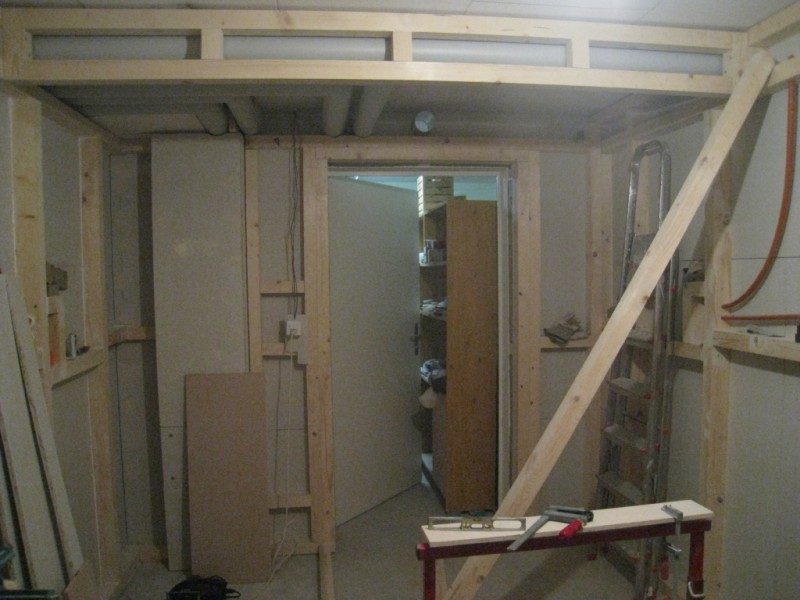
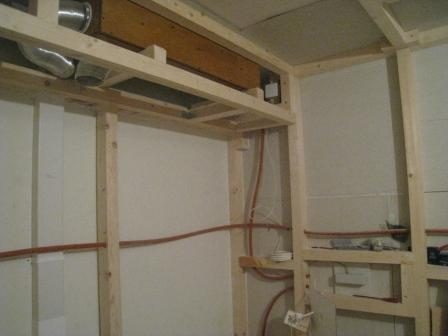
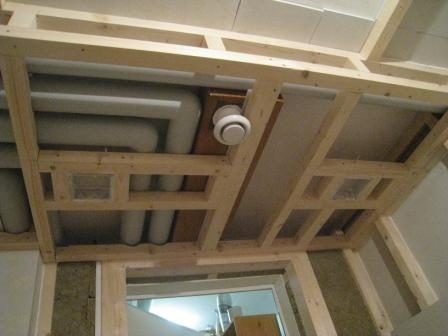
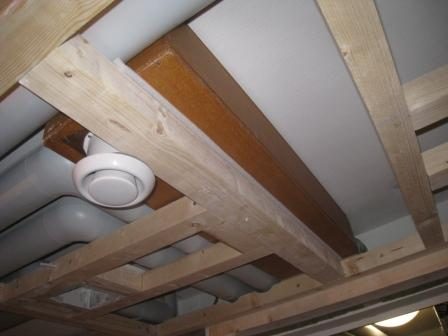
Well it's been awhile but I've been busy. So I guess it's about time for a couple of pics on the progress.
IMG_1617s.jpg
IMG_1617s.jpg
IMG_1616s.jpg
IMG_1616s.jpg
IMG_1620s.jpg
IMG_1620s.jpg
IMG_1621s.jpg
IMG_1621s.jpg
IMG_1624s.jpg
IMG_1624s.jpg
IMG_1635s.jpg
IMG_1635s.jpg
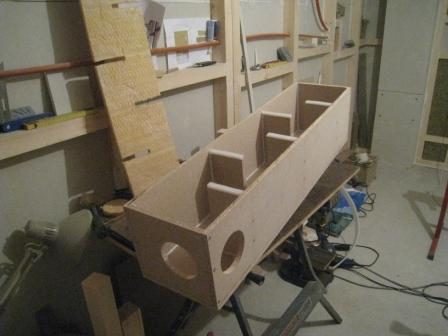
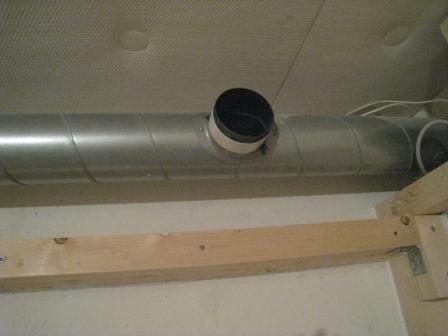
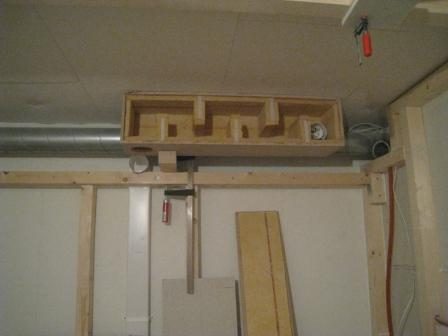
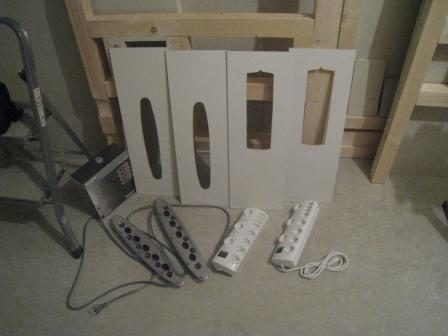
In addition Ive been working on the front wall, and have just finished the silencers for in and out. I'll post pics of these soon.
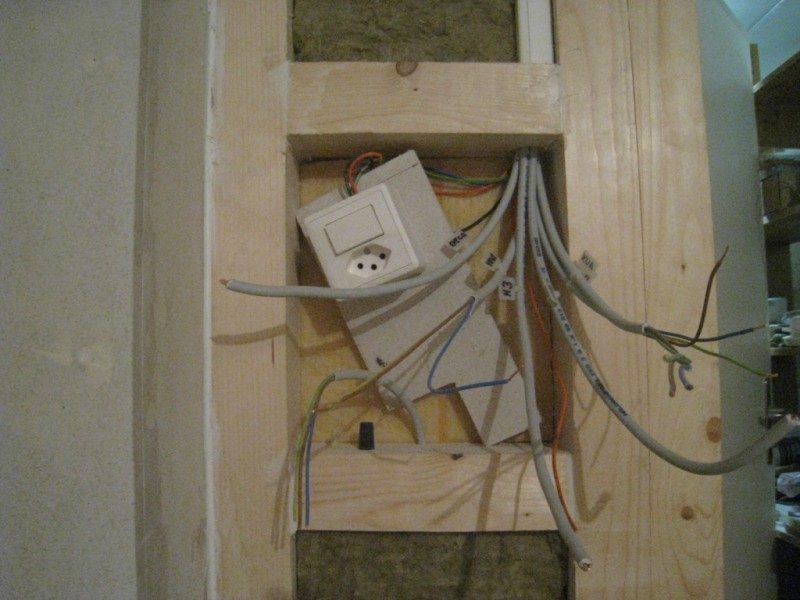
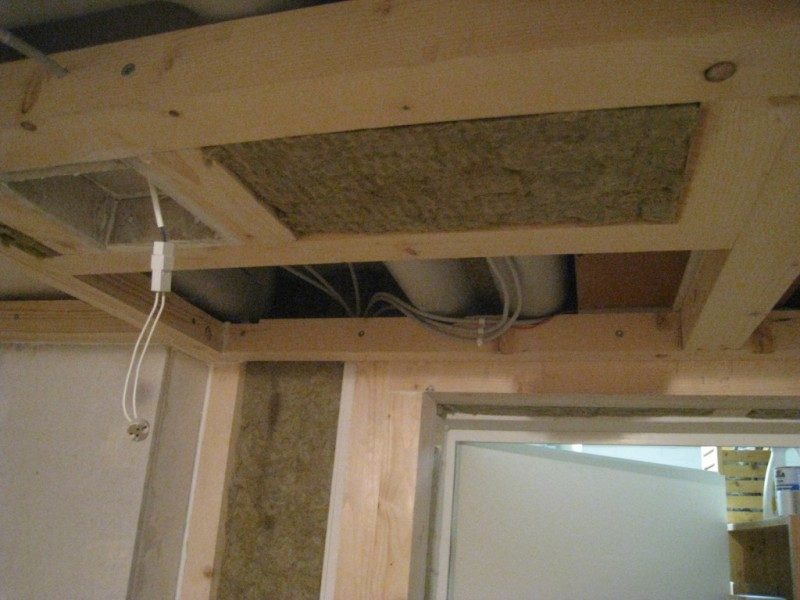
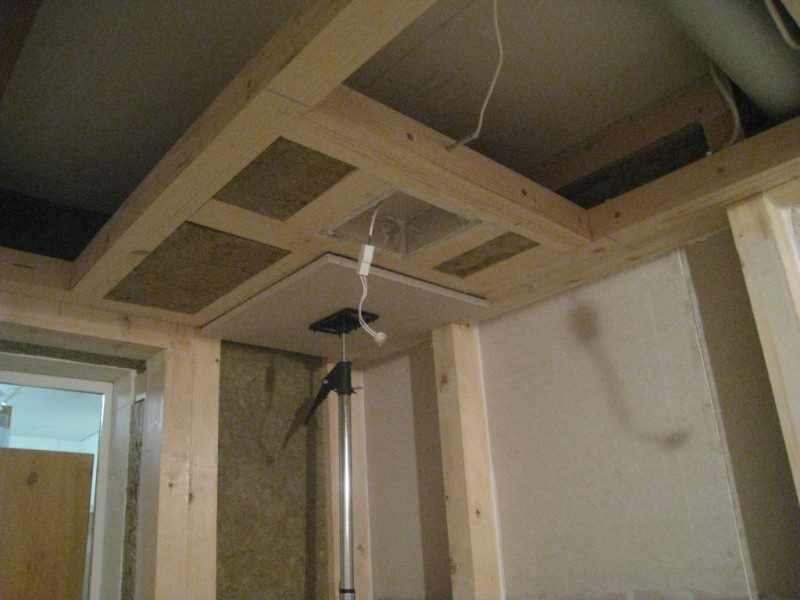
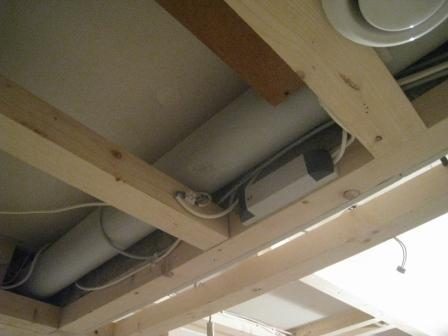
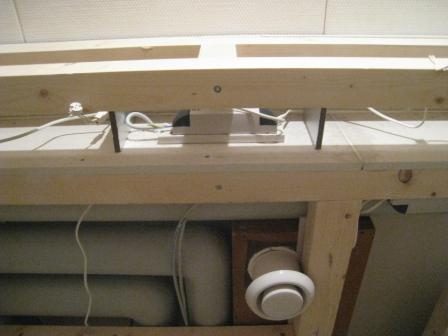
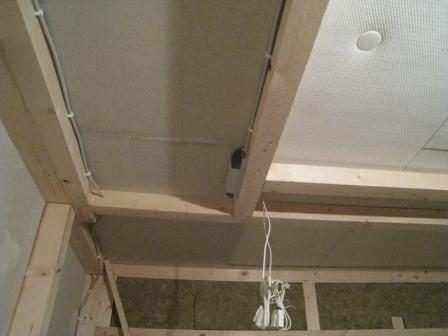
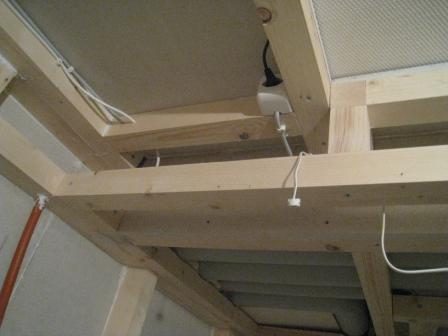
So the silencers are finished and installed. Soffit framing is done, and now I'm currently doing the wiring for the lighting before I can put the rockwool and fermacell onto the framing.
IMG_1640ss.jpg
IMG_1640ss.jpg
IMG_1642ss.jpg
IMG_1642ss.jpg
IMG_1644ss.jpg
IMG_1644ss.jpg
IMG_1650ss.jpg
IMG_1650ss.jpg
IMG_1647ss.jpg
IMG_1647ss.jpg
IMG_1648ss.jpg
IMG_1648ss.jpg
IMG_1651ss.jpg
IMG_1651ss.jpg
IMG_1662ss.jpg
IMG_1662ss.jpg
IMG_1676ss.jpg
IMG_1676ss.jpg
IMG_1673ss.jpg
IMG_1673ss.jpg
IMG_1643ss.jpg
IMG_1643ss.jpg
Another update with pictures :)
IMG_1693s.jpg
IMG_1693s.jpg
IMG_1694s.jpg
IMG_1694s.jpg
IMG_1696s.jpg
IMG_1696s.jpg
IMG_1700t.jpg
IMG_1700t.jpg
IMG_1697t.jpg
IMG_1697t.jpg
IMG_1699t.jpg
IMG_1699t.jpg
IMG_1706t.jpg
IMG_1706t.jpg
IMG_1698t.jpg
IMG_1698t.jpg
IMG_1705t.jpg
IMG_1705t.jpg
IMG_1704t.jpg
IMG_1704t.jpg
IMG_1703t.jpg
IMG_1703t.jpg
IMG_1666t.jpg
IMG_1666t.jpg
IMG_1669t.jpg
IMG_1669t.jpg
IMG_1701s.jpg
IMG_1701s.jpg
IMG_1671t.jpg
IMG_1671t.jpg
IMG_1672t.jpg
IMG_1672t.jpg
IMG_1702s.jpg
IMG_1702s.jpg
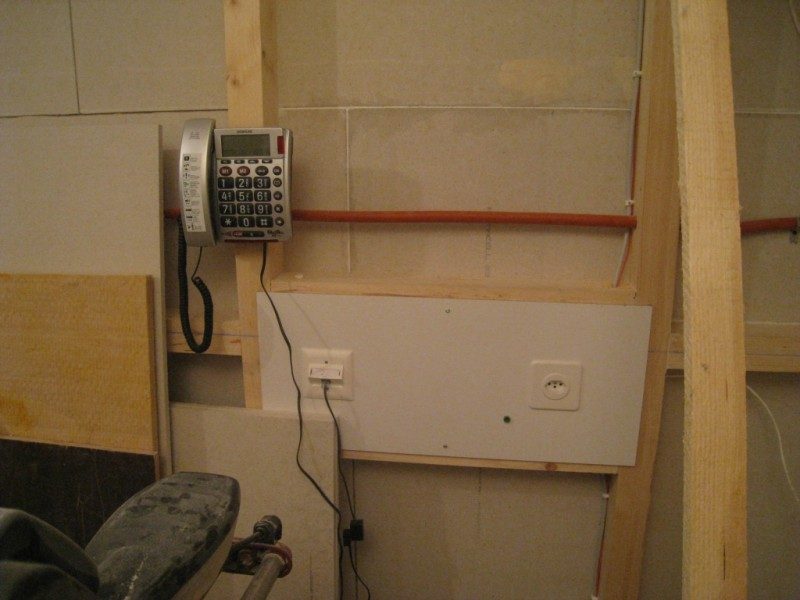
The telephone has a ring mute and a LED flashbar visual call indicator, it also has a +40dB boost switch so even when the music's loud, you can still hear the caller.
WOW ... Great job Brian !!! also ... like your previous silencer design & build. Have you any on-site data you can relay ?
What kind of data are you refering to? Aside from the initial before build Db measurements I haven't done any audio testing. Once the rest of the built-in treatment is installed, and I finish building the 'soffits' / hanger traps at the front, I will commence testing the room to help decide on the slat calculations, and whether I need any supplementary treatment or tweaking.
Update.
Image not preserved: IMG_1707s.jpg
Image not preserved: IMG_1710s.jpg
Image not preserved: IMG_1717s.jpg
Image not preserved: IMG_1718s.jpg
Image not preserved: IMG_1720s.jpg
Image not preserved: IMG_1722s.jpg
On each of the spot panels you can see the small round vents I incorporated to allow air circulation due to heat buildup in the otherwise sealed fixtures. Flooring has been put in.
Image not preserved: IMG_1725s.jpg
Image not preserved: IMG_1726s.jpg
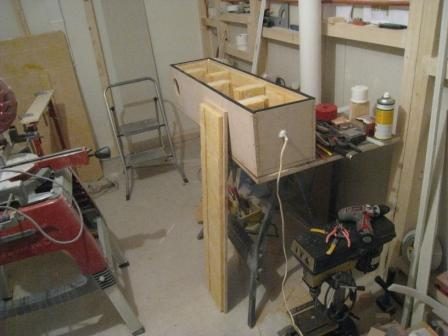
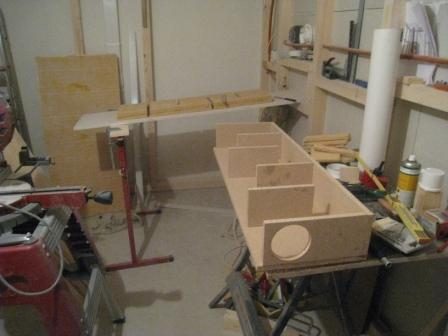
Construction of the speaker 'soffits'
Image not preserved: IMG_1727s.JPG
Image not preserved: IMG_1729s.JPG
Image not preserved: IMG_1730t.JPG
Image not preserved: IMG_1731t.JPG
Image not preserved: IMG_1733t.JPG
The interior sides and top are lined with rockwool, as will be the back.
Image not preserved: IMG_1735s.JPG
Image not preserved: IMG_1739s.JPG
Image not preserved: IMG_1740s.JPG
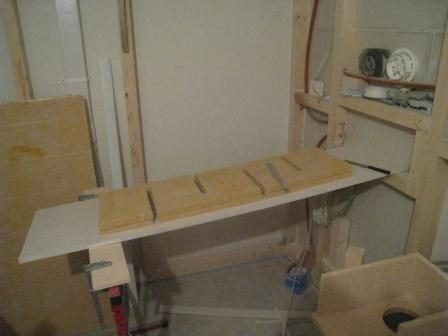
The hangers.
Image not preserved: IMG_1742s.JPG
The cores were sandwiched between 16mm rigid fiberglass panels cut to the same size as the specific core. The fiberglass was glued with spray contact adhesive to the cores then bound at the ends and the middle with duct tape. Because I'm going to hang them with wire, I cut small diameter plastic tubing to the thickness of the panels which the wire will pass through. This is to prevent the wire from cutting through the core and fiberglass.
Image not preserved: IMG_1744s.JPG
Image not preserved: IMG_1745s.JPG
The entire hanger compartment is sealed at all joints with silicone caulking. The only ports are at the top which lines up with a similar port in the speaker enclosure, and the bottom front panel which serves as the main room port.
Image not preserved: IMG_1899s.jpg
Image not preserved: IMG_1901s.jpg
Now into the final stages after nearly a year of single handed construction. I took a couple weeks holiday in order to complete the studio. The wife went on a two week pottery course in south France, so I was free to concentrate fully on the studio. In the few weeks leading up to this I had bought a bundle of siding timber which I cut and sliced into various lengths and calculated widths. These were in turn stain-finished over many evenings. Burlap in Black and Orange were ordered and picked up.
Image not preserved: IMG_1907s.jpg
The rest of the wall compartments as well as the wedge of the side slat walls were filled with rockwool. One section of the wall I added a surface of homosote - not for acoustic reasons but rather to act as a pinboard.
Image not preserved: IMG_1908s.jpg
Finally the Burlap finish is stapled to the framing, black for sections under slats and orange for open wall sections. The stapled seams are covered with stained wooden trim.
Image not preserved: IMG_1910s.jpg
Image not preserved: IMAG0852s.JPG
Image not preserved: IMAG0855s.JPG
I went to a local pharmacy and had the pharmacist make me a half liter of sodium silicate solution - also known as waterglass - to use as a fire-retardant (1/2 liter would be mixed 1 to 5 parts water for spraying). When I made a test sample I discovered that the fabric was in fact already treated to some extent (burned when held in flame but would not support flame on it's own. It did however keep a glowing ember and smoked for a short time afterward. After applying the waterglass solution and drying with a hairdryer (further left overnight) the fabric would not burn even when held directly in the flame for a minute - the side exposed to the flame went black, but it could not be induced to catch flame, did not glow afterward and no smoking. This (sodium silicate solution) is a very effective, easily prepared and procured fire-retardant for anybody interested.
Image not preserved: IMAG0854s.JPG
Furthermore, I cannibalised my old absorber traps and constructed a new cloud for over the desk/LP. This cloud is hardbacked and hung, angled over the desk. The rigid glasswool panels making up the core are also covered in a very thin plastic wrap under the final fabric. This film is primarily to hold precipitation of mineral dust onto the desk (and mixer)over time in check [lesson leared from previous experience] it also helps to retain a certain amount of "liveliness" at the desk (not sucking all the high energy out) but not overtly so.
Image not preserved: IMG_1916s.jpg
Image not preserved: IMG_1917s.jpg
As the wife took the camera with her I didn't get too many photos as the work progressed, but more are definitely coming.
Lookin great Brian. Like the color scheme. Gettin real close to being finished I see. :-)) Awsome!
Thanks Rene. Actually the construction phase is now finished! I'd hoped to completely finish the studio by the end of the two weeks, but as I told my son earlier it should be finshed by the end of the month (July), I told him he could use it for a few days. So four days he was mixing a a few songs for a band, and I had to gerry-rig a working space for him, but otherwise stop work - actually the rest was only trimming details. On the last day 3 members of the band he was mixing for came by to iron out some mixing details. All were impressed with the studio, as well as it's acoustics (I haven't as yet run any testing) but it did get quite warm after a few hours! Here first is a pic of the speaker "soffits" / hanger traps. I added neoprene runners for the speakers to sit on, and the belts which go around the actual speaker cabs to facilitate extraction work perfectly and the ends tuck neatly out of sight each side of the speaker. There is only a couple mms spacing between the cabs and the sides of the boxes. Only the rigid FG panel wrapped in orange burlap is missing in the front recess.
Image not preserved: CSC_0695s.jpg
Here are both soffits in place. The slat walls either side including slat ceiling trim can also finally be seen. I began top and bottom with calculated widths and spacings for expected modal issues, but considered due to the wedge shape, plus the filling with rockwool, that the Q was going to be extremely wide, so I abandoned the calculated spacings as I approached the center and increased the spacings to expose more general absorption. As I mentioned, I haven't done any testing yet but listening to music and moving my head head around the LP, no noticeable nodes or nulls seemed to stand out. The LED lighting on the ceiling perimeter is also being tested. The ceiling which is covered in a 80cm layer of glasswool with a white woven glass finish on the exposed sides was looking kind of shabby at the end of the construction, so I surfaced the remaining exposed part with thin styrofoam tiles. These tiles I fastened using spray contact cement (which I have used before for this but never on a ceiling) as the instructions proclaimed it was safe for styrofoam, but one after another they kept getting unstuck and even falling down. So I got some proper styrofoam tile cement and reglued them as each one came down, eventually, now all are up there good.
Image not preserved: DSC_0586s.JPG
Finally the speakers are installed, the monitor bridge, desk and isobox are added provisionally.
Image not preserved: CSC_0693s.jpg
Image not preserved: CSC_0697s.jpg
Image not preserved: CSC_0689s.jpg
The second door is also not yet installed, but tests with both existing doors closed show excellent results. If only the space under the door were sealed using a threshold with neoprene isoband on both doors, I think an additional door may not even be needed! Now remaining is to "hook everything up", not exaclty a small task, plus intensive cleanup including clearing out the anteroom and installing shelving etc.
Man, that place looks so disgustingly terrible that I think you should just pack up the entire room and send it to me! I'll "dispose" of it for ya! :) :lol: Seriously: WOW! That looks just great. Excellent workmanship, and great design. If it sounds even half as good as it looks, then it will be fantastic! Congrats, Brian. :thu: Looking forward to seeing the final REW graphs! - Stuart -
Thanks Stuart. I was hoping I'd be doing the sound checks by now but the wiring is taking longer than I'd thought, Murphy seems to have misplaced my original wiring scheme so I'm having to resort to memory a lot and rethink a number of things, also re-label cables and document the cabling. My UPS battery seems to have given up the ghost, 2 years of inoperation = battery fully discharged and it was probably due to be replaced soon anyway. So, I've temporarily bypassed the UPS and everything is taken directly from the Voltage regulator/conditioner. The major considerations and source of problems is actually the cable routing - i.e. avoiding the rats-nest problem, but at the same time affording flexibility for rerouting. It's great to have everything nice and tidy using various cabletrays and conduits - until you need to pull out or replace one of the cables - this is real Murphy country (the cable you need to remove will always be undermost in the bundle, and will follow the most convoluted route), and I'm sure that cables and wires have a life of their own - you can place one cable on another and when you go to pick one up it's become entwined and knotted with the other (maybe they're having sex cause I sure seem to have an awful lot more cables than I remember pulling out of the old studio :P )
The room is booked again for a couple of weeks so I 'm not getting much done. Not that there's all that much to do, but I do want to get the room profiled. As I have a bit of a headcold lately, my hearing is a bit wonky (everything sounds like crap) so just as well. The important point is that (from others opinions) translation seems to be good. Currently I'm re-organizing the midi connections, and also need to re-org the USB connections as well - don't like things plugged into the keyboard particularly as said connections are at the sides. Also a new addition, a VGS Cobra Select Satin Natural E-Bass
Image not preserved: VGS_Cobra Select Natural.jpg
Just an update, I managed to get a bit of time in to shoot the room. My initial tests shocked me until I realized I had improperly calibrated the soundcard for REW, after I corrected that they were much more as I expected. However, I noticed an interference (very audible) over the sound system which I had not had (at least not so bad) previously. It is being caused predominantly from the USB. I spent a lot of time trying to isolate the problem and subsequently cure it (IRQ mapping, cable and component reorientation) but have only managed to improve it somewhat. To this end I have just installed a new UR28M interface and am currently setting this up while also pondering new signal wiring schemes. I'll also have to do new room profiles with REW now.