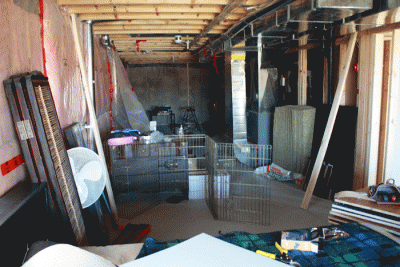
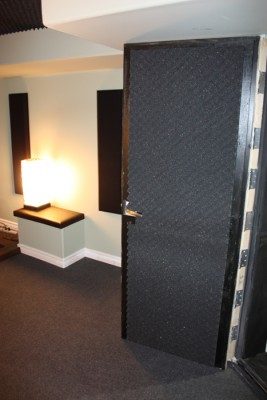
Mario's Drum Recording Room - Basement

Started by mariohc79 on 29 March 2009. 16 replies. In the Library under Build diaries. Key posts in this thread.

Originally posted at johnlsayers.com, topic 11851.

Not preserved: 006BW.jpg
______________________________________________________________________________________________________________ From the beginning.
Not preserved: room.jpg
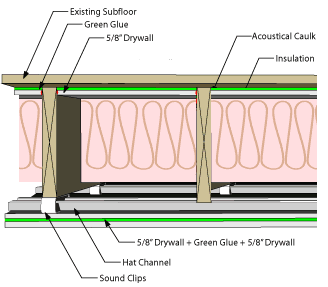
Objective Construct a combo room for recording and playing drums. The room will be designed for isolation with a super door, two layers of 5/8" drywall with Green Glue visco elastic and sound clips for the ceiling. The second phase will be to treat the room for recording and mixing.
Design Overview
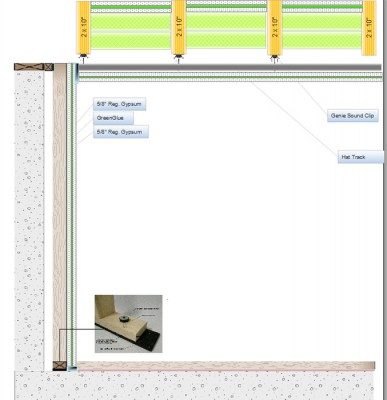
    • One single solid core door "SuperDoor" (As per Rod Gervais' book) for a double wall • Double wall with two layers of 5/8" drywall with Green Glue. • Flooring - 1/2 Bamboo Flooring, 1/2 carpet. • Ceiling: de-coupled hat track with sound isolation clips (2 layers of 5/8" drywall with GreenGlue) • Wall facing concrete will be 1" away from concrete (16 O.C, decoupled from concrete with ISO Sill Rubber) two layers of 5/8" drywall with Green Glue • Window to be blocked and sealed. • Quiet Putty (seal plugs eliminating vibrations) • Acoustic Sealant • Added one 5/8" sheet of drywall between ceiling joist and plywood with Green Glue, sealed with acoustic sealant. • Add insulation in ceiling cavity.
Materials
    Isolation/Sound Proofing( This list is in progress and subject to change.)
      • 35 sheets of 5/8" drywall (2 layers) • 48 tubes of Green Glue • 3 Rolls of ISO SILL isolation pad • ROLUX Rock Wool • Genie Sound Clip http://www.pliteq.com/downloads/GenieClip_Installation_Instructions.pdf • Hat Track • Wood Framing 2" x 4" x 8 (SELECT Grade) • Acoustic Sealant (GreenGlue, or Lepage Green Series) • Ventilation
        • Fan
BEFORE Photos
Not preserved: HouseFront.gif
Not preserved: before_watertank.gif
Not preserved: before_duct.gif
Not preserved: ImportPhoto-153.jpg
Hi Mario,, and welcome! A few comments that might help:
dual layer 5/8" drywall with GreenGlue and framing joist 2" x 4" will not be touching the wall directly, as they will be seperated by neoprene pad.
What is the purpose of the neoprene pad? If I understand correctly, you plan to install neoprene pads between your framing and your drywall. Is that correct? That does not serve any useful purpose. The nails or screws that you use to attache the drywall to the studs will short-circuit the neoprene, and sound will flank through the nails. In any event, if you are building a separate stud wall, then you don't need to decouple the drywall further, as it is already decoupled.
The concrete floor framing will be bolted in and separated by 10 mm neoprene and moisture protector.
What do you mean by "concrete floor framing"? Are you saying that you are going to place a wooden frame over neoprene pads, on top of your concrete slab, then build a floor on top of that? If so, that's probably a bad idea. That would be a floated floor, which is really hard to do correctly.
Separation of bolt and frame with rubber as per:http://www.acoustiguard.com/soundproofingwallsandceilings/ISAIP/Iso-sillacousticisolationpad.dwt
It sounds like you are planning to float your walls to! Have you done all the loading calculations for that? What deflection are you aiming for on the rubber, how much margin do you have for error, and what is the loading? Is the loading even all around, or does it change in some places, such as under the door frames, and how are you dealing with that? What is the total mass of your walls plus ceiling?
The ceiling and wall separating rooms will include a dual layer 5/8" drywall with GreenGlue + a Genie Clip and hat track.
Are you saying that you plan to build a single stud wall to separate your rooms, with iso clips and hat channel on one side? Would it not be easier / cheaper to build a staggered stud wall, which would get you more or less the same isolation, or even better, build a double stud wall for much better isolation?
The floor will be a challenge with height limitations. I am thinking of using a tongue and groove press wood with neoprene ½” pads underneath and adding ...
From the photos, it looks like the existing concrete slab is in pretty good condition. Why not just use that for your floor? Why do you need to go to all the trouble and expense of trying to float a new floor, when you already have a good one? Especially considering the high probability of failing to get it right?
I also added drywall to the ceiling with GreenGlue (no photo), there eventually will be Safe & Sound isolation added in the ceiling. I'm just wondering if adding the drywall will help much?
If I understand you correctly, you are saying that you beefed up the subfloor above you between the joists using pieces of drywall cut to fit between the joists, and yo plan to put some kind of insulation up there? Is that it? If not, then please could you explain what you did, and maybe post some photos. When you say you "added drywall with Green Glue", what exactly do you mean? Are you saying that you glued the drywall in place using Green Glue? Green Glue is not an adhesive. You can't use it to stick things together. It is a visco-elastic damping polymer. It is not glue. It is only supposed to be used between layers of drywall that are either nailed or screwed in place. Are you planning to install resilient channel across those exposed joists and then put a couple of layers of drywall on that? That would be excellent, and would use the least amount of height for reasonable isolation.
Another related question, can I utilize a plastic polyurethane vapor barrier to hold the insulation in place, I'm thinking this could cause mold problems.
String is better, or pallet strapping. It would be good if you could post a detailed SketchUp model of what you are planning to do. - Stuart -
Hi Stewart, Thanks for the feedback I really appreciate the suggestions. For the past week I've been reading, reading an reading from various threads and what a difference in my approach in tackling this complex project. Least to say I have put down the power tools and will spend another two weeks reading Rod Gervais's book along a lot more design. I found your studio construction thread quite helpful and realized I could optimize my space much better, there are so many difficult decisions to make in terms of efficiency vs practicality and ceiling height is just one of them.
Daylight.gif
Daylight.gif
I have created a new design I'm now debating if I should block the window where the drums are.
What do you mean by "concrete floor framing"? Are you saying that you are going to place a wooden frame over neoprene pads, on top of your concrete slab, then build a floor on top of that? If so, that's probably a bad idea. That would be a floated floor, which is really hard to do correctly. From the photos, it looks like the existing concrete slab is in pretty good condition. Why not just use that for your floor? Why do you need to go to all the trouble and expense of trying to float a new floor, when you already have a good one? Especially considering the high probability of failing to get it right?
    Yes that's true I could leave the floor as is since it is in good condition. I assume the floor would be the last thing I do anyways so I could paint it or add some thin layer such peel and stick or carpet. I think carpet would be a good choice as it would keep the floor warm (it's cold here in Canada with 5-6 months of cold weather) and the height limitation could be addressed by not elevating the floor . I thinking of re-capping the emergency drains, why do they need to be 2" inches high? I would rather re-cap them and make them flush with the floor.
It sounds like you are planning to float your walls to! Have you done all the loading calculations for that? What deflection are you aiming for on the rubber, how much margin do you have for error, and what is the loading? Is the loading even all around, or does it change in some places, such as under the door frames, and how are you dealing with that? What is the total mass of your walls plus ceiling?
    Good point. If I de-couple the wall from the ceiling then the load on the wall would be the weight of 2 sheets of 5/8" drywall with green glue. However your right and I get what your saying. Initially I was thinking this would prevent flanking from the framing to the concrete. I am investigating further, I have emailed the manufacturer for more details on the specifications and I got the following response: Hello Mario, Thanks for your email inquiry. John Sayer's site is right when it comes to some of the materials that people have tried to use in the past. Either they tried to use a foamed rubber and crushed it out – no good. Or they use a sold strip of rubber ad got no deflection and no performance. Also no good. The Iso-Sill is different in that it is made from particles of reclaimed rubber put back together with a highly damped, permanently elastic polyurethane binder. The process produces a matrix of bound together rubber crumb with air space between to allow movement and isolation/damping. Its function is more to provide an ‘impedance mis-match’ and damping layer between the sill and header plate and the structure to reduce flanking paths in sound rated assemblies. It does not function as a vibration isolator in the normal sense because it would have to deflect more than would be acceptable in construction for wall finishing. (http://www.acoustiguard.com/soundproofingwallsandceilings/Isosil/IsoSill.htm)
If I understand you correctly, you are saying that you beefed up the subfloor above you between the joists using pieces of drywall cut to fit between the joists, and yo plan to put some kind of insulation up there? Is that it? If not, then please could you explain what you did, and maybe post some photos
Yes, this is a slight variation from the following link: http://citysoundproofing.com/GreenGlueSlideShow.html
Ceiling_Design.gif
Ceiling_Design.gif
If I had to do this again I would not use drywall screws. Rod's book has a good example ... well I should of read the book first! Make sure you cut your pieces of drywall for a good fit otherwise you will have to use a lot of sealant. Rather than using drywall screws it's probably better to secure with a 2" x 2" against the joist.
_________________________________________________________________________________________________________
    Start of construction - ComboRoom
_________________________________________________________________________________________________________
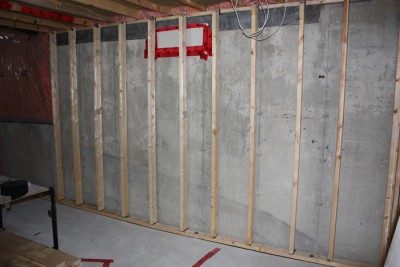
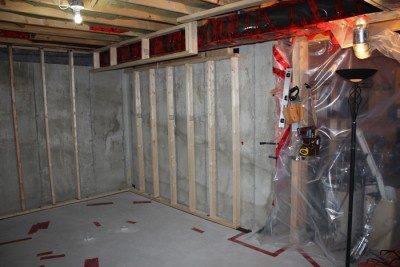
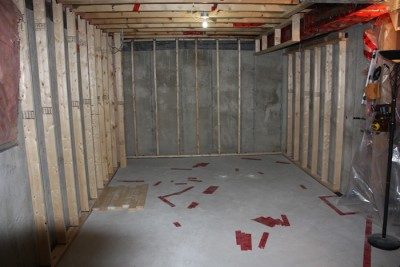
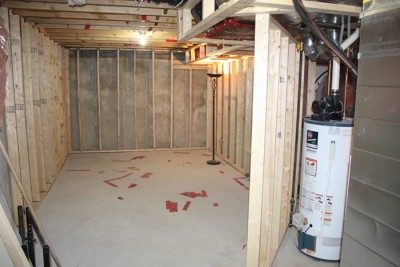
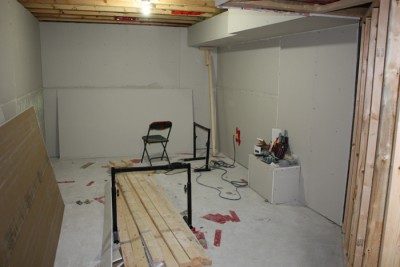
    • Added 5/8" drywall with Green Glue between joist • Two layers insulation between the joist. (Thanks Josh) • Framing is slightly de-coupled with ISO SILL rubber insulator at the bottom and top de-coupling the wall. • Blocked window 10" x 28" with two layers of 5/8" drywall / Green Glue and Acoustic Sealant and sealed with tuck tape
WallDesign.jpg
WallDesign.jpg
Mario_May18_2009-070.jpg
NorthWall.jpg
NorthWall.jpg
I added BM-1C duct work insulation, ...mmmmhhh maybe this was overkill and a bit pricey.
Mario_May19-004.jpg
Mario_May19-004.jpg
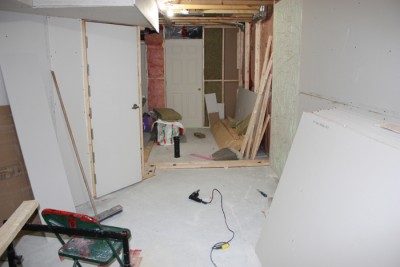
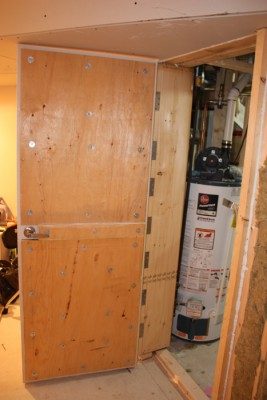
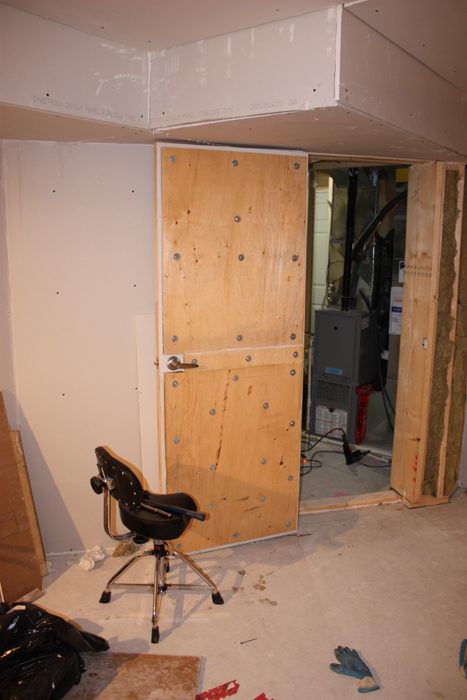
I opened the wall and added a new door. I got a Safe & Sound door but still need to seal it properly.
door.jpg
door.jpg
Mario_May30_2009-224.jpg
Mario_May30_2009-223.jpg
June06-005.jpg
June06-005.jpg
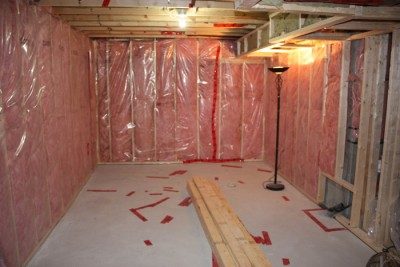
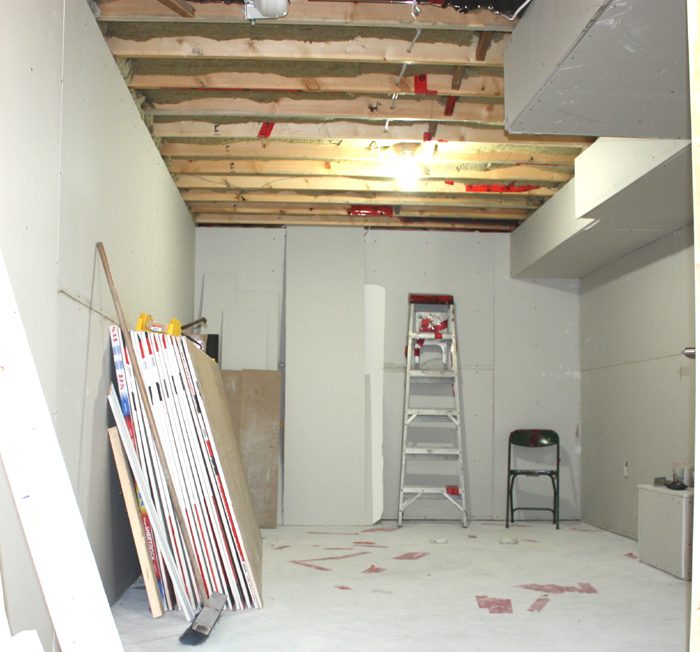
I used thermal insulation on outside walls (the pink stuff), otherwise inner walls and ceiling use sound insulation with Roxul Safe and Sound (the green stuff).
Drywall.jpg
Drywall.jpg
Framing-Door.jpg
Framing-Door.jpg
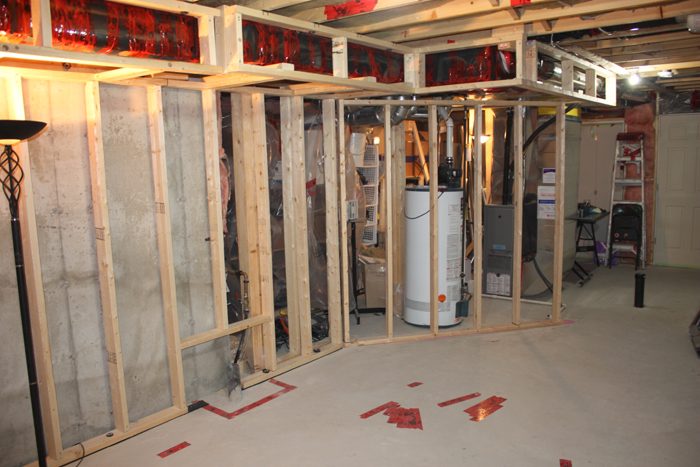
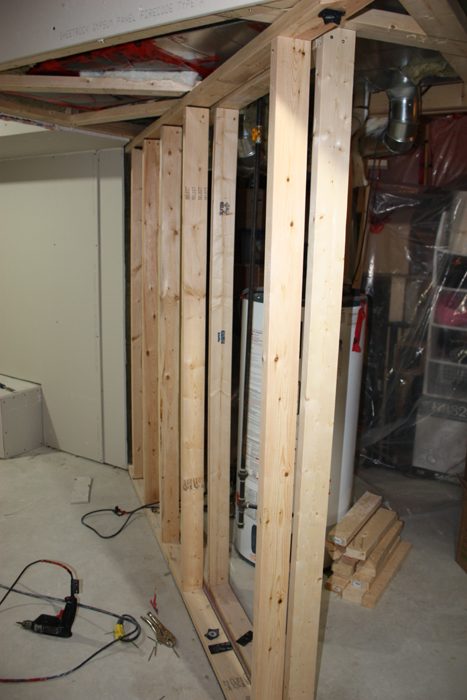
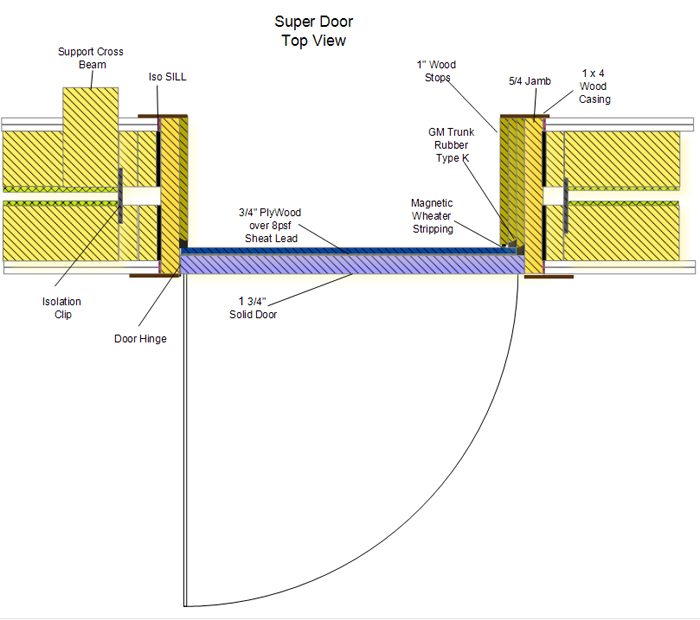
This wall was constructed with a double wall approach, there is some short circuiting due to the door framing 1" door jamb which runs across the two frames, but it was also very important to have a solid frame for such heavy door. I've designed this as closely as I could to Rod's design.
SuperDoorTopView.jpg
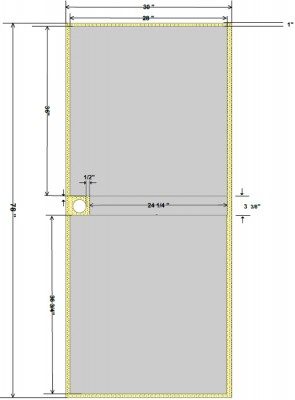
Now the door. This design is from Rod's book, I added the hinge section and filled in the missing items.
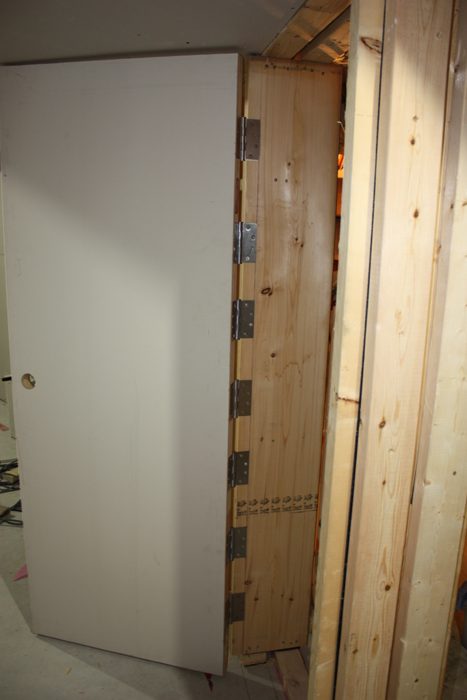
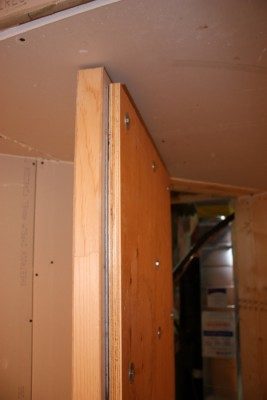
Framing for the "Super Door" as per the diagram with seven heavy duty hinges. Next step, add on a layer of sheet lead 8 spf, GM trunk rubber ...
July9-042.jpg
July9-042.jpg
July9-060.jpg
July9-060.jpg
_________________________________________________________________________________________________________
    Ceiling
_________________________________________________________________________________________________________
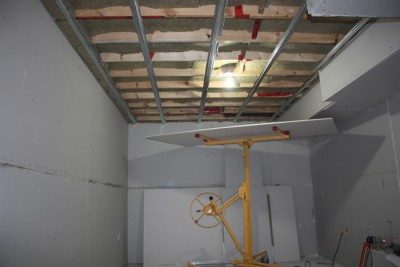
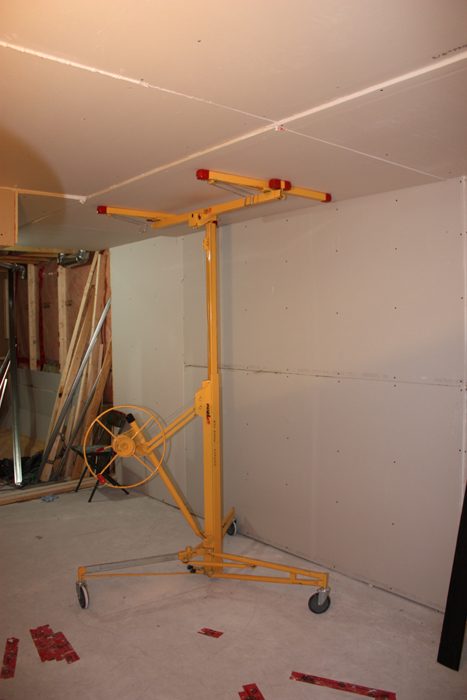
    Sound Clip Plan • 2 layers of 5/8" with Green Glue • Joist 16" OC with Clip 48 OC (max) (See GenieClip Specifications) • Hat Track Furring 24" OC
july16-017v2.jpg
july16-017v2.jpg
Image not preserved: CeilingClips_Planning.jpg
july19-001.jpg
july19-001.jpg
Ceiling contains Roxul Safe and Sound insulation.
july20-011.jpg
july20-011.jpg
    Super Door (Phase II)
      Solid Core Door
      Steel 8 psf
      3/4" Ply Wood
      Green Glue 1/4" Bolt and Washer
    Contains three section of:
      Top 28" x 36" Middle 24" 1/4" x 3 3/8" Bottom 28" x 36 3/4"
Super-1.jpg
Super-1.jpg
door_1jpg.jpg
door_1jpg.jpg
door2.jpg
door2.jpg
door3.jpg
door3.jpg
After installing two two seals: With door open db meter registered 65 db with furnace & AC running With door shut it was practically inaudible db meter was at 45db. Happy with the initial test result. I didn't use GM trunk rubber. Instead I used a product from a local manufacturer in Oshawa Ontario and it's working very well. For $25 I got more than I needed for the door and still have some to spare.
Aug27-067.png
Aug27-067.png
Aug27-004.png
Aug27-004.png
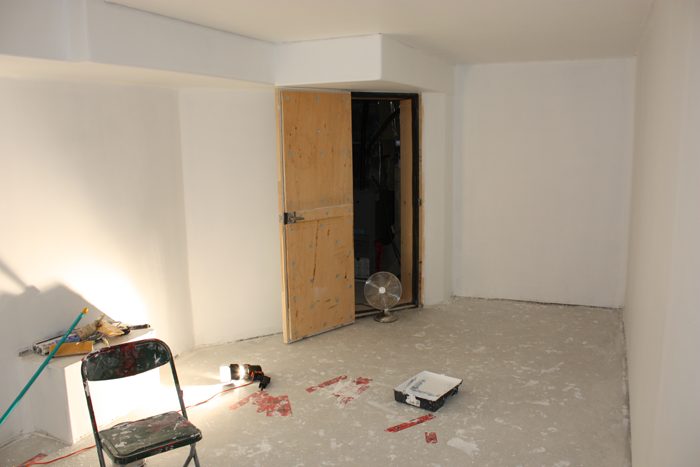
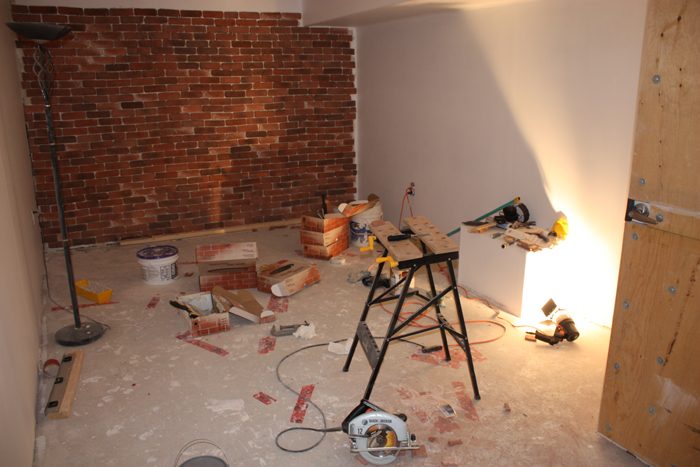
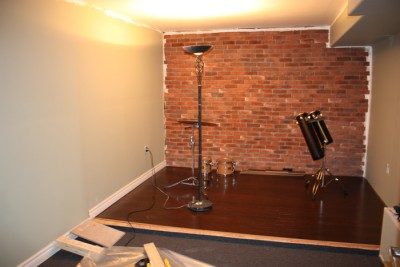
Aaaaah why not. I decided to add a fake brick wall to give the room some ambiance. Corners are a bit rough but that's fine the Bass traps will cover this.
sept10-048.jpg
sept10-048.jpg
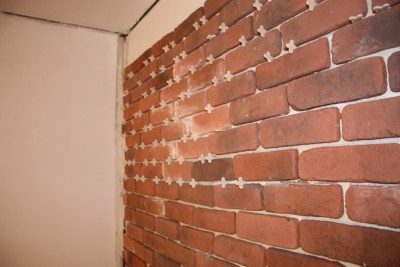
Installation on wall with Mastic glue and used spacers to keep the brick from sliding.
sept10-057.jpg
sept10-057.jpg
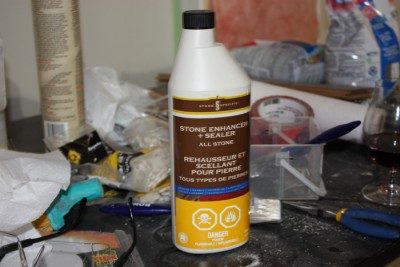
The bricks must be sealed before applying the Grout.
sept10-058.jpg
sept10-058.jpg
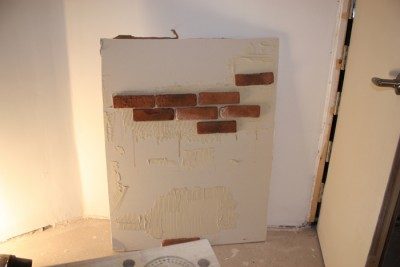
The bricks looked fine after the sealant dried. (Always good to test before on sample)
sept10-056.jpg
sept10-056.jpg
Sept20-006.jpg
Sept20-006.jpg
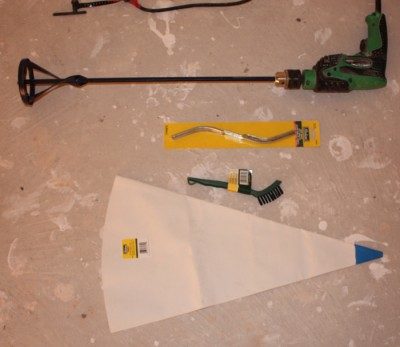
Grout will be created with product called Mapei. The grout is applied with a grout bag in between the bricks and not on the bricks. Do not wipe with water or else the brick color will fade. I ran my finger across the applied Grout to make it look rough then applied a paint brush to even it out.
Image not preserved: sept25-001.jpg
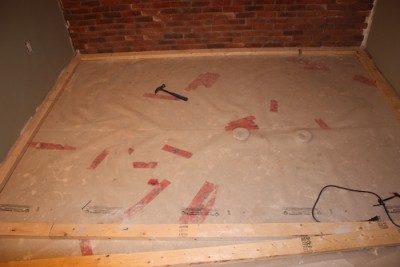
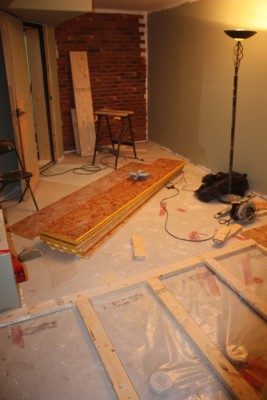
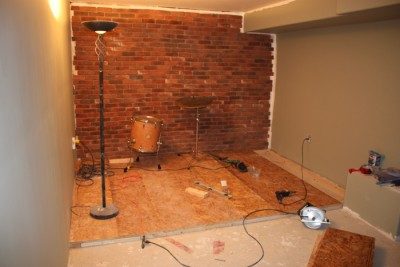
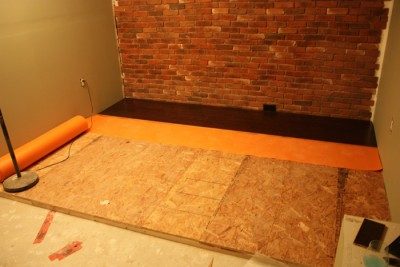
Created a platform to raise the floor above the drains. Added vapor barrier
007.jpg
007.jpg
014.jpg
014.jpg
020.jpg
020.jpg
007_555.jpg
007_555.jpg
Selected a (real wood) bamboo flooring since it's better for handling humidity and also very thin to maximize head room.
019.jpg
019.jpg
016.jpg
016.jpg
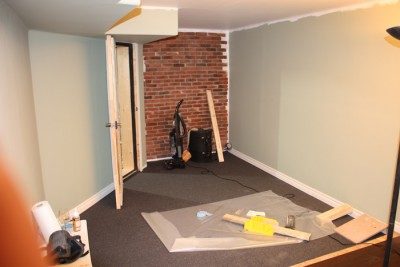
And now the carpet and base boards
fantastic threat :)
Hi Ro, thanks for the feedback. I was going to send you a PM to ask you for some advice on bass traps but didn't get a chance ...then I see you have added comment! ... well I'm in the process of selecting acoustic panels and bass traps, so far I like what I see with http://www.primacoustic.com. I will post my documented proposal soon, your feedback and advice will be greatly appreciated, :) Mario
Hai Mario, I can't give you any comment on prefab basstrapping devices, simply because I don't use them. If you read the specs, given by the manufacturor, you'd be able to compare options. Decide whether you're gonna spend precious money on such devices or going the DIY path. for sure those prefabs look good, but will they be worth the buck spend on? Can't help you with that, sorry.
I'm with Ro on this one: Manufactured panels probably work OK, but you can get the same acoustic results much cheaper by building the treatment yourself. So if money is important to you, you might want to consider making your own treatment. - Stuart -
____________________________________ Phase II - Room Treatment ____________________________________ The room is a combination room which combines the sound recording control as well as a live room mainly for percussion instruments. Ideally less absorption vs diffusion in order to maximize the liveliness quality of the persuasion instruments. Proposed Design Draft 1 - Floor partial reflection with bamboo wood floor, the area rug can be added for further damping. - The ceiling will be covered with absorption foam. - Four base traps will be constructed with Rock Wool. (4) - Wall absorption panels will be placed at intervals. - Door will have one acoustic panel. (1) ____________________________________________________________________________________________________________ DIY -Bass Traps Version 1
Not preserved: 003.jpg
Cut with 25 degree angle. Each board is attached with two wood screws.
Not preserved: 025.jpg
Speaker material is attached and stapled to back of frame.
Not preserved: 035.jpg
Standard vapor barrier, sealing rock wool insulation.
Not preserved: 030.jpg
Sealed and wrapped with tape they can be transported easily. There are four hooks per trap which attach to the wall.
Not preserved: 008.jpg
End result two fine looking bass traps with beveled edge.
Great thread! Any possibilities of some more photos of the finished product?
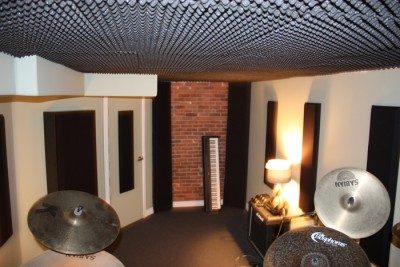
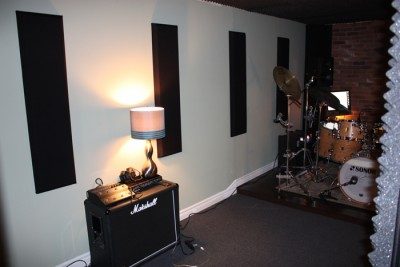
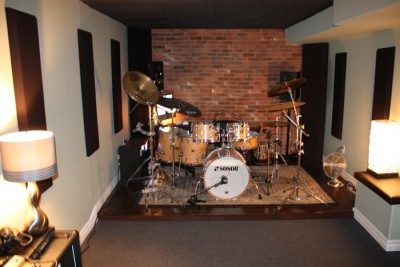
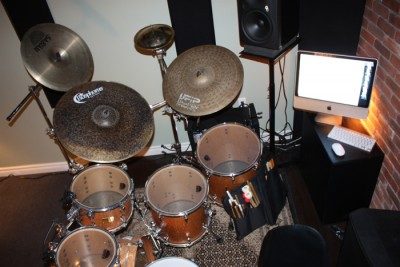
Update - January 2010 After reading an interesting article from Ethan http://www.ethanwiner.com/acoustics.html I decided to use some of the concepts for treating the room, ceiling with absorption to make the make the room sound bigger. Purchased acoustic panels and installed them on the wall and tried to keep a 15% ~ 25% absorption ratio to keep the room as lively as possible. I probably could have made these panels but finding semi rigid fiber glass was quite the pain in Ontario Canada. This cost me aprox. $2500 Canadian including the 2" wedge foam on the ceiling.
006.jpg
006.jpg
004.jpg
004.jpg
023.jpg
023.jpg
027.jpg
027.jpg
002.jpg
002.jpg
Added a leather seat over the small bench so that djembes and other hand persuasion can be played. The foam on the door was only for esthetic purposes and not really necessary.