Re: Echo Bar Recording Studio Build Diary
Posted: Sat Nov 12, 2011 4:41 am
Sorry RJ. I regret it myself. But I am glad you are enjoying the photos.Only wish you would've been here [posting] during the planning & design phase.
A World of Experience
https://johnlsayersarchive.com/
Sorry RJ. I regret it myself. But I am glad you are enjoying the photos.Only wish you would've been here [posting] during the planning & design phase.
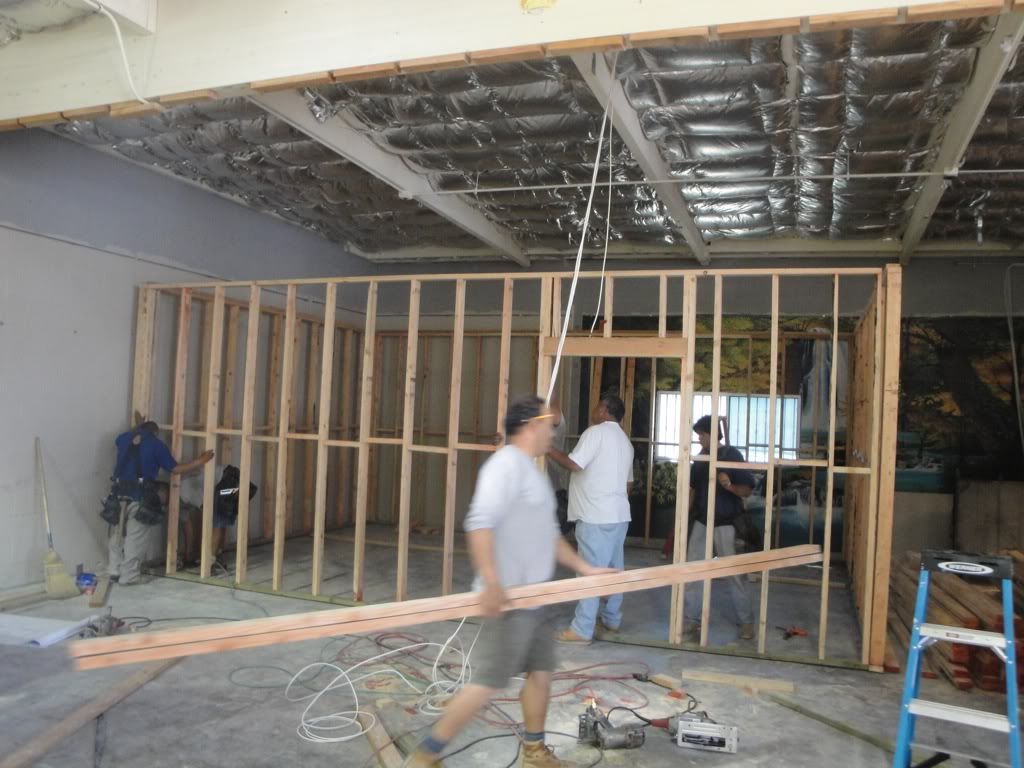
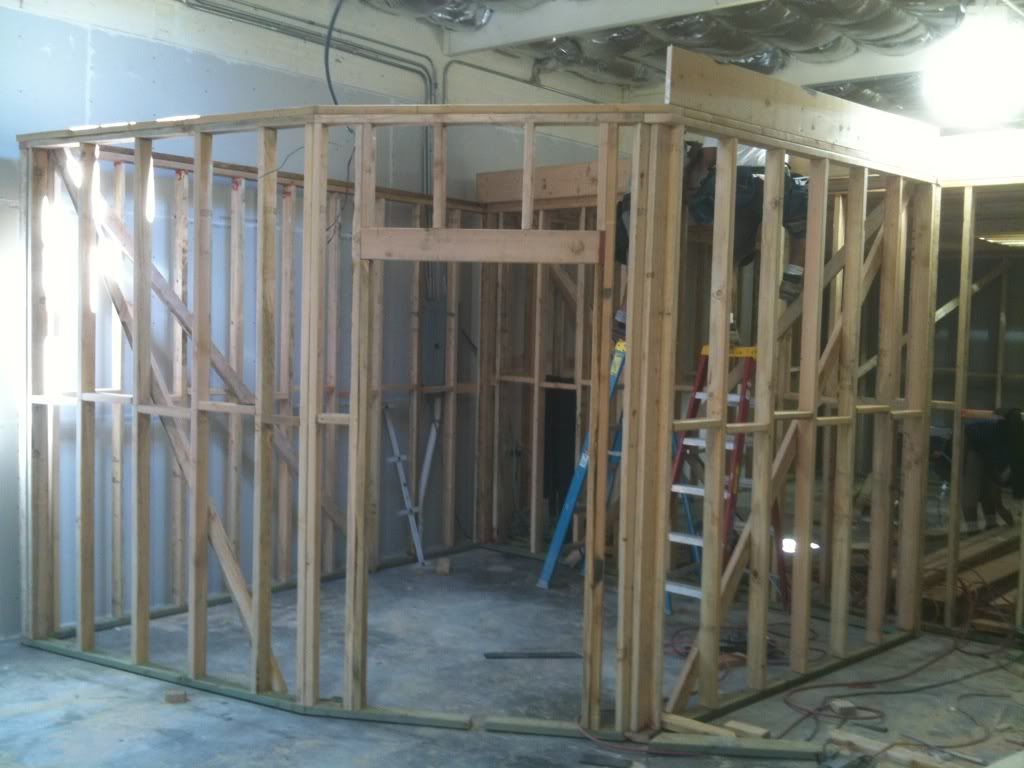
You could have done it from your side quite easily, without bothering your neighbor at all: Just beef up between the studs. That's a commonly used technique here on the forum, for cases like yours.I debated a lot about what to do with this wall. Ideally, I would have liked to add a second layer of dry wall with green glue on my neighbors side but that would have been too difficult to displace my neighbor while that happened.
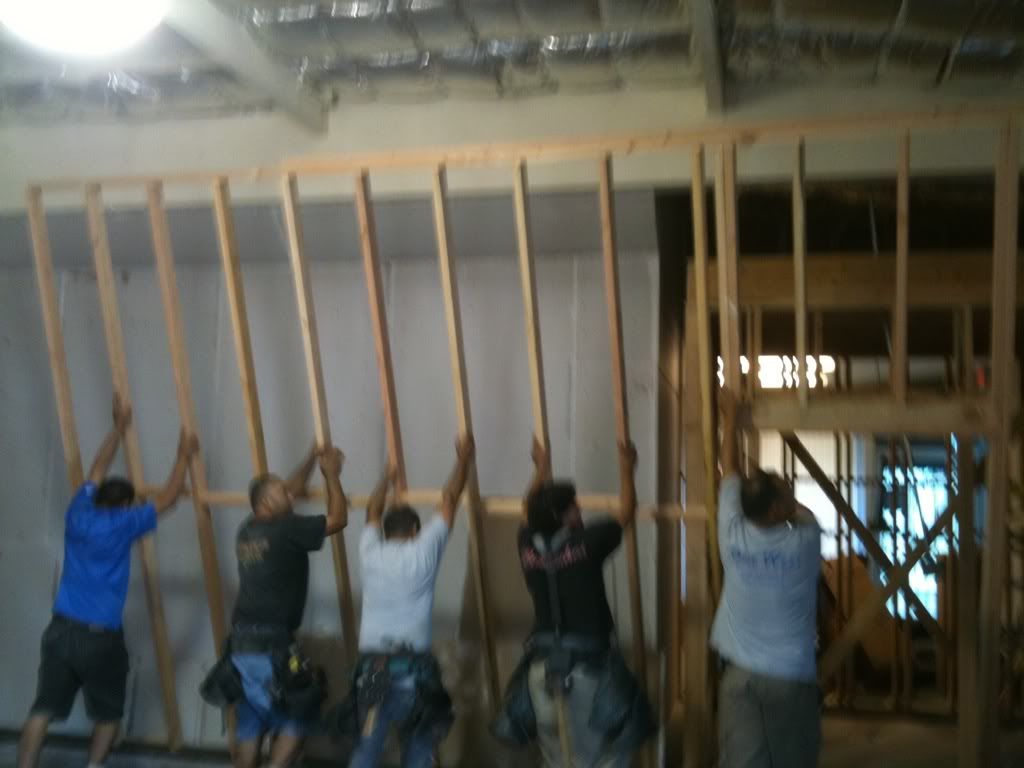
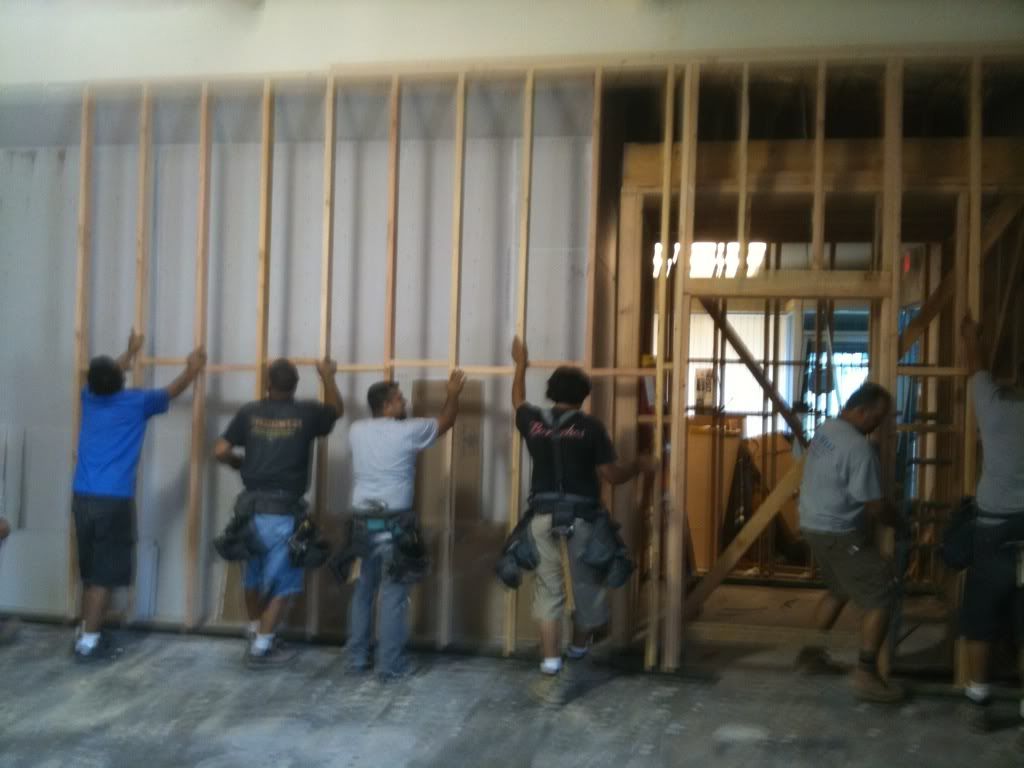
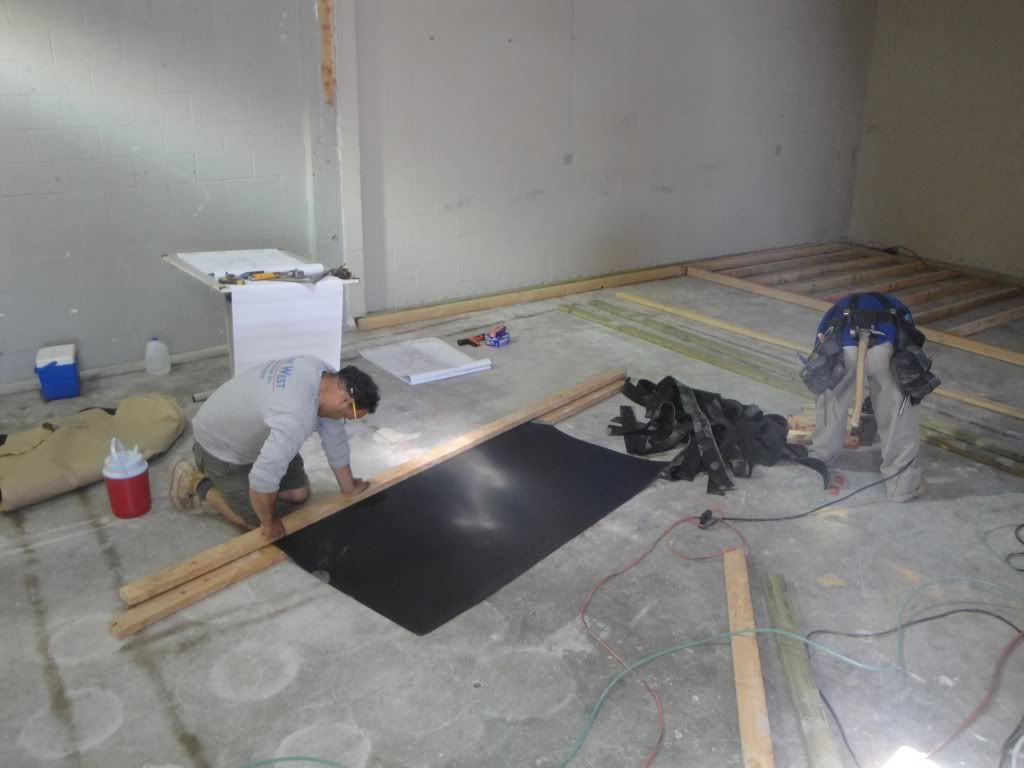
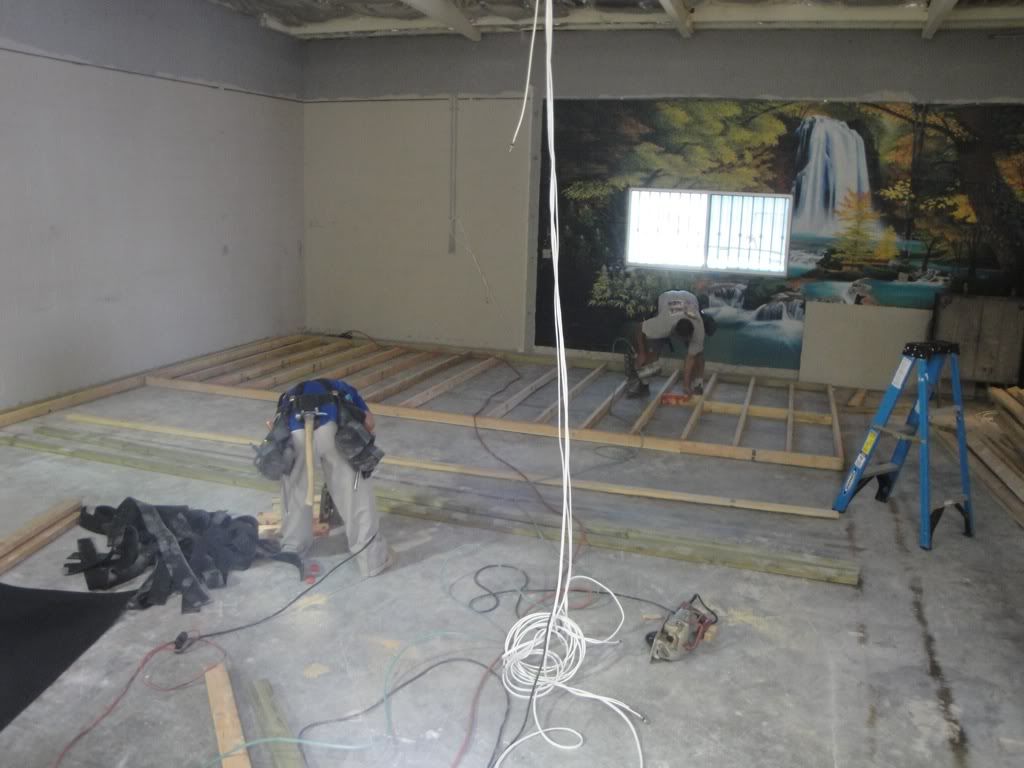
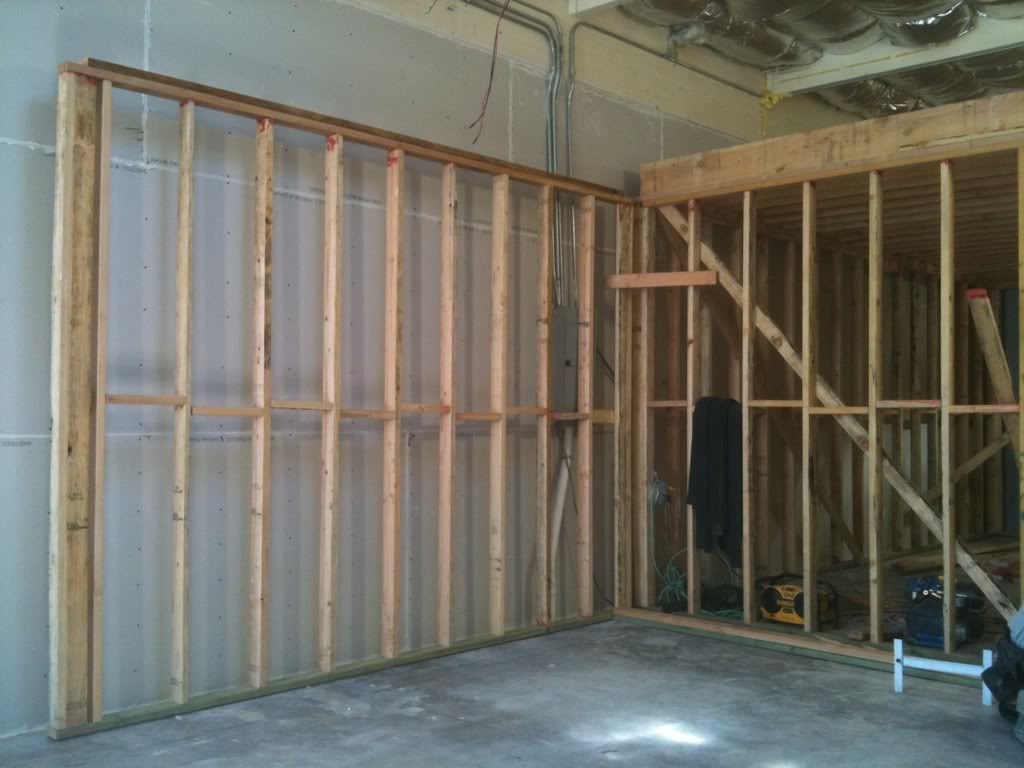
I'm just wondering why you did that: Was the floor especially uneven, and needed the extra seal? Also, from the photos it's not clear how you attached the wall frames to the floor: I don't see any bolts visible, so I guess you just used nails. But it looks like a concrete floor, so how did you accomplish the nailing? You DID attach the walls to the floor, right?Here is my contractor cutting the neoprene to be put on the bottom of all the sole plates.
This is why I regret that I waited to post this journal on the forum until after the build was completed. You are absolutely right Stuart. I didn't think of that. Hopefully, others will learn from my mistake(s).You could have done it from your side quite easily, without bothering your neighbor at all: Just beef up between the studs. That's a commonly used technique here on the forum, for cases like yours.
Yes, the concrete was uneven in many places and I chose to use the neoprene to seal even the smallest air gaps between the sole plates and the concrete. Yes the sole plates were all nailed to the concrete floor with galvanized nails. This was required by the city inspector. The were driven through the plates into the concrete with the "explosive nail caps". I am sure there is a more technical name for this tool but I don't know what it is? My framer did let me "fire" one of the guns. It is actually like firing a real pistol and just as dangerous.I'm just wondering why you did that: Was the floor especially uneven, and needed the extra seal? Also, fro the photos it's not clear how you attached the wall frames to the floor: I don't see any bolts visible, so I guess you just used nails. But it looks like a concrete floor, so how did you accomplish the nailing? You DID attach the walls to the floor, right?
That's what I figured. You did fine. some folks use neoprene thinking it will "float" the wall, but of course it does not. As soon as you put the first nail / bolt in, that creates a flanking path right through the neoprene. But you did it as a seal for an uneven floor, which is the right thing to do.Yes, the concrete was uneven in many places and I chose to use the neoprene to seal even the smallest air gaps between the sole plates and the concrete. Yes the sole plates were all nailed to the concrete floor with galvanized nails.