Sorry RJ. I regret it myself. But I am glad you are enjoying the photos.Only wish you would've been here [posting] during the planning & design phase.
Echo Bar Recording Studio Build Diary
Moderators: Aaronw, John Sayers
-
ricotrex
- Posts: 62
- Joined: Tue Oct 12, 2010 3:58 pm
- Location: Los Angeles
Re: Echo Bar Recording Studio Build Diary
-
ricotrex
- Posts: 62
- Joined: Tue Oct 12, 2010 3:58 pm
- Location: Los Angeles
Re: Echo Bar Recording Studio Build Diary
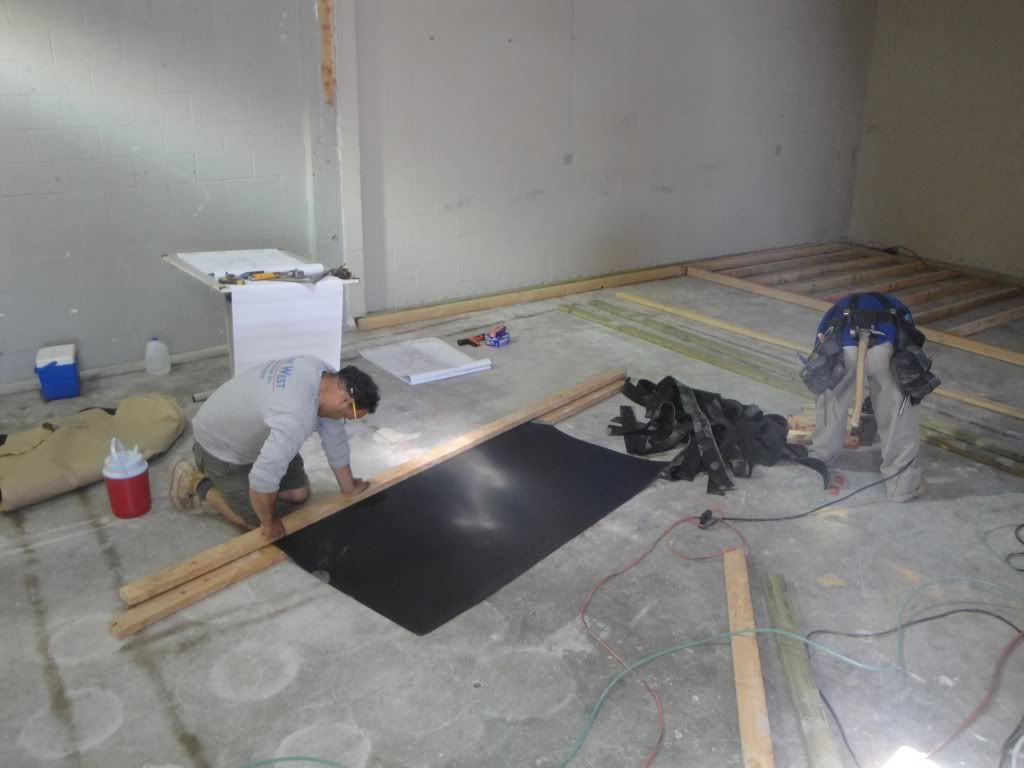
Here is my contractor cutting the neoprene to be put on the bottom of all the sole plates. You can also see the frame for the first wall being made in the background. This is control room B

-
ricotrex
- Posts: 62
- Joined: Tue Oct 12, 2010 3:58 pm
- Location: Los Angeles
Re: Echo Bar Recording Studio Build Diary
more progress on Control Room B
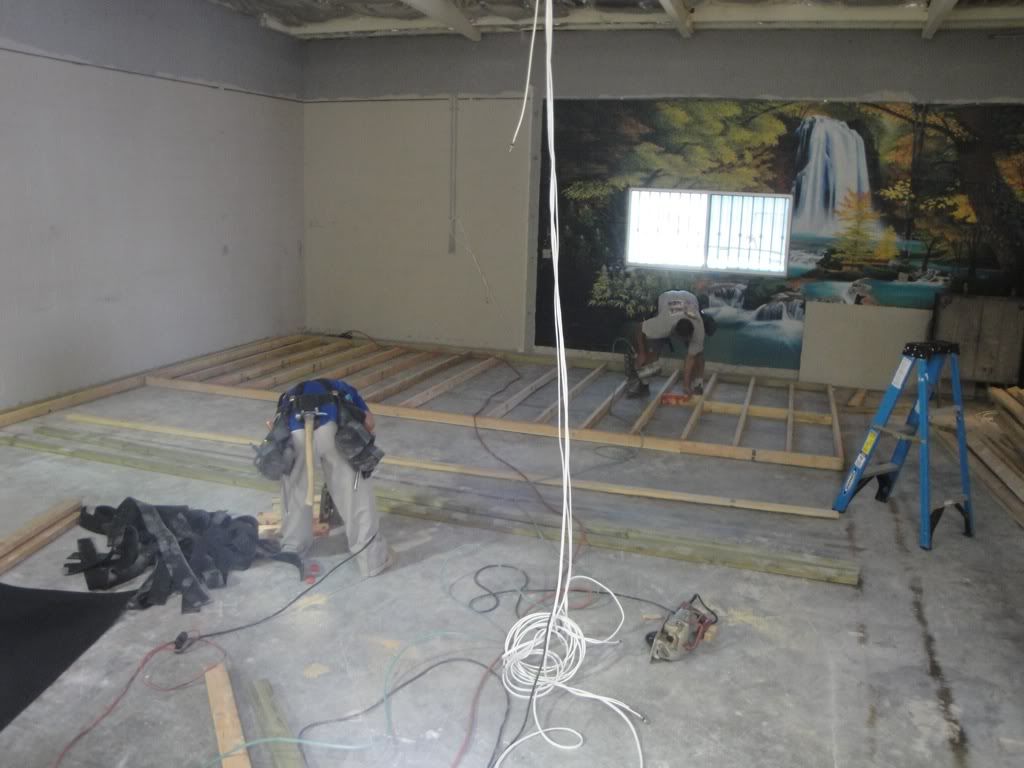
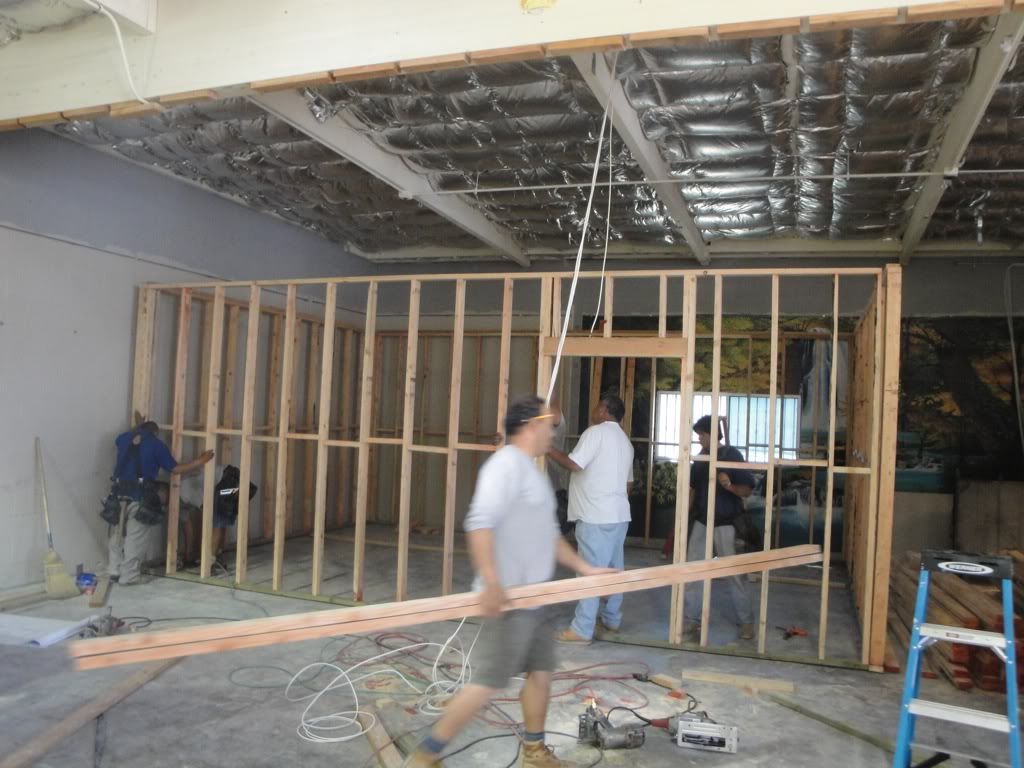
As you can see from this photo the control room is a rectangle. It has finished dimension (drywall to drywall) of 21' long by 14' 4" wide by 9' feet tall. This is based on the Sepmeyer ratio.


As you can see from this photo the control room is a rectangle. It has finished dimension (drywall to drywall) of 21' long by 14' 4" wide by 9' feet tall. This is based on the Sepmeyer ratio.
-
ricotrex
- Posts: 62
- Joined: Tue Oct 12, 2010 3:58 pm
- Location: Los Angeles
Re: Echo Bar Recording Studio Build Diary
Here is the framing for my control room going up. It is the same dimensions as control room B.
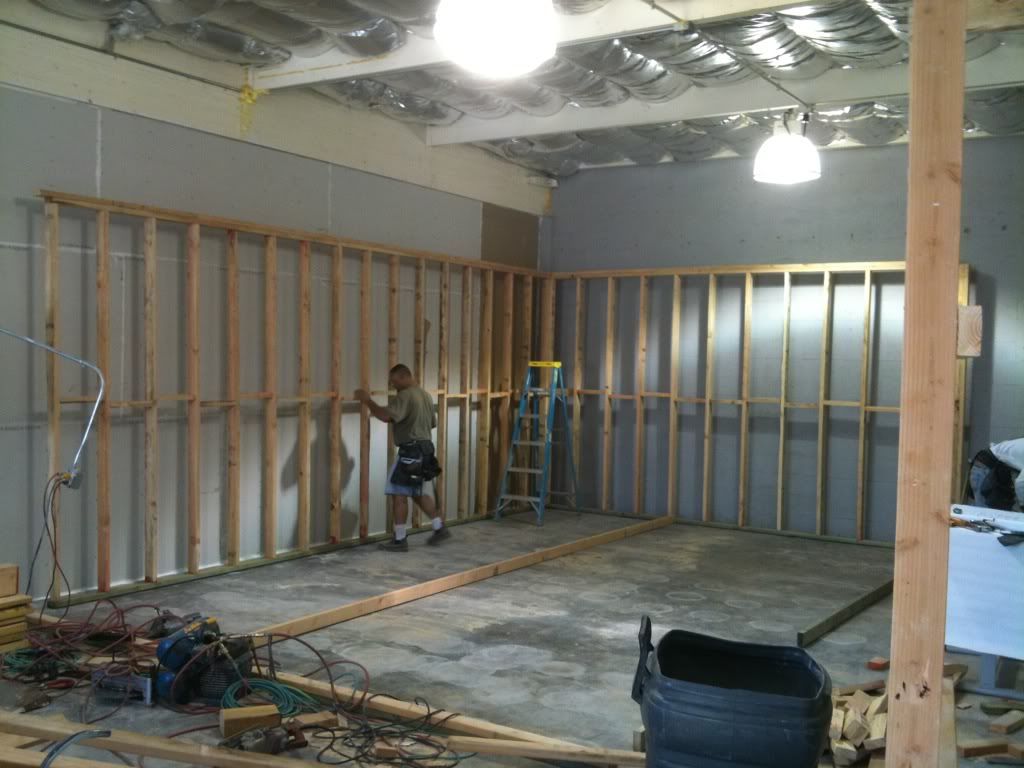
If you look closely you can see the fresh drywall that was installed with backer rod and caulk on the left side of the photo. This is the dividing wall between my studio and my neighbor's business next door.

If you look closely you can see the fresh drywall that was installed with backer rod and caulk on the left side of the photo. This is the dividing wall between my studio and my neighbor's business next door.
-
ricotrex
- Posts: 62
- Joined: Tue Oct 12, 2010 3:58 pm
- Location: Los Angeles
Re: Echo Bar Recording Studio Build Diary
Here is a photo of a friend doing some of the prep work on that wall
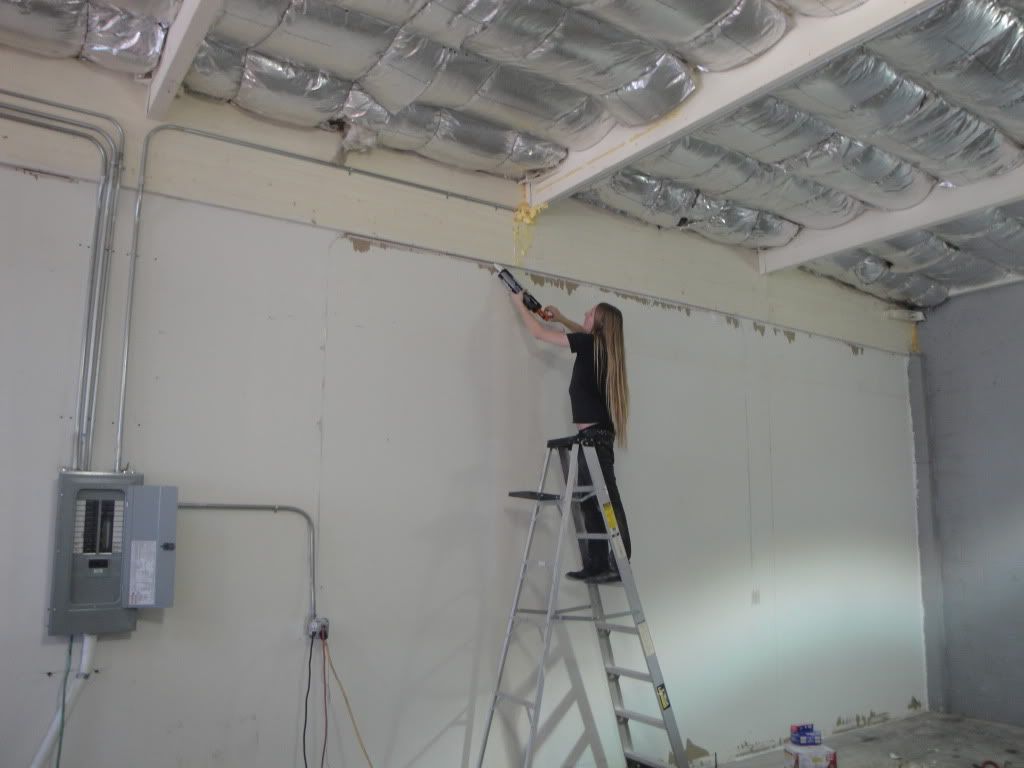
this wall was sealed and caulked before adding a 2nd layer of drywall and green glue.

this wall was sealed and caulked before adding a 2nd layer of drywall and green glue.
-
ricotrex
- Posts: 62
- Joined: Tue Oct 12, 2010 3:58 pm
- Location: Los Angeles
Re: Echo Bar Recording Studio Build Diary
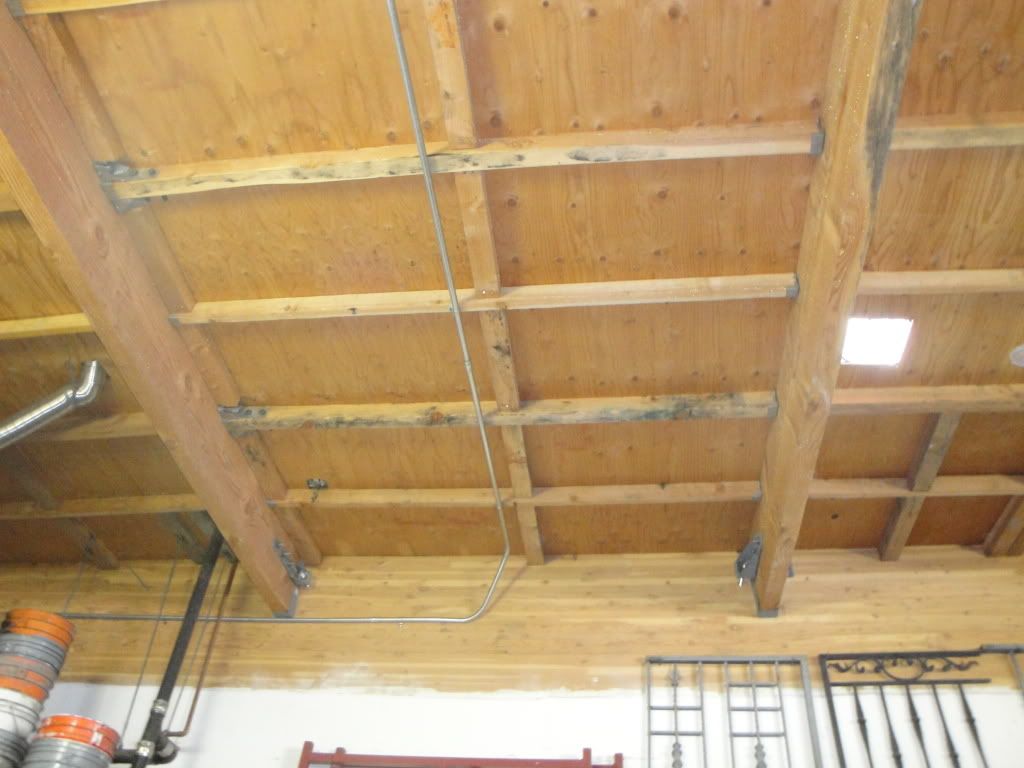
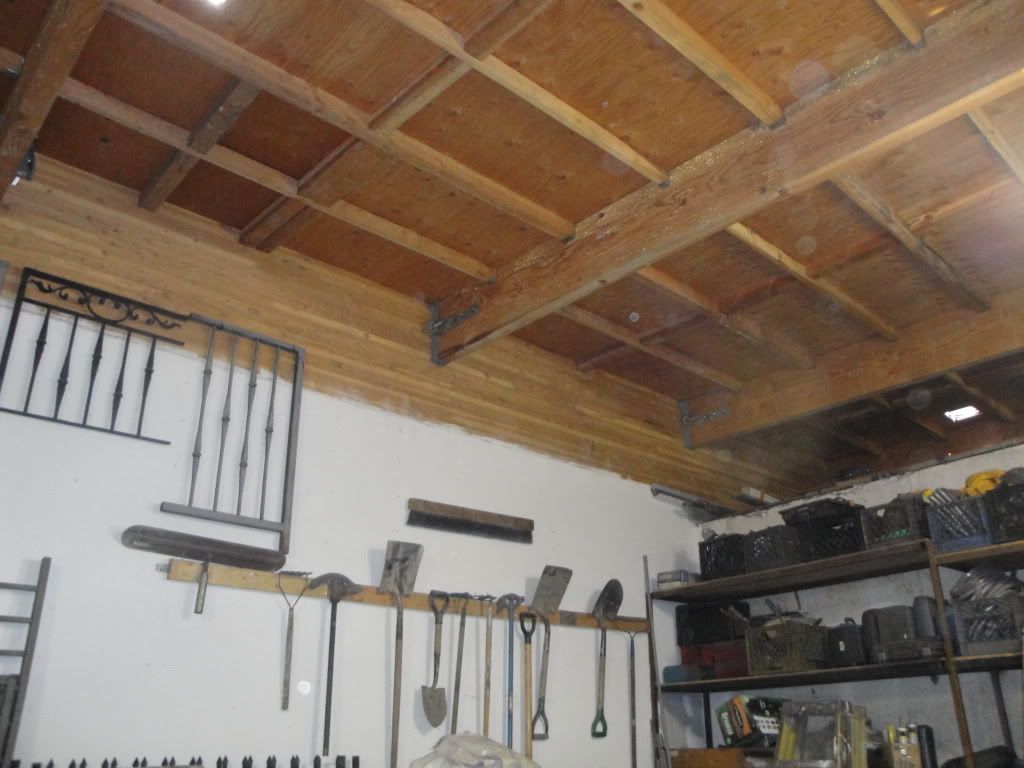
Here are some photos of that same wall from my neighbor's side.


-
ricotrex
- Posts: 62
- Joined: Tue Oct 12, 2010 3:58 pm
- Location: Los Angeles
Re: Echo Bar Recording Studio Build Diary
I debated a lot about what to do with this wall. Ideally, I would have liked to add a second layer of dry wall with green glue on my neighbors side but that would have been too difficult to displace my neighbor while that happened.
-
ricotrex
- Posts: 62
- Joined: Tue Oct 12, 2010 3:58 pm
- Location: Los Angeles
Re: Echo Bar Recording Studio Build Diary
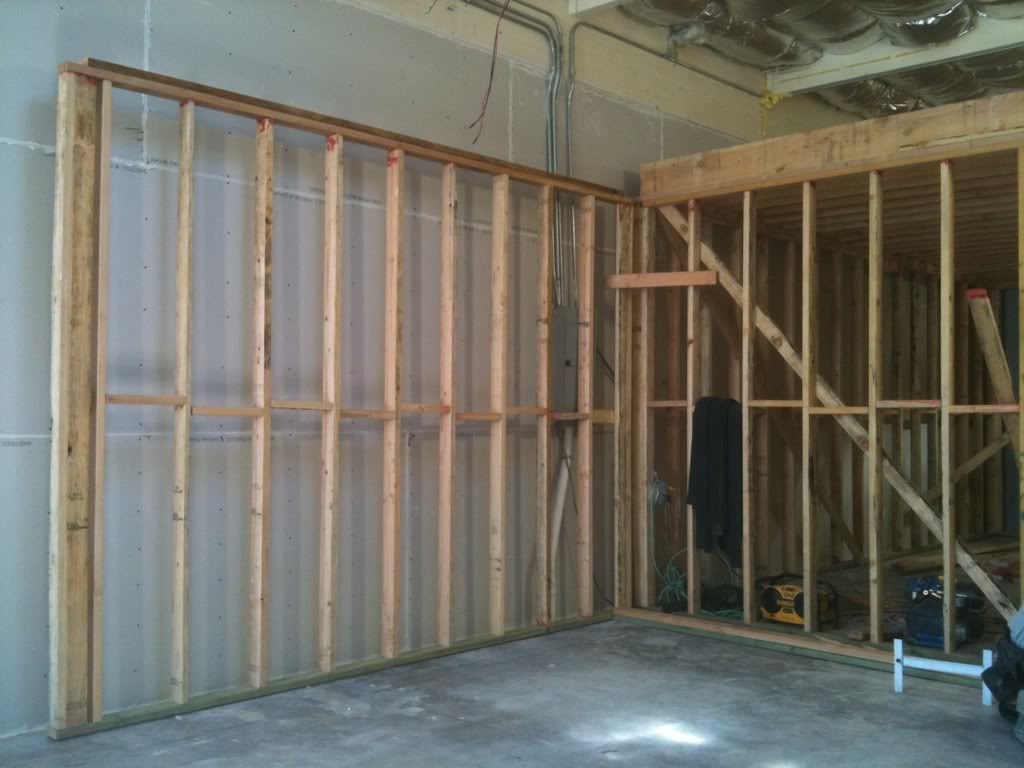
This is the beginning of the A booth being framed out. You can also see Control Room A framing in the background.
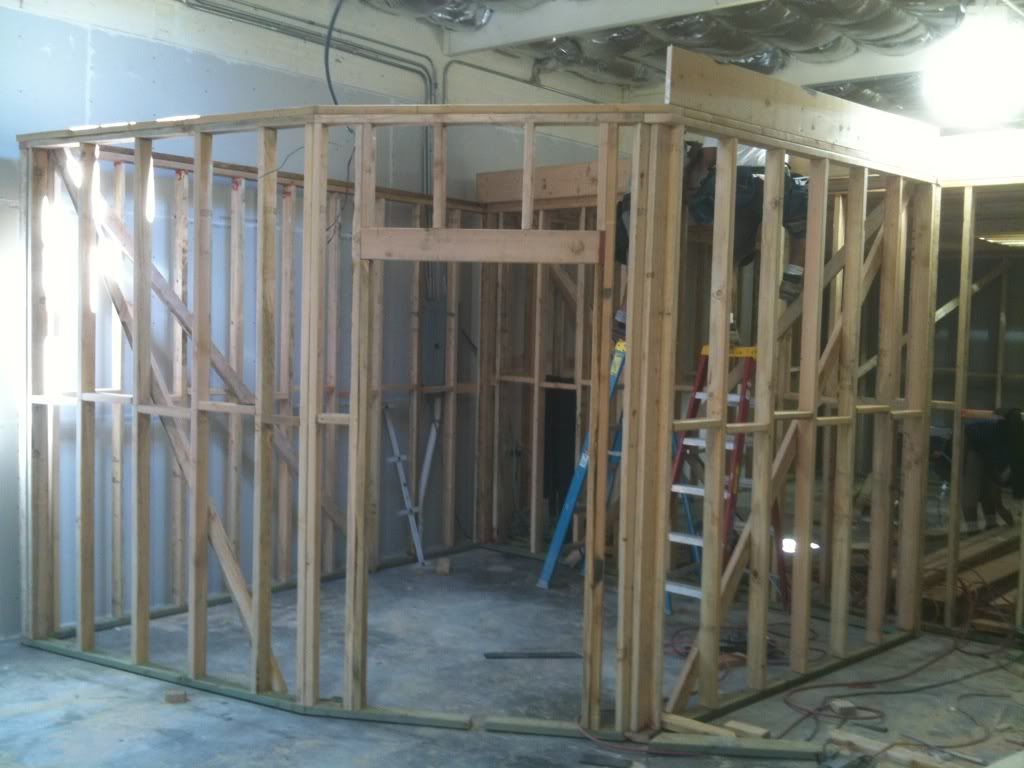
The A booth framing completed.
-
ricotrex
- Posts: 62
- Joined: Tue Oct 12, 2010 3:58 pm
- Location: Los Angeles
Re: Echo Bar Recording Studio Build Diary
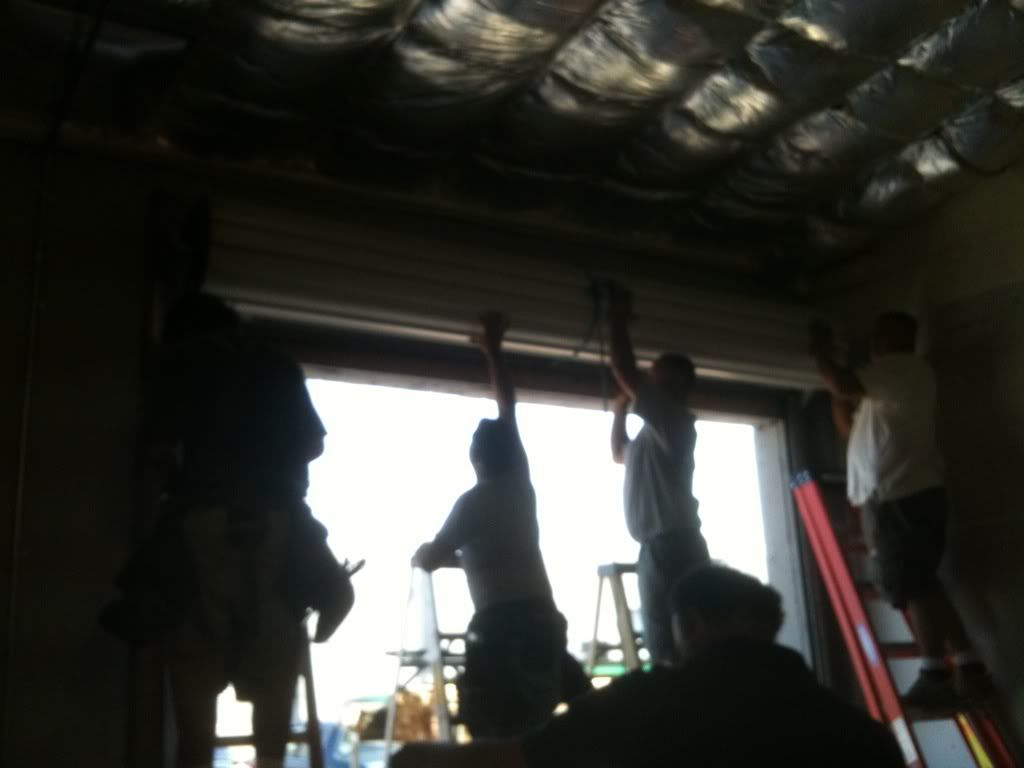
The old garage door coming down.
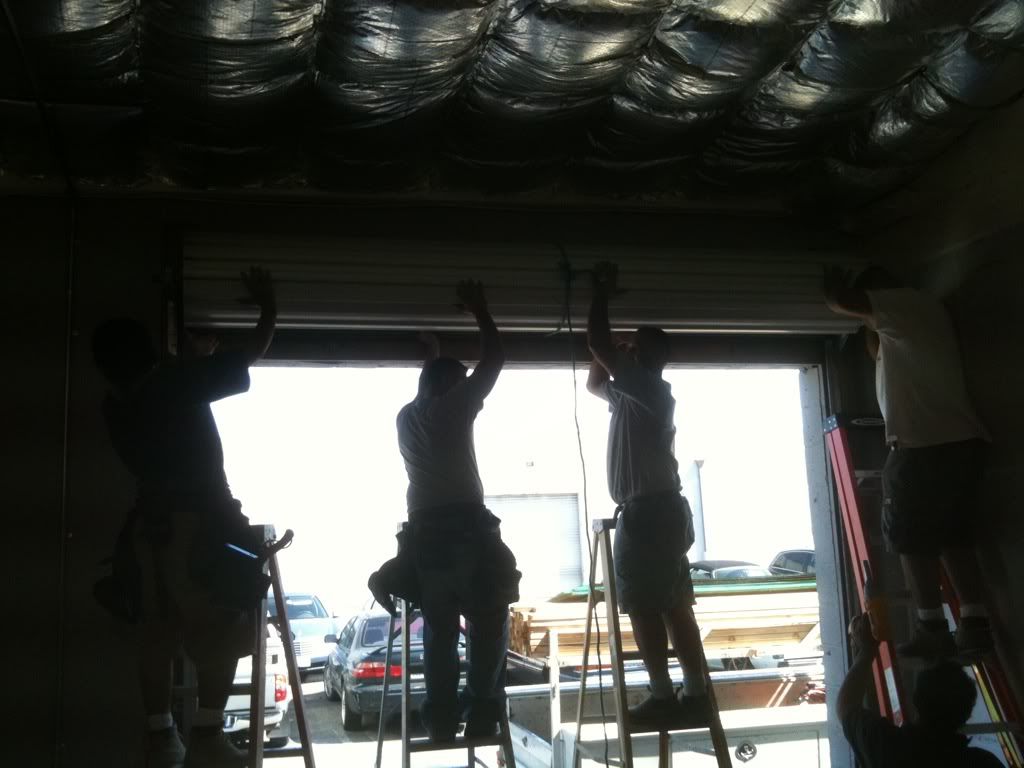
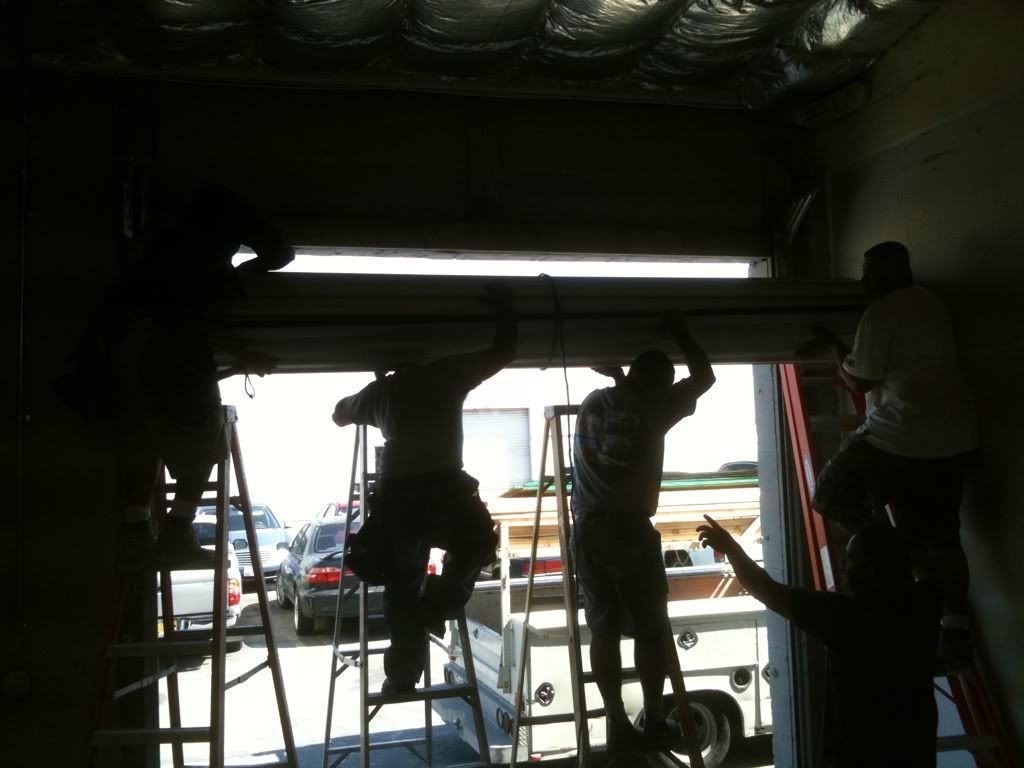
Here is the garage door framed and in from the outside.
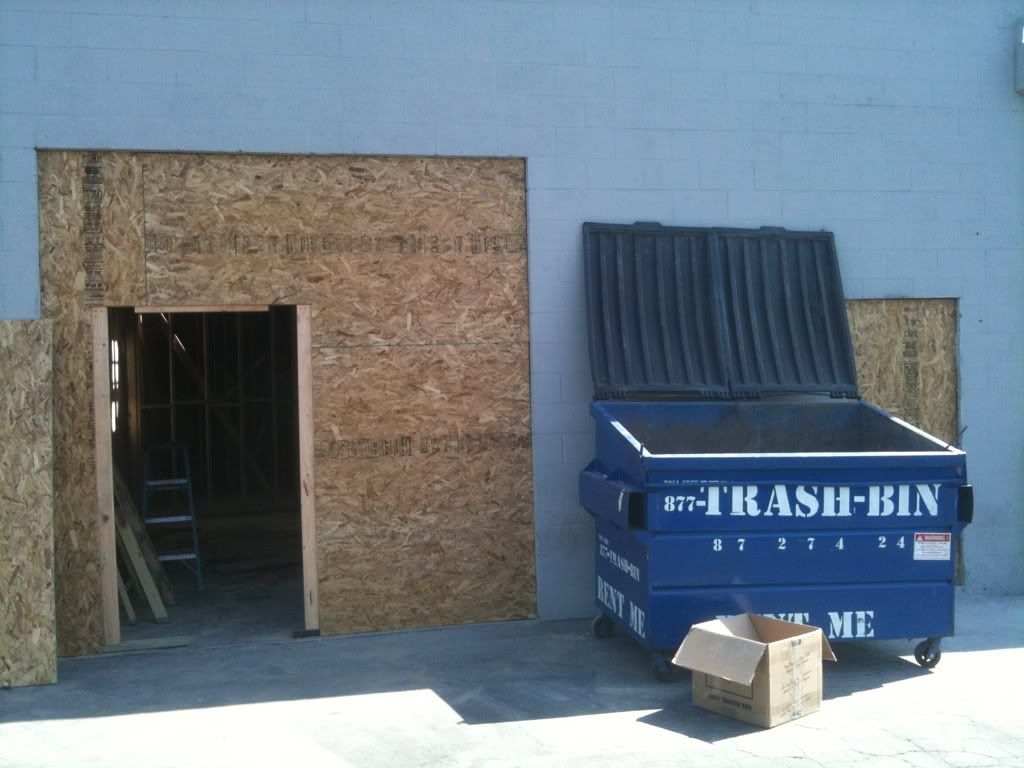
This door was framed in with 2 layers of mold resistant drywall and green glue. Then topped off with particle board.
-
Soundman2020
- Site Admin
- Posts: 11938
- Joined: Thu Aug 21, 2008 10:17 am
- Location: Santiago, Chile
- Contact:
Re: Echo Bar Recording Studio Build Diary
You could have done it from your side quite easily, without bothering your neighbor at all: Just beef up between the studs. That's a commonly used technique here on the forum, for cases like yours.I debated a lot about what to do with this wall. Ideally, I would have liked to add a second layer of dry wall with green glue on my neighbors side but that would have been too difficult to displace my neighbor while that happened.
I'm just wondering why you did that: Was the floor especially uneven, and needed the extra seal? Also, from the photos it's not clear how you attached the wall frames to the floor: I don't see any bolts visible, so I guess you just used nails. But it looks like a concrete floor, so how did you accomplish the nailing? You DID attach the walls to the floor, right?Here is my contractor cutting the neoprene to be put on the bottom of all the sole plates.
- Stuart -
-
ricotrex
- Posts: 62
- Joined: Tue Oct 12, 2010 3:58 pm
- Location: Los Angeles
Re: Echo Bar Recording Studio Build Diary
This is why I regret that I waited to post this journal on the forum until after the build was completed. You are absolutely right Stuart. I didn't think of that. Hopefully, others will learn from my mistake(s).You could have done it from your side quite easily, without bothering your neighbor at all: Just beef up between the studs. That's a commonly used technique here on the forum, for cases like yours.
Yes, the concrete was uneven in many places and I chose to use the neoprene to seal even the smallest air gaps between the sole plates and the concrete. Yes the sole plates were all nailed to the concrete floor with galvanized nails. This was required by the city inspector. The were driven through the plates into the concrete with the "explosive nail caps". I am sure there is a more technical name for this tool but I don't know what it is? My framer did let me "fire" one of the guns. It is actually like firing a real pistol and just as dangerous.I'm just wondering why you did that: Was the floor especially uneven, and needed the extra seal? Also, fro the photos it's not clear how you attached the wall frames to the floor: I don't see any bolts visible, so I guess you just used nails. But it looks like a concrete floor, so how did you accomplish the nailing? You DID attach the walls to the floor, right?
-
ricotrex
- Posts: 62
- Joined: Tue Oct 12, 2010 3:58 pm
- Location: Los Angeles
Re: Echo Bar Recording Studio Build Diary
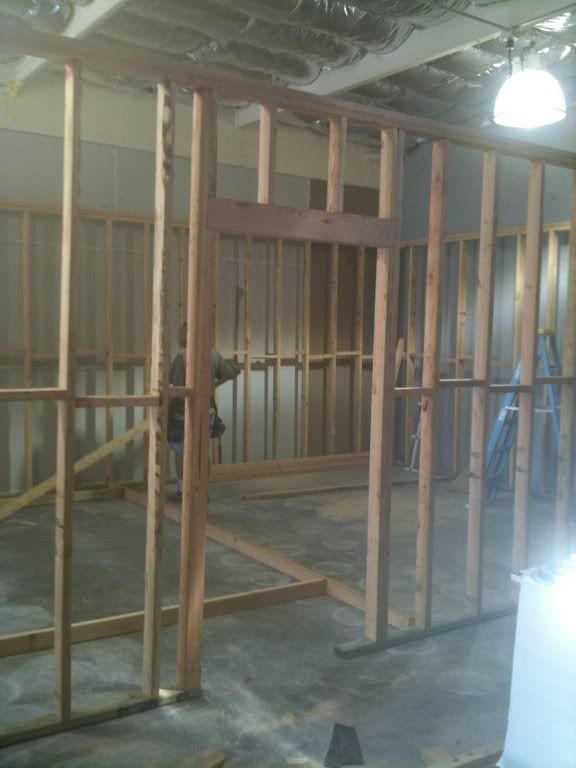
Here is a shot of my control room door opening.
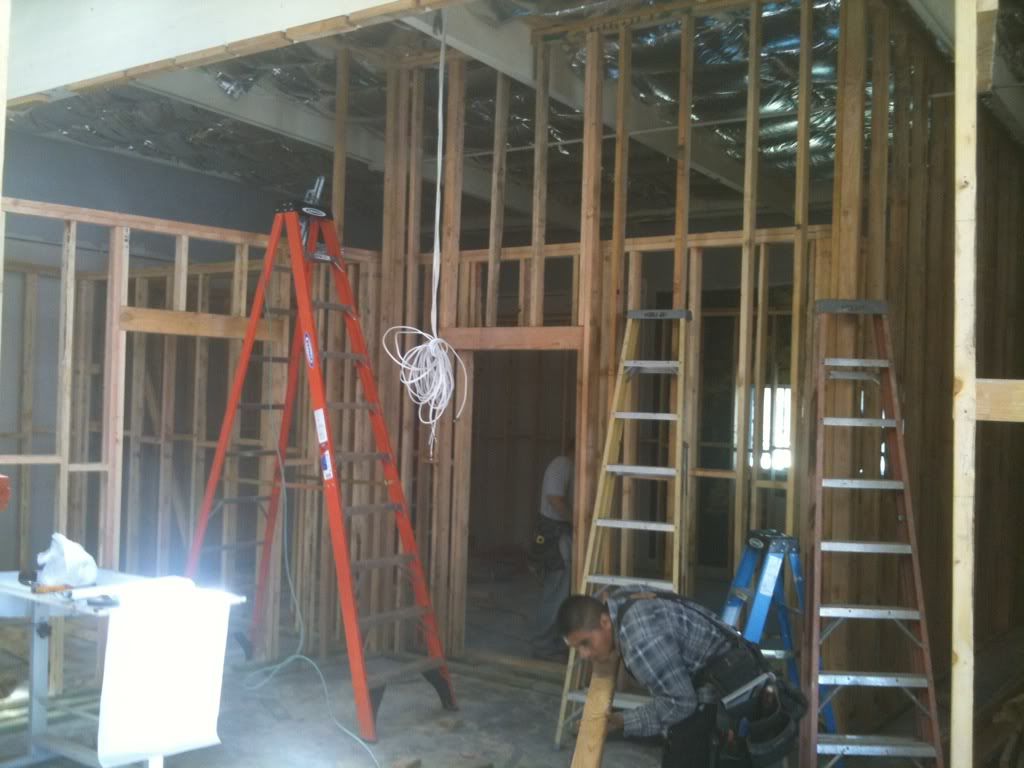
This is Control Room B and Booth B.
-
Soundman2020
- Site Admin
- Posts: 11938
- Joined: Thu Aug 21, 2008 10:17 am
- Location: Santiago, Chile
- Contact:
Re: Echo Bar Recording Studio Build Diary
That's what I figured. You did fine. some folks use neoprene thinking it will "float" the wall, but of course it does not. As soon as you put the first nail / bolt in, that creates a flanking path right through the neoprene. But you did it as a seal for an uneven floor, which is the right thing to do.Yes, the concrete was uneven in many places and I chose to use the neoprene to seal even the smallest air gaps between the sole plates and the concrete. Yes the sole plates were all nailed to the concrete floor with galvanized nails.
Great!
- Stuart -
-
ricotrex
- Posts: 62
- Joined: Tue Oct 12, 2010 3:58 pm
- Location: Los Angeles
Re: Echo Bar Recording Studio Build Diary
These next photos are of the Live room framing going up.
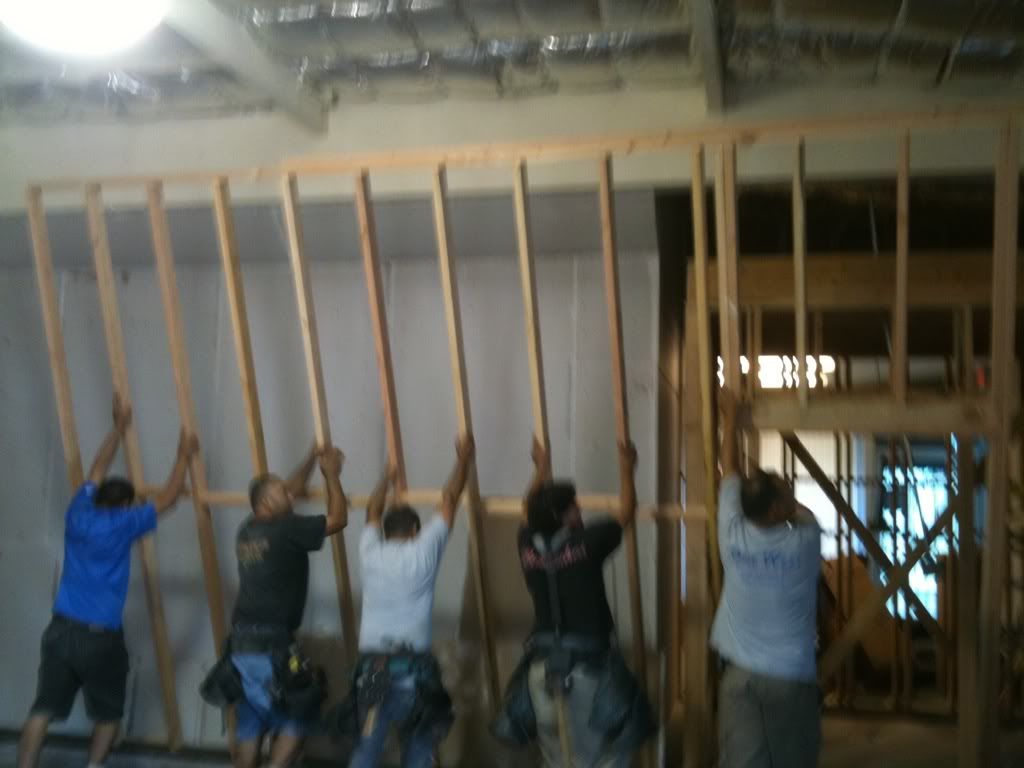
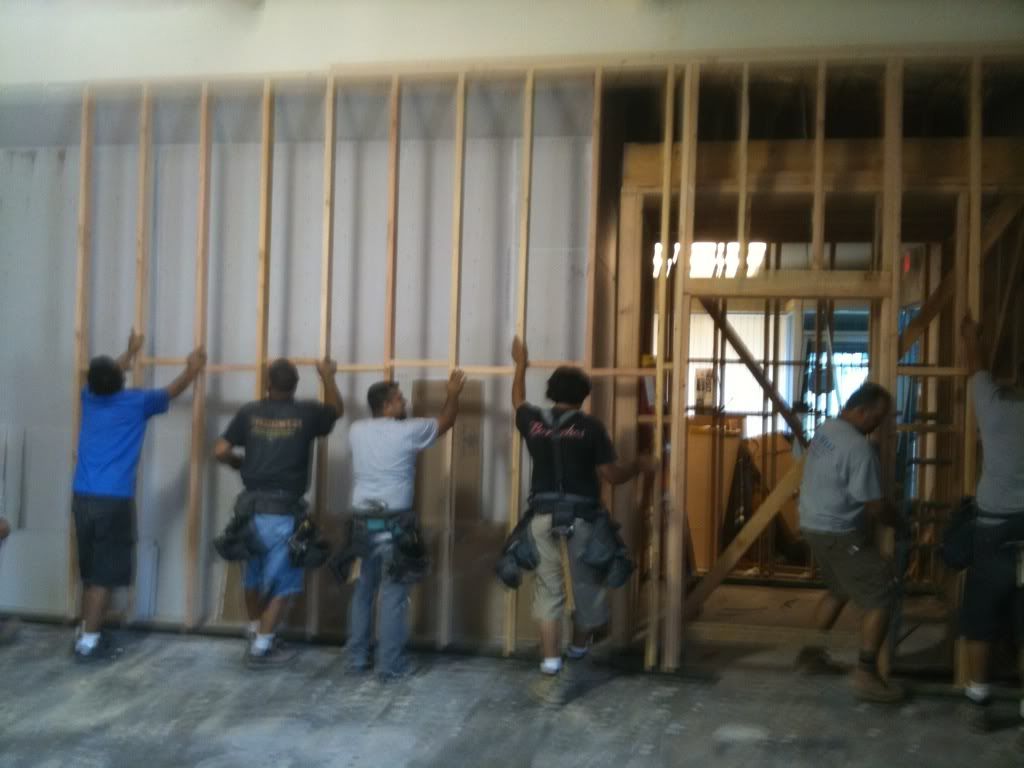
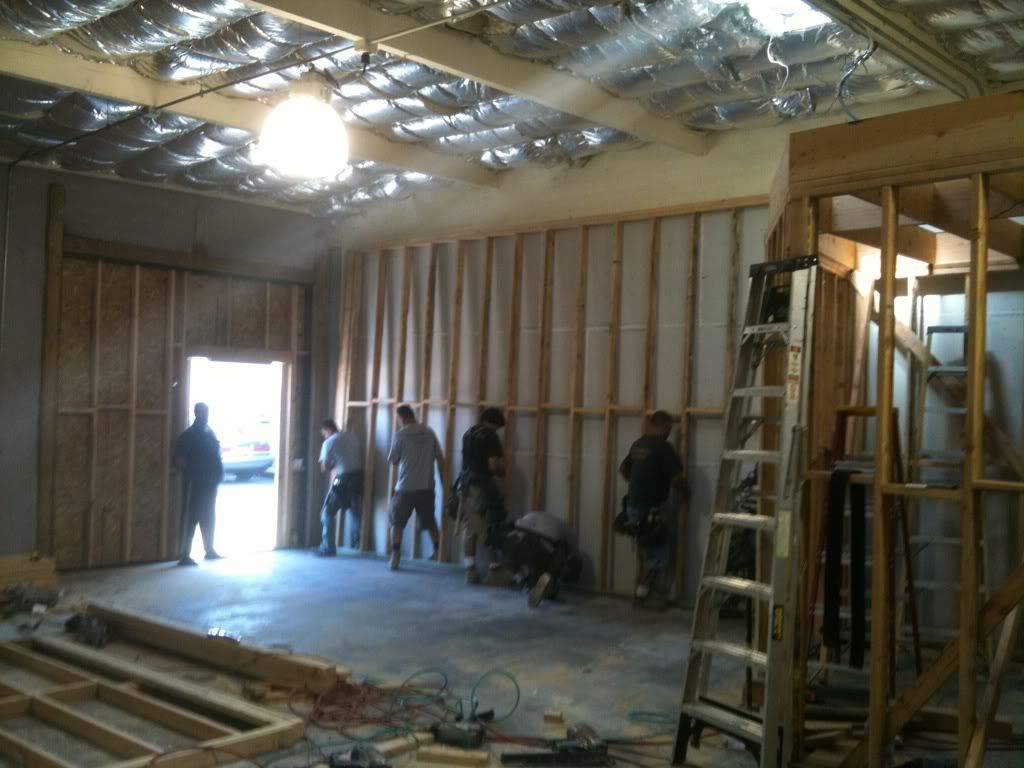
This a shot of inside the Live room with Booth A on the right.


This a shot of inside the Live room with Booth A on the right.
-
ricotrex
- Posts: 62
- Joined: Tue Oct 12, 2010 3:58 pm
- Location: Los Angeles
Re: Echo Bar Recording Studio Build Diary
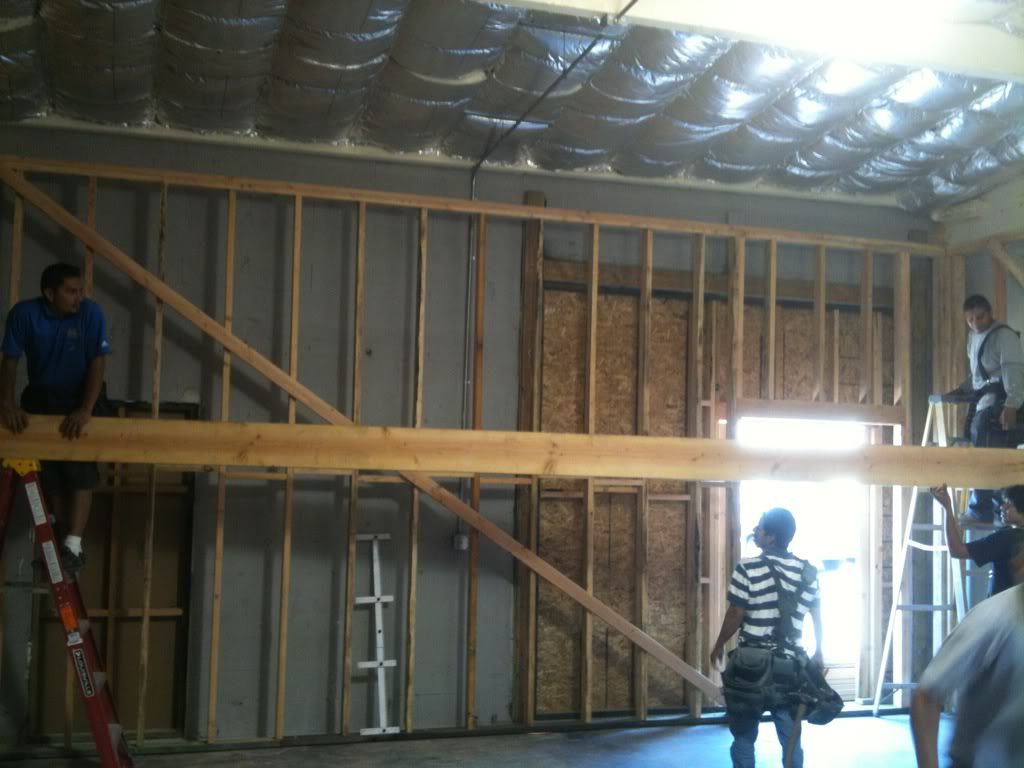
This is a shot of the live room ceiling joists going up. They span a width of 25'. These joists are Douglas Fir type #2 as required by my architect and structural engineer to withstand the load that would hang from them. They support 2 layers of 5/8" drywall with green glue.
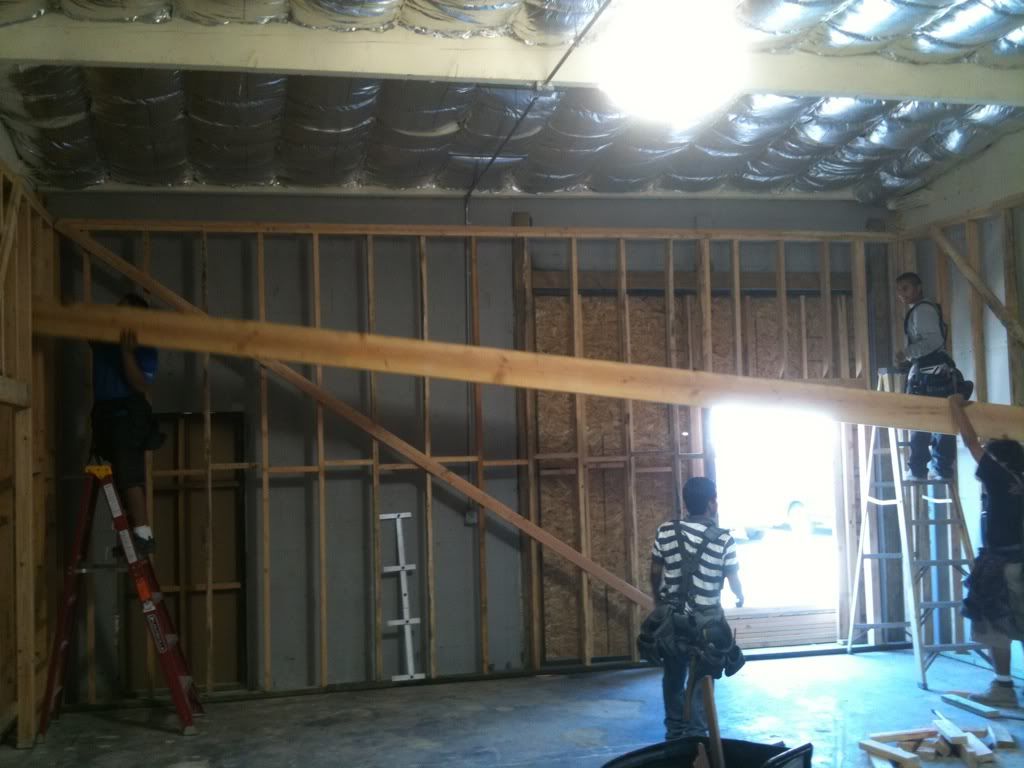
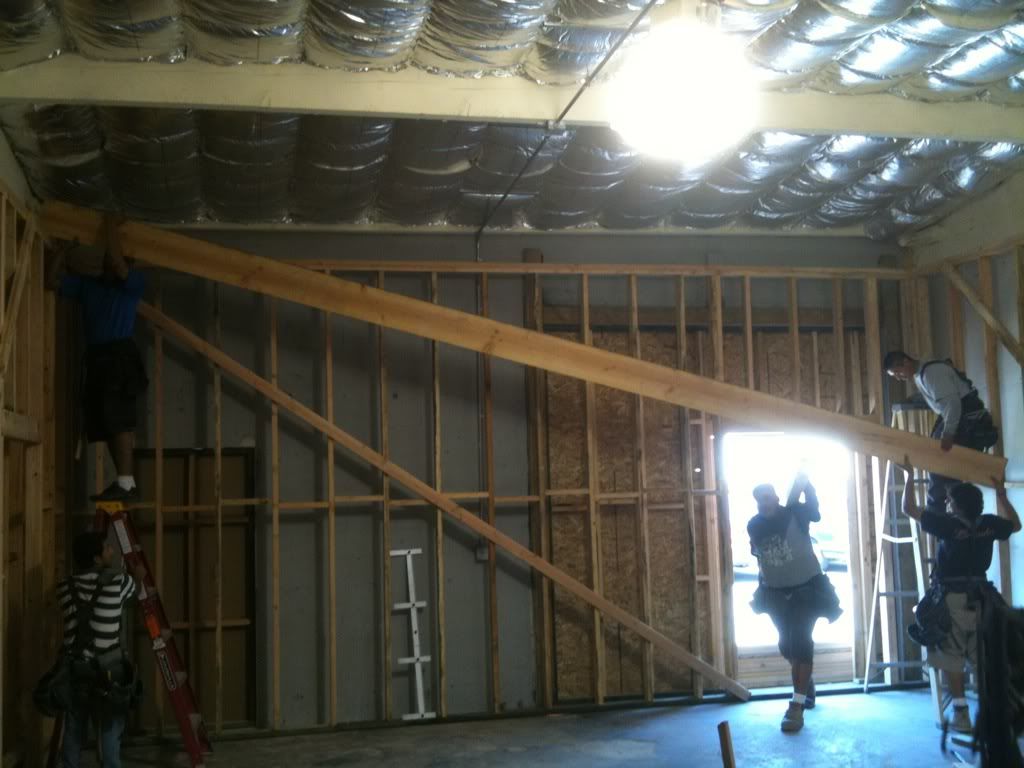
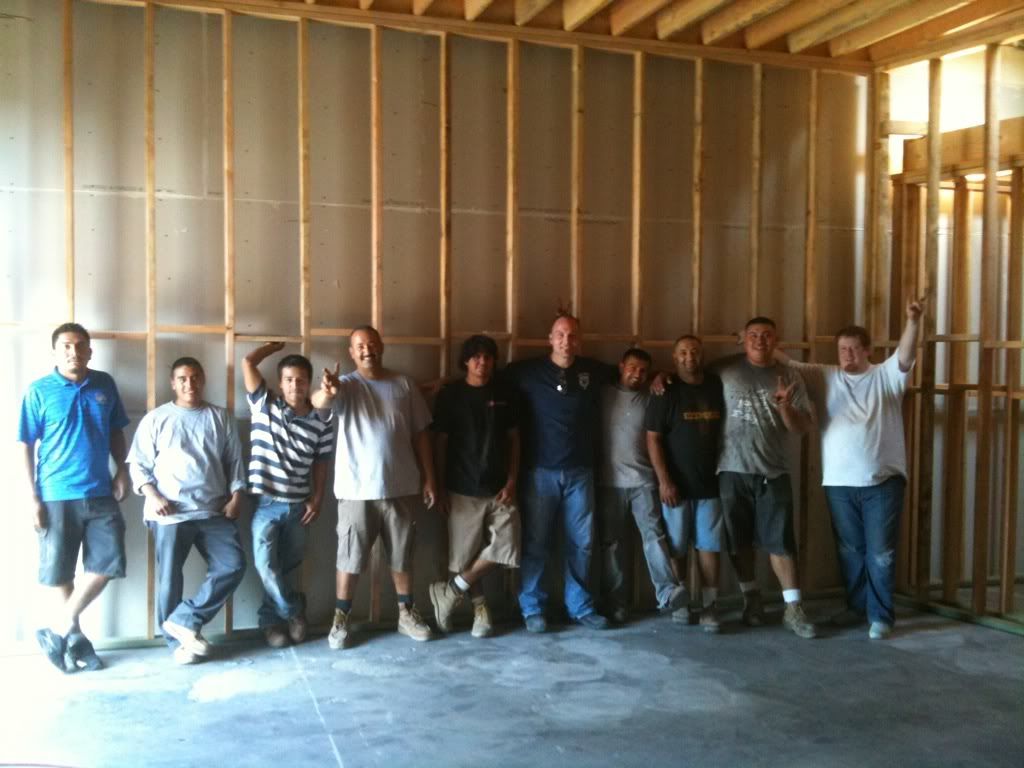
The entire studio was framed out in 4 days. I took a photo with the crew on the last day.